
The right wall makeover can feel like a warm breeze for your room. Seashell decor brings coastal charm without needing a big renovation.
You can make small changes that look fresh, bright, and totally you. Keep reading for practical ideas you can start this weekend.
1. Seashell Shadow-Box Gallery Wall
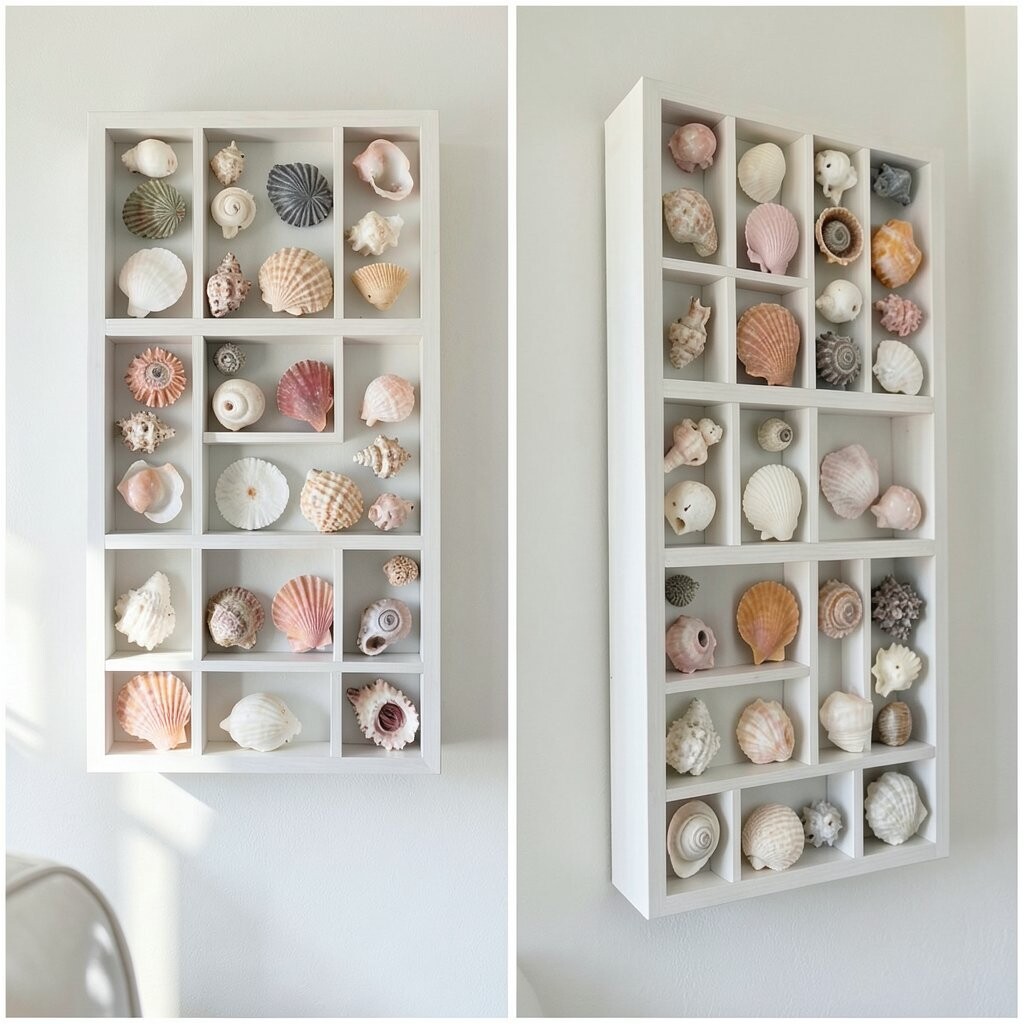
Imagine a neat set of little shadow-box frames, each holding a small mix of shells in soft whites and sandy creams. Sunlight catches the edges, and your wall looks gently textured even on calm days.
Choose frames in matching tones, like natural wood or matte black, so the collection feels tidy. Use a shallow backing and hot glue to secure each shell, then add a piece of linen or driftwood-colored paper for a smooth background. For cost control, pick thrifted frames and focus on a small number of boxes that still look full.
2. Ombre Shell Wreath Inside a Wall Frame
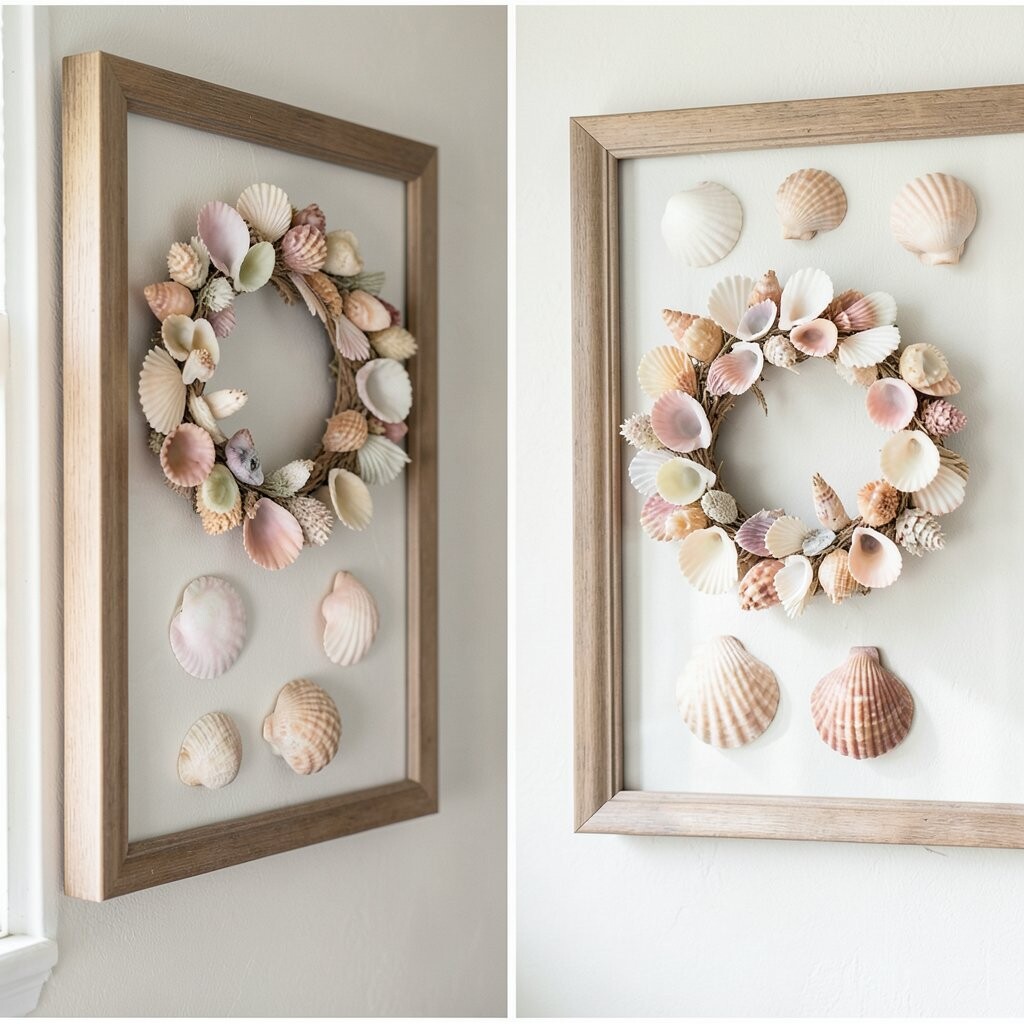
This idea puts a soft ocean gradient on your wall by arranging shells from light to darker shades. It feels playful, especially when the wreath sits inside a simple square or arched frame.
Start with a foam ring or cardboard circle, then layer shells in a loose spiral so the center stays open. Paint the back ring in a seafoam color for extra color depth, and use a clear sealant to reduce dust. For personalization, swap in one or two starfish shapes or tiny shell clusters that match your favorite coastal palette.
To keep it budget-friendly, use mixed sizes from craft stores or clean shells you already have. This style is popular right now because it looks modern but still warm, not overly beachy.
3. Mosaic Seashell Accent Panel With Color Popping
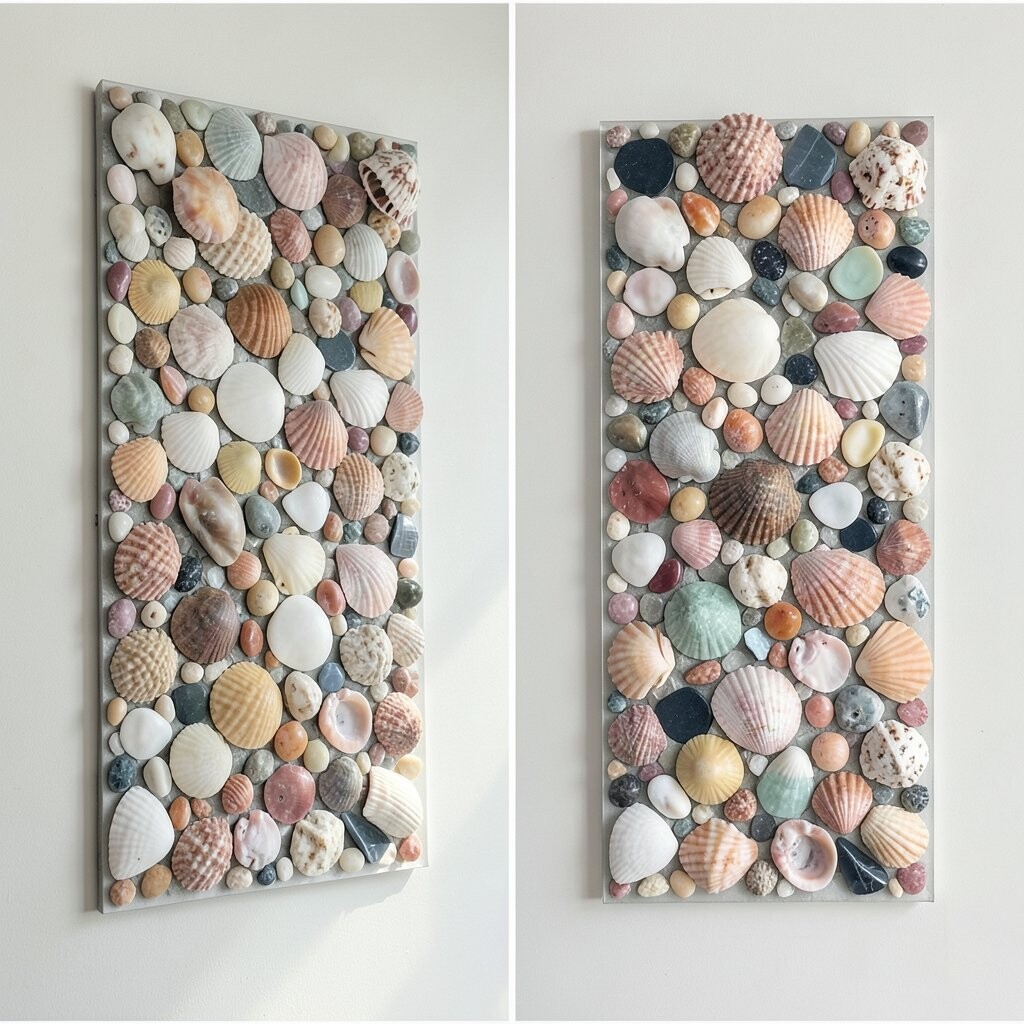
A mosaic panel made from small shells can turn an empty wall into a bold focal point. When you scatter pieces with a little spacing, the gaps make the design look airy.
Pick a shallow board or picture backing, then lay shells like a puzzle in a pattern. Use thin glue and press gently so the pieces stay level, and keep some areas brighter by clustering white shells more tightly. If you want a little extra sparkle, mix in a few mother-of-pearl shells or tiny glass tiles.
For cost considerations, small shells are usually cheaper than larger statement pieces, so you can make it grand without overspending. Current home trends lean toward textured art like this, especially in entryways and living rooms.
Personalize the panel by choosing a theme such as beachy letters, a wave curve, or a simple sunburst shape. Finishing with a clear top coat helps the wall art look crisp for longer.
4. Floating Shelves With Shell Centerpieces
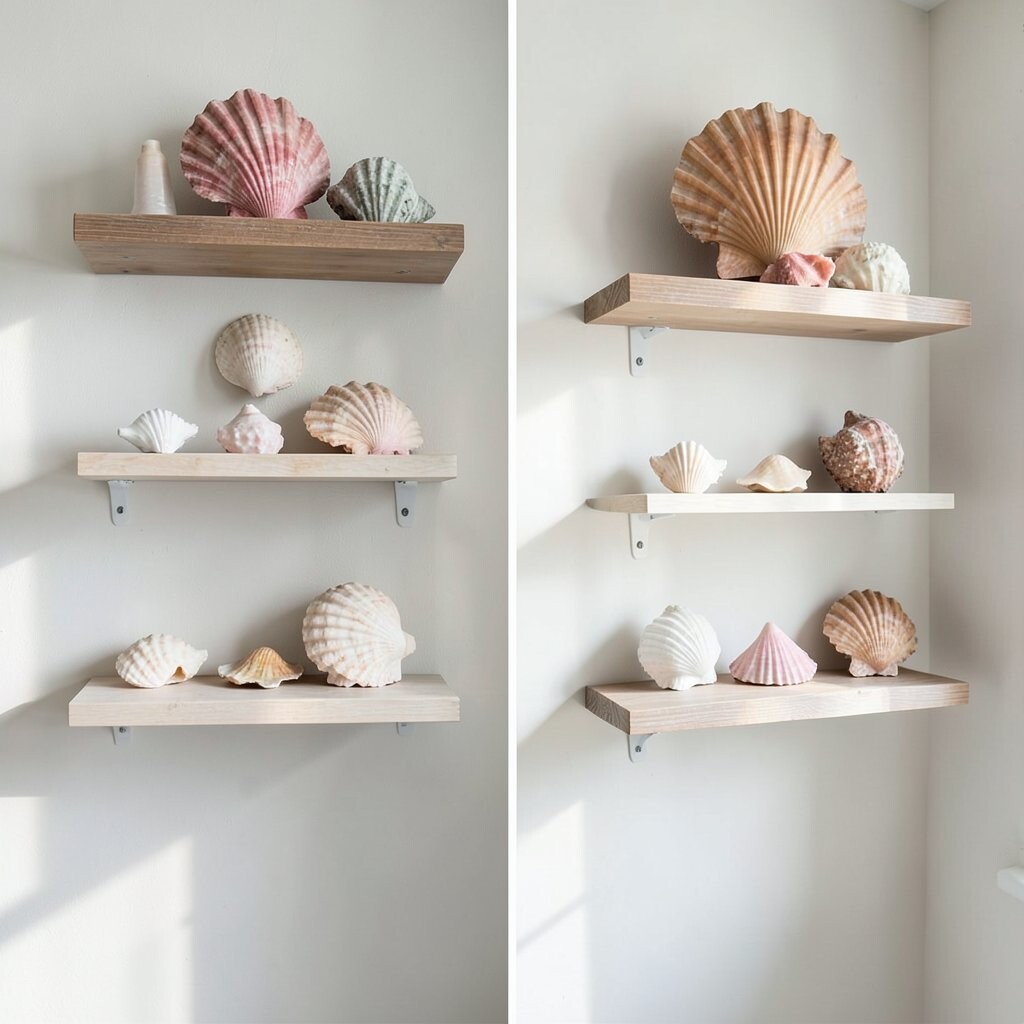
Instead of a flat wall piece, try floating shelves that hold small shell displays. The stacked look adds depth, and each shell catches light from different angles.
Use narrow shelves so they don’t crowd the wall, then place a larger shell bowl in the center with a few smaller items around it. Add a tiny ledge of sand-colored paper or a thin strip of fabric to hide gaps and keep everything neat.
To make it feel fresh every season, swap the shells you use or add a small seasonal accent like a star charm. This approach can be budget-friendly if you buy basic shelves and build your display from affordable craft supplies.
If you love personalization, color-coordinate the shells with your room decor by mixing only two or three shell tones. The result looks curated, not cluttered.
5. Rope and Shell Wall Sign With Beachy Words
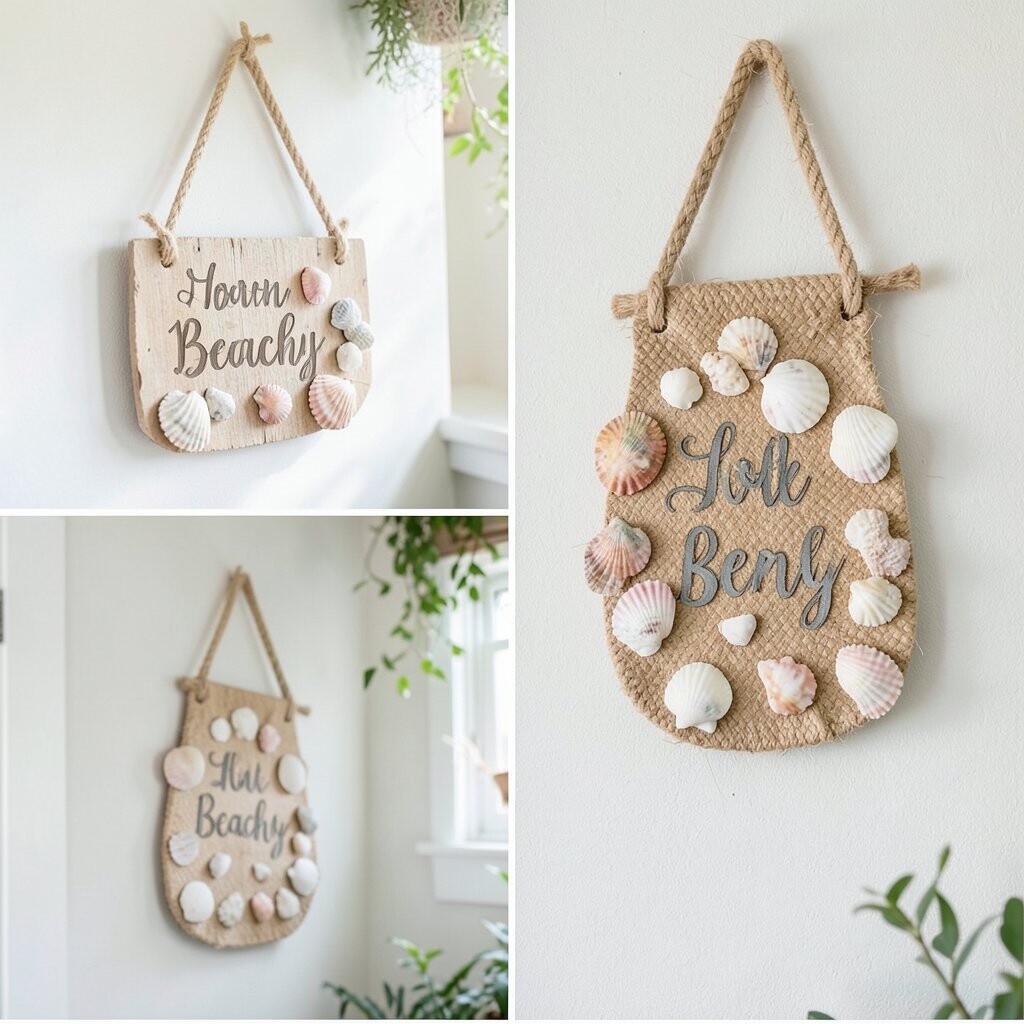
A wall sign that combines rope texture and shell accents instantly feels coastal. You can lean farmhouse, modern, or cottage depending on the font style you choose.
Start with a wooden plank, then wrap it lightly with natural jute rope. Glue shells along the rope edges, keeping a few empty spaces so it doesn’t look heavy. Paint the plank in warm white or soft gray, then add one word you love, like “Seaside” or “Home,” in a style that matches your decor.
This makeover is unique because the rope gives a handcrafted vibe, while shells add sparkle and charm. It can stay cost-friendly by using a plain plank and a small handful of shells, then sealing everything so it lasts.
6. Shell-Covered Letter or Initial Feature
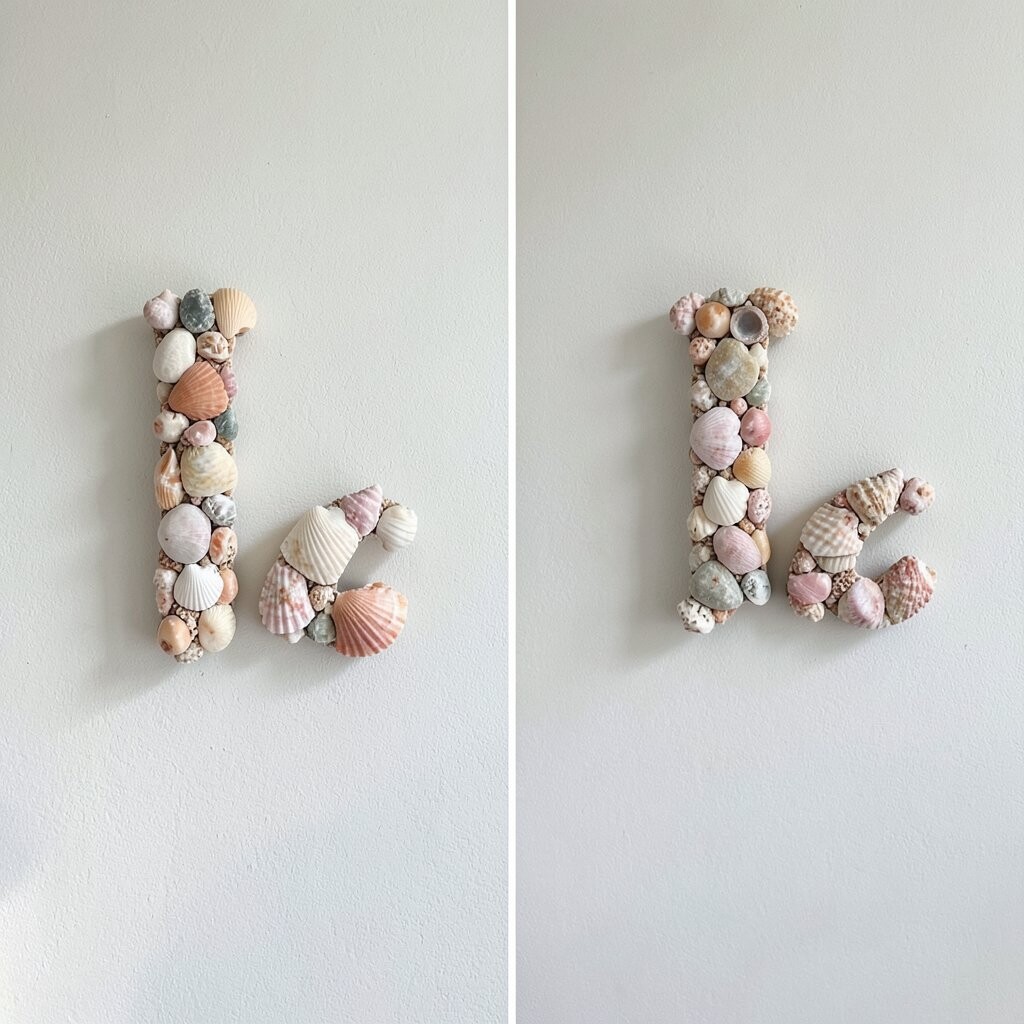
One bold letter covered in shells can make a whole wall look intentional. It’s perfect for a bedroom corner, nursery, or an entryway where you want something sweet and personal.
Choose a large wooden or foam initial, then cover it with shell halves, small clusters, or spiraled pieces. Keep the shell direction consistent on the main strokes for a smoother look. For practicality, use glue sparingly and press in short sessions so the shells stay aligned.
To save money, mix a few pricier shells with cheaper filler pieces, like tiny chips or smaller scallop varieties. Personalize it by adding a thin line of gold paint between shell rows for a little elegance.
7. Beachy Wall Hangings Using Shell-Studded Canvas
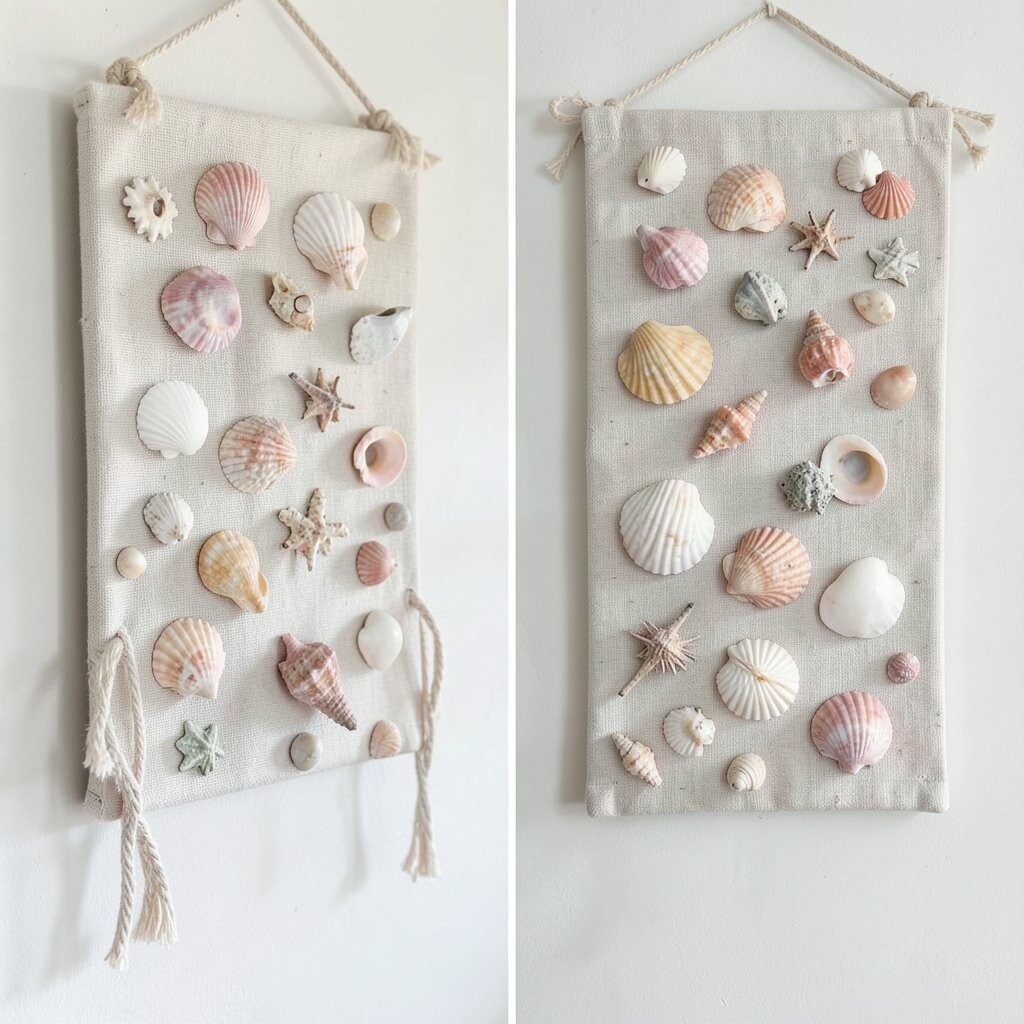
A canvas panel with shells sewn or glued onto fabric feels soft and handmade. It moves slightly when air moves, which makes the whole display feel alive.
Pick a stretched canvas or simple cloth backing, then layer shells with a fabric-friendly adhesive. Add a backing color like sand or pale blue so shells show up clearly without overpowering the art. If you want extra durability, consider sealing only the shell areas so the fabric still looks natural.
This style can be unique because it blends wall art with textile warmth. For cost considerations, reuse an old canvas or thrift one, then use small shells you can gather or purchase in mixed packs.
Personalize the look by arranging shells into a wave line, a small heart, or a crescent moon.
8. Nautical Frame With Shells and Linen Background
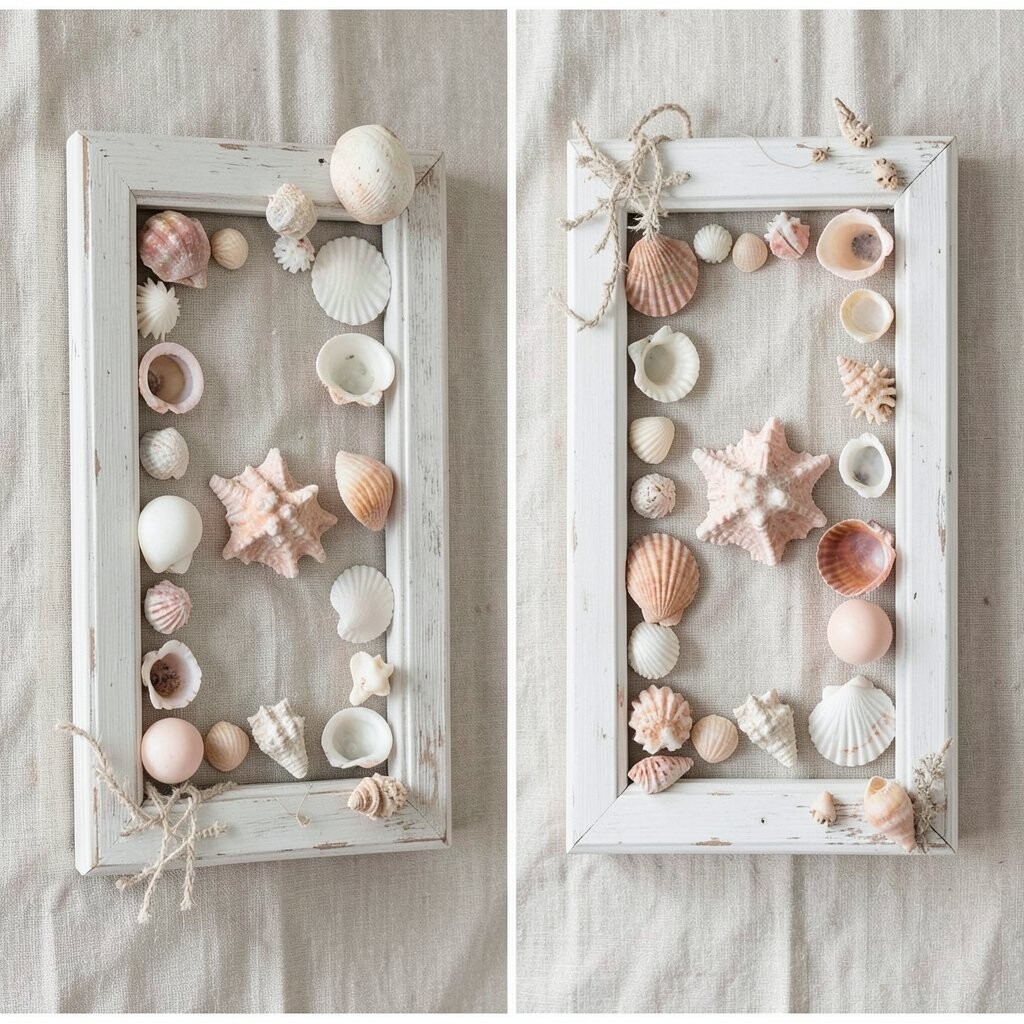
A classic frame filled with shells and linen looks calm, clean, and bright. The linen background keeps the texture gentle, so the display feels airy instead of busy.
Use a thrifted frame, remove the glass, and attach linen to the back. Arrange shells in a simple pattern, such as a cluster near the bottom or a gentle arc near the top, then glue them in place. For personalization, tuck in a small piece of driftwood or a tiny paper wave cutout behind the shells.
Because linen and frames are easy to find, this makeover can fit many budgets. Current trends favor natural materials like linen, and shell decor keeps the whole look warm and inviting.
9. Vertical Wave Shell Strip on a Bare Wall
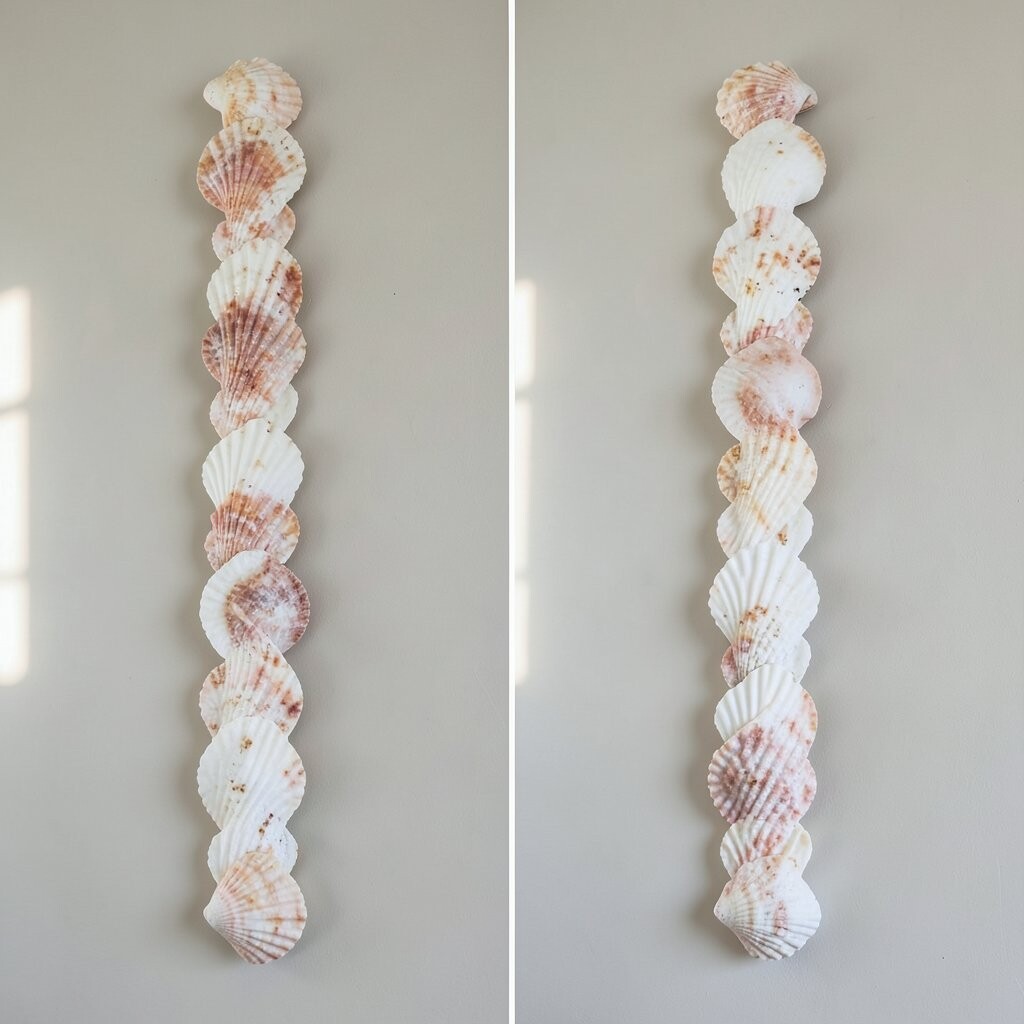
A vertical wave strip turns a boring stretch of wall into a graceful statement. It draws the eye upward and makes ceilings feel a little taller.
Create the design on a long board, then mount it to the wall as a single piece. Lay shells in a repeating wave rhythm, mixing smooth scallops with tiny spiral shells to add variation. Use a neutral backing like ivory cardstock so the shells pop while still feeling soft.
Practical tips make a big difference here, like measuring the spacing before you glue and using painter’s tape to mark the wave lines. For cost, you can use smaller shells for most of the strip and save larger pieces for key points near the center.
Personalize the wave by picking your room’s color palette and choosing shells that match, such as creamy whites for minimalist spaces or warmer beige tones for cozy rooms.
10. Shell-Capped Picture Ledge With Mini Scenes
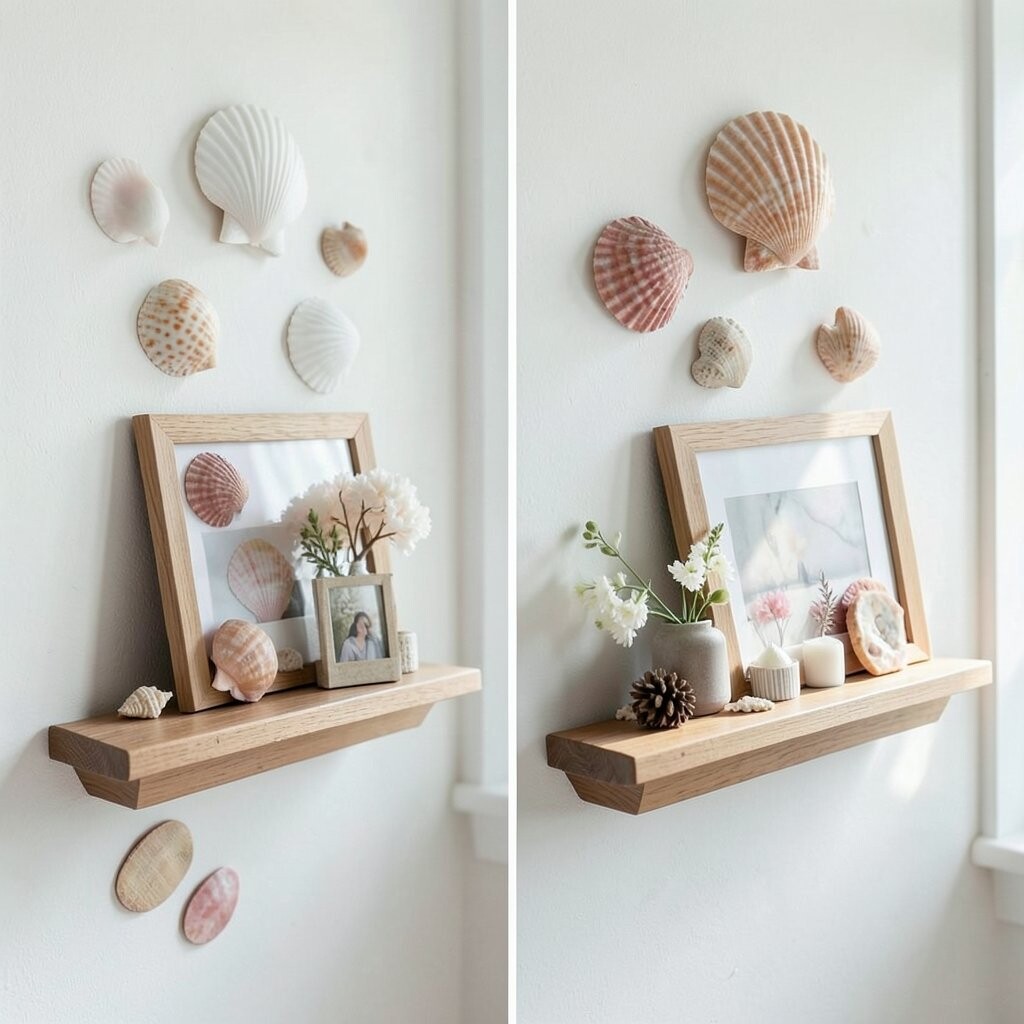
Mini scenes on a picture ledge make shell decor feel playful and story-like. Each shelf becomes a tiny moment, like a beach snapshot you can rearrange.
Choose a ledge that fits your wall, then place shells in clear containers, small vases, or shallow trays. Add one or two scene extras, like a strip of faux sea glass, a small sand-colored stone, or a tiny coral-shaped ornament. Keep the color scheme simple so the wall stays bright and not too busy.
This is a great uniqueness idea because you can build different themes, such as “morning shore” or “evening tide,” just by switching accessories. Cost considerations are easy since you can start with a ledge and only a few shell containers, then grow the display slowly.
11. Seashell and Mirror Wall Combo for Extra Shine
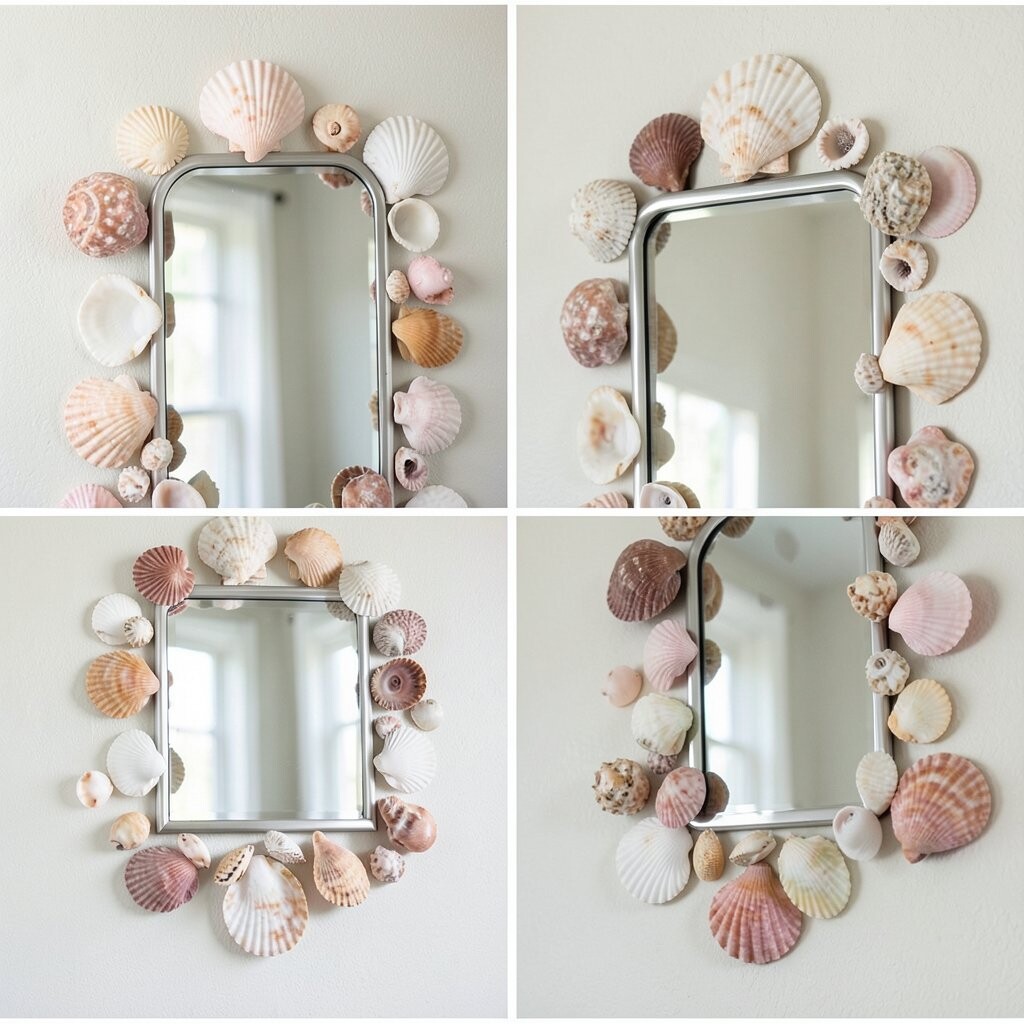
A mirror backed with shells creates extra brightness by bouncing light around the room. It also makes the wall look more open, which is perfect for smaller spaces.
Choose a round or oval mirror, then attach shells around the frame edges or in a thin outer ring. Use a glue that dries clear and works on both shells and mirror materials. For personalization, mix in a few pearly shells for a glow effect and keep the rest in matte white for contrast.
To keep it practical, avoid placing heavy shells directly where they might stress the frame. If you’re watching your budget, look for a budget mirror at a home store and upgrade it with a shell border instead of buying an expensive decorative mirror.
Current styling favors light-reflecting accents, and this idea gives that effect with a coastal twist.
12. Shell Centerpiece Wreath Arranged as Wall Decor
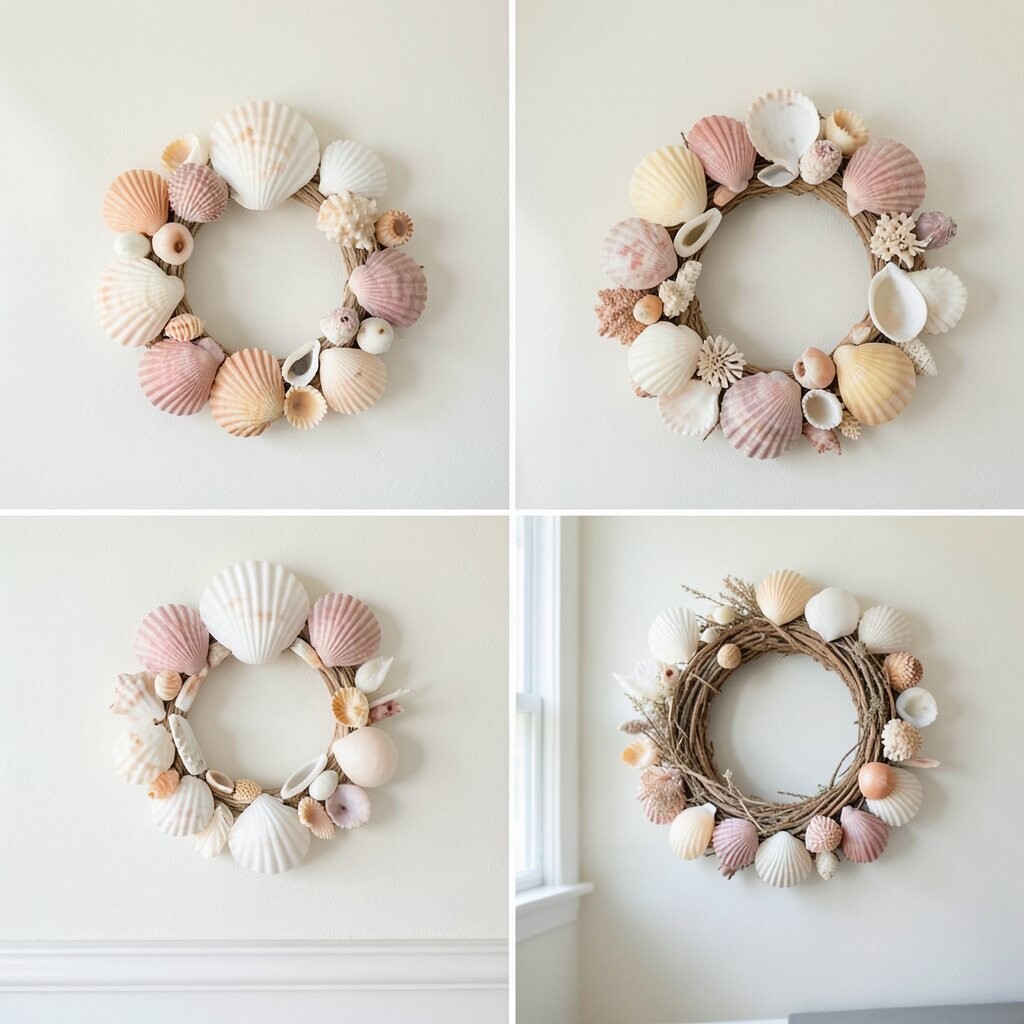
A wreath made for the table can also become wall decor when hung at eye level. When you use shells as the main “petals,” it looks sweet and airy.
Start with a grapevine wreath or foam ring, then glue shells in clusters around the base. Add a thin ribbon in a color you already own, like blush, ocean blue, or warm tan, to tie it to your room. For practical tips, keep the wreath light so the wall hook supports it easily.
Personalization is simple here, since you can add one larger shell near the top like a signature piece. For cost considerations, you can use fewer shells by focusing on a balanced outer layer and leaving some natural ring visible.
13. Shell and Driftwood Wall Tree With Hanging Details
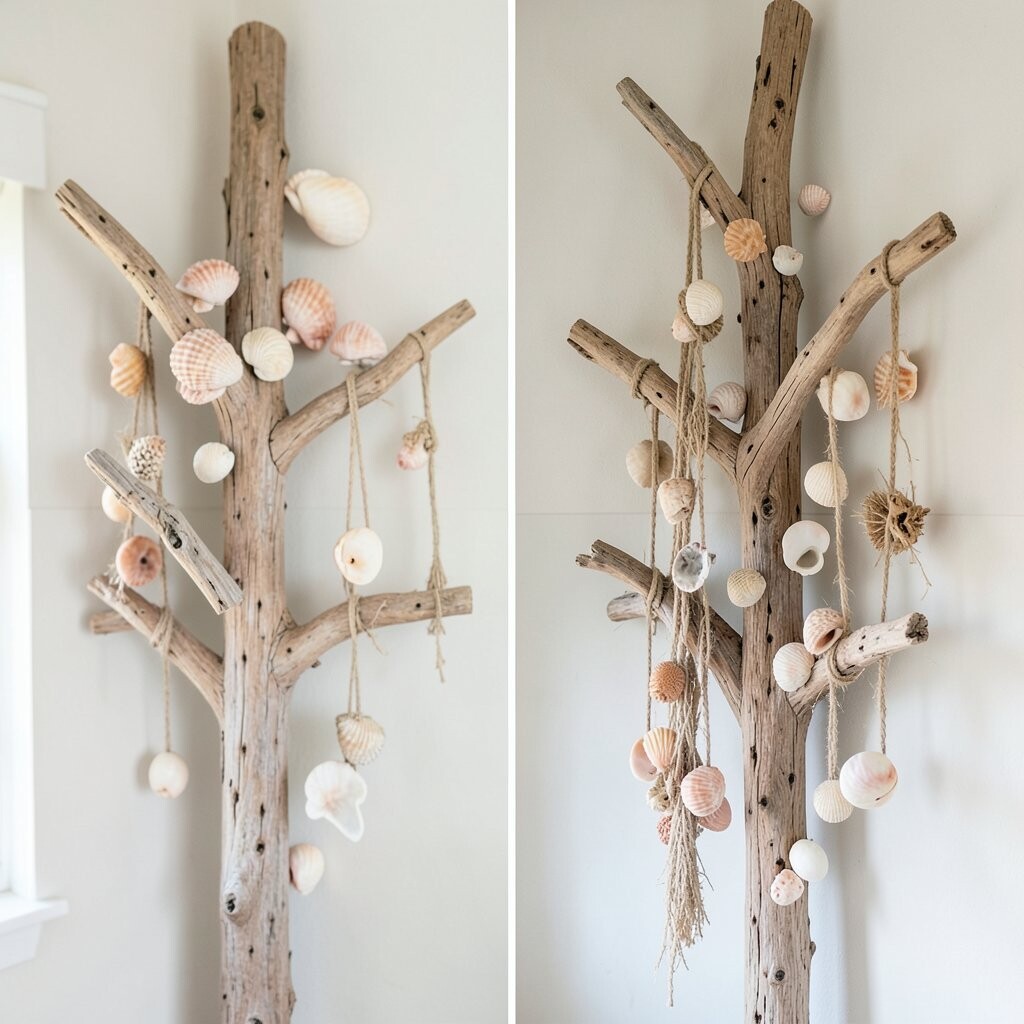
A driftwood “tree” with shells feels charming and a little magical. The branches create natural lines, while shells soften the look with gentle shine.
Mount a curved driftwood piece or arrange several sticks into a tree shape on a sturdy backing. Glue larger shells near the ends and smaller ones closer to the trunk, so it looks balanced. For personalization, hang a couple of tiny shell charms on thin twine for movement.
Because driftwood can sometimes be expensive, budget by using small stick bundles from craft stores and mixing in a few shell accents rather than covering everything. Current coastal design trends often include natural wood textures, and this wall art leans into that look without needing a huge investment.
Seal the shells and wood gently so dust doesn’t collect quickly in the grooves.
14. Scallop Shell Panels for a Clean Modern Look
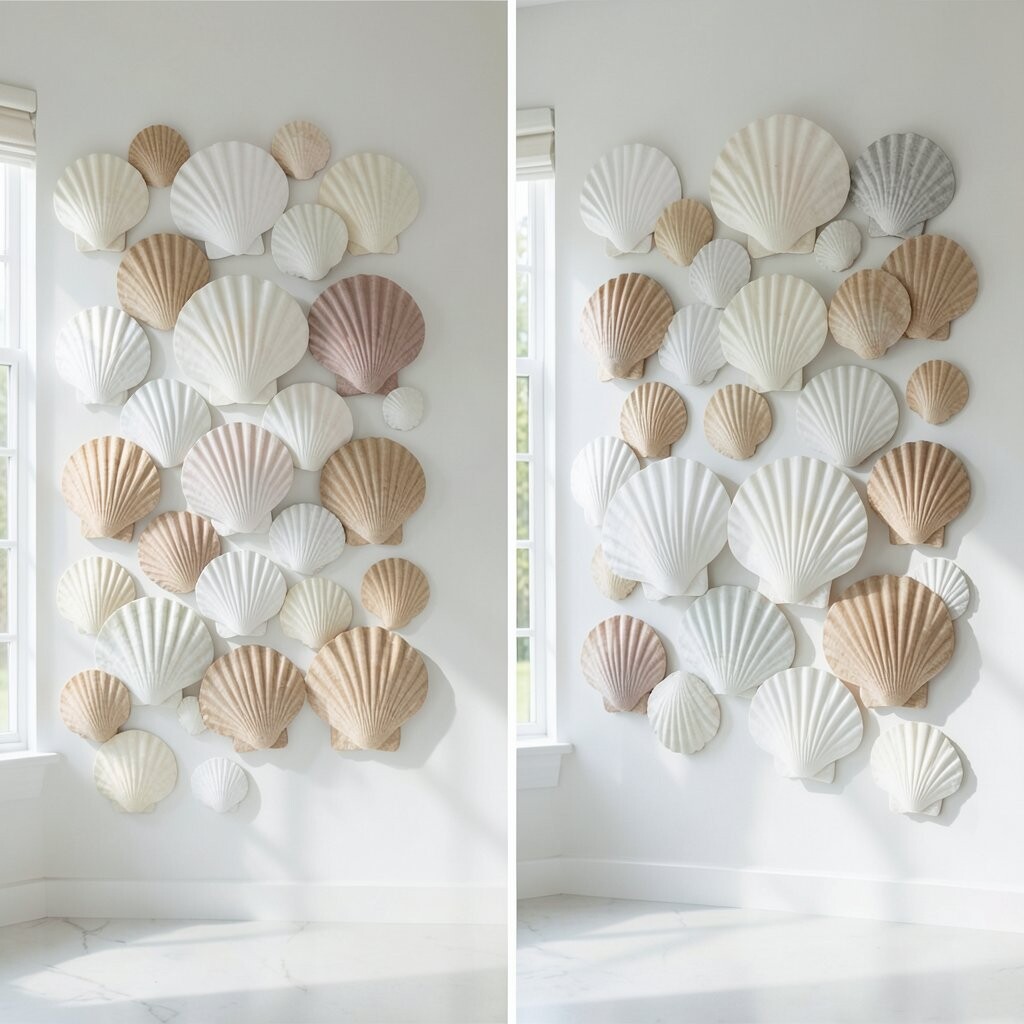
Scallop shell wall panels give you a tidy, modern coastal style. When the shells line up like repeating shapes, the wall feels organized and bright.
Use a grid backing, like foam board or a sturdy backing sheet, and attach scallop shells in rows. Keep grout-style spacing with small filler pieces or tiny gaps so the design looks intentional. Painting the backing in a soft color helps hide any uneven edges.
For cost considerations, you can mix scallop shells with a few inexpensive filler textures, like small pebbles or shell-shaped crafts. Personalize the pattern by changing the row direction or adding a small color shift near the center.
15. Hand-Painted Shell Map With Real Shell Accents
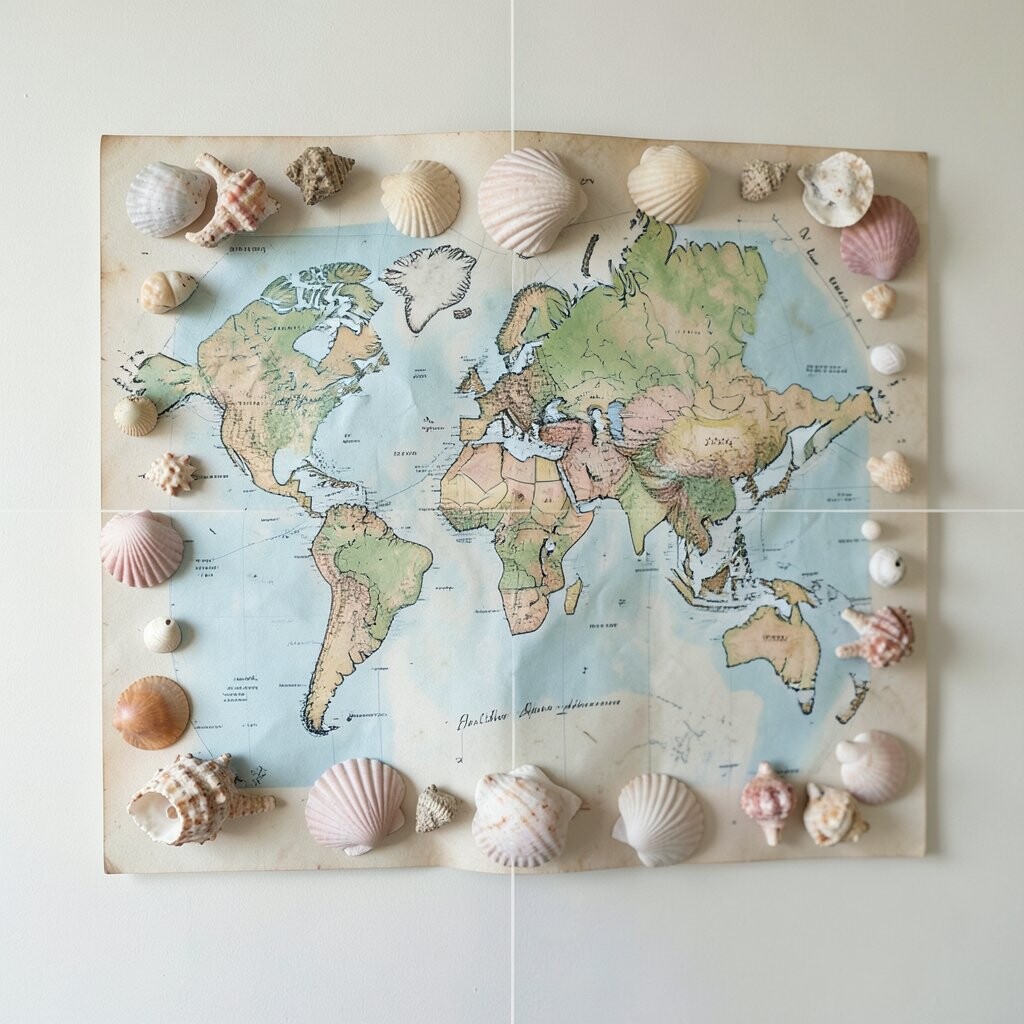
A painted “coastline” map is creative and personal, especially when you add a few real shells to mark special places. The result looks like art, not just decor.
Sketch a simple coastline shape on a canvas or wood panel, then paint it with watery blues, seafoam, and sandy neutrals. Glue a handful of shells along the shoreline line or near painted landmarks so the design feels connected to the real world. For practical tips, choose a small set of shells that match the painted palette and avoid overcrowding.
Uniqueness comes from your story, so include a tiny initial or date in paint if it matters to you. Cost can stay low since paint is usually inexpensive, and the shells can be used as accents rather than the whole design.
Current trends also like personalized artwork, so this idea fits right in while still feeling warm.
16. Minimal Shell Frame With One Perfect Statement Piece
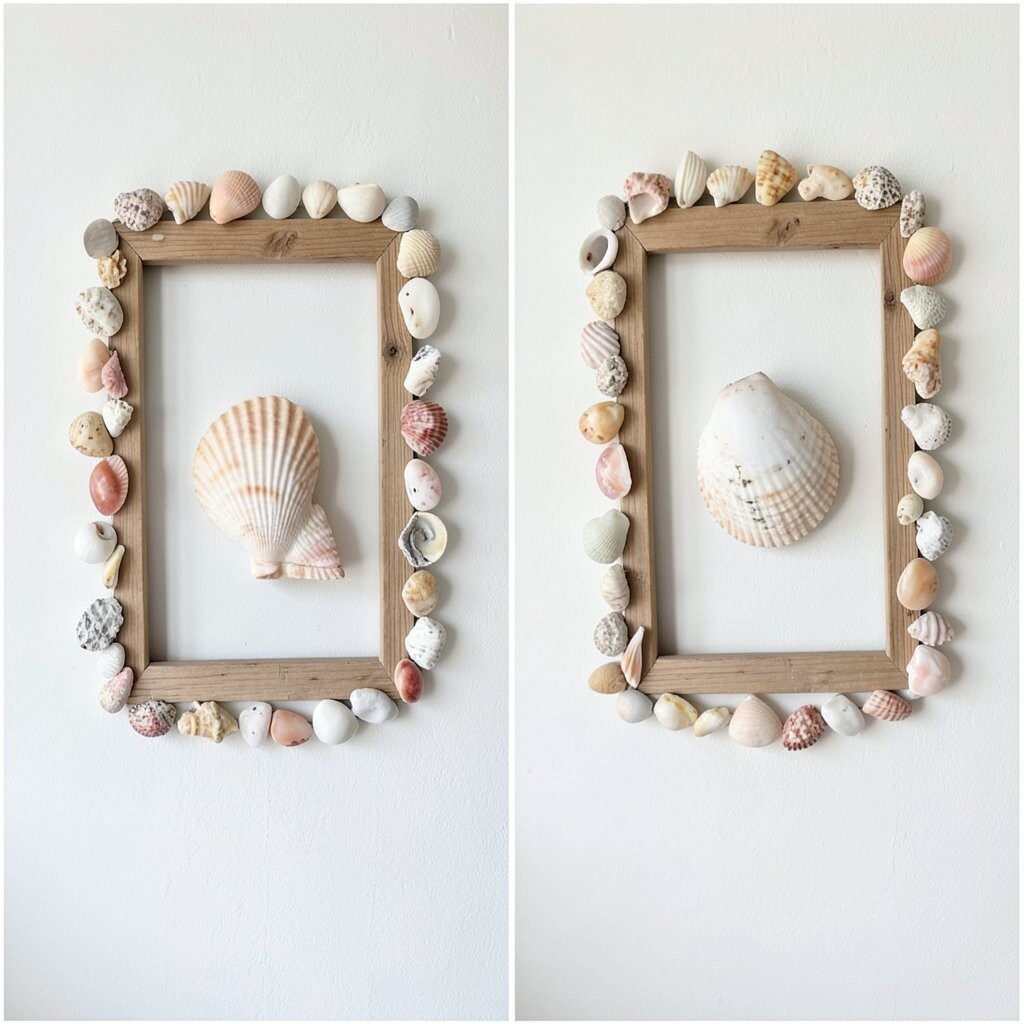
If you love a clean look, choose one frame and let a single shell shine as the star. This kind of minimal decor feels elegant and calm, especially on light-colored walls.
Find a simple frame, add a neutral background like linen paper, then place one large shell in the center. You can also angle a shell slightly for a natural shadow effect that looks polished. For personalization, include one tiny detail, such as a short handwritten date or a small painted wave line behind the shell.
This approach is budget-friendly because you need fewer shells, and the frame can often be reused. It also fits current minimalist trends while still delivering that sweet coastal mood you’re after.
Finish by checking the height and spacing from the floor, so the artwork looks balanced with your furniture.