Your ceiling can look flat, dull, and strangely unfinished. A well-placed LED strip turns it into something you actually notice every day.
With a few smart choices, you can add glow, depth, and comfort without making the room feel cluttered.
1. Backlit Ceiling Cove for Soft, Hotel-Like Glow
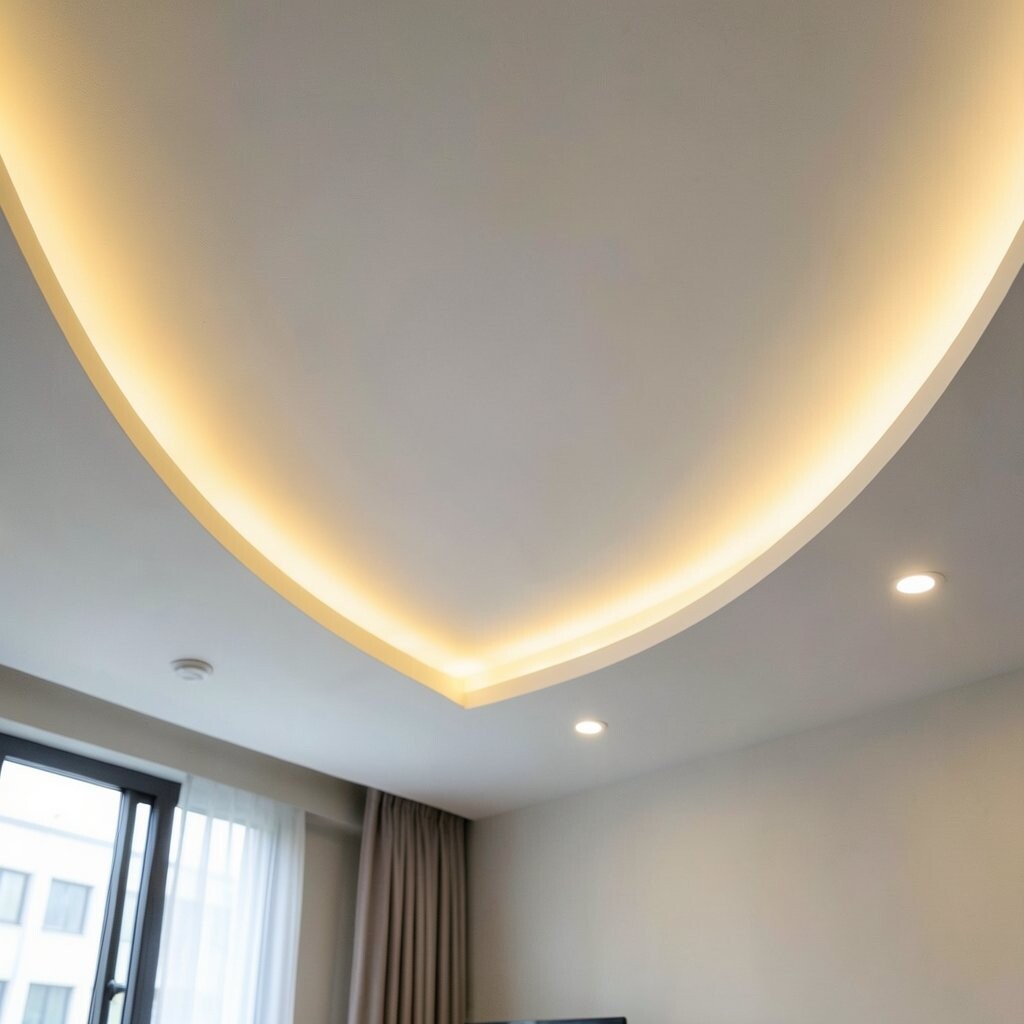
Run LED strips along a ceiling cove so the light washes outward instead of shining straight at your eyes. The effect looks like a gentle halo under the ceiling line.
Choose warm white if you want calm evenings, and pick a neutral white if you like bright, clear living spaces. Use a diffuser channel or frosted strip cover to reduce visible dots.
For personalization, match the brightness to your routine using a dimmer or smart controller. If you live in a rental, stick to surface-mount channels so you can remove everything without major changes.
To keep cost in check, measure the cove length carefully and buy only what you need, plus a little extra for corners. Current trends favor hidden channels and clean lines, which gives your room a modern, tidy finish.
2. Recessed Track Feel With a Minimal Channel Line
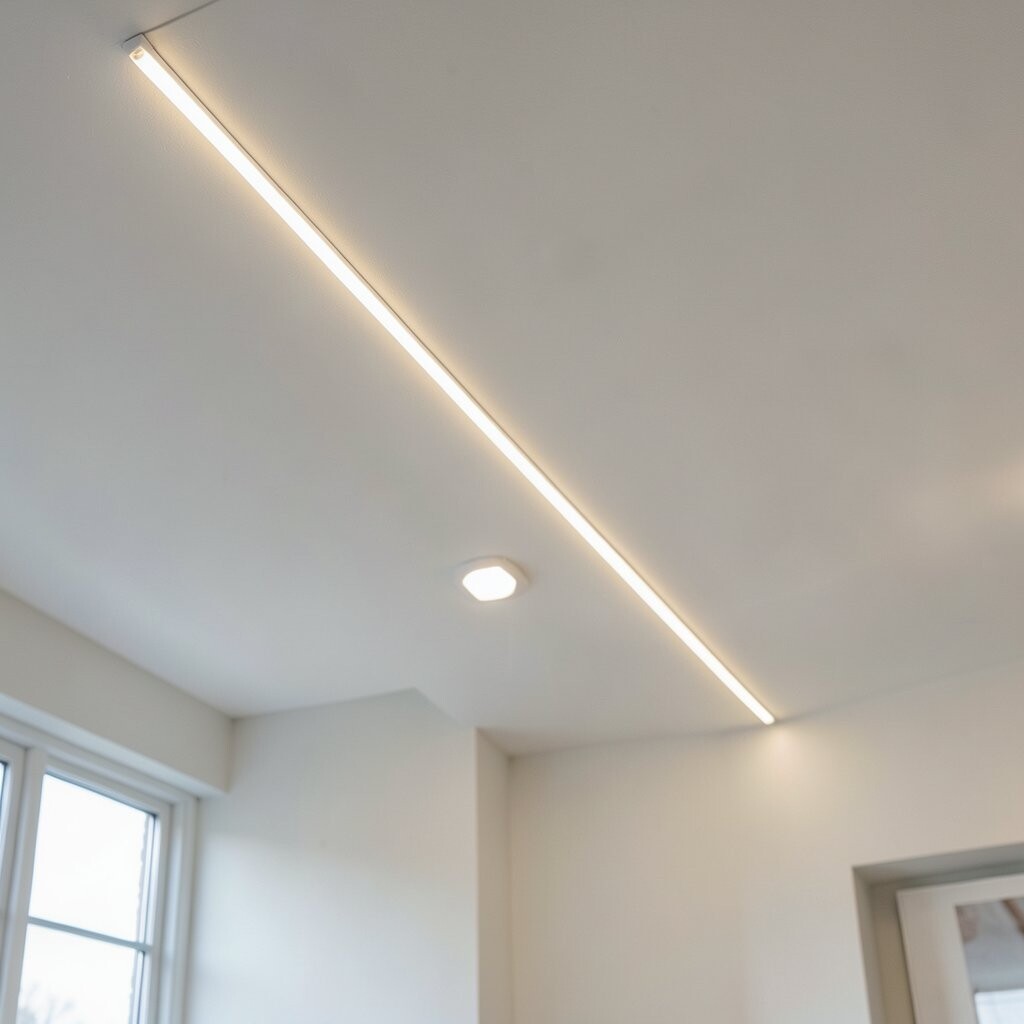
Hide the LED strip in a slim, recessed channel that sits just under the ceiling. The single line of light feels crisp and modern, like a designer upgrade.
This setup works great in hallways, kitchens, and offices where you want practical brightness. Use a slim aluminum channel and a strip with a high-density LED count so the light stays smooth.
Install with painter’s tape first to test placement, especially if your ceiling has awkward edges or vents. A quick personalization trick is choosing a light temperature that matches your existing fixtures so nothing looks off.
For cost control, buy a kit with an included power supply if you are new to wiring. Many homeowners are now mixing warm and neutral tones across rooms, so consider using warmer light in relaxing spaces.
3. Grazing Light Across Texture With Ceiling Accent Strips
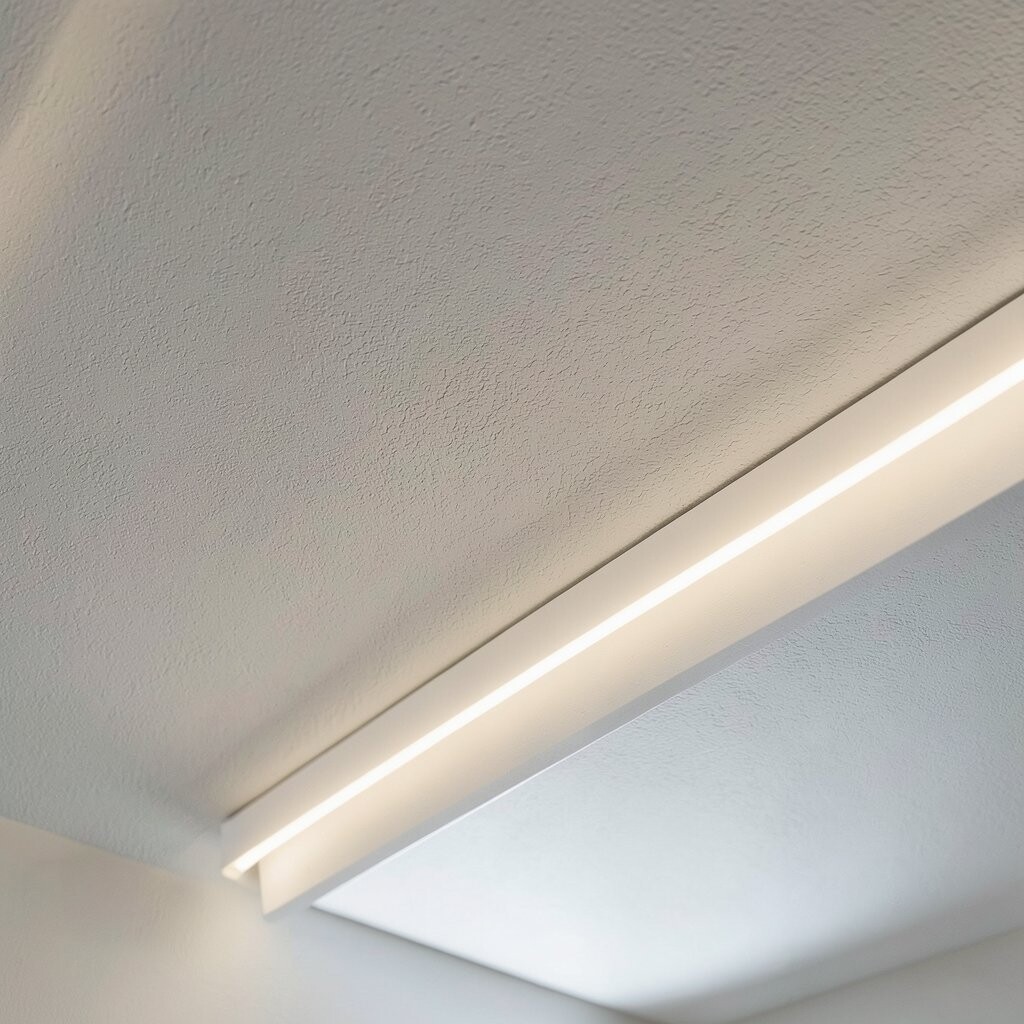
Place LED strips near the ceiling so they “graze” across plaster, paint texture, or decorative molding. When the light hits at an angle, shadows form and the ceiling becomes more interesting.
It is a simple visual trick that adds depth without adding furniture. If your ceiling is plain drywall, try painting a subtle texture first or use existing crown molding for the effect.
Use adjustable mounting brackets or aim the strip so the glow lands exactly where you want it. Add a dimmer so you can shift from bright task lighting to a relaxed evening mood.
This is uniquely satisfying in living rooms because the glow makes the whole space feel layered. Keep power usage reasonable by selecting the correct strip length and brightness for the coverage you need.
Home trends lean toward “architectural lighting,” and grazing is a classic way to achieve that look with LED strips.
4. Corner Lighting for a Floating Ceiling Effect
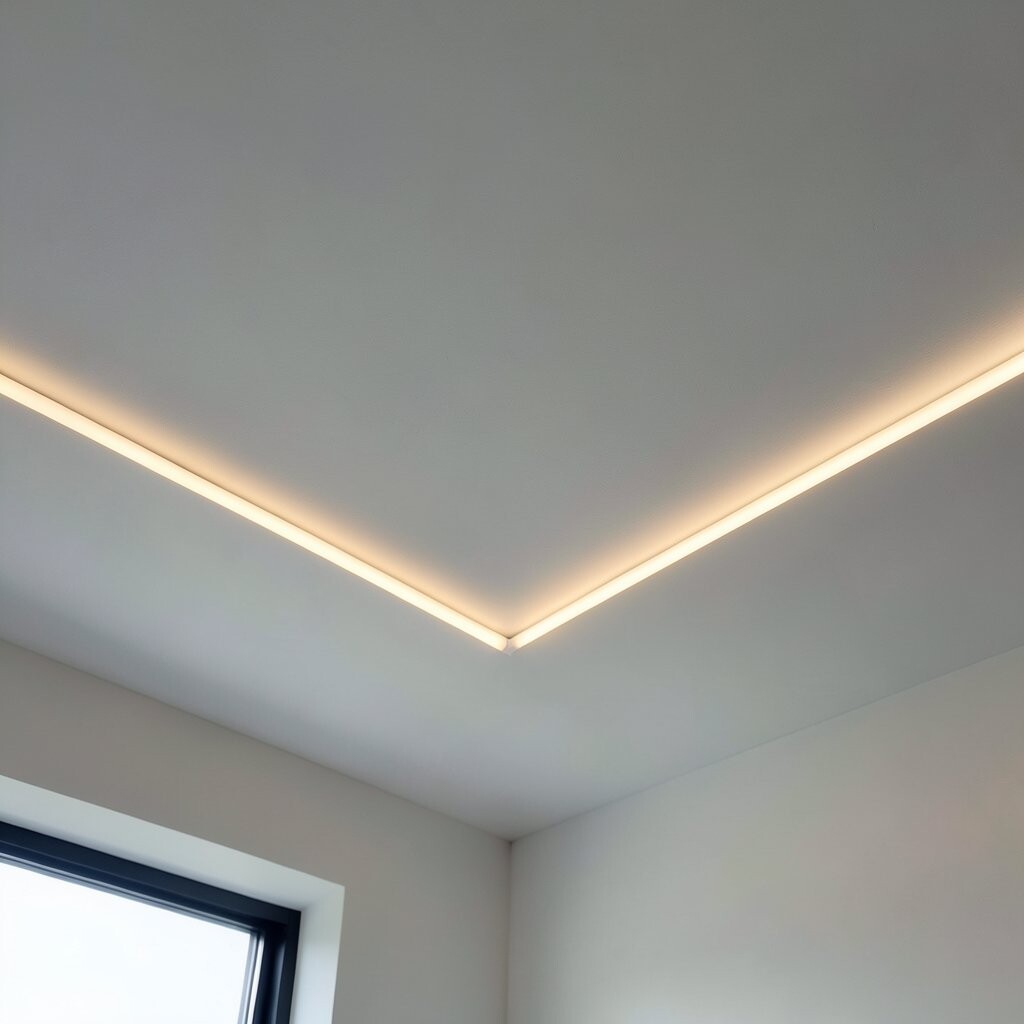
Mount LED strips in corners where two ceiling planes meet, so the light blurs the boundary. The room starts to feel like the ceiling is floating above you.
This idea is especially nice in rooms with coffered ceilings or beams, because the glow follows the geometry. Use a diffused strip so the corners look smooth instead of spotty.
For personalization, choose a color option if you have a color-capable strip, then set scenes for movie nights or dinner. If you prefer a steady look, go with warm white and keep it consistent throughout the room.
To manage cost, plan your total run and avoid buying multiple small adapters unless you truly need them. Many people now prefer color tuning for social gatherings, but a warm steady glow still feels timeless.
5. Under-Truss or Beam Lighting for Rustic Warmth
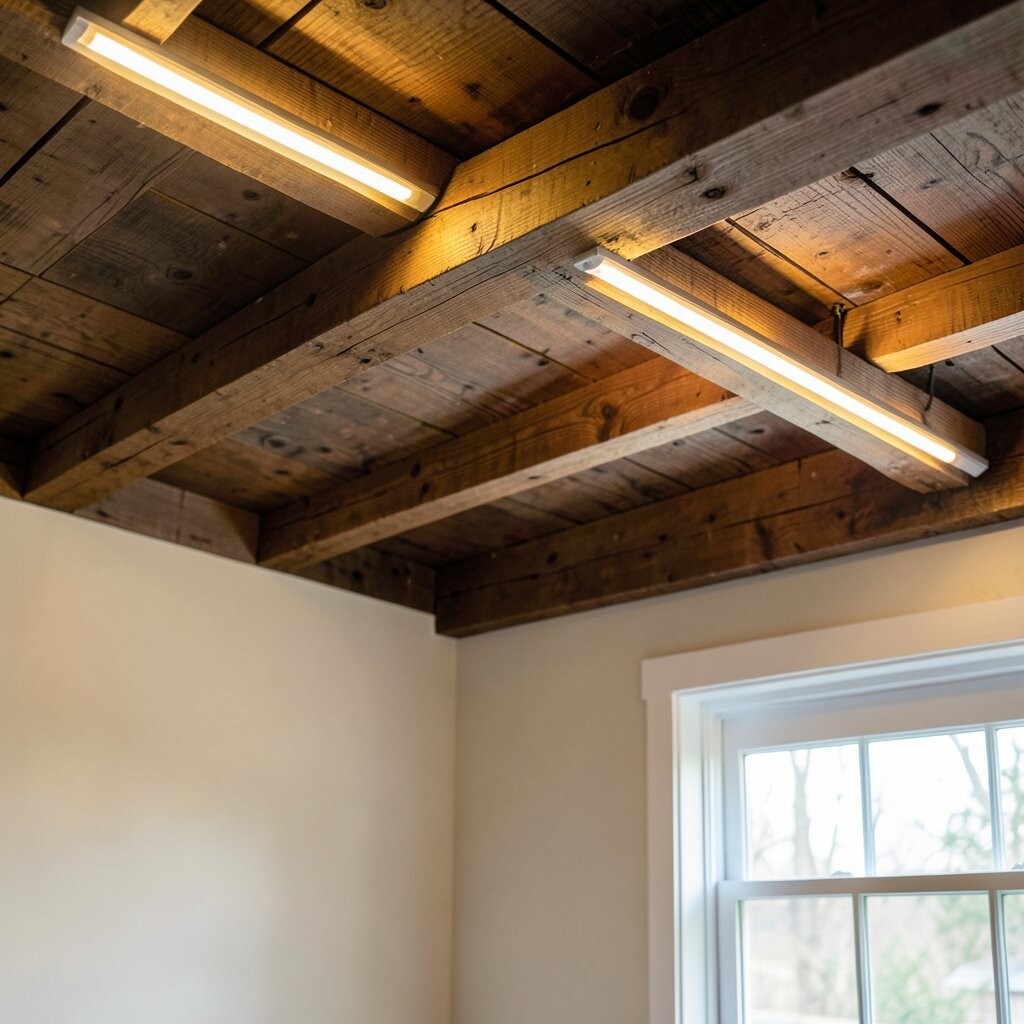
If your ceiling has exposed beams, LED strips placed under them can highlight the wood while adding comfort. You get that cozy, cabin-like brightness without harsh overhead glare.
Choose warm white and a strip with good color rendering so wood tones look rich, not washed out. Use clips that let you align the strip neatly along each beam line.
A practical move is to run the wiring along a beam’s natural shadow so cables stay hidden. Personalize by matching the glow intensity to the room size, then adjust with a dimmer for everyday comfort.
When budgeting, treat this as “good value” lighting because the effect is strong even with modest strip lengths. Current trends show people pairing warm ceiling glow with natural materials like wood, stone, and linen.
6. Light Up a Skylight Frame or Ceiling Niche
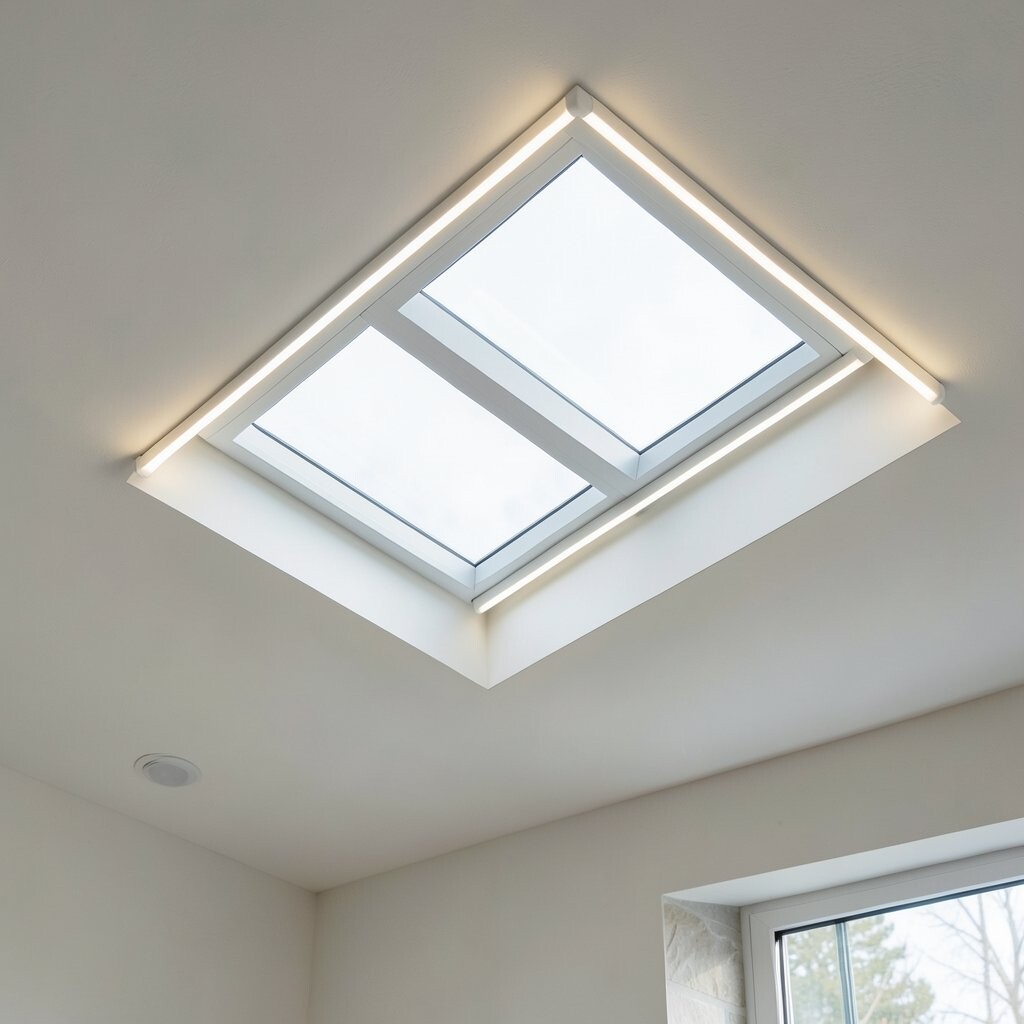
Add LED strips around a skylight frame or a ceiling niche to make that feature look like a glowing display. The light draws your eyes upward and turns an overlooked area into a focal point.
This works beautifully in bathrooms, stair landings, and any room where you already have architectural details. Use moisture-resistant LED strips for bathrooms, and choose a diffuser to prevent glare.
To keep things practical, measure the opening carefully and decide if you want one continuous loop or separate segments. Personalize by using a slightly cooler white for daylight-style brightness in kitchens or office corners.
For cost considerations, using one power supply with the correct voltage avoids extra conversions. Many homeowners are leaning toward “feature lighting,” and skylight framing is a clean way to follow that style.
7. Ceiling Fan Surround Glow for a Fun, Modern Look
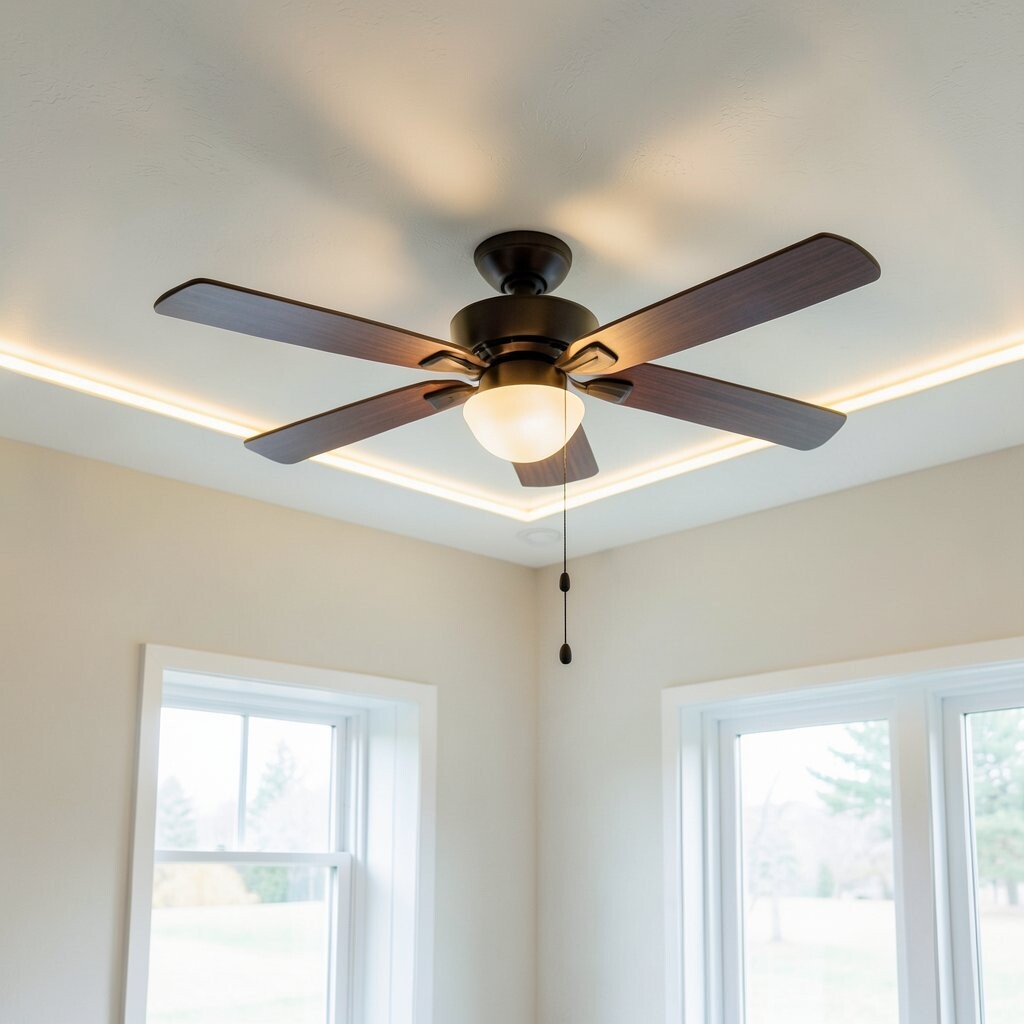
Wrap LED strips around the ceiling fan housing or along the ceiling plate area to add a ring of light. The fan looks sleek, and the glow makes the space feel brighter even when the room is calm.
Pick a strip brightness that stays comfortable at eye level, since fans often sit in your sight line. Use heat-rated components and make sure the strip and wiring do not interfere with fan movement.
A practical tip is to test the beam direction before fully mounting everything. Personalize by setting a gentle warm color for evenings, then a brighter neutral setting for daytime chores.
Cost can stay reasonable because you only need a short run around the fan. A current trend is subtle “device glow,” where lighting enhances fixtures without covering them up.
8. “Floating Shelf” Style for Wall-to-Ceiling Light Curves
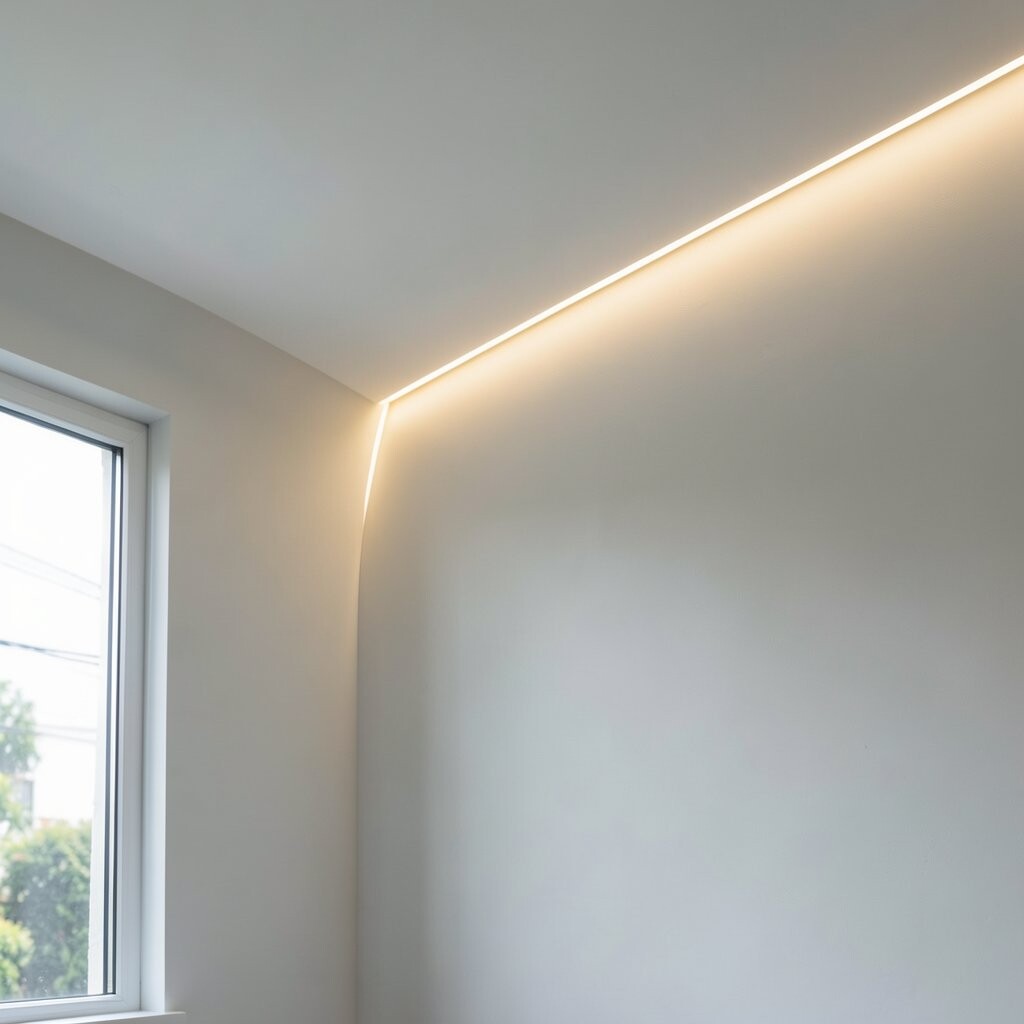
Create a soft light curve where the ceiling meets the wall by running the strip in a gentle arc. The glow looks smooth and artistic, like a wave of brightness across the room.
This is a great option for living rooms and bedrooms because it feels calm and welcoming. Plan the curve with painter’s tape and step back often so the line looks balanced from multiple angles.
Choose a diffuser that matches the channel shape, since curves can reveal uneven spots. For personalization, combine warm white with a small color accent in one area if you like a playful vibe.
Budget-wise, curves can add material, so buy slightly more channel and extra wire only where it matters. The current look people love right now is soft geometry, and light curves deliver it quickly.
9. Repeating Spotless Patterns With Segmented Micro-Runs
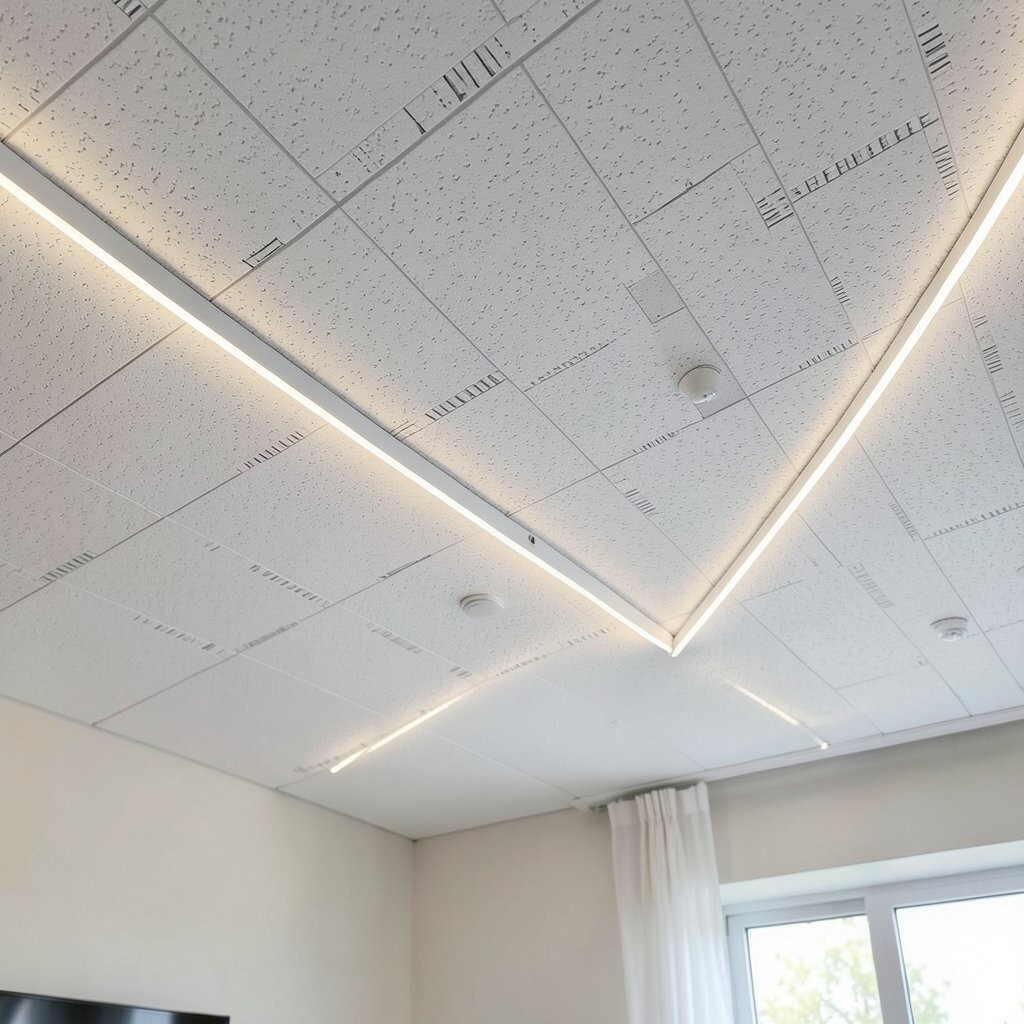
Instead of one long strip, use segmented micro-runs to create a patterned glow along the ceiling edge. Small spacing breaks up the light in a way that still feels modern and clean.
This idea looks especially good in rooms with repeating moldings or symmetrical layouts. Use controlled spacing so the pattern feels intentional instead of accidental.
A practical step is to map the pattern on paper first, then double-check measurements before cutting. Personalize by mixing two temperatures, such as warmer outside segments and cooler inner segments, for a layered look.
Cost can rise a bit because segmentation may need more connectors, but it is still manageable with good planning. Trends often favor “designed rhythm,” and these micro-runs bring that energy without needing expensive fixtures.
10. Backlighting for Ceiling Wallpaper or Painted Motifs
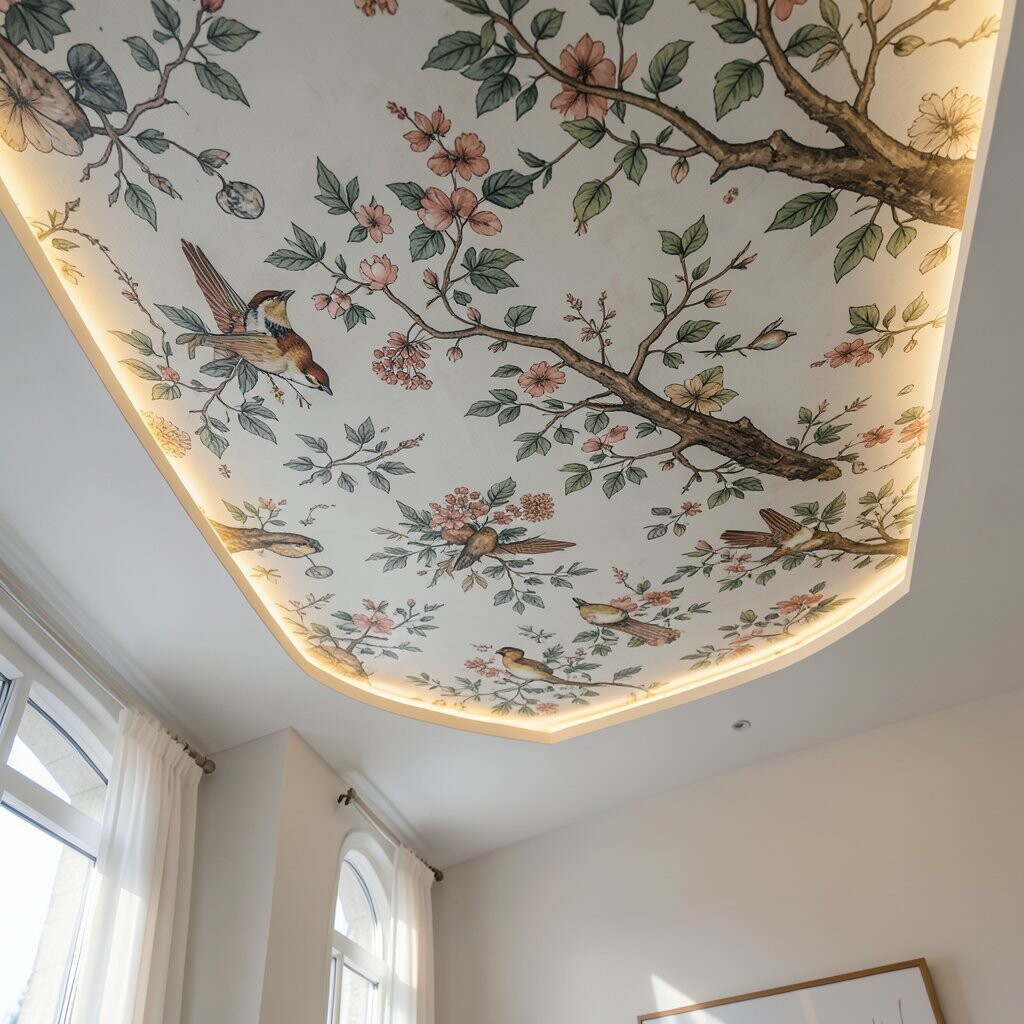
If you have ceiling wallpaper, murals, or painted motifs, LED strips can make the artwork pop. The light brings out fine details so the ceiling feels like part of the room’s personality.
Use a diffuser and keep the strip slightly set back so the artwork looks evenly lit. This approach is great for creative spaces, nurseries, and bedrooms where you want a cozy mood.
For personalization, pick a warm white for a dreamy vibe or a neutral white for crisp colors. A practical tip is to test brightness on a small section first so the design does not look washed out.
Cost considerations are usually lower than you think because strips are inexpensive and flexible. Current style trends encourage ceiling art, and backlighting is a simple way to make it feel intentional.
11. Indirect Lighting Over Crown Molding With Cleaner Sightlines
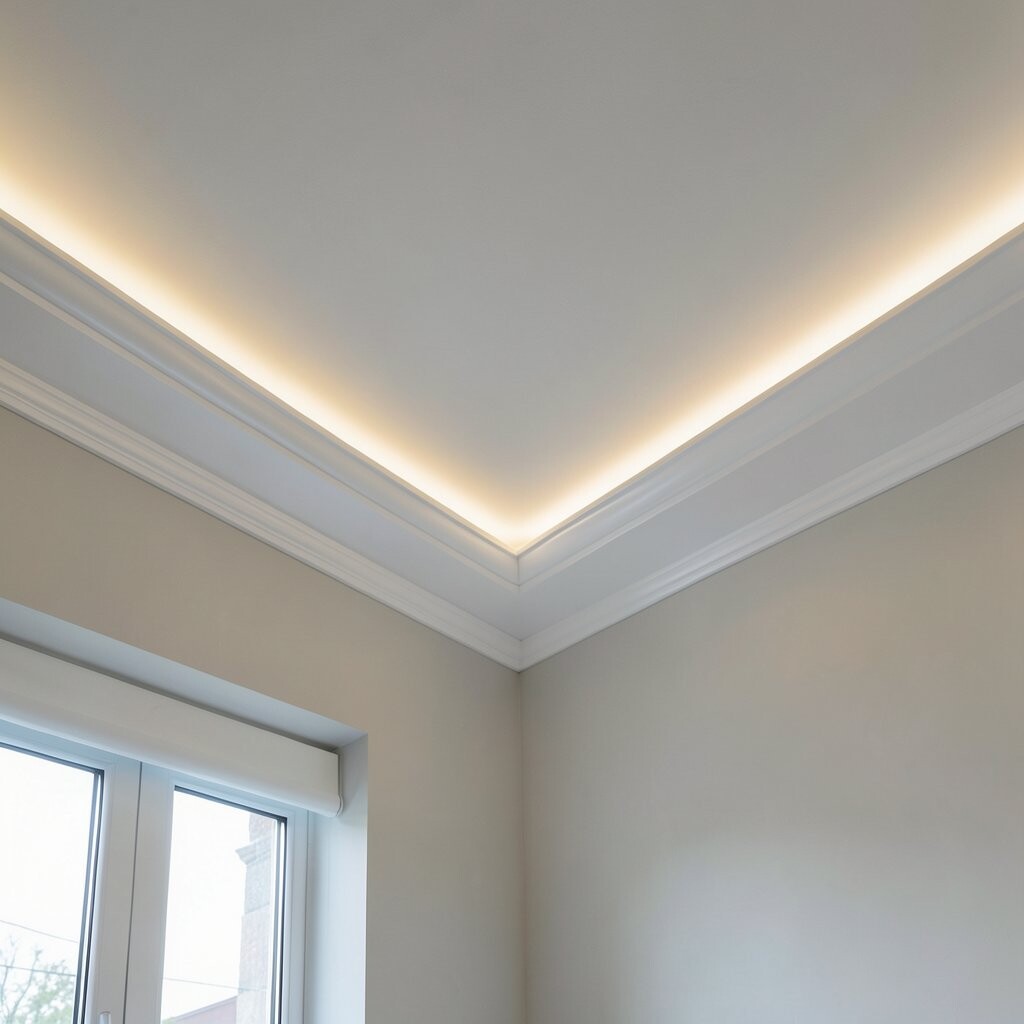
Install LED strips behind crown molding so the light stays out of sight and spreads across the ceiling. The benefit is a smooth wash that feels bright without looking harsh or “gimmicky.”
Choose an appropriate diffuser thickness so your ceiling line stays uniform. If your crown molding has tight corners, use flexible channels or carefully trimmed segments.
A practical move is to keep the strip consistently parallel to the room edges for a polished look. Personalize by using smart controls to set schedules so it feels effortless when you come home.
Costs can be kept reasonable since this method usually needs a straightforward continuous run. A lot of current installations emphasize indirect lighting for that designer ceiling look.
12. Perimeter Lighting for Open-Plan Rooms and Flow
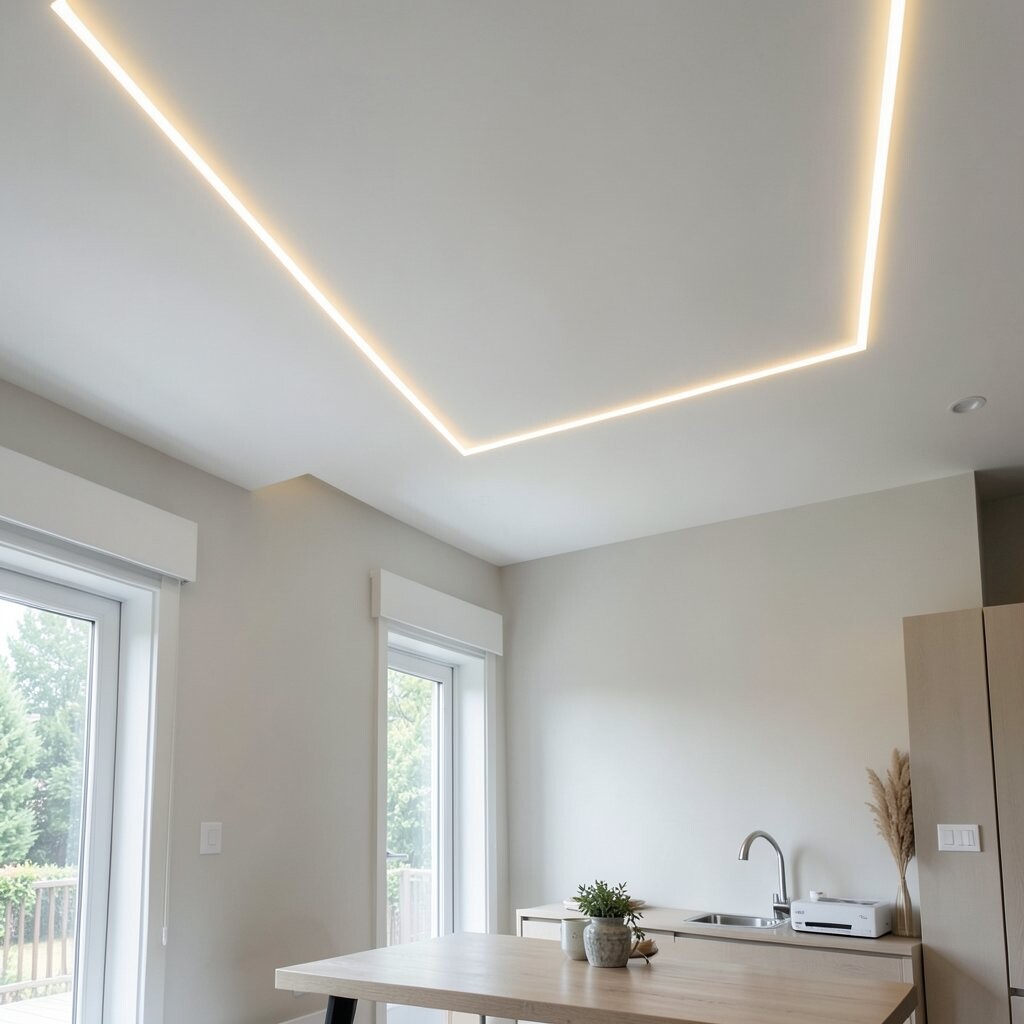
Run LED strips around the entire ceiling perimeter to tie open-plan spaces together. The visual result is a clear sense of flow, even if the living room, dining area, and kitchen share one space.
This is useful when you want the room to feel brighter without adding more ceiling fixtures. Keep the brightness moderate and rely on the perimeter glow to fill shadows between zones.
For practical planning, draw your room outline and calculate your total linear feet before buying. Personalize by creating different zones with separate controllers so the kitchen can be brighter while the living area stays cozy.
Cost considerations depend on total length, so focus on the perimeter areas that matter most to how you move through the room. Trends show open-plan lighting that adapts by zone, and perimeter lighting is a strong starting point.
13. Color-Changing Ceiling Edge for Parties and Mood Nights
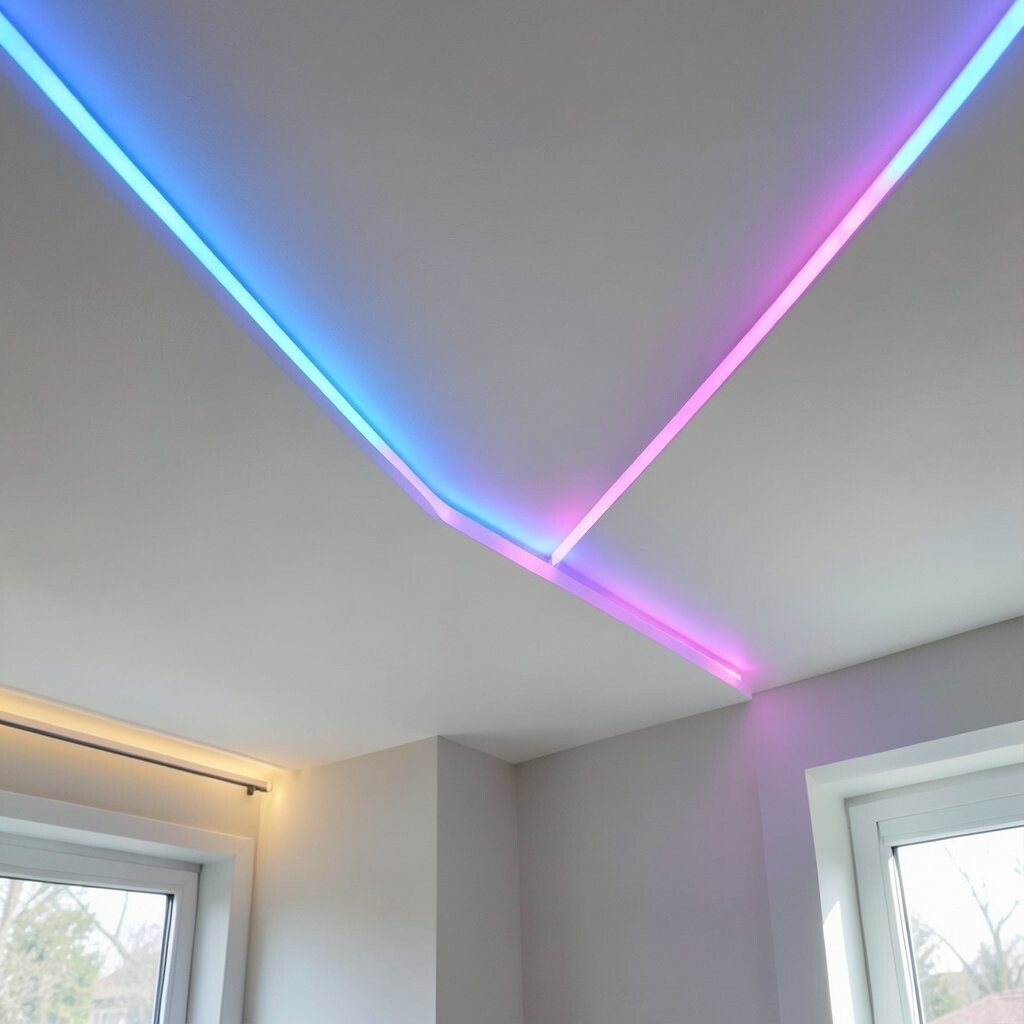
Use RGB or addressable LED strips along a ceiling edge to create color-changing moods. When you dim the lights and let the ceiling glow in different colors, the room feels instantly more fun.
This is perfect for movie nights, celebrations, and relaxing after a busy day. Choose a controller with reliable preset scenes so you do not have to fuss with settings every time.
A practical tip is to use a diffuser so colors look smooth instead of like tiny points. Personalize by setting gentle blues or greens for calm vibes and switching to brighter tones for parties.
Cost can be higher than basic warm white strips because you will need a compatible controller and sometimes extra power supply. Still, it can be worth it because the lighting becomes a flexible “mood tool,” which is a popular modern trend.
14. Minimal Ceiling Line With Smart Dimming for Everyday Comfort
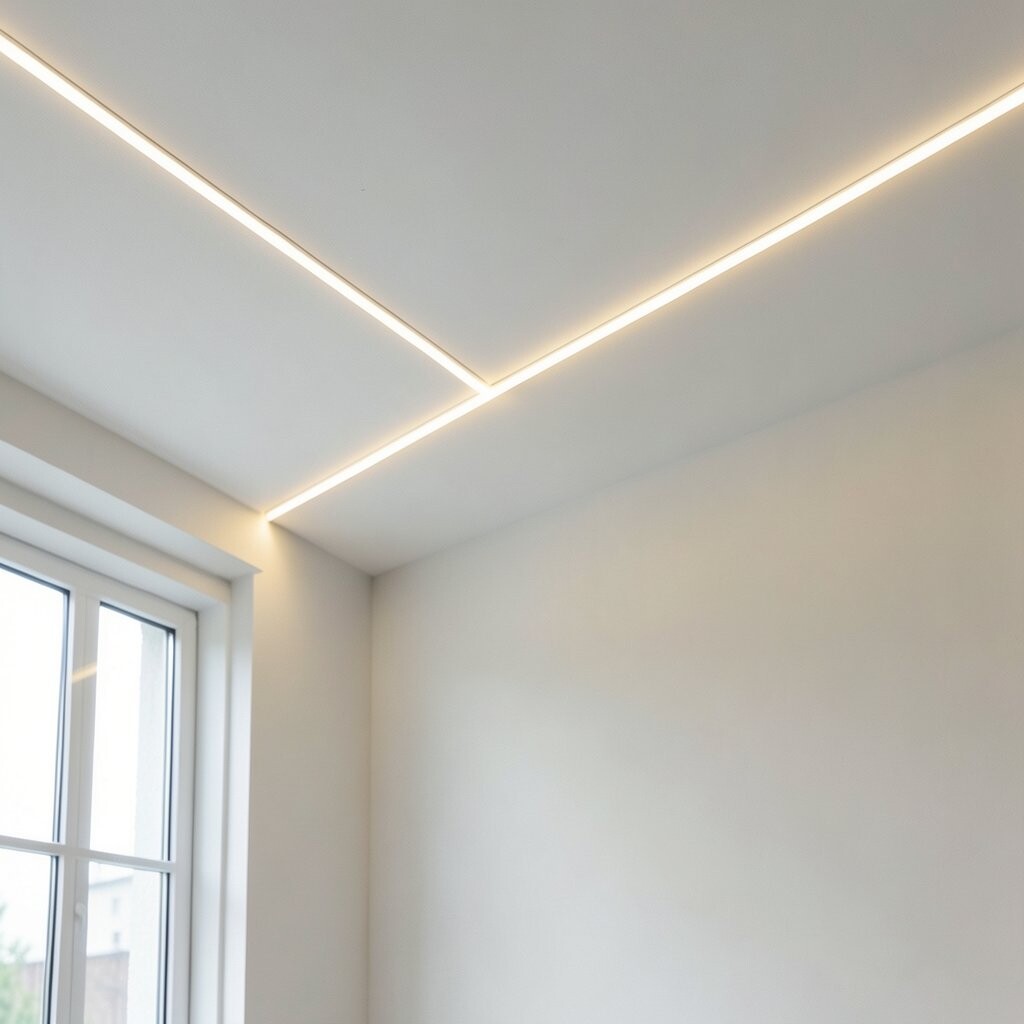
Create a simple, minimal LED strip line that stays close to the ceiling edge, then rely on smart dimming for day-to-night comfort. The benefit is you can adjust brightness without changing anything else in the room.
This idea works in almost any home style, from clean modern spaces to classic rooms with molding. Use a dimmable driver and set a comfortable default brightness so you never feel blinded or dim.
For personalization, set one scene for reading, another for relaxing, and a third for watching TV. A practical tip is to pick a light temperature that matches your existing bulbs so the whole home feels cohesive.
Cost stays fairly controlled because you only need one main strip run and a good driver. Current trends keep pointing toward simple, adjustable lighting, and smart dimming is one of the easiest ways to meet that vibe.