
Your wood panel wall can feel ordinary, or it can feel like a signature. Small changes in pattern bring big personality.
Pick a layout that matches your room’s mood and your daily life. Then refine it until it looks intentional from every angle.
1. Herringbone Zigzag Rhythm
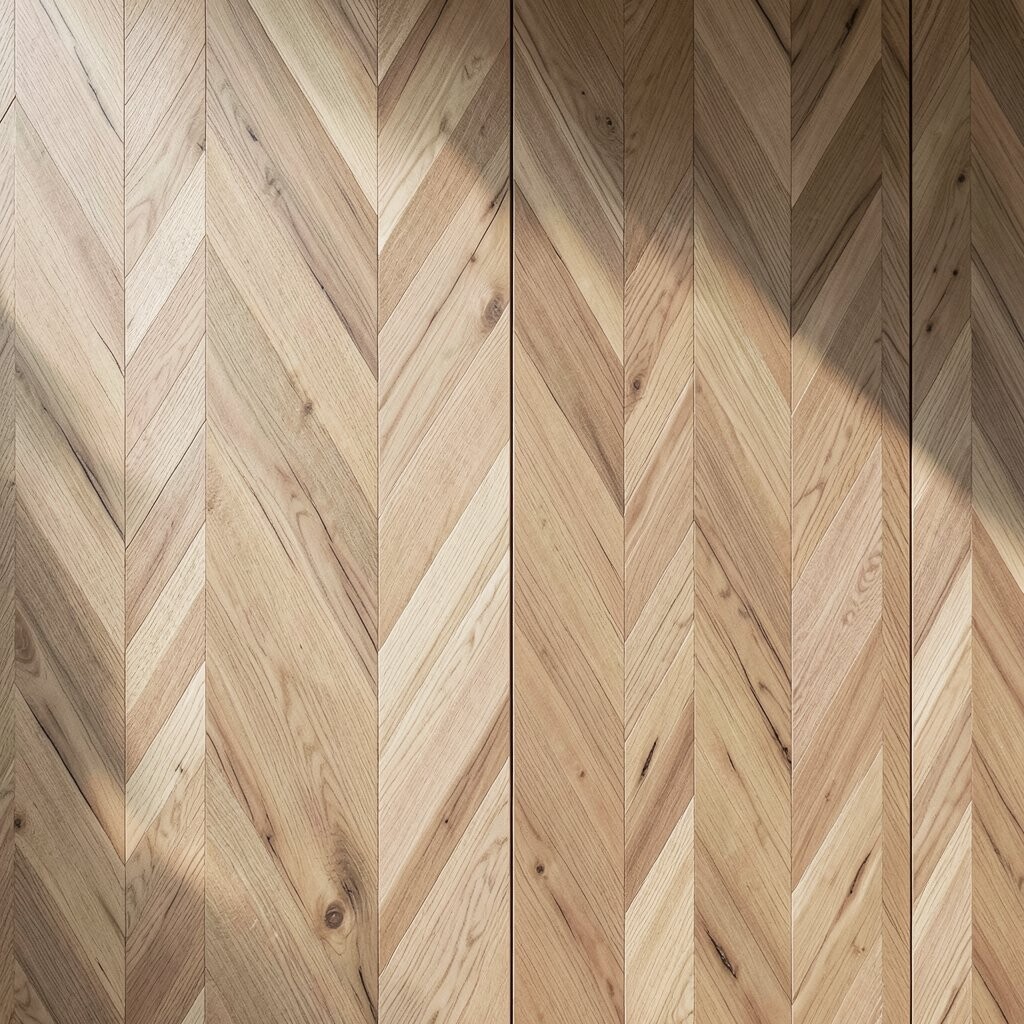
Herringbone patterns make wood look like it is moving, even when it is still. The angled boards form a repeating V shape that catches light and shadows in a friendly way.
To get the look, plan your board direction carefully and keep the spacing consistent. Use a simple measuring guide or a spacer so each “V” line stays neat from floor to ceiling. This pattern adds warmth and visual energy, and it also works surprisingly well behind a bed, sofa, or dining area.
2. Vertical Slats With Offset Stripes
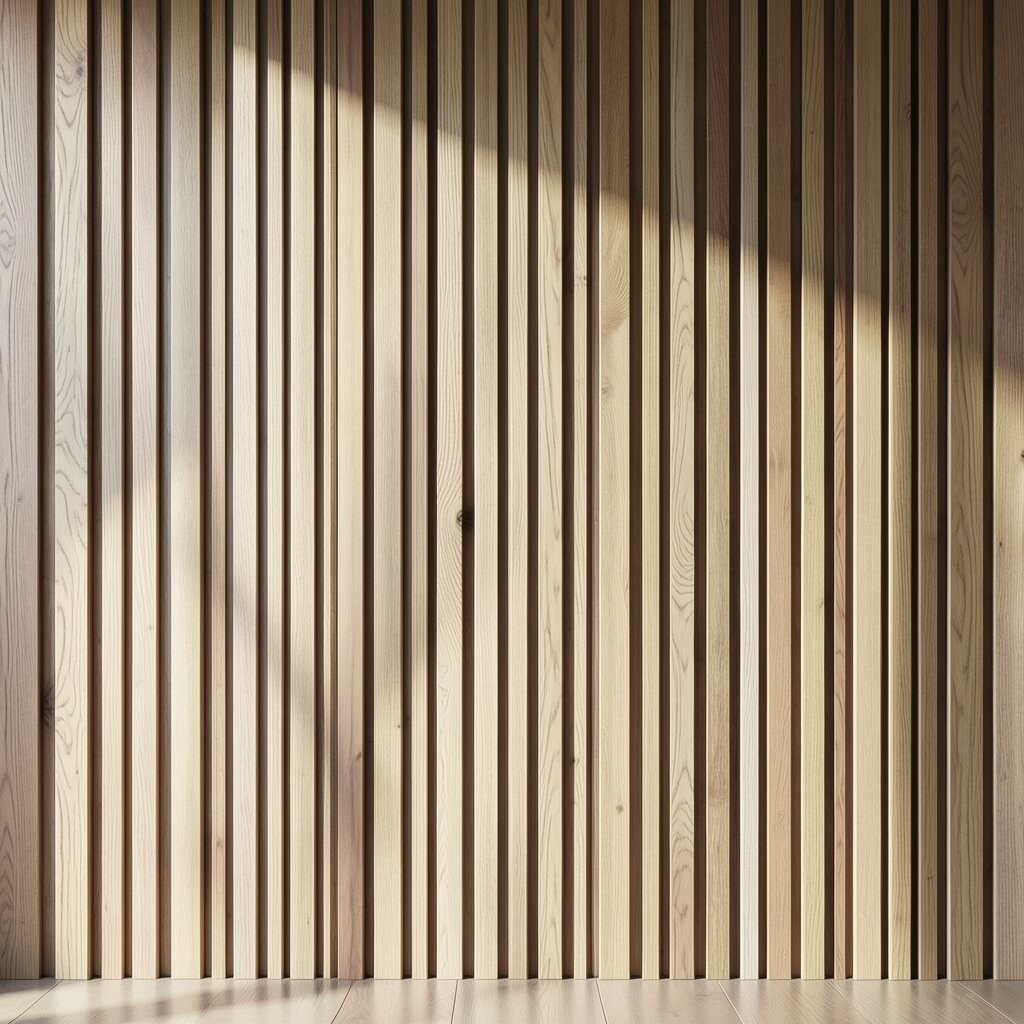
Vertical slats make a room feel taller, especially in spaces that feel a bit low or crowded. Offsetting a few slats by a small amount creates subtle stripes without looking busy.
Start with long, straight boards, then mark a light reference line so every panel stays aligned. When you offset, keep the shift small and repeat it across the wall so the rhythm stays calm. It feels modern today, and it also hides minor wall bumps better than tight checker styles.
If you want a softer look, choose wood with a lighter grain and a matte finish. For cost, you can use wider boards for fewer seams, or use thinner strips if you want a more detailed look.
3. Classic Brick-Set Running Bond
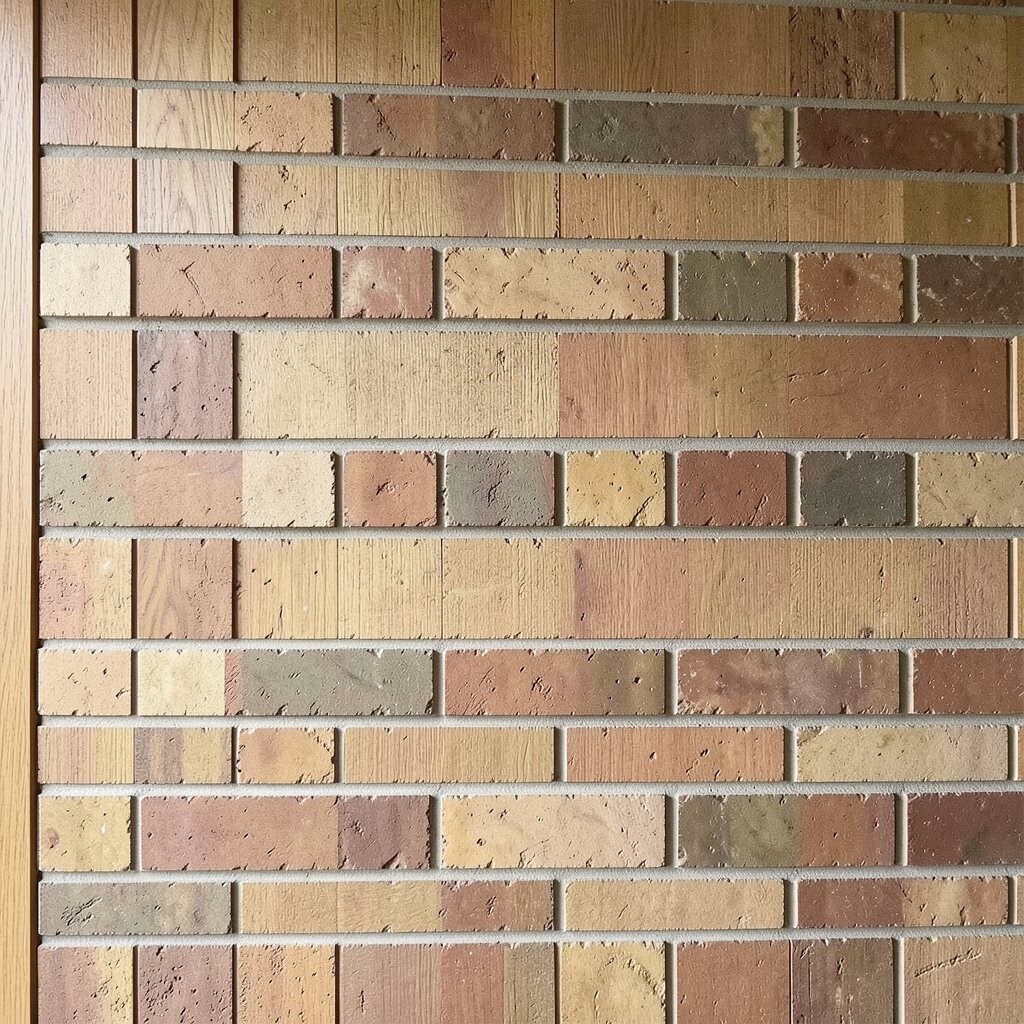
A running bond layout looks like familiar brick, but in wood it feels cleaner and warmer. The staggered seams create steady visual flow that works with both cozy and crisp decorating.
Set the first row square, then offset each next row by about half the width. Keep the pattern consistent across the whole wall, or break it with a centered feature board for a focal point. This design benefits you when you want durability in high-traffic areas, because straight rows are simple to align and easy to repair later.
For personalization, match the wood tone to your trim or choose a contrasting tone for a bold statement. If budget is tight, use a small number of wider planks to create the same “brick” effect with fewer pieces.
4. Diagonal Plank Panels for Motion
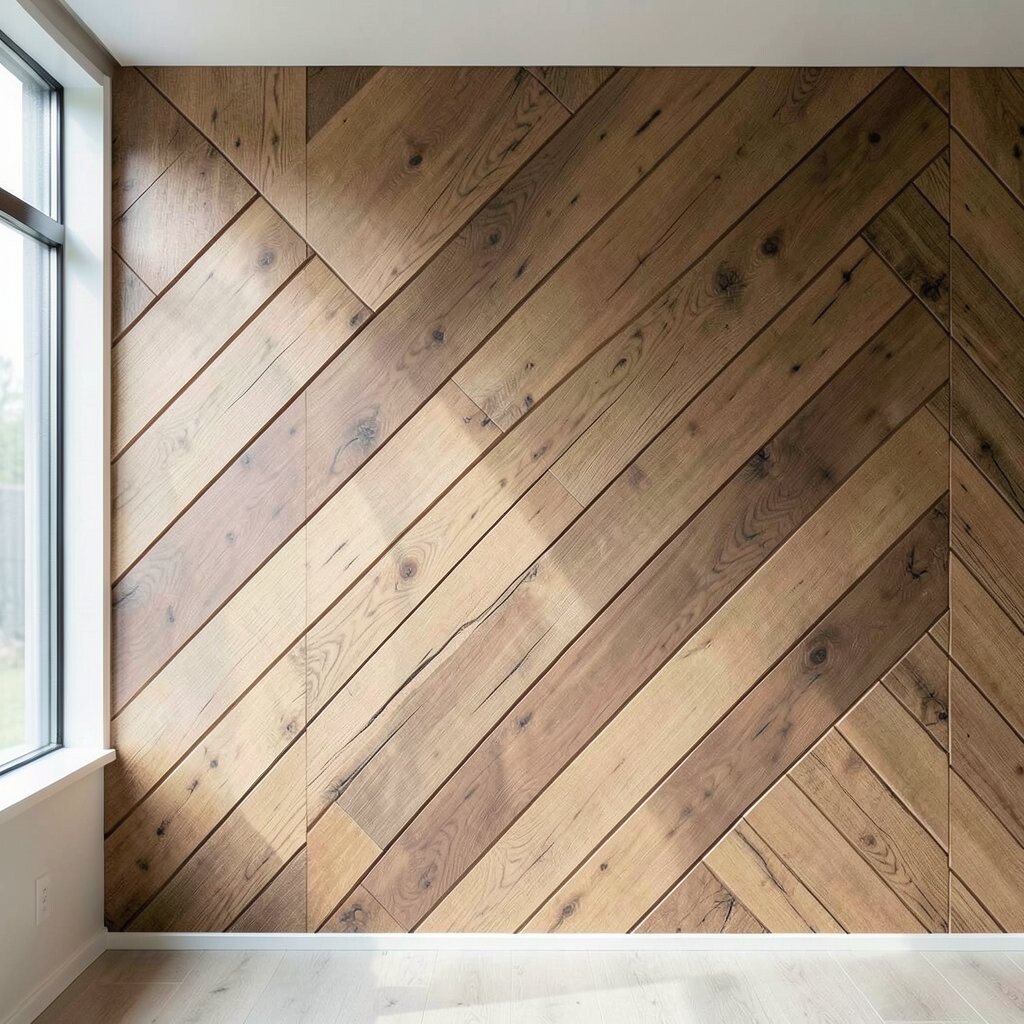
Diagonal panels add instant motion and make even a plain wall feel designed. The slant creates dynamic lines that can make a room feel larger, especially when the boards lean toward the brightest window.
Install with careful support, since diagonal lines can highlight uneven walls. Check your level often and start from the most visible corner so small alignment shifts stay unnoticeable. This pattern is unique because it breaks the usual grid, and it feels especially trendy in Scandinavian-leaning and modern farmhouse rooms.
5. Quarter-Turn Herringbone Blocks
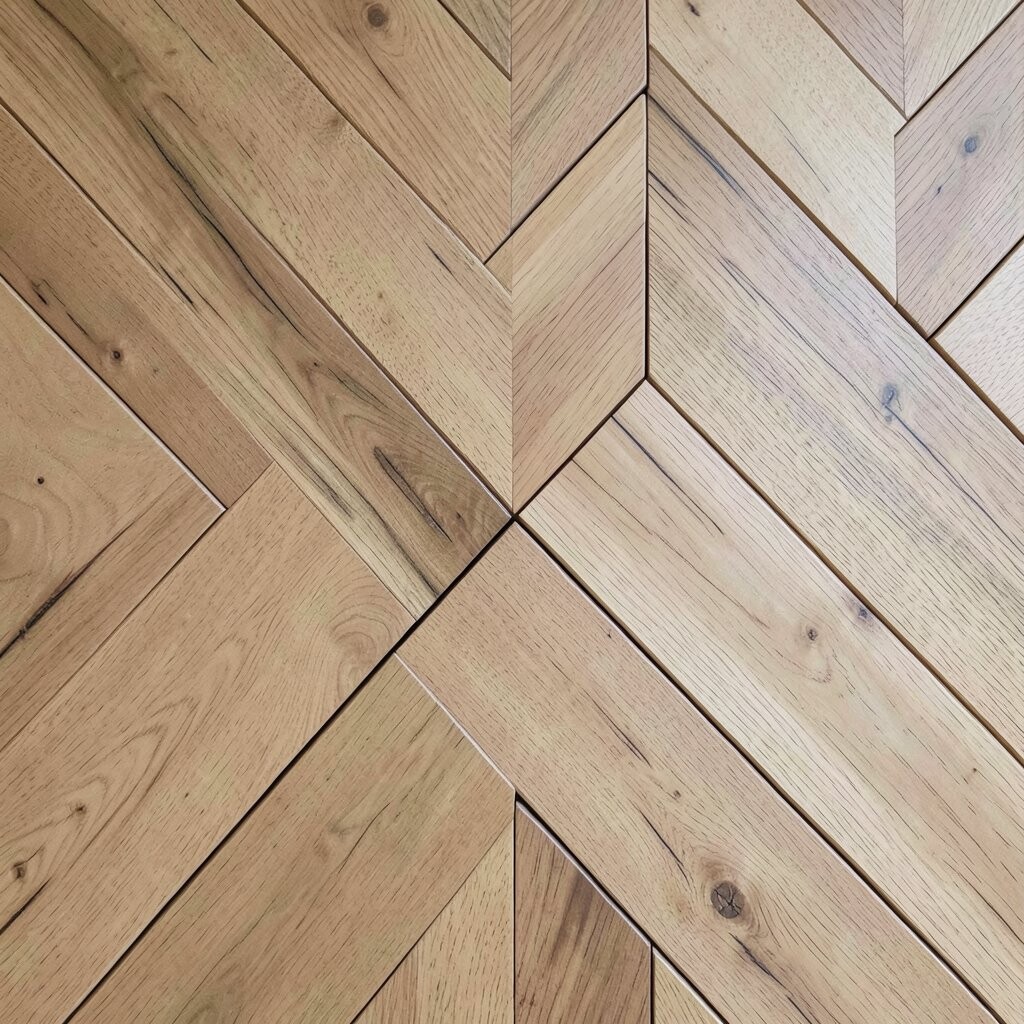
Instead of one continuous herringbone, you can build it in blocks that “turn” at set points. When you rotate sections by a quarter turn, the wall looks like it is made of designed panels, not one flat sheet.
Sketch the blocks first so you know where the turns will land around doorways or wall art. Keep board lengths consistent within each block for a tidy look, and vary only the orientation of the pattern. The benefits are both visual and practical since you can adjust block sizes to reduce cutting waste.
For cost, this layout can help because you can use offcuts from one direction to finish another block. Personalize it by using two wood tones, like warm oak and a slightly darker walnut, so each block feels intentional.
6. Stacked Squares and Frame Lines
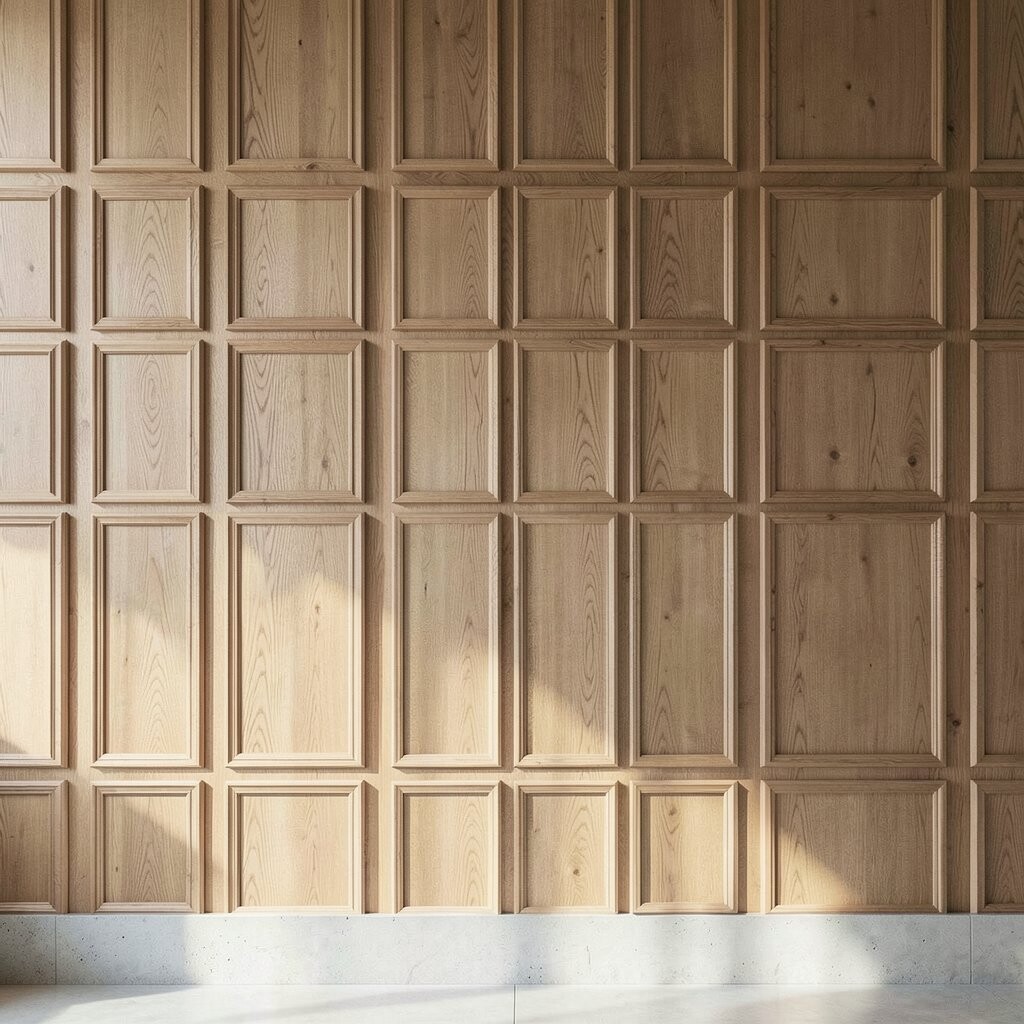
Stacked squares bring a bold, almost architectural feel to a wood panel wall. You get neat square “windows” that frame the room like modern art.
Use a border of wood strips, then build inner squares with smaller panels or narrower boards. Keep the spacing even so the grid looks sharp, and add a thin trim line to make the frames stand out. This pattern is unique because it can feel both playful and high-end, depending on the finish you choose.
7. Circular Rings Around a Center Point
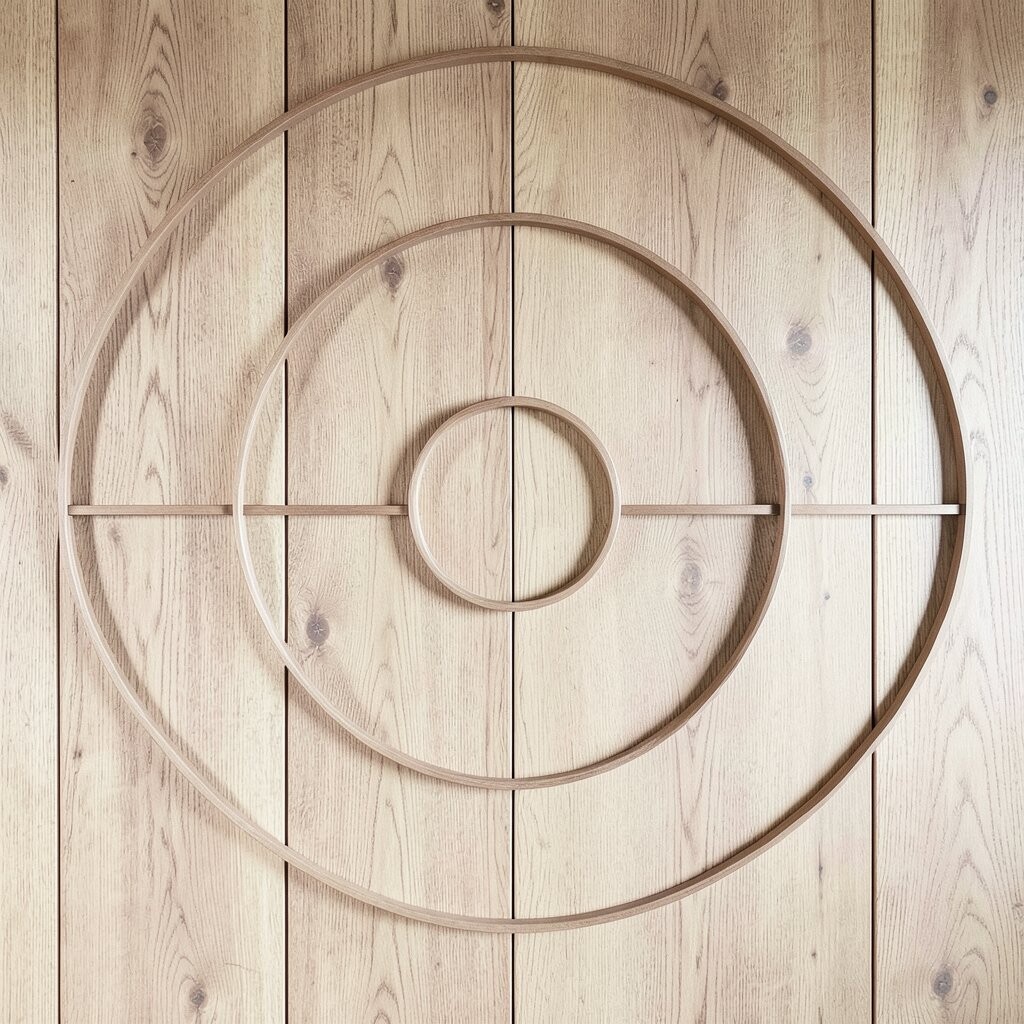
Wood rings create a calm, scenic vibe that feels like a topographic map or a calm garden feature. A center ring looks especially nice behind a pendant light or a statement mirror.
Plan the circle sizes ahead of time and use a consistent method for spacing so every ring feels measured. If cutting circles feels challenging, you can build the look using fan-shaped segments or shorter curved strips. The benefits are big because the circular pattern naturally pulls the eye, giving your wall a clear focal point.
To personalize, choose wood with a visible grain and go for a satin finish to keep the curves smooth-looking. For cost, pre-cut segments can save time, but you can also use smaller leftover pieces as long as the ring spacing stays consistent.
8. French Chevron With a Soft V
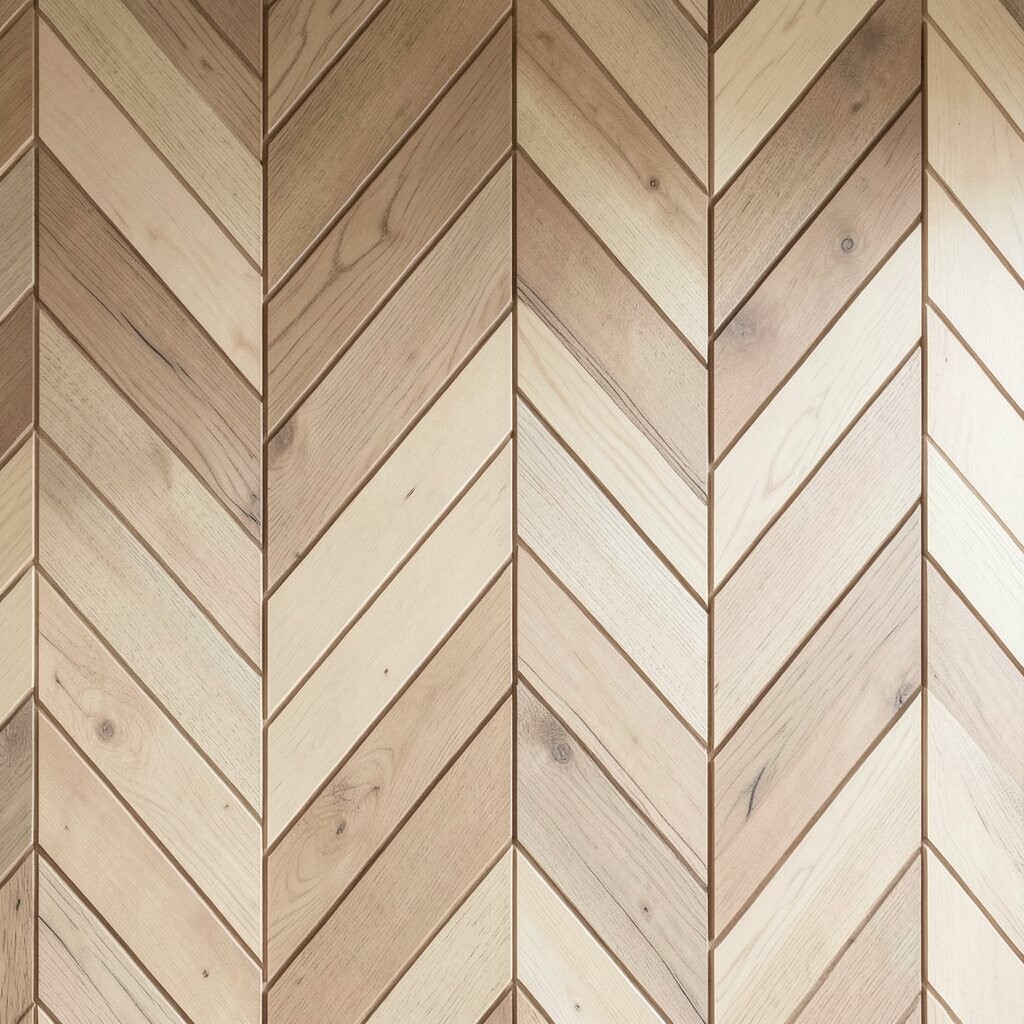
A French chevron is like herringbone, but the lines feel a bit more relaxed and elegant. The V shape reads smooth from a distance, especially when boards are similar width.
Use steady angle cuts and keep the seam alignment tight so the chevron stays crisp. This pattern benefits you when you want a “tailored” look without the heavy grid feeling of some geometric styles. It also pairs well with traditional furniture, because the movement feels classic rather than loud.
9. Vertical Wave Panels With Curved Texture
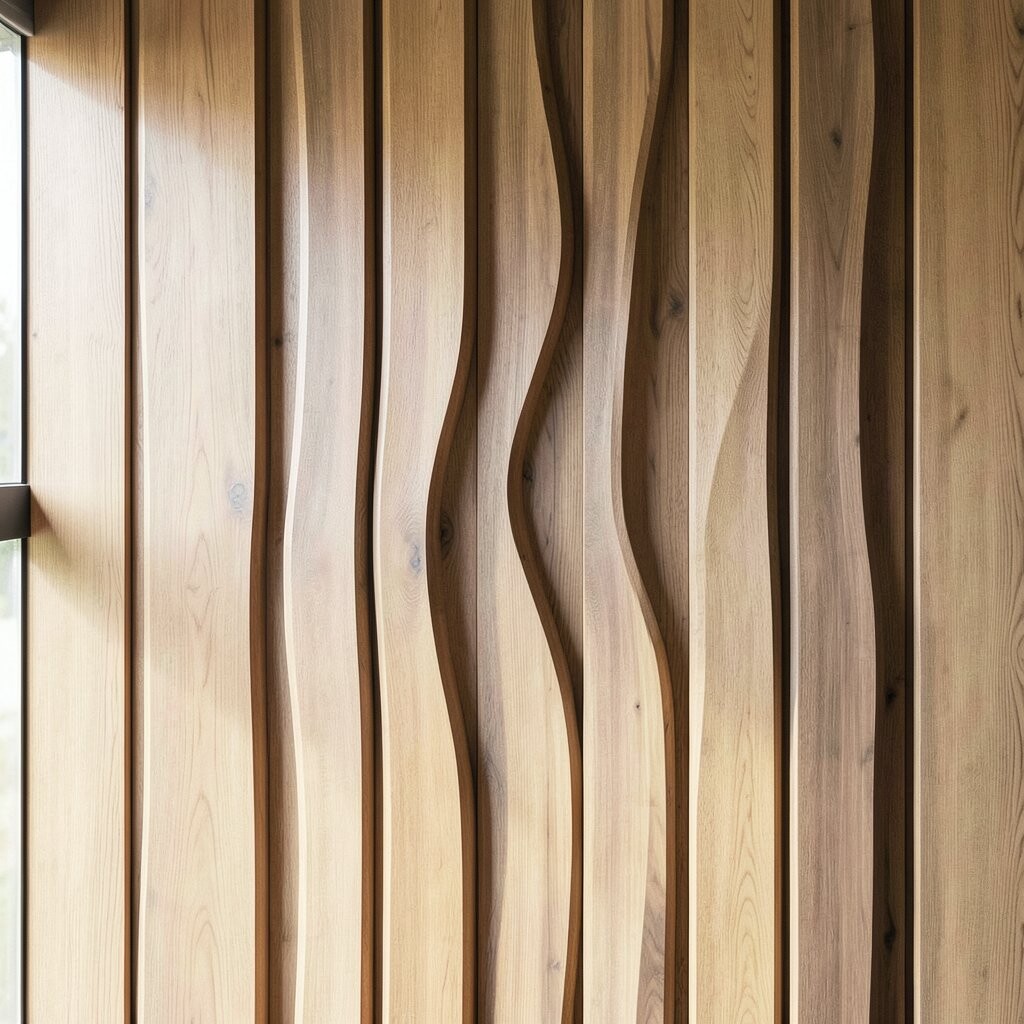
Wave panels add texture you can almost feel with your eyes. When the boards rise and dip in gentle curves, the wall becomes a soft backdrop instead of a flat surface.
You can create waves by using flexible slats, pre-routed strips, or shaped backing boards. Start with a template and test a short section so you know how the wood behaves before you commit to the full wall. This is unique because it feels custom, and it looks great in living rooms where you want a calm, spa-like mood.
For cost considerations, shaped components can be pricier, but you can keep costs down by using the wave pattern only on a portion of the wall. Personalize the vibe with a warm stain for cozy rooms, or a light finish for bright, airy spaces.
10. Checkerboard Alternating Widths
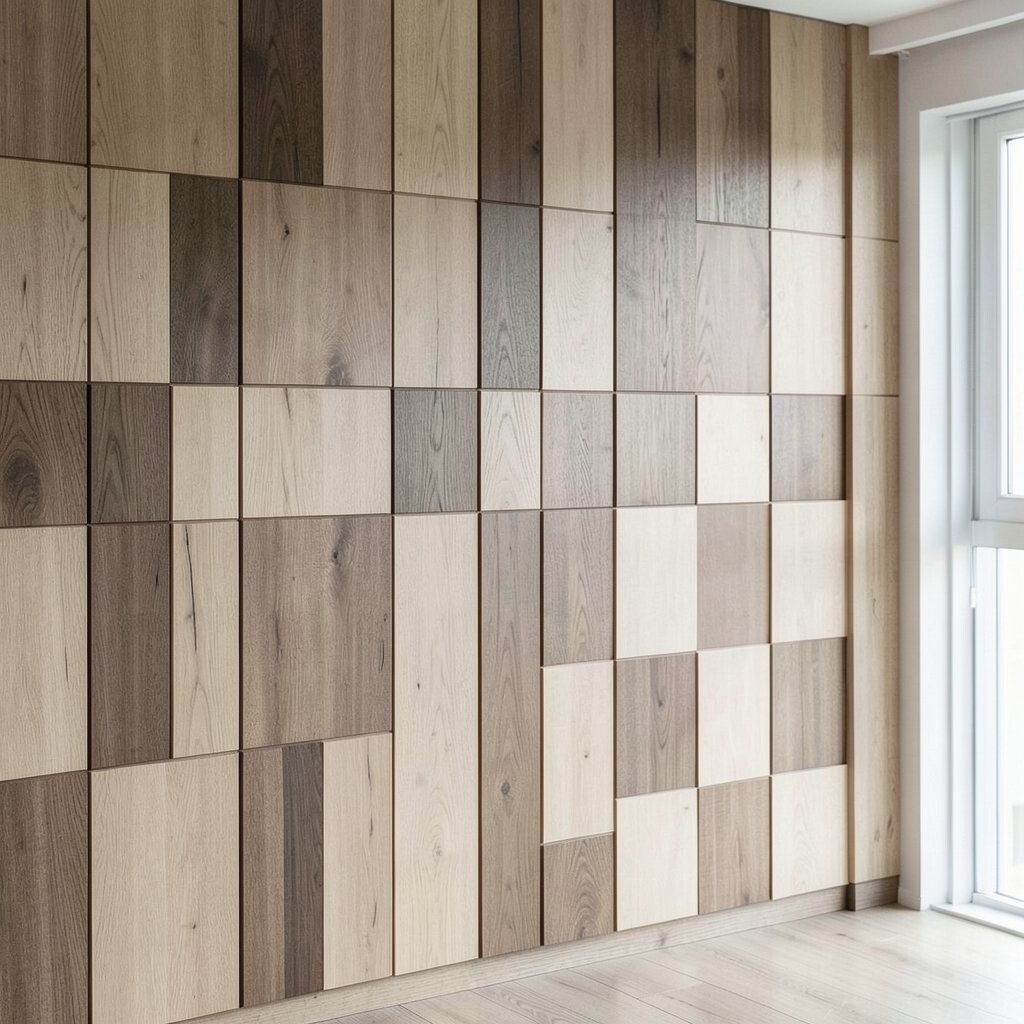
A checkerboard pattern makes wood panels look playful and stylish. Alternating plank widths creates a tidy grid, and the repeated lines help the wall feel organized.
Choose two widths that look good together, then stick to a consistent rhythm across the whole installation. To keep it from feeling too busy, use a single wood species or keep the finish uniform so the contrast comes mainly from width, not from color. The benefits include easy visual pacing, and it is practical for hiding minor variation in wall texture.
11. Mixed Grain Mosaic Paneling
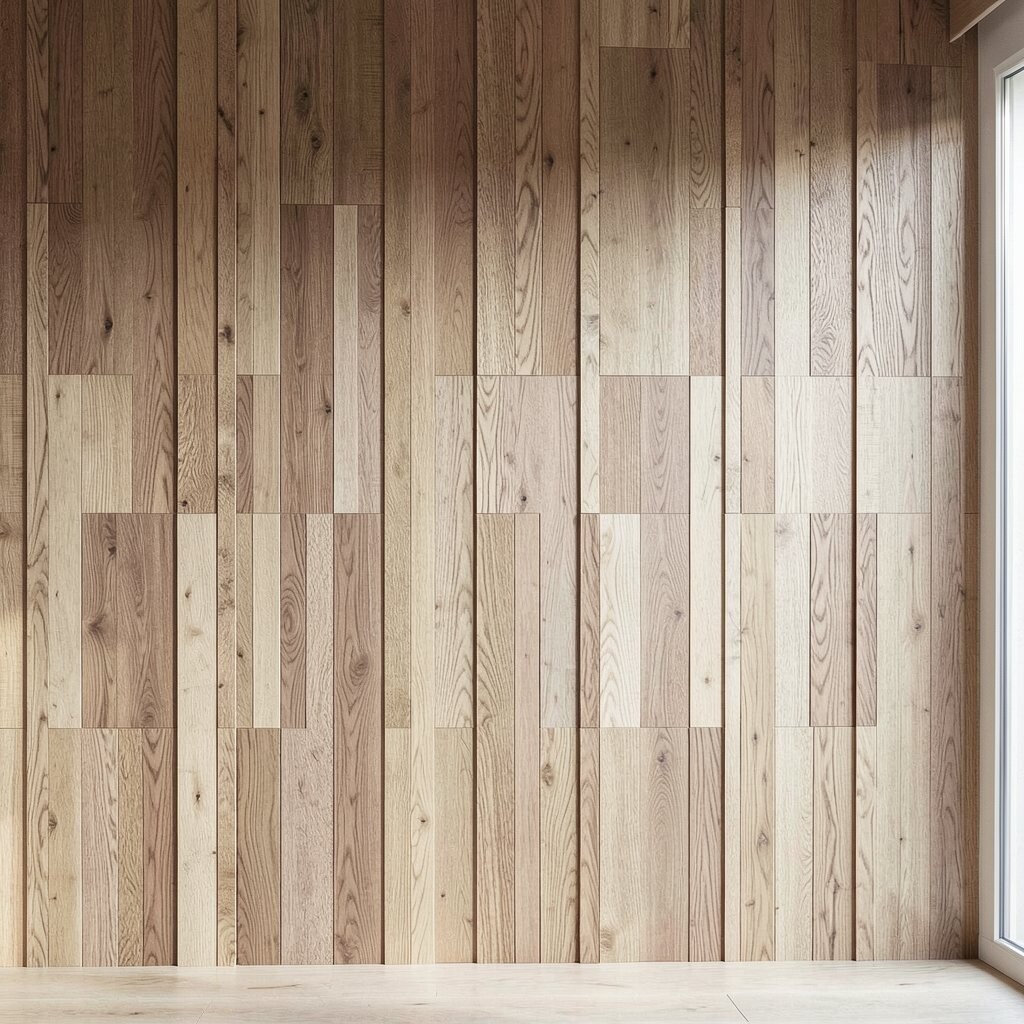
Wood grain mosaic is about letting the natural character lead the design. When you combine boards with different grain directions, the wall becomes a one-of-a-kind patchwork.
Use a simple layout plan that groups similar tones together so the mosaic feels intentional instead of random. Keep board thickness consistent and seal the wall so the finish levels out across each piece. This pattern feels unique because no two planks look exactly the same, which makes your wall genuinely personal.
If you want to control cost, use reclaimed wood or mix new boards with salvaged pieces. Personalize the look by selecting a dominant wood tone and letting the rest add accent texture rather than competing for attention.
12. Picture-Frame Panel Grid With Insets
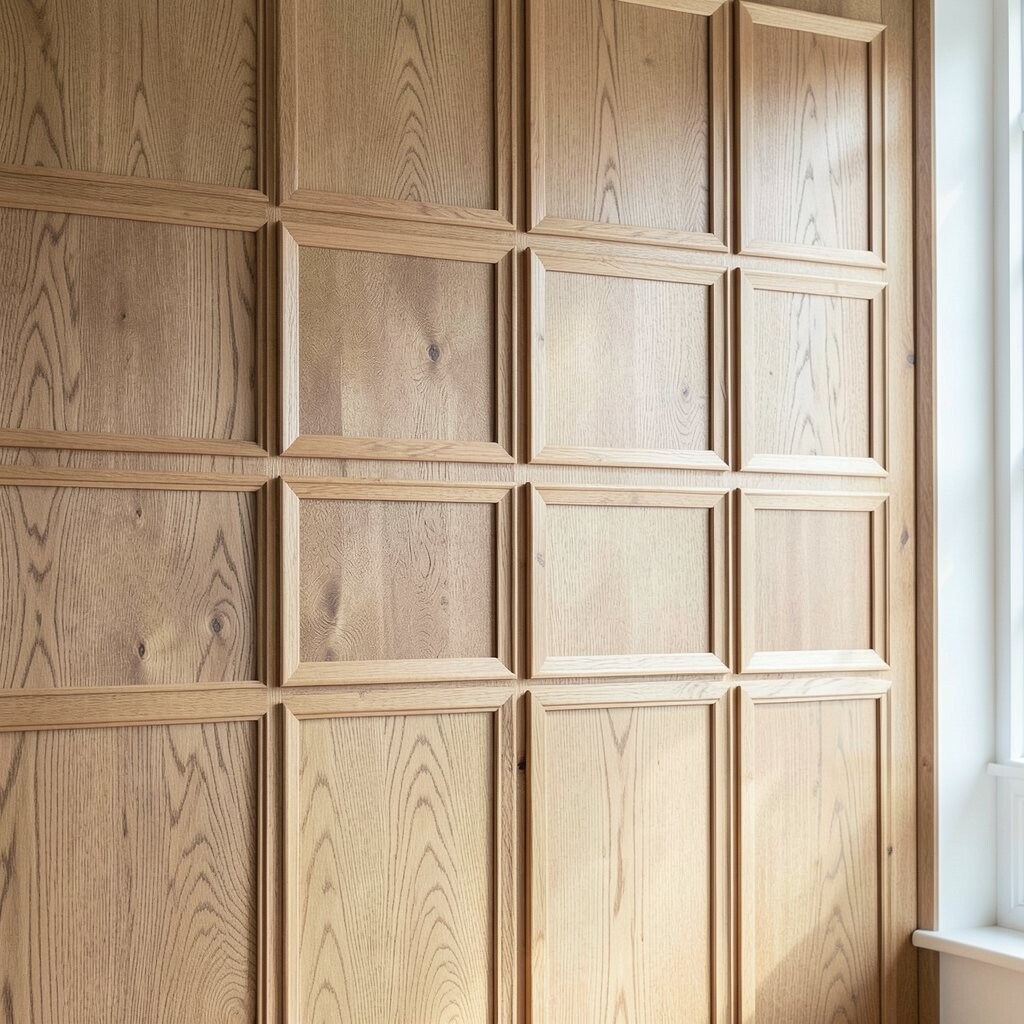
Picture-frame paneling gives a classic, built-in feel without making the wall look heavy. The outer “frames” can run across the wall, while inset panels add depth and dimension.
Decide on one main grid size, then plan the inset depth so it catches light clearly. Use thin trim for a light look, or wider frames for a bolder style that stands out. This design offers clear benefits because it is easy to balance, and it makes decorating simple since art and shelves sit naturally inside the frame areas.
13. Random Offset Panels With a Controlled Feel
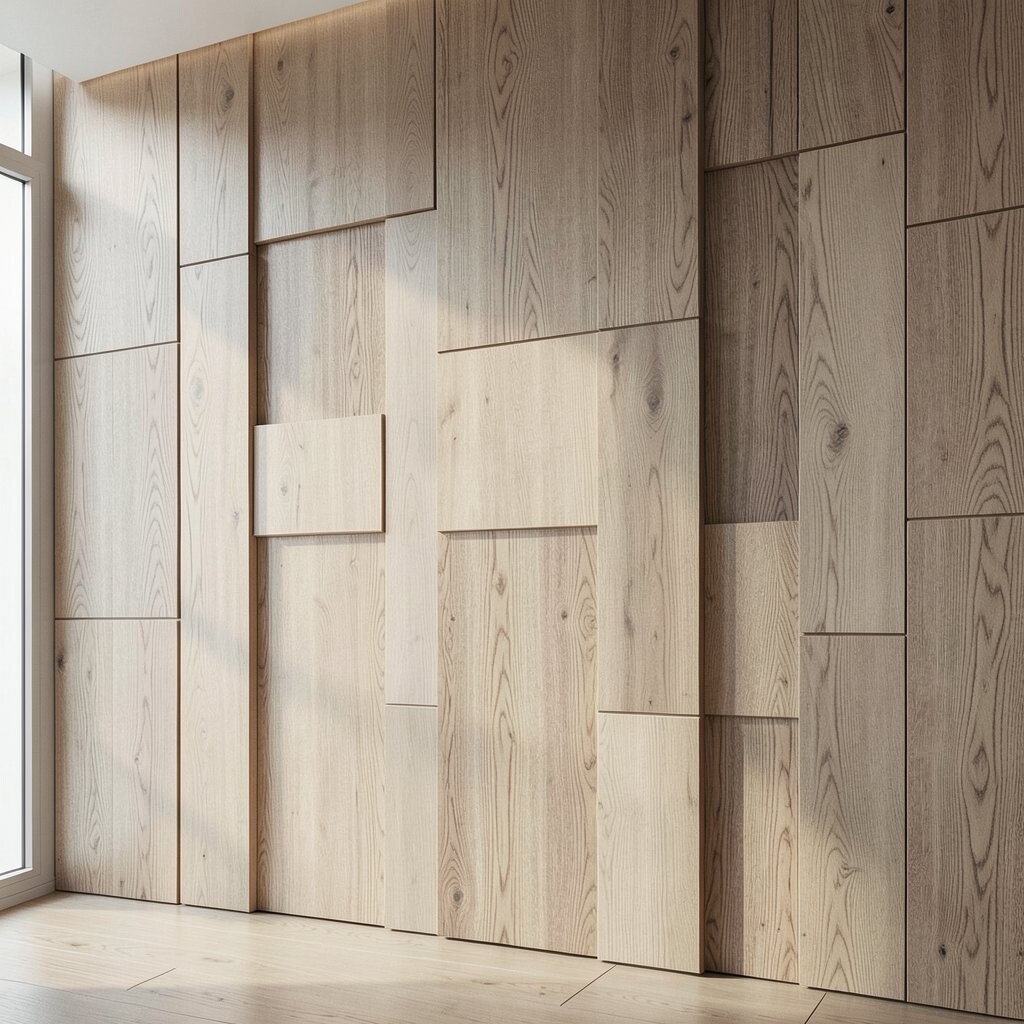
Random offset panels look artsy, but you can keep them neat by controlling the rules. Instead of perfectly repeating blocks, boards shift slightly in position, creating a casual, modern texture.
Choose a spacing range and stick to it, then vary the offset by small steps so the wall looks curated. Mix lengths intentionally, but keep the overall height and baseline alignment consistent for a clean silhouette. This pattern is unique because it blends structure and spontaneity, giving you an elevated look that still feels warm and lived-in.
For cost, use leftover boards and vary the lengths since randomness can hide cuts well. Personalize it with a single statement finish, like a clear matte coat, so the natural grain remains the star while the pattern stays readable.