Walls can feel boring when they look perfectly flat. Textured paint brings warmth, depth, and a little joy to everyday rooms.
With the right technique, even a small corner can start looking special. You can keep it subtle, go bold, or mix both for a look that feels truly yours.
1. Orange Peel for Soft, Steady Texture
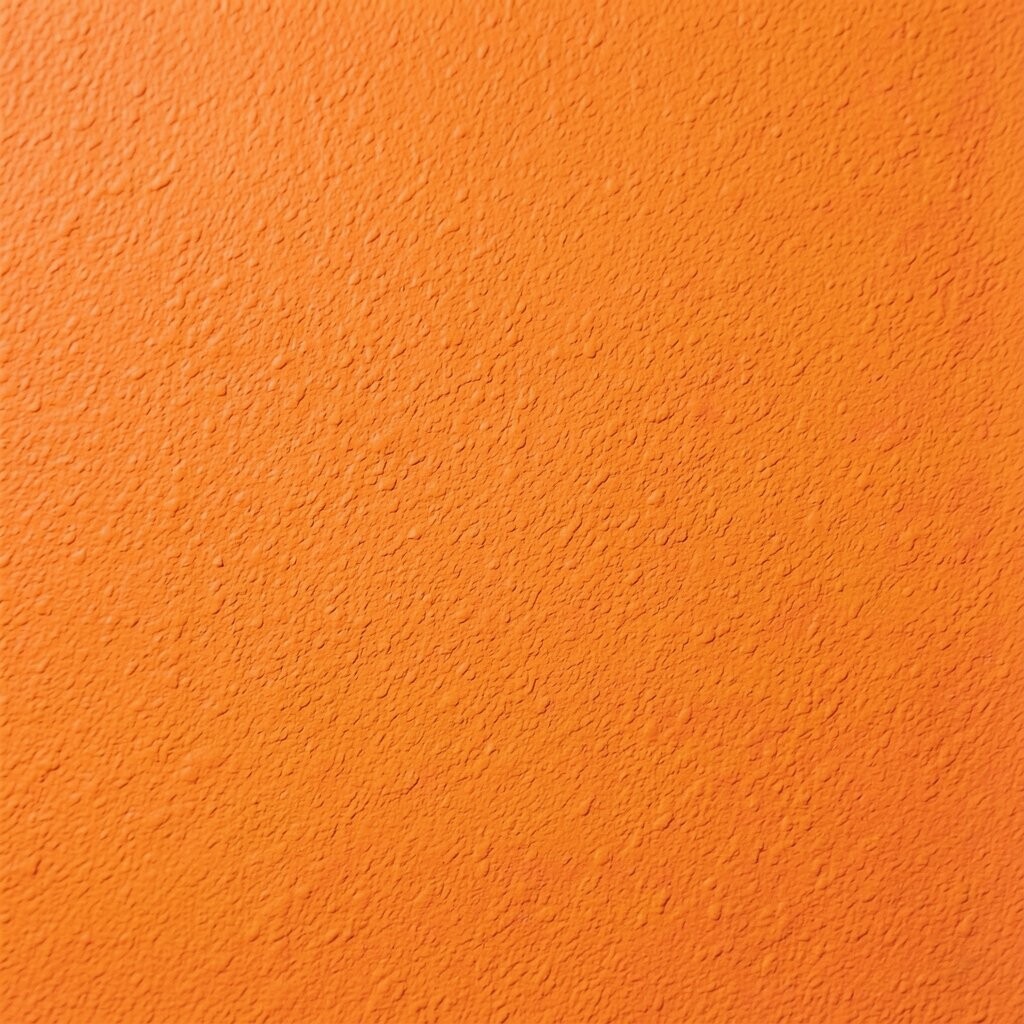
Orange peel texture gives walls a gentle, dimpled look that reminds you of the skin of a fresh orange. It feels calm and balanced, so it works in bedrooms, hallways, and living rooms.
This technique hides minor wall bumps better than flat paint. Use a sprayer or a textured roller, keep the distance consistent, and apply in even passes to avoid patchy spots.
To personalize the finish, adjust the thickness and choose paint sheen carefully. A satin finish tends to show the texture nicely, while matte can make it quieter and more relaxed.
2. Sponging for Color That Feels Like Breath
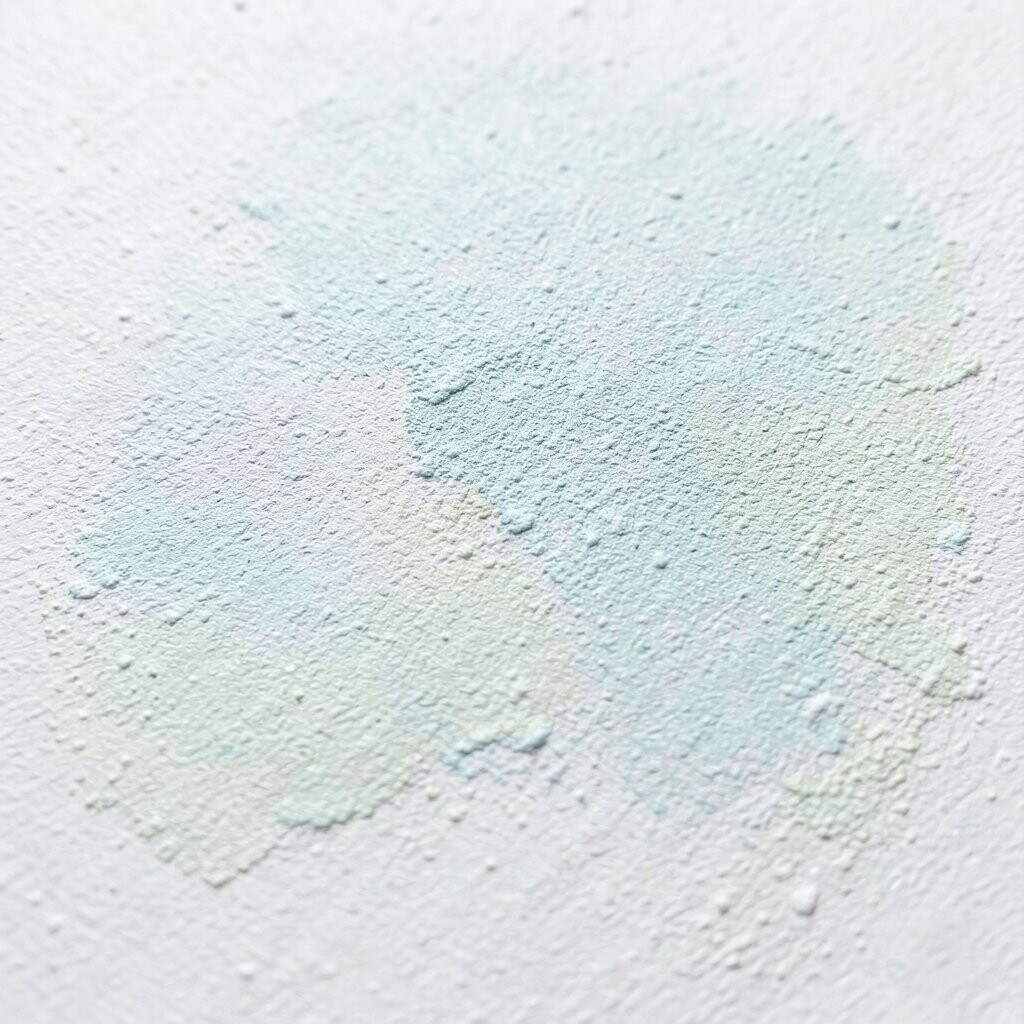
Sponging creates a mottled pattern with soft edges, almost like watercolor clouds on a wall. The visual effect looks lively, yet it never feels sharp or harsh.
You can use one color for a subtle shadowy depth or blend two close shades for a richer look. It’s also pretty forgiving, so it’s a good match if your walls have a few imperfections.
For practical results, practice on cardboard first so you learn how much paint the sponge holds. Press lightly, dab instead of dragging, and let each layer dry fully before adding more color.
Cost stays reasonable because you can use common supplies like sponges and a couple of paint colors. Current trend vibes lean toward warm neutrals sponged with slightly deeper tones, which adds dimension without screaming for attention.
3. Dry Brushing for Antique Charm Without the Mess
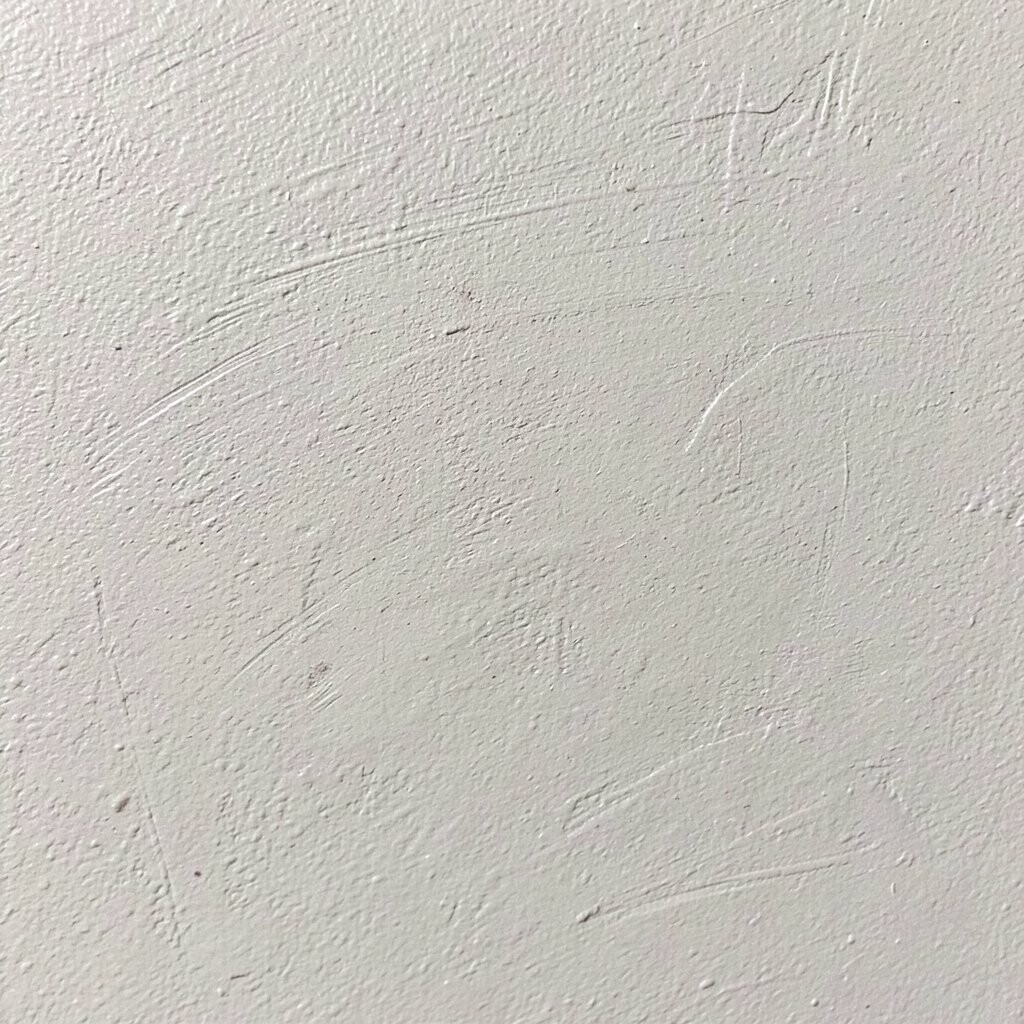
Dry brushing is a favorite because it builds texture with light control. You’ll see bristles leave faint strokes that look aged, artsy, and inviting.
This method helps create an “understory” effect, as if the wall has layers of history. It also brings depth to furniture-like walls behind lamps and shelves, where the texture catches light.
Start with a base coat, then load a nearly dry brush and wipe off most of the paint before brushing. Work in small sections, and keep your strokes in the same direction for a tidy, intentional look.
Personalize it by using a tinted glaze over a lighter base for a sun-kissed style. If you want a modern twist, try crisp color contrast with a very light base and a deeper dry-brush shade.
For cost thinking, you don’t need fancy tools, just the right brush and a little patience. You can also save paint by using fewer coats since the texture reveals itself quickly.
4. Stippling for Speckled Light That Flatters
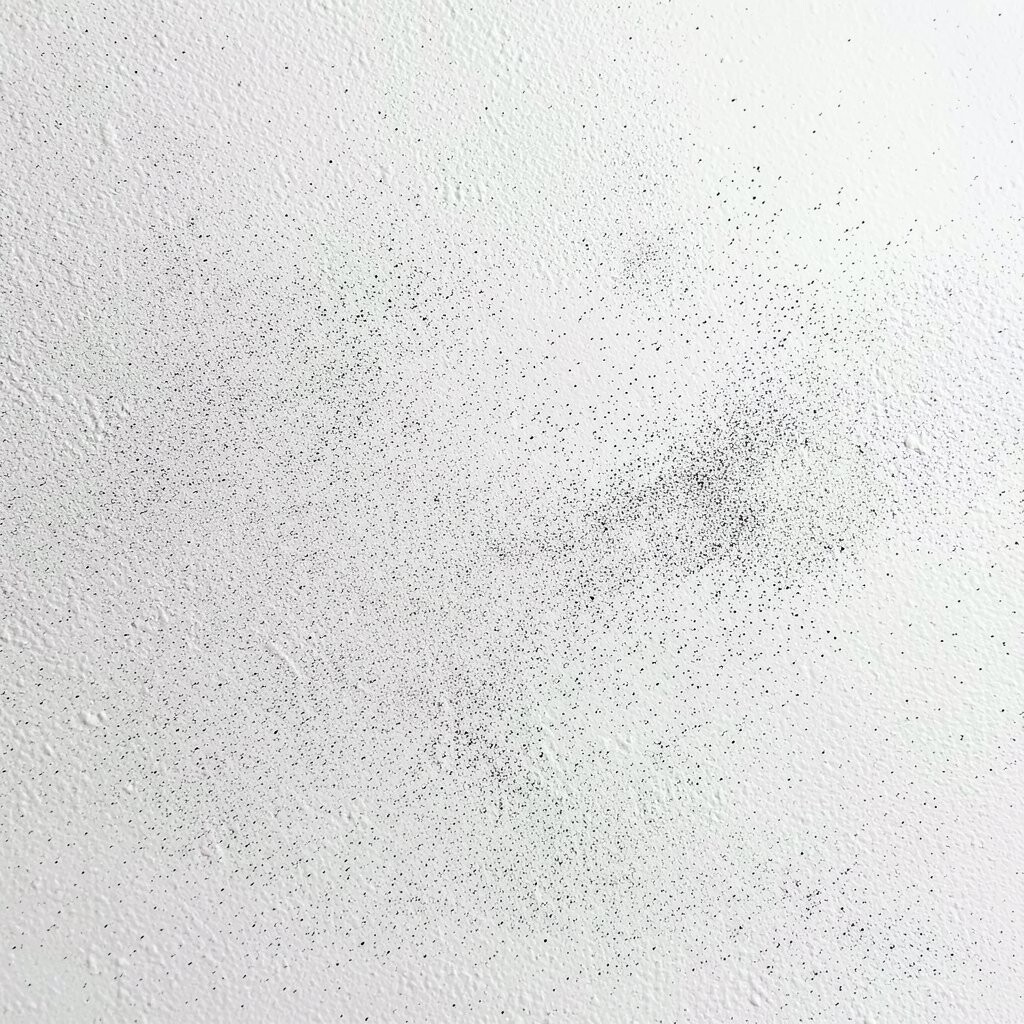
Stippling uses small dots to create a lively surface that feels like soft fabric. From a distance, it reads as gentle texture, and up close it looks playful and detailed.
This technique is great for adding interest without using strong patterns. It also works well around trim because the small dots can blend edges more easily.
Use a stippling brush or even a stiff sponge, then tap instead of smearing. Keep your dot size consistent by reloading carefully and pausing between sections to check coverage.
If you’re personalizing, choose a main wall color and add a slightly darker or lighter tone for depth. Many homeowners love this method for current cozy interiors that lean warm, natural, and softly textured.
Budget-wise, stippling can be economical since it uses less paint than thick textures. It also makes touch-ups easier because the pattern can be rebuilt with careful tap coverage.
5. Venetian Plaster Effect for Smooth Luxury
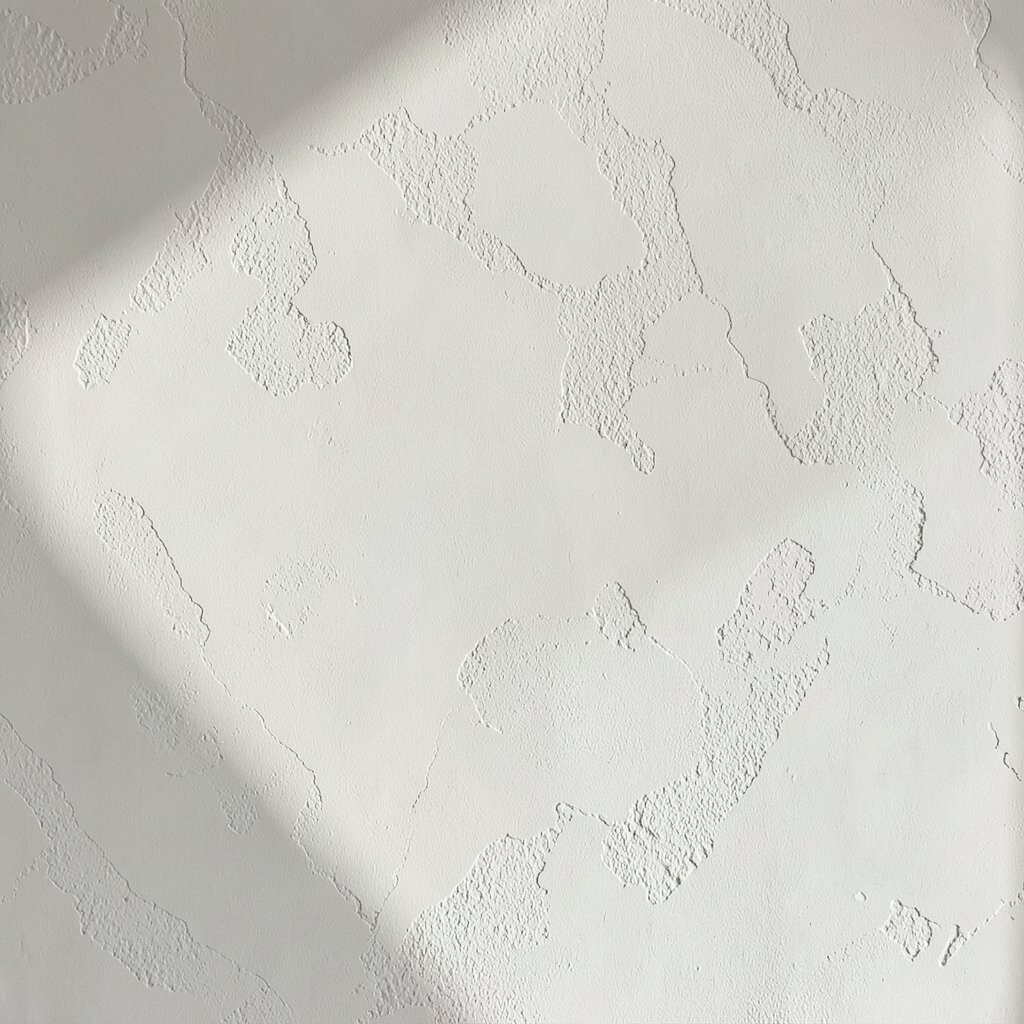
Venetian plaster style paint brings an elegant, stone-like look that feels smooth yet dimensional. It can make walls look like they belong in a boutique hotel.
The main benefit is visual depth, because light reflects across the surface in subtle waves. It’s also unique since you can steer the movement to match your room’s vibe.
For best results, apply a base coat, then use a trowel to spread a plaster-like product in thin layers. As you smooth and buff, aim for movement that feels natural, not uniform like wallpaper.
Personalize by choosing warm ivory, soft gray, or even muted green for a quiet statement. Trends right now favor calm, earthy colors with a handmade feel, and this style fits right in.
Cost can be higher than simple texture rollers, especially if you buy a specialized plaster system. Still, the dramatic look often makes you feel like you spent more than you did, especially in entryways.
6. Knockdown for Bold Texture With Controlled Breaks
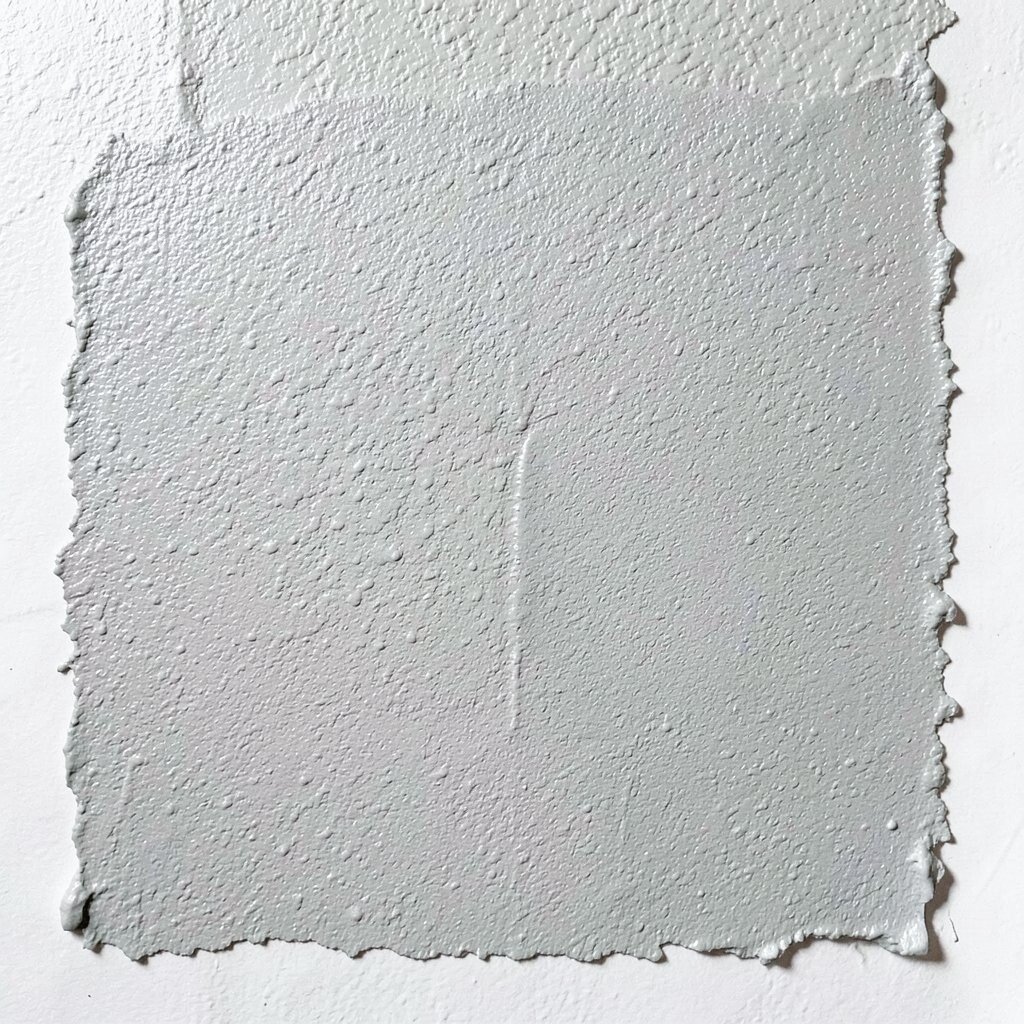
Knockdown creates a textured pattern with irregular peaks that look modern and confident. When light hits the surface, the highs and lows create a striking shadow effect.
This technique is practical for hiding wall issues and giving a strong statement without wallpaper. It’s especially popular for accent walls because the texture makes color feel richer.
Spray on an even coat with a texture sprayer, then “knock down” the peaks with a trowel or drywall knife while the material is still workable. Work quickly and keep your pressure consistent so you don’t create random gouges.
To personalize, adjust spray thickness for a softer or more dramatic look. Choosing a single paint color keeps the pattern the star, while using tinted texture can add depth inside the shadows.
7. Limewash Style for Airy, Vintage Whispers
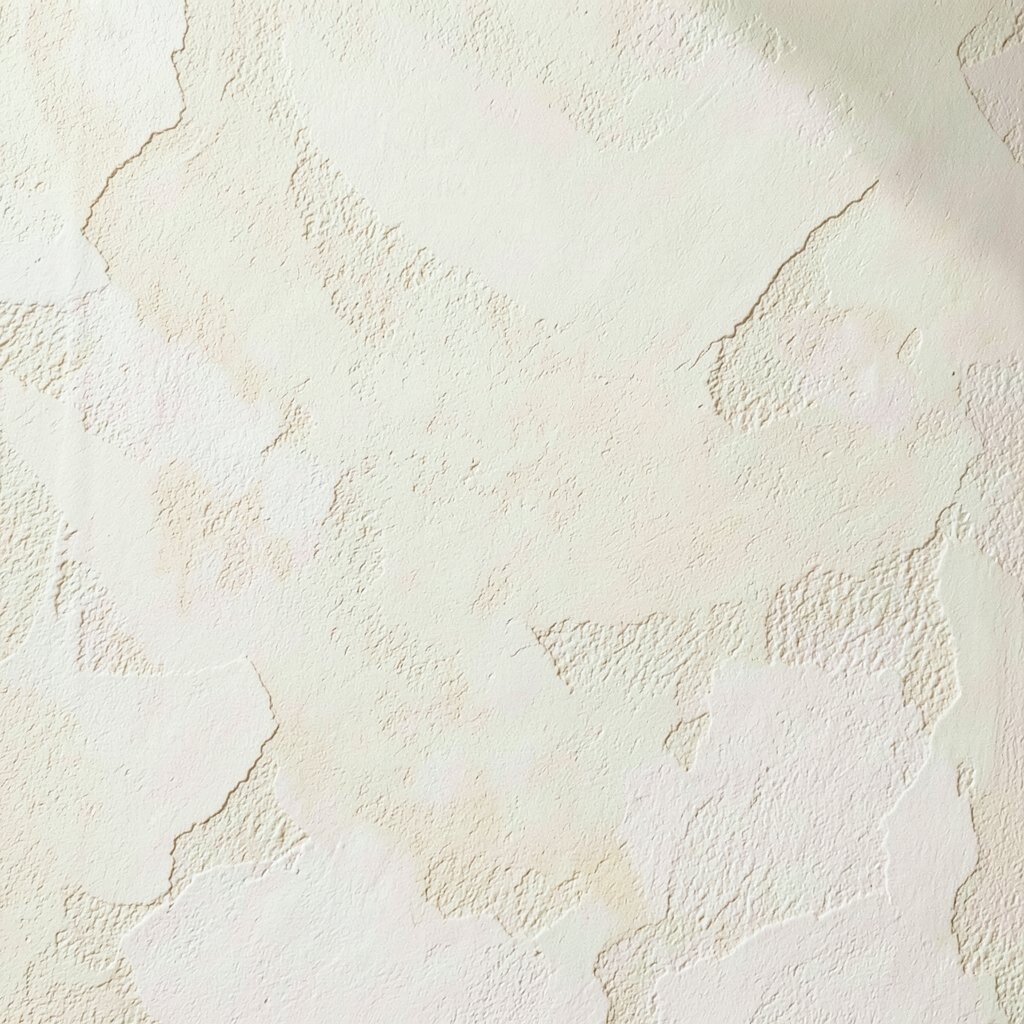
Limewash style paint gives walls a cloudy, breathable appearance that looks old-world and gentle. The color seems to fade and bloom, like sunlight moving across stone.
This finish is great when you want texture but also want it to feel light and lived-in. It can visually soften a room and make it feel calmer, especially with natural light.
Use a limewash or limewash-like product, then apply in thin layers with a brush or sponge technique. Let it dry between coats, and don’t fight the unevenness too much, because that’s the charm.
Personalize with a chalky white, warm sand, or soft clay tone to match modern earthy trends. Budget-wise, some limewash products cost a bit more, but the look is so rich that one coat of attention goes far.
8. Color Wash for Gradient Depth Without Complex Work
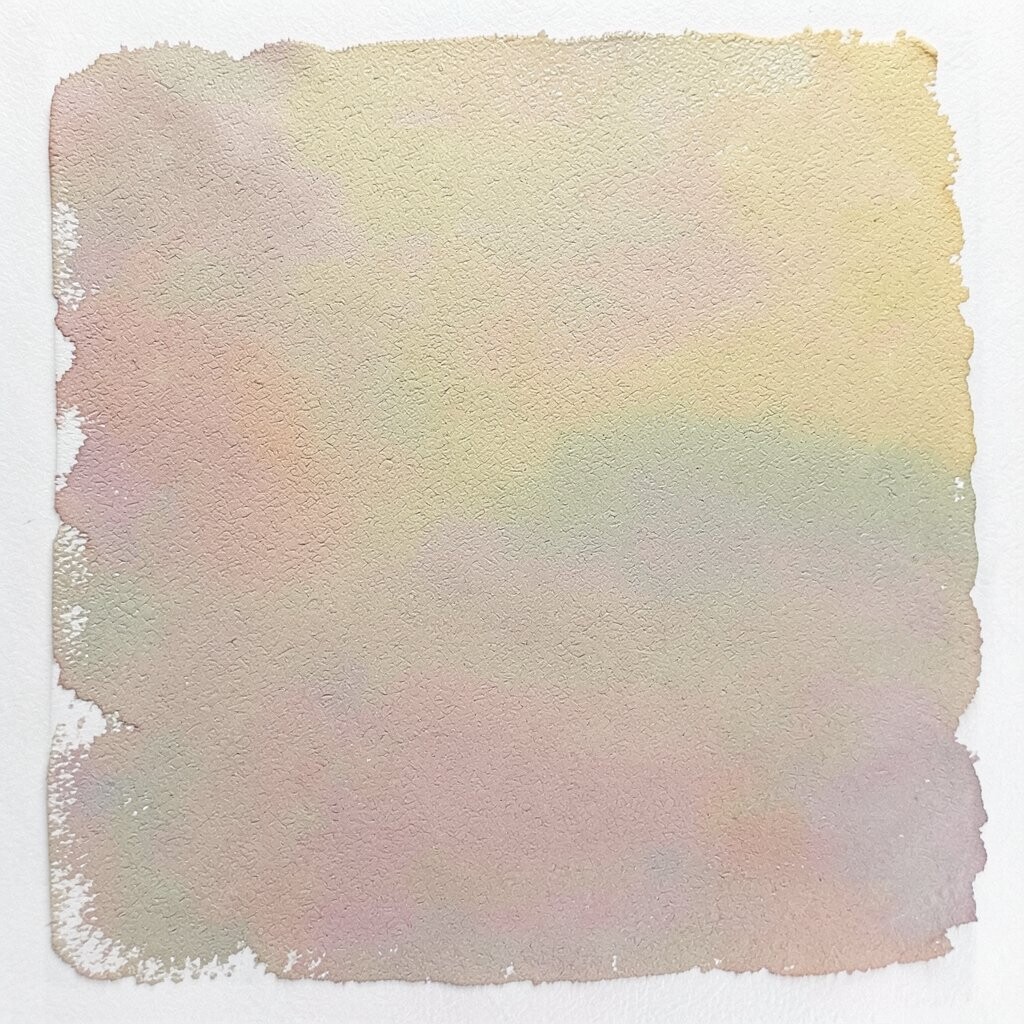
Color washing layers two or more tones until the wall looks like a gentle gradient. It creates a soft, artistic mood that still feels friendly in everyday spaces.
Because it’s layered, it helps hide uneven paint coverage and subtle wall flaws. It also gives you a lot of control over how strong the texture looks.
Start with a base coat, then apply a watered-down glaze or paint mixture with a rag, brush, or sponge. Work in overlapping strokes, then lightly blend edges so the transition stays smooth.
For personalization, match the color to your decor by choosing warm neutrals for cozy rooms or cooler grays for a modern look. This style is still trending because it looks elegant yet approachable, like a carefully styled painting.
9. Sand Finish for Tough, Natural Texture
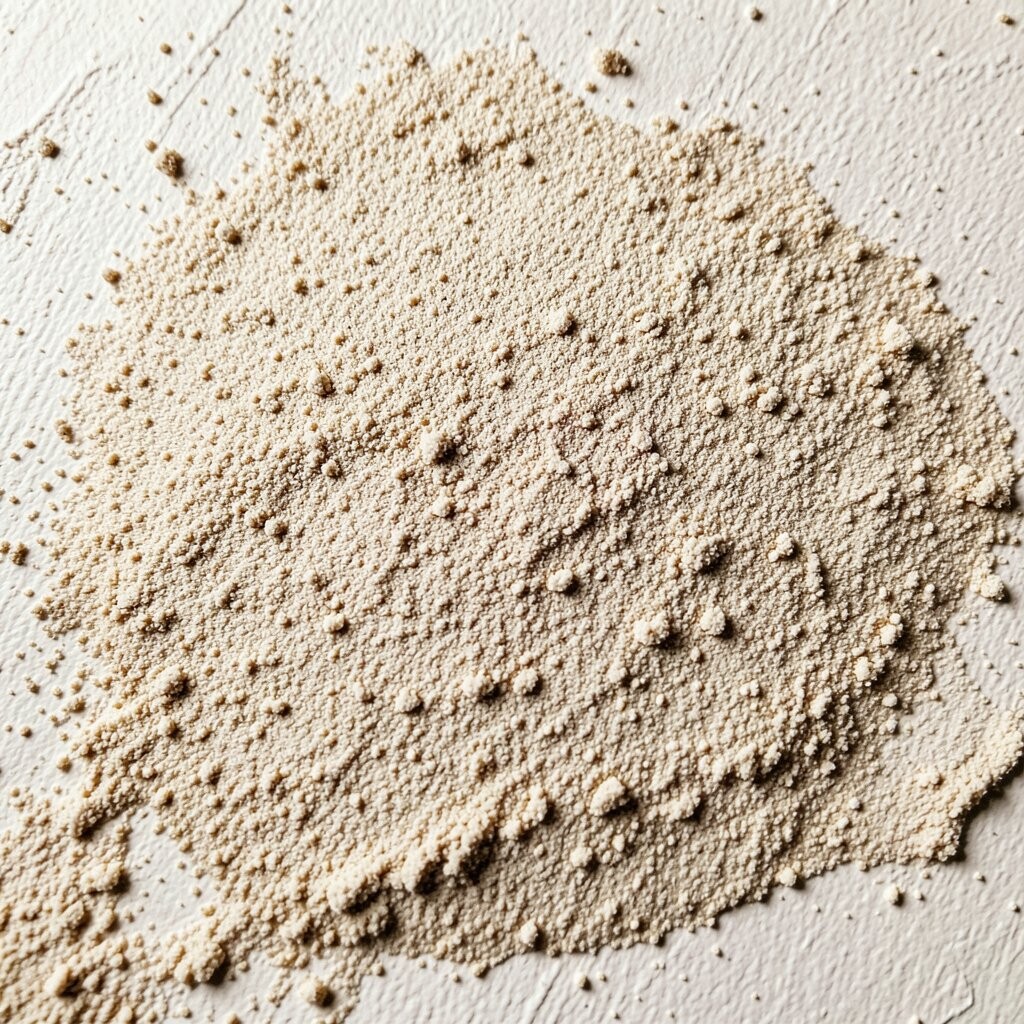
A sand finish brings a rugged, tactile surface that can feel like desert stone. It looks especially good on exterior walls or high-traffic areas that need durability.
The benefit is practical texture plus a tough feel, since the sand-like particles add grip and character. It also creates shadows that make walls look deeper even when the color stays simple.
Use a sand paint additive or a sand texture product, then apply evenly with a roller made for textured materials. Don’t overwork the surface, because pressing too hard can make it uneven.
Personalize by choosing a fine sand look for subtlety or a chunkier texture for drama. For cost considerations, sanding products can be affordable, but you may need extra paint to cover the surface thickness.
Current trend rooms often pair sand texture with natural wood and soft lighting, which makes the wall feel warm and grounded.
10. Metallic Veil for Light That Moves
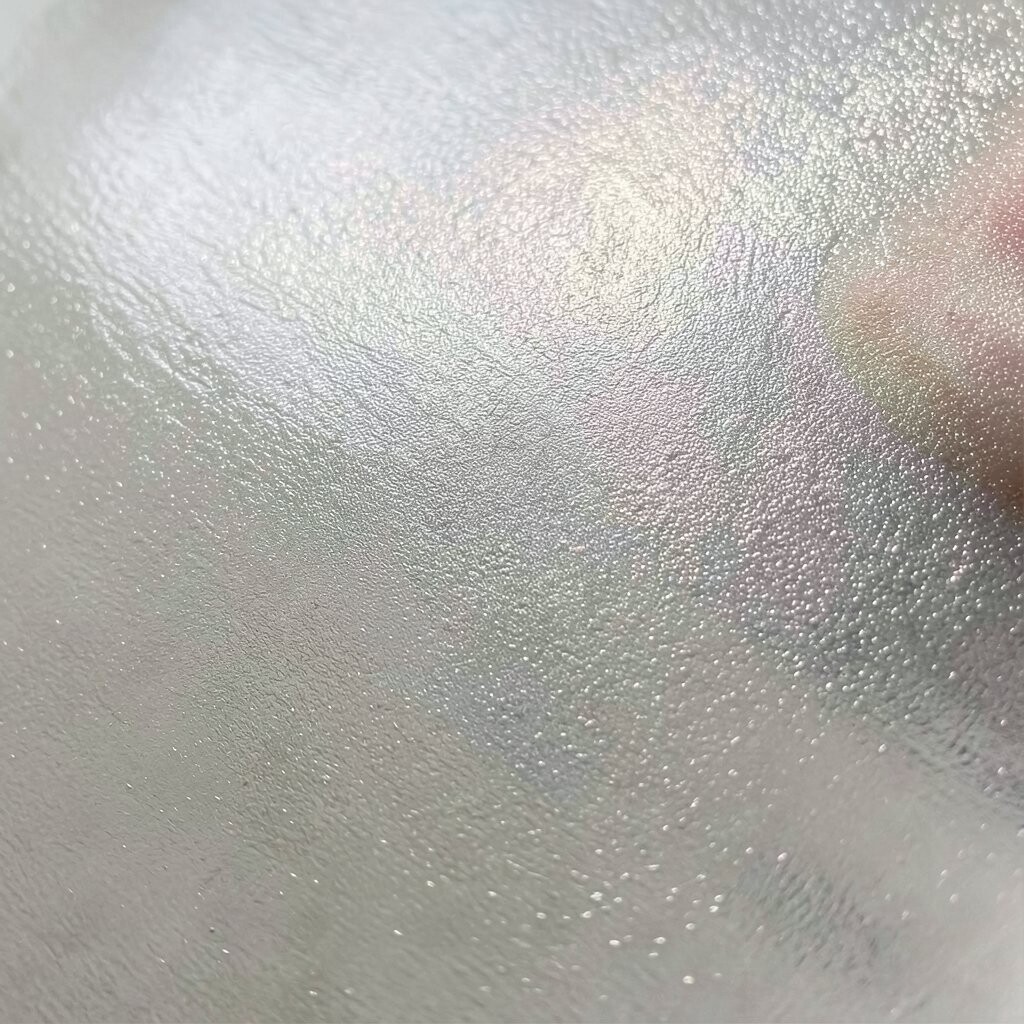
Metallic textures make walls glow when the light changes, and they look stunning in dining rooms or entryways. The surface can feel glamorous without needing a bold pattern.
This technique is unique because texture and shine work together, so the wall becomes an ever-changing backdrop. It also lets you personalize from subtle shimmer to more dramatic metallic drama.
Choose a metallic glaze or metallic paint, then apply it with a brush, rag, or sponge for streaky, veil-like effects. Layer carefully, because too much metallic can overpower the room.
To keep it practical, seal the finish if recommended by the product so cleaning stays easier. Cost can be moderate to high depending on the metallic product, but a little goes a long way if you use a glaze method.
11. Glazing With a Rag Roll for Depth and Soft Variation
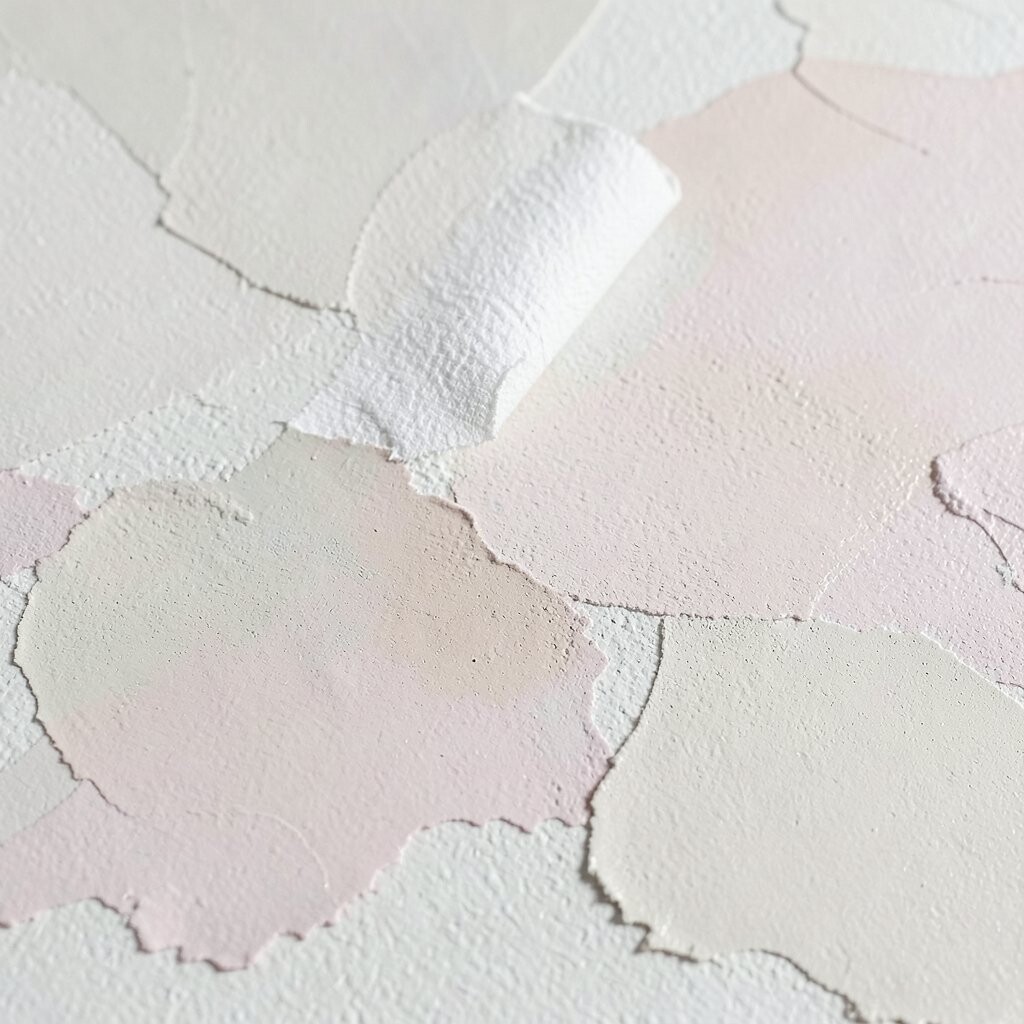
Glazing with a rag roll creates a gentle, cloud-like texture while keeping the movement smooth. It looks like soft layers of color drifting across the wall.
One big benefit is that it reduces the look of brush marks, which many people find distracting. It also lets you add depth without covering the entire wall in heavy texture.
Start with a base coat, then apply a thin glaze mixture and roll it lightly. Use a rag to blot and shape the glaze so the wall gains texture but still looks refined.
Personalize by picking two paint tones in the same family, like warm beige and caramel, to create a believable depth. This style fits current trends for calm, painterly interiors that feel curated rather than decorated.
12. Lace Texture for Elegant, Artistic Detail
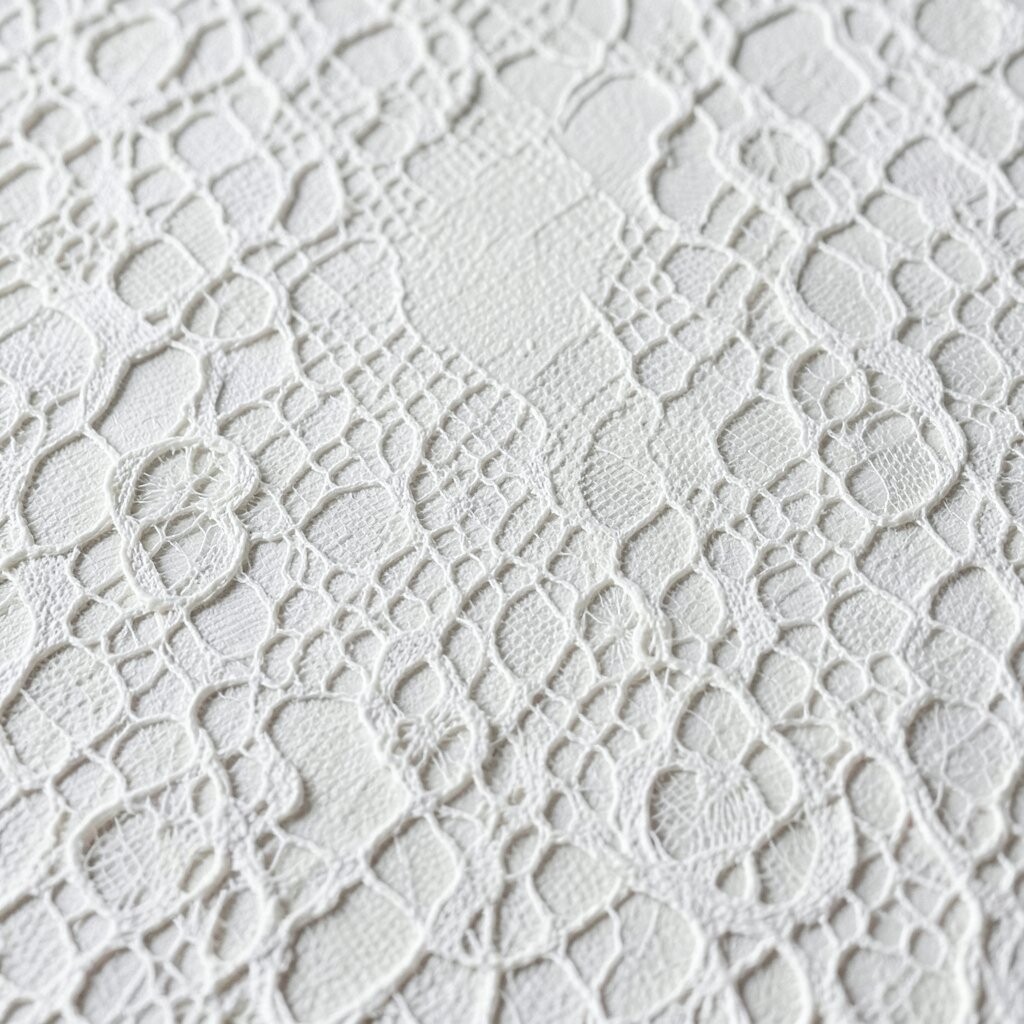
Lace texture looks delicate, yet it can make a wall feel like it’s wearing a fashionable overlay. You’ll see repeated patterns that catch light in small, beautiful highlights.
This technique is especially unique for those who want a pattern without using wallpaper. It can also make a feature wall feel custom-made for your home.
Use a lace stencil or textured cloth on top of a base coat, then dab paint through it carefully. Make sure the stencil is aligned, and press with light, steady pressure so the pattern stays crisp.
Personalize by choosing one lace tone for a subtle effect or contrasting colors for bold drama. Cost stays manageable since you can reuse stencils for several rooms, saving time and money later.
13. Roller Marks With a Patterned Tool for Modern Texture
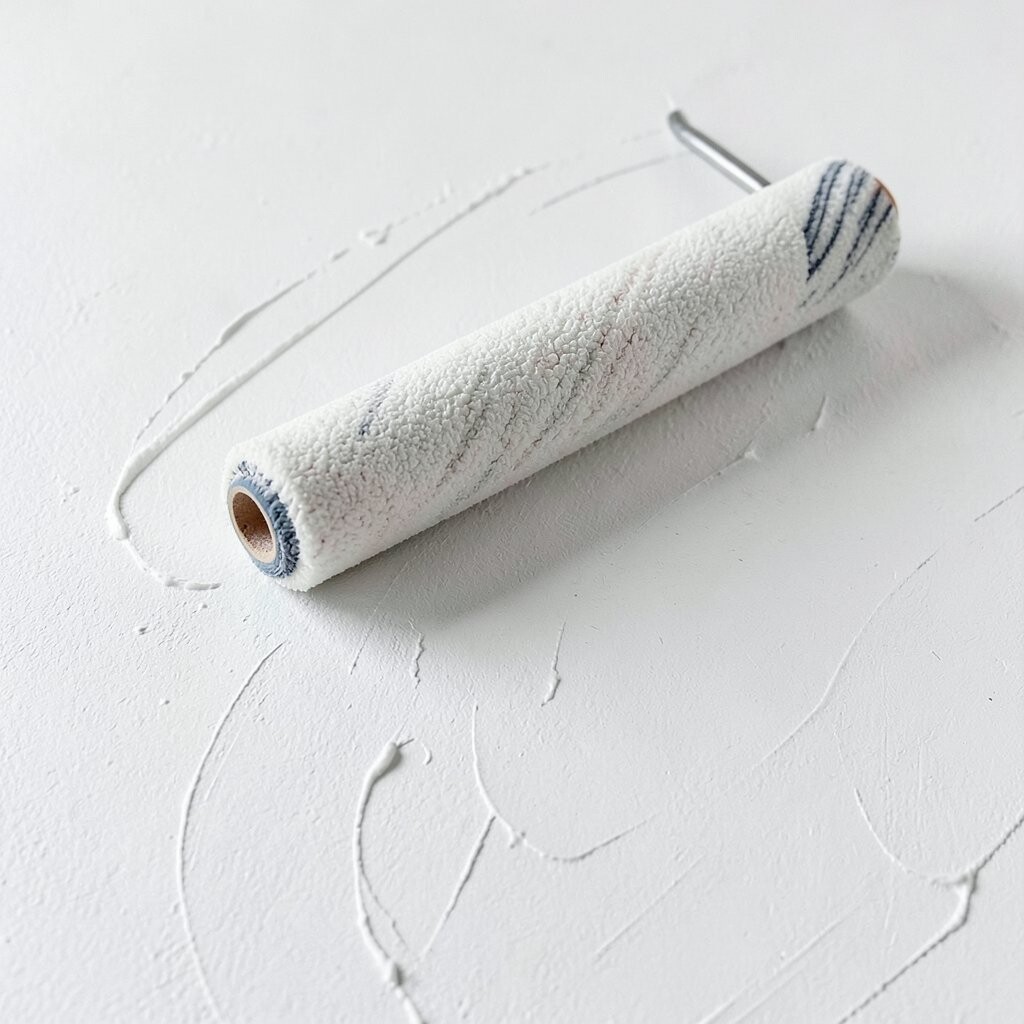
Patterned roller techniques create consistent shapes that feel modern and graphic. Instead of random texture, you get a repeat that looks neat and intentional.
The benefit is control, since roller patterns help you avoid streaks and patchy areas. It’s also a great way to create a feature wall that still feels sleek.
Choose a roller with the texture you like, then roll in steady passes, keeping light pressure and consistent speed. If you need personalization, vary the color by using a toned glaze over the pattern or painting a second layer in a slightly different shade.
Budget-wise, patterned rollers can be affordable and reusable. Current trends often mix clean lines with tactile surfaces, so this method fits modern rooms that want character without clutter.
14. Feathering for Soft, Natural Movement
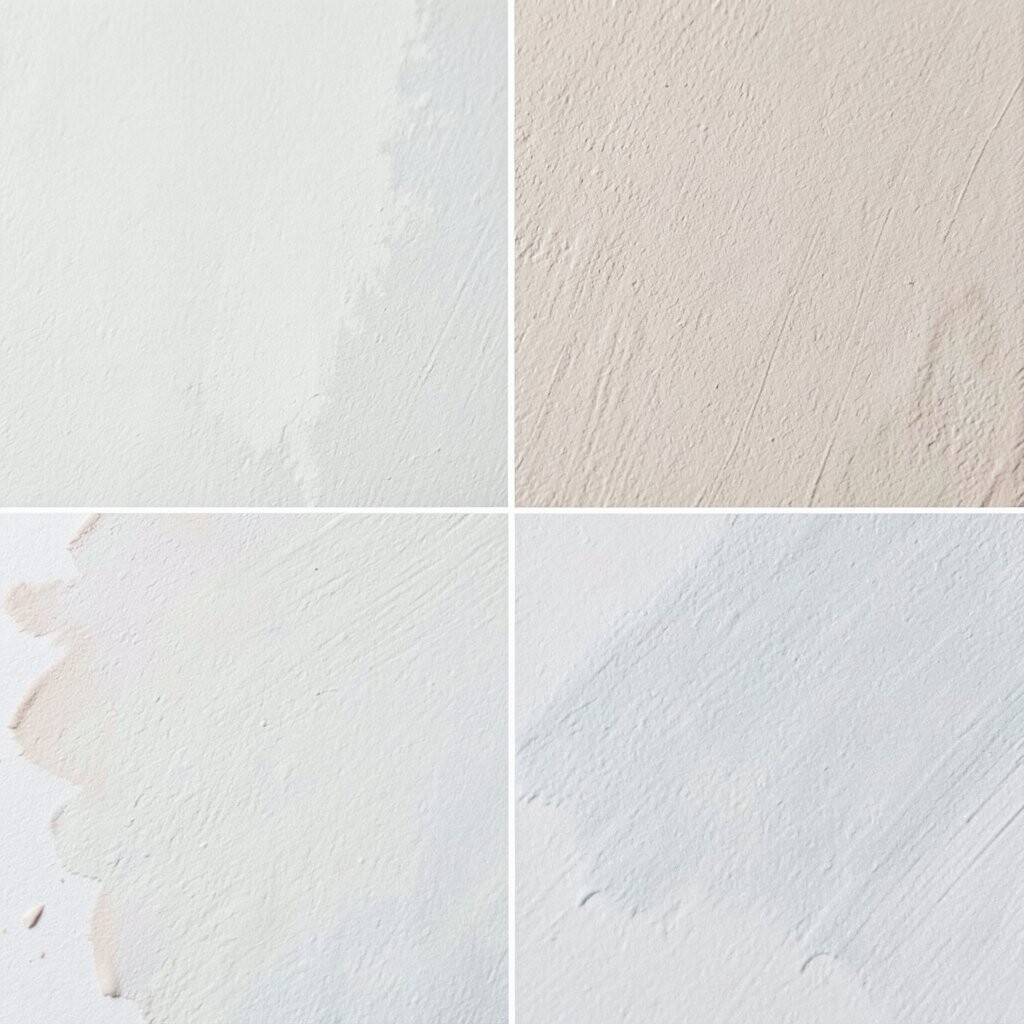
Feathering creates a soft, wispy texture that looks like blending clouds. It’s one of those finishes that can make a wall feel artistic but still calm.
The main benefit is that it hides uneven areas and makes transitions look gentle. It also gives personalization freedom because the feather shapes can follow the way you work.
Apply a glaze or paint blend, then feather with a soft brush or sponge in overlapping strokes. Keep blending until the edges fade, because feathering is all about smooth transition rather than hard lines.
To personalize, try sweeping motion from one corner to another to echo your room’s layout. Cost is usually moderate since you’ll use standard brushes and paint, with maybe an extra glaze layer for depth.
15. Strié for Vertical Ribbons of Depth
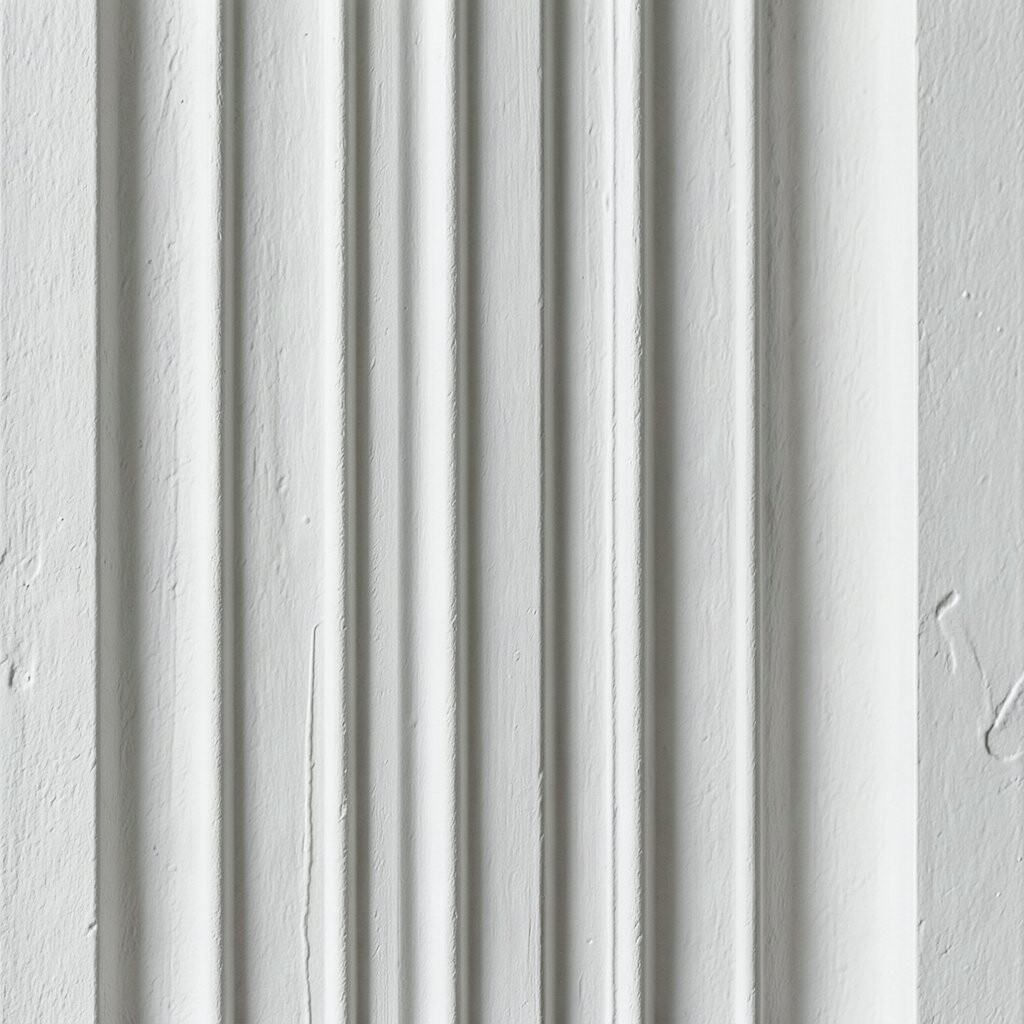
Strié texture forms vertical lines that look like fine ridges or ribboned plaster. The wall gains height and a sense of structure that feels stylish and modern.
This technique is unique because you can create movement that feels deliberate, like fabric hanging on a wall. It also helps frame artwork since the vertical direction naturally draws attention upward.
Apply a base coat, then use a combing or strié tool to pull lines through the material. Work consistently and keep the comb angle steady so the ridges look uniform and polished.
Personalize by choosing a single color that matches your room or adding a subtle highlight glaze in the ridges. If you’re cost-conscious, this method can be manageable because it doesn’t require major specialty materials beyond the tool.
It also matches current trends that lean toward textured minimalism, where the surface detail does the decorating.
16. Color-Blocked Texture for Playful Contrast
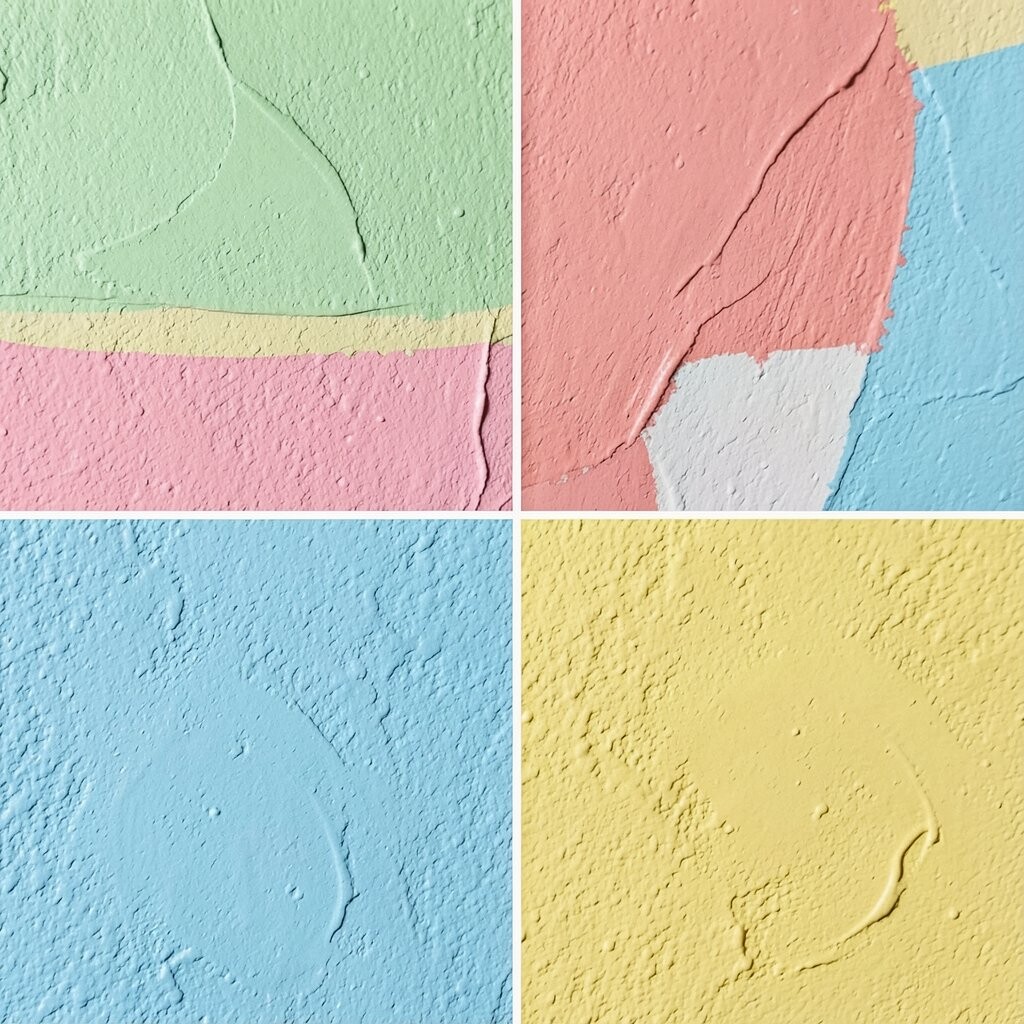
Color-blocked texture combines separated color areas with textured painting inside each block. It gives you a playful, custom look that feels energetic without being chaotic.
The benefits include strong personalization and a clear visual plan, especially if you use painter’s tape for crisp edges. Texture stays exciting, while the blocked shapes help the room feel organized.
Choose two or three colors, tape off clean lines, and apply different techniques per block, like sponging on one section and dry brushing on another. Remove tape carefully while the paint is still workable, so edges stay sharp.
For cost considerations, using smaller sections can reduce paint waste, and you can plan each technique based on the look you want. Current trend homes often lean toward color accents, so this method works beautifully in studios, kids’ rooms, and modern entryways.
Finally, make it yours by matching colors to your textiles, artwork, or even a favorite rug pattern so the textures feel like they belong together.