
There is something calming about sea textures on a wall. Small shells can make a room feel warmer, brighter, and more personal.
From neat gallery looks to beachy mixed styles, these ideas help you bring coastal charm home.
1. Framed Shell Shadowbox With Soft Sand Colors
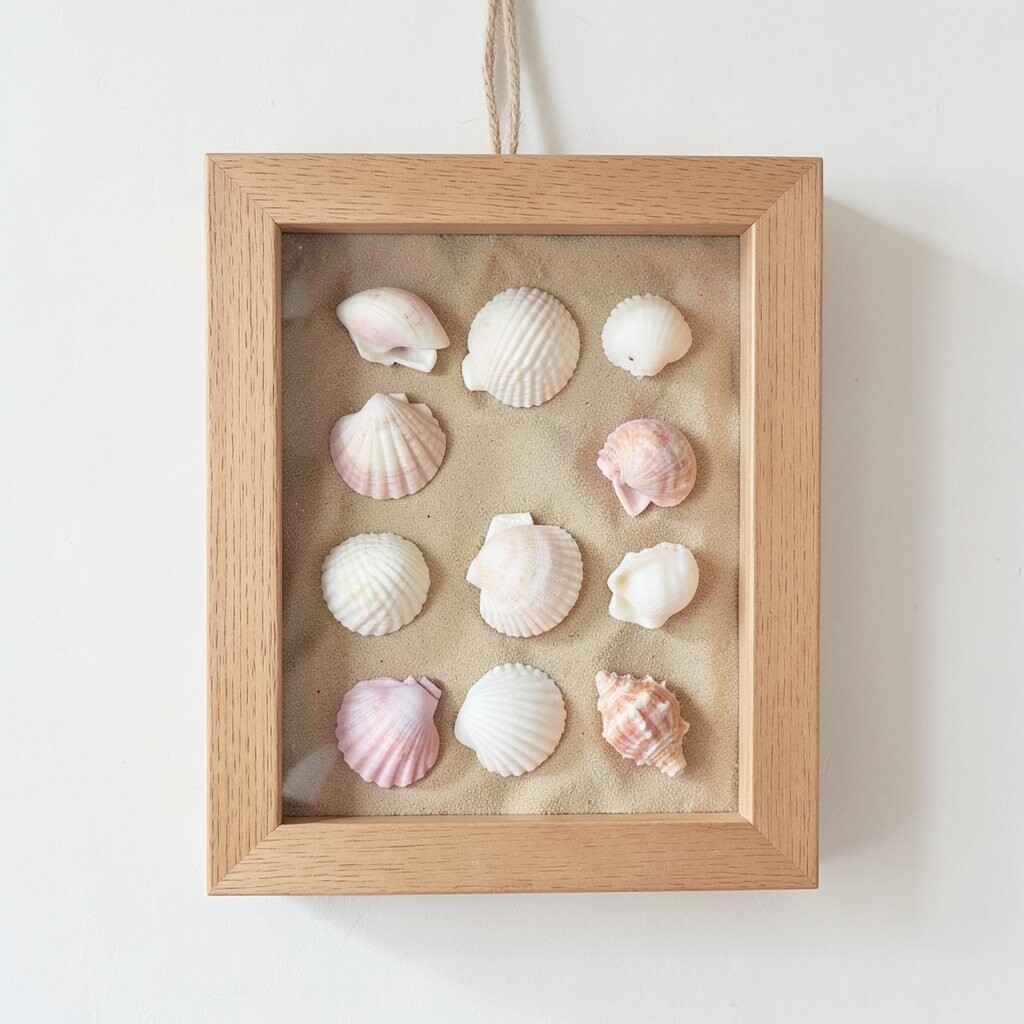
A framed shadowbox turns scattered shells into a neat, display-ready scene. You can picture a shallow frame filled with pale sand tones, tiny shells, and a little negative space that keeps everything airy.
It feels unique because each shell sits like a miniature character in its own spot, instead of being piled into one spot. Choose a matte backing color such as warm beige or seafoam, then arrange your shells from larger to smaller so the eye moves smoothly across the frame. For practical setup, use strong glue designed for craft projects and let each piece dry flat before you add the next layer. If you want personalization, add a thin strip of driftwood near the bottom or include one special shell you collected or received. This style also fits current trends because clean coastal looks are popular, especially when they are not too busy. For cost, you can often reuse old frames from storage and buy only a few shells or a small bag of mixed ones.
2. Woven Wall Hanging With Seashell Fringe
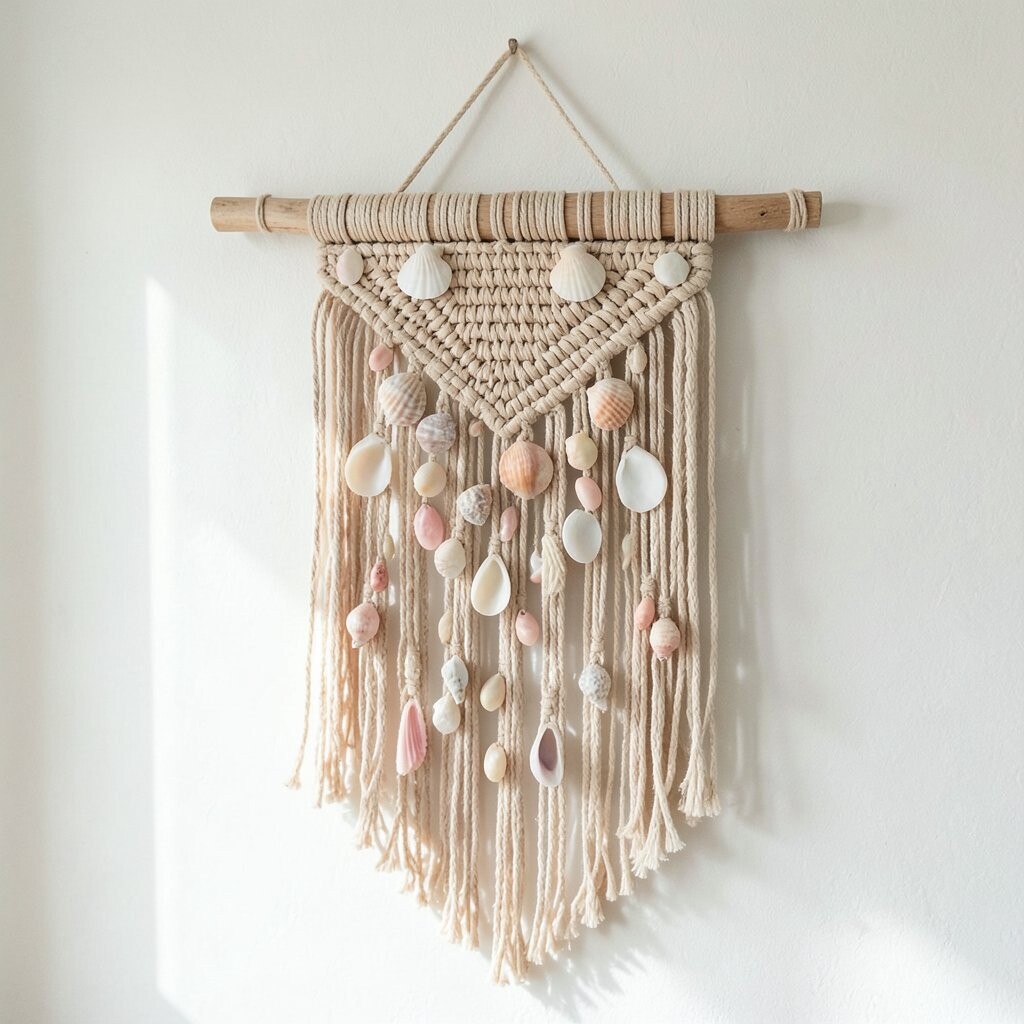
A woven wall hanging with shell fringe looks like coastal wind caught in fabric. Imagine a simple woven base with strands of shells hanging along the bottom edge, catching light as you walk by.
This idea helps your wall feel lively without needing a lot of space. Use cotton rope, jute, or macramé cords as the main texture, then string lightweight shells in a repeating pattern so the look stays balanced. Secure attachment points with small knots or clear cord, and test the weight before you fully commit so the hanging stays sturdy. Personalize it by mixing shell sizes, using white and creamy tones for a classic vibe, or adding one row of pastel shells for a gentle pop. People love this kind of texture right now because wall decor that feels handmade and tactile is showing up everywhere. Keeping costs lower is possible by using a few larger shells as focal pieces and filling gaps with smaller, inexpensive ones or even shell-like beads.
For an extra practical touch, hang it with a sturdy hook and measure the drop length so the fringe does not brush furniture. If you have pets or kids, consider using lightweight shells and attaching them securely with knotting rather than only glue. When you keep the colors in a limited range, the whole hanging looks curated, not cluttered.
3. Driftwood Crossbar With Hanging Shell Ornaments
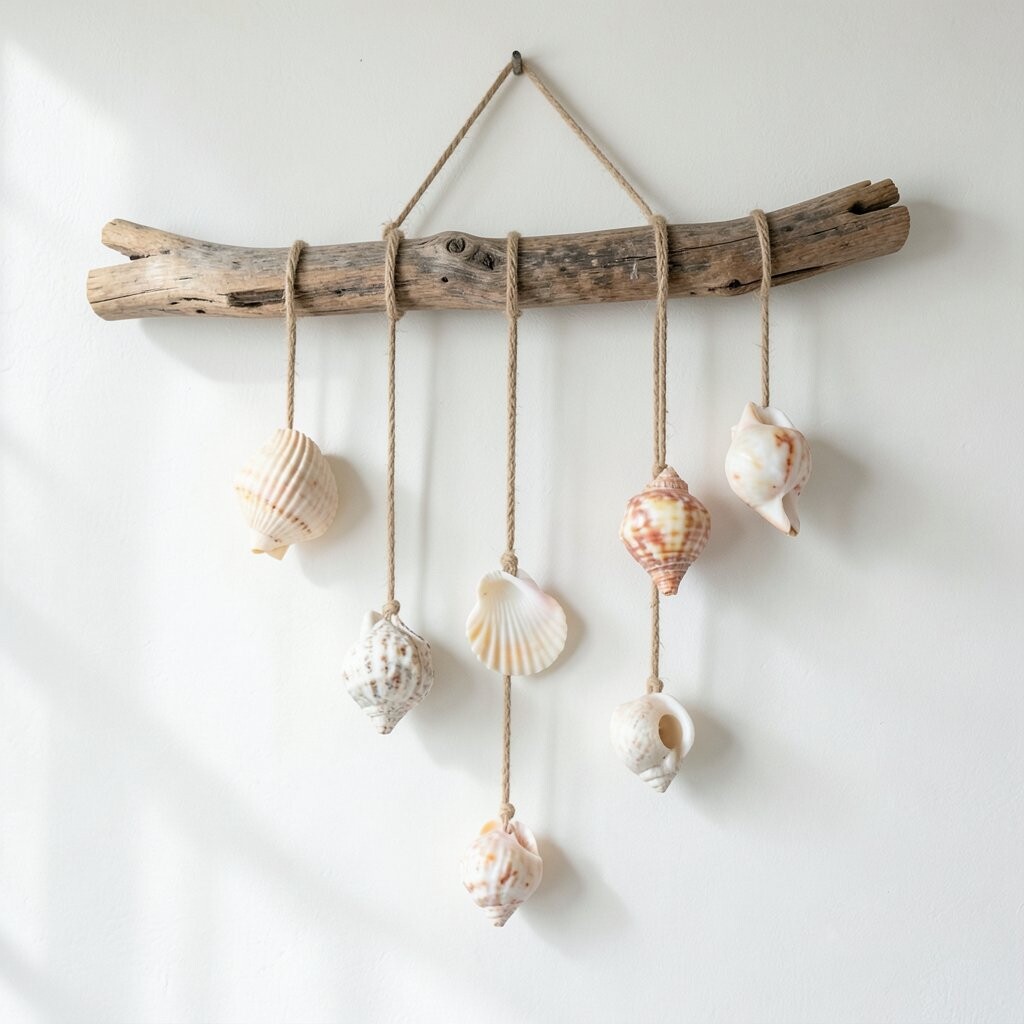
A driftwood crossbar with hanging shell ornaments feels natural and slightly rustic. You can see the grain of the wood running across the wall while shells sway gently from short ties.
This style gives a beach vibe with movement, even when the air is still. Start by finding or buying a smooth driftwood piece and then add a crossbar with small drilled holes or wired loops, depending on your comfort level. Tie shells using twine, fishing line, or thin ribbon so they hang at different heights and create a layered effect. For personalization, choose one theme such as small conch-style shapes, spiral shells, or a mix of mini varieties that match your color palette. Current trends lean toward natural textures and earthy elements, and driftwood fits right in. Cost considerations are friendly if you use wood from a yard project or thrift stores, then spend money mainly on a few quality shells and good cord. To keep it practical, seal the driftwood with a clear matte finish so it looks clean and resists dust buildup.
If you want the arrangement to feel intentional, lay out your shells on the floor first and photograph the layout from your preferred viewing angle. Keep the heavier shells near the ends and lighter ones closer to the center for a balanced look. A simple ruler-guided spacing can help the whole piece hang evenly.
4. Shell Mandala Wall Art in Circular Layers
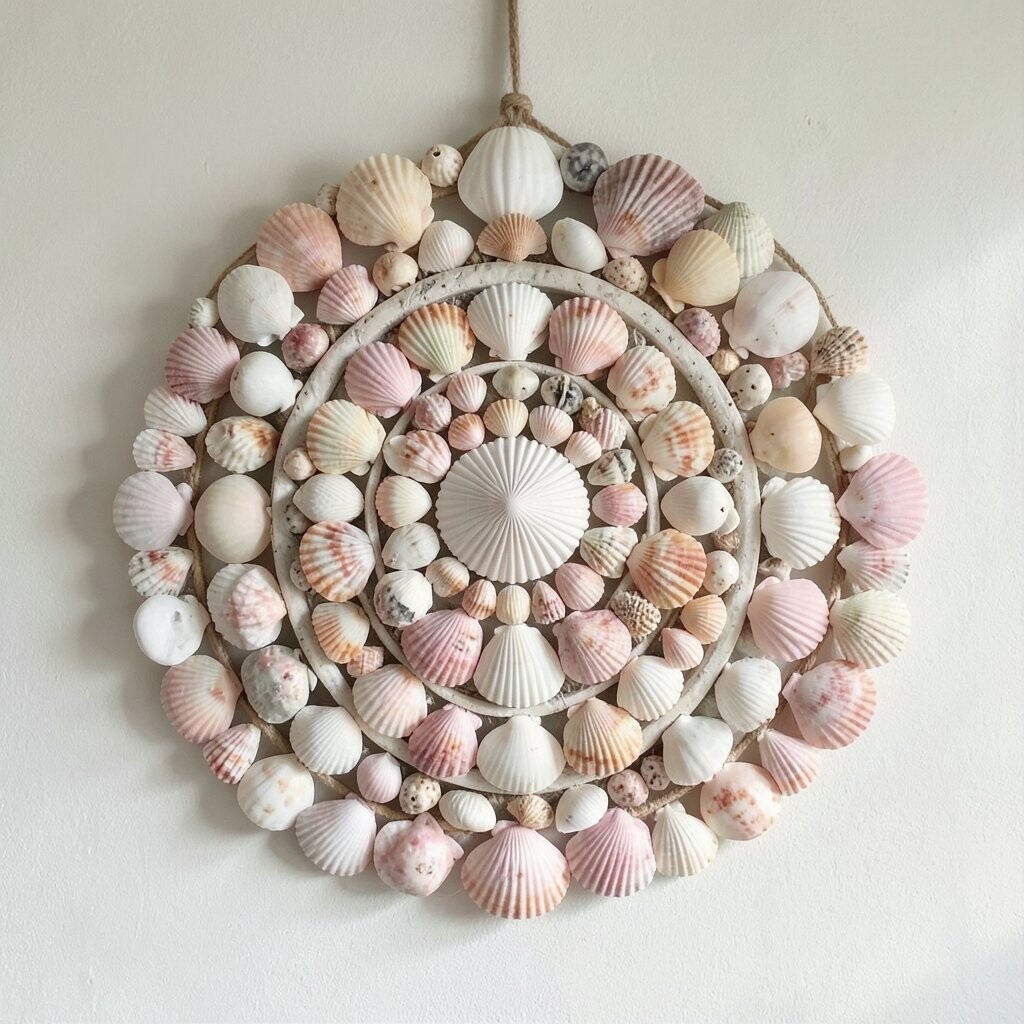
A shell mandala brings a calm, patterned look to your wall. Picture shells arranged in rings that slowly grow outward, like a gentle sunrise made of texture and shape.
This design is great for making a small wall feel like a centerpiece. Use a round base such as a wooden circle, cork board, or foam disc, then plan your ring layout before gluing anything. Keep the center tighter and gradually increase shell size as you move outward so it looks balanced. Personalize by painting parts of the base a soft color, or by leaving the base natural and letting shell tones do the work. Mandala-style decor is trending because it looks artistic and soothing, and shells add a handcrafted feel. For cost, you can choose a few affordable shells for the rings and let empty gaps create an elegant airy pattern. To help cleaning, pick sealed shells and add a clear protective finish to the base so dust does not cling to rough surfaces.
5. Seashell Name Initial or Lettering Sign
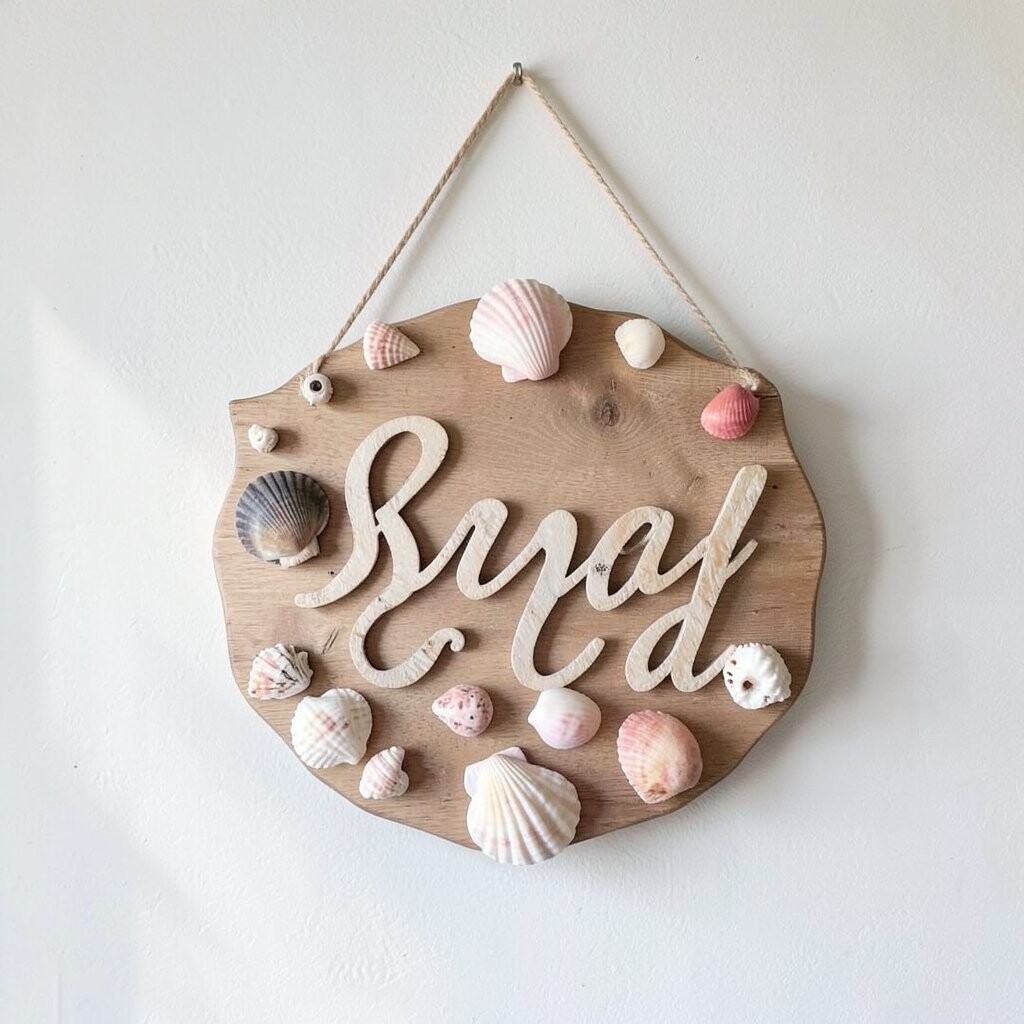
A seashell letter sign makes your wall feel personal from the first glance. Imagine a large initial covered with tiny shells, with the edges catching light like a sparkling shoreline.
This idea is unique because it turns beach decor into a family story. Choose a bold letter cutout from wood, foam, or cardboard, then outline it with a thin border of larger shells for strong shape. Glue small shells inside the outline in a tidy pattern, and leave a few shells spaced for texture variety. You can personalize by matching shell colors to your room, such as all-white for a bright coastal bedroom or warm mixed sand tones for a living room. This type of custom decor also fits modern trends because personalized wall art is still a favorite. For cost, it is often cheaper to pick one large letter and fill it with smaller shells than to buy multiple decorative pieces. If you want it practical, attach a hanger on the back and reinforce the glue points so shells stay secure over time.
To make it feel extra special, add a small date charm or a tiny shell near the corner that represents a trip or a memory. If you prefer a neat look, use a consistent direction for shell placement so the letter looks smooth and intentional.
6. Floating Shelves With Layered Shell Display Trays
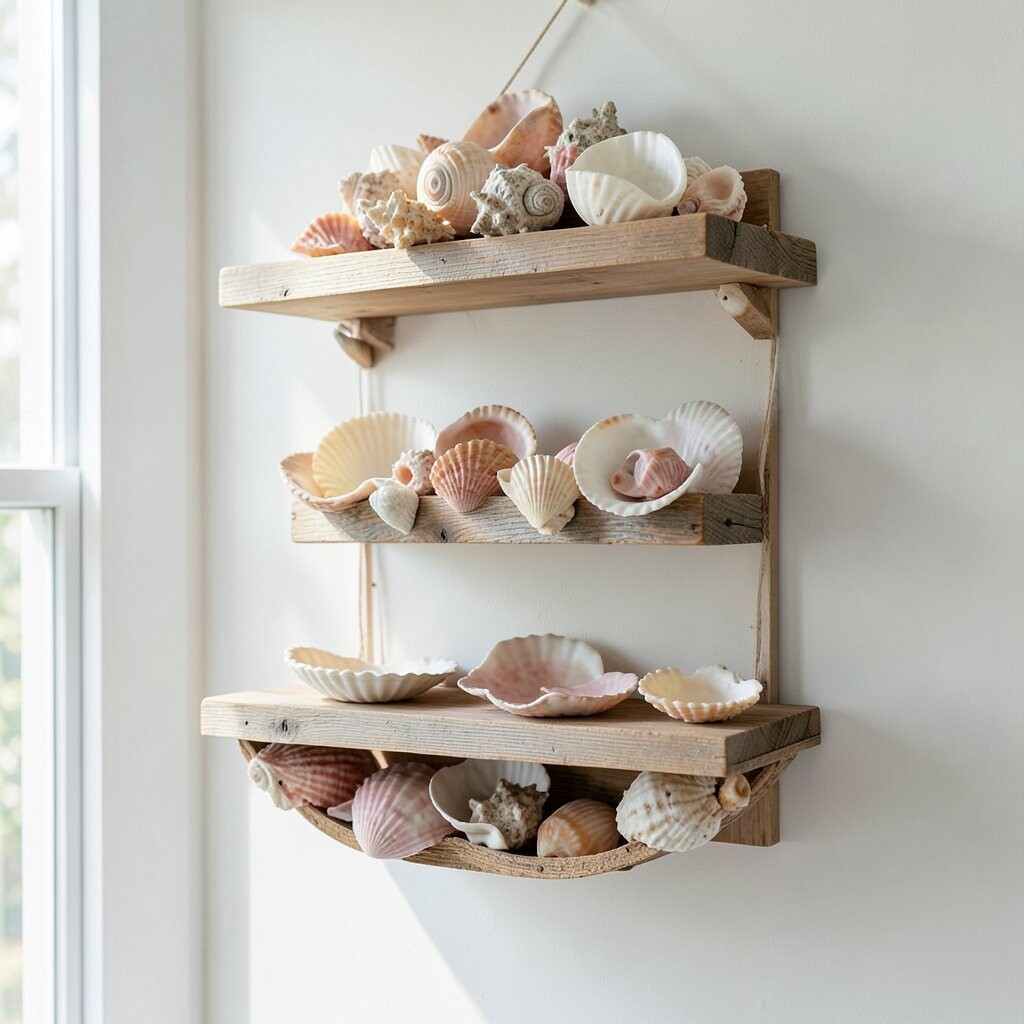
Floating shelves paired with shell display trays make your decor feel organized and easy to enjoy. You can picture a small tray with shells in one shelf, another tray with a different texture on the next shelf, and a soft lamp casting gentle highlights.
This setup benefits you because it gives quick visual variety without needing one large statement piece. Use a tray or shallow bowl as the “stage,” then place shells with a little space between them so each one stands out. Add height by including a small piece of driftwood, a mini sea glass cluster, or a smooth stone near the back. For personalization, rotate seasonal items such as starfish-inspired accents, coastal colors, or a themed color scheme for holidays. Shell shelf styling remains popular because it looks like curated home styling rather than a single craft project. Cost-wise, you can start with one shelf and one tray, then build slowly as you find shells at craft stores or markets. For practical tips, keep heavier shells toward the center of the tray and wipe shells gently with a dry cloth so the display stays clean.
This method also helps if your wall space is limited, because you can spread the look across vertical space. If you like symmetry, mirror the trays with matching shell tones. If you like a relaxed feel, mix sizes and let the arrangement look natural.
7. Vertical Shell Curtain Panel for Light and Texture
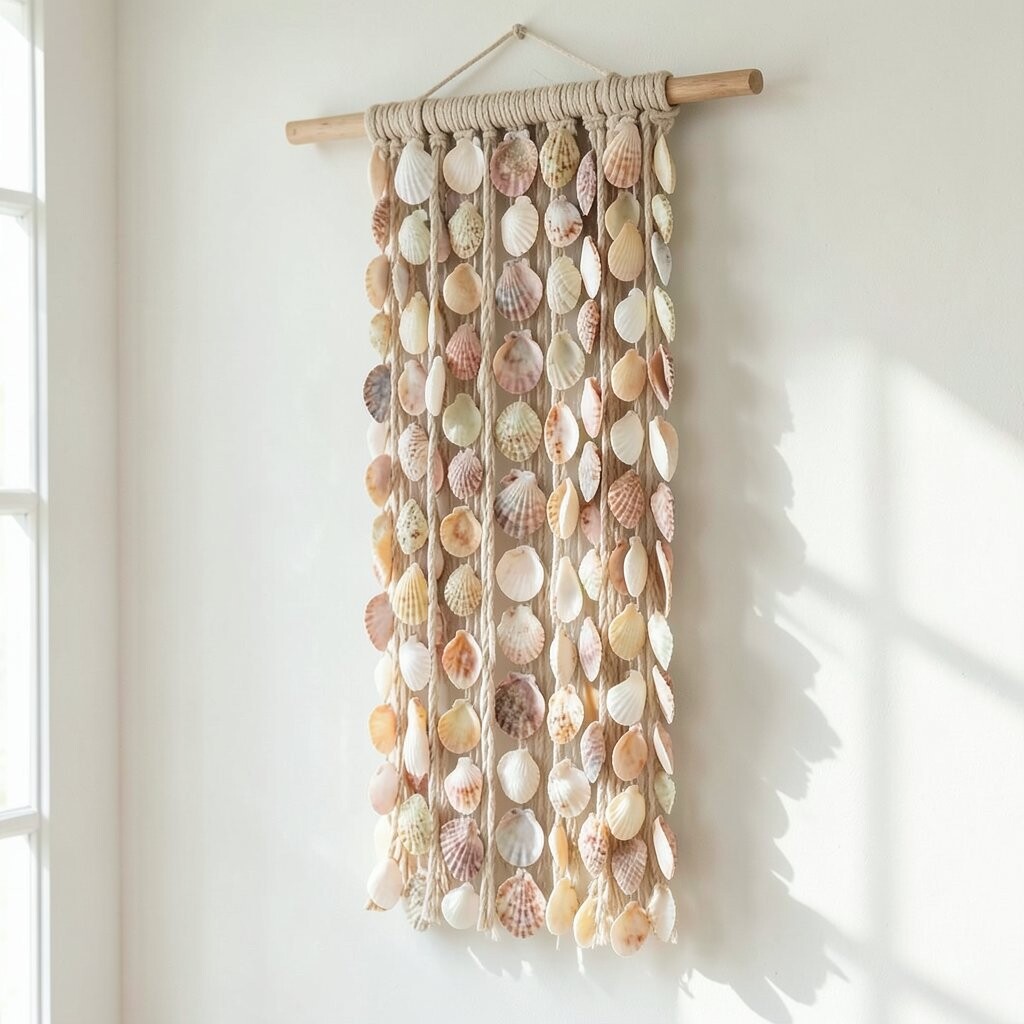
A vertical shell curtain panel creates a soft, hanging effect that changes with every breeze. Imagine slim strips of cord with small shells spaced along the length, swaying slightly as light moves across them.
This idea is useful when you want wall interest without covering the whole wall. Use a strong top rod or a curtain track, then attach cords or netting strands with shells that match your room colors. It stays unique because the shell spacing creates a rhythm, and the translucent look of shell edges can glow near windows. Personalize it by choosing shells that share similar tones, then adding a few standout pieces to act like “anchors” at eye level. This kind of hanging decor is trending in spaces that lean airy and modern, especially where natural textures are welcome. Cost considerations are manageable because you can start with fewer shells and let the gaps stay part of the design. For a practical tip, weigh down the bottom with a small wooden dowel or a neat knot bundle so the panel hangs straight.
8. Shell Mosaic Tile Look With a Coastal Color Palette
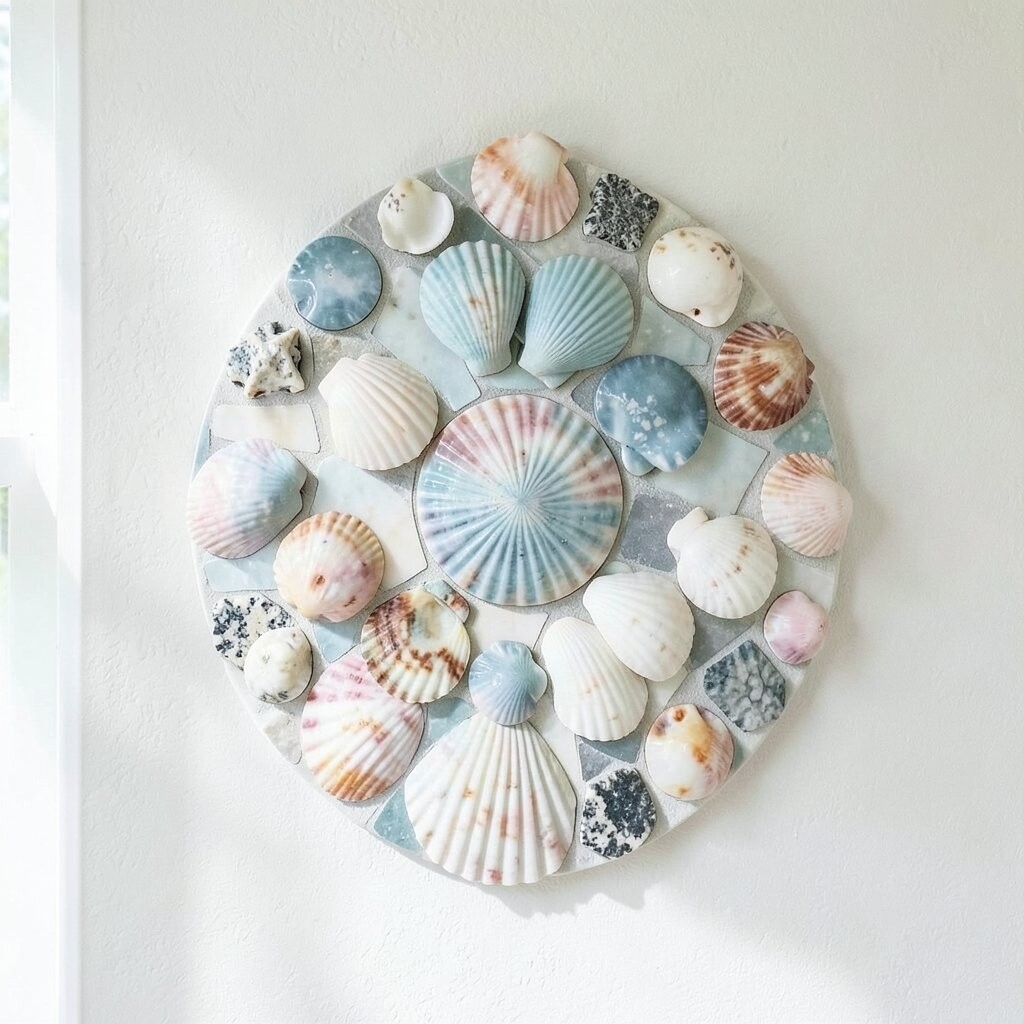
A shell mosaic gives a crisp, artwork-style finish that looks polished on any wall. Picture small shell pieces arranged like tiles, forming patterns such as waves, chevrons, or soft waves within a border.
This option benefits you by turning your collection into a structured design instead of separate pieces. Choose a board backing such as a small canvas panel or plywood, then outline a simple wave pattern before placing shells. Use consistent shell thickness when possible for a smoother look, and fill tiny gaps with grout-like filler if you want that tile effect. Personalize by selecting a palette such as sea glass green, creamy whites, and sandy gold, or by adding one “sparkle” section made from mirrored shells or polished fragments. Mosaic style remains popular because it looks like gallery art while still feeling handmade. For cost, you can break down expensive shells into smaller mosaic pieces, stretching your budget further. If you want it practical, seal the finished mosaic and wipe it with a soft dry cloth to keep it looking bright. A clear finish also helps with uneven shell edges so the surface feels more uniform visually.
9. Seashell and Rope Wall Knot Art
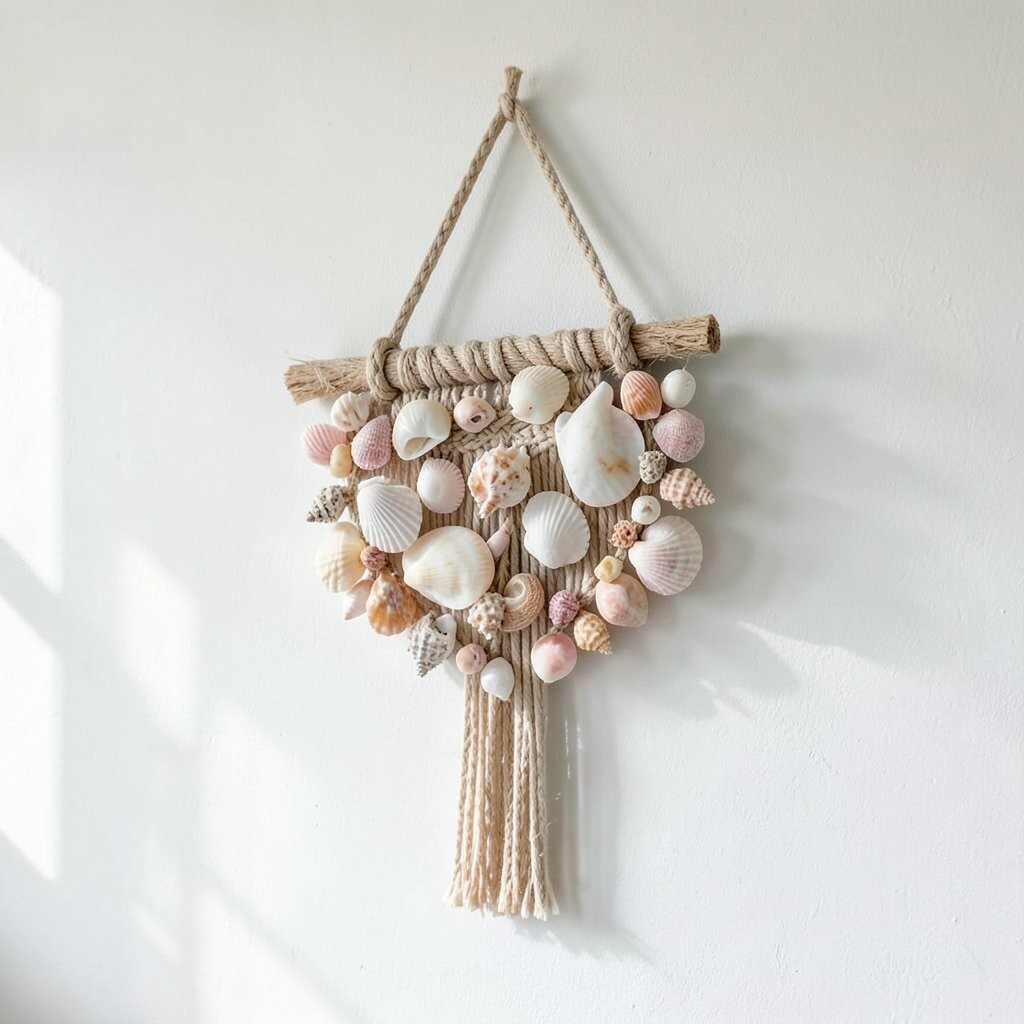
Seashell and rope wall knot art blends beach textures with classic knotting style. Imagine a braided rope circle or rope square with shells tucked into the knots like little treasures.
This design is surprisingly easy to adjust for your space and it stands out because of the mix of soft rope and hard shell shapes. Start with a sturdy backing such as a wooden plaque or a canvas board, then attach rope using hot glue or craft-safe adhesive in the shapes you like. Press shells into knot-like loops or along braided edges so they look integrated rather than just pasted on top. Personalize it with a theme such as “coastal sunrise” using warm shells and sun-colored accents, or “ocean calm” using cooler shell tones. Knot-inspired decor is currently trending because it feels coastal but also stylish and modern. For cost, rope is usually affordable, so your spending can focus on shells that you truly love. To keep it practical, avoid overloading the piece with heavy shells so the rope stays flat and the hanging hardware remains secure.
If you want a cleaner look, trim ends neatly and smooth any glue bumps before everything dries. A simple border of rope can also make the shells feel framed without needing a traditional frame.
10. Coastal Terrarium-Style Shadowbox With Shell Bed
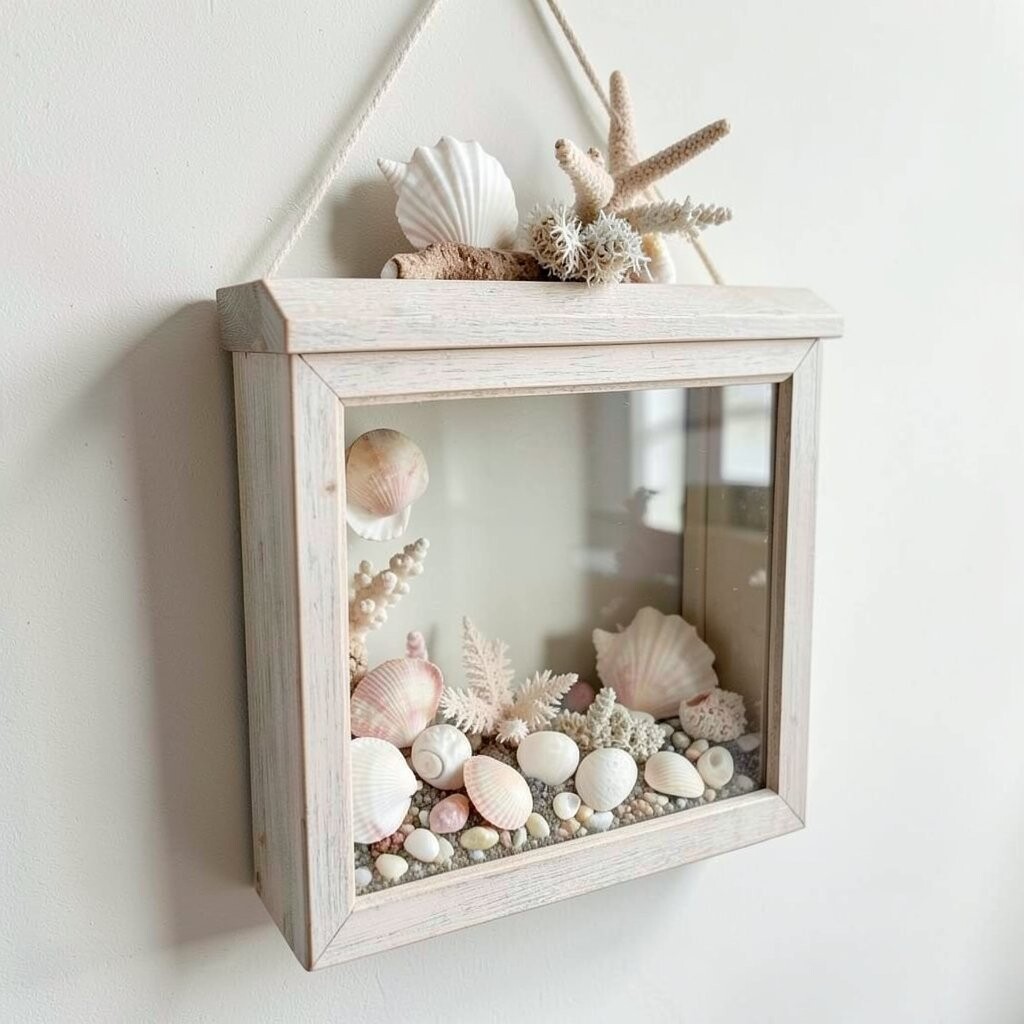
A terrarium-style shadowbox brings a mini beach scene into your home. Picture a sealed glass-front box holding a “sand bed,” shells, tiny pebbles, and maybe a small piece of dried sea plant for texture.
This idea offers benefits beyond looks because the enclosed space helps protect shells from dust. Choose a clear-front shadowbox or small display case, then build layers slowly so the arrangement looks like a real shoreline. Use craft sand or fine aquarium sand as the base, and keep the tallest shells toward the back so everything lines up nicely. Personalize it by adding a small starfish-shaped accent, a tiny ribbon tag, or a hand-lettered word on the back glass. Current trends favor curated, enclosed display pieces because they feel clean and intentional. Cost considerations are important here since glass boxes can add up, but you can find budget options at discount stores or repurpose a thrifted frame with a clear insert. For practical care, use sealed materials and avoid adding items that can crumble, then wipe the glass with a gentle cleaner.
11. Shell and Canvas “Wave Line” Painting With Texture
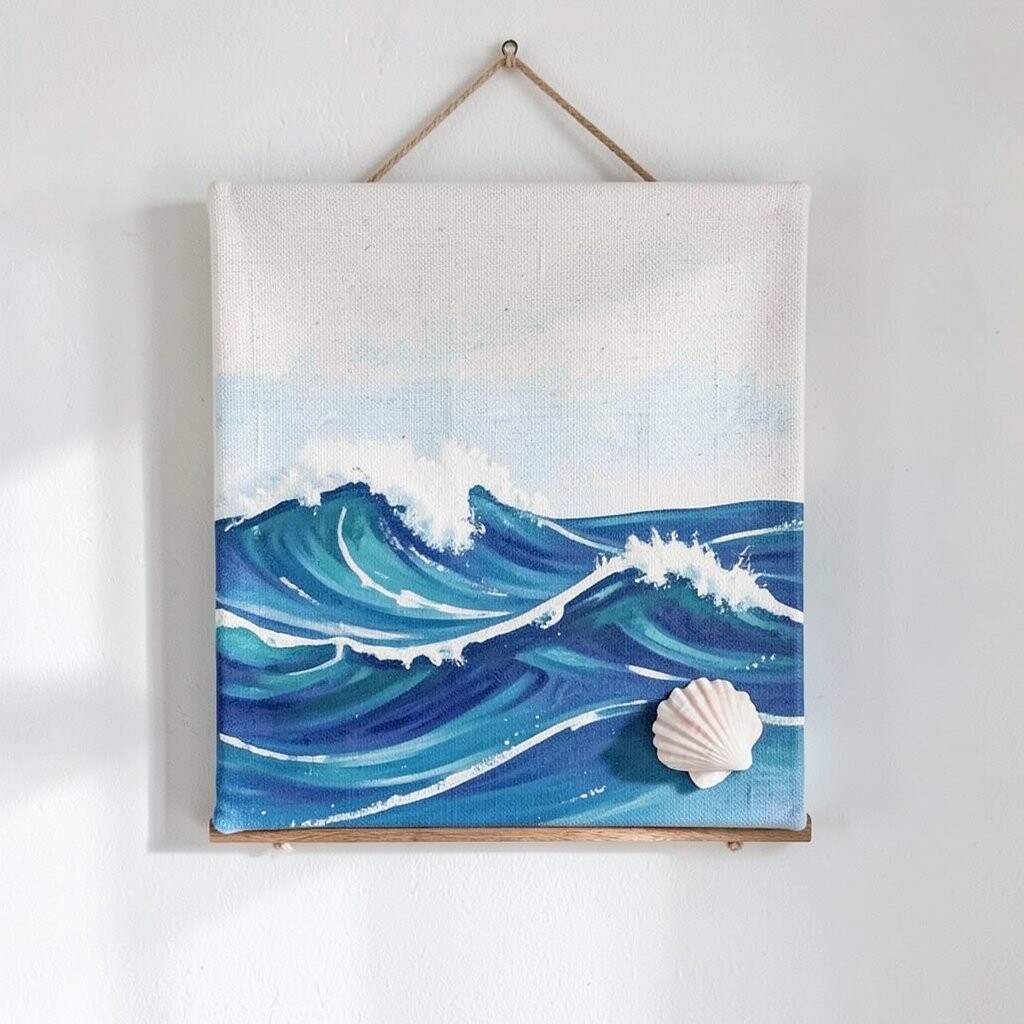
A wave line painting with shell texture turns a simple canvas into coastal art. Imagine a flowing blue-and-beige wave drawn across fabric, then enhanced by small shells placed along the “foam” line.
This option helps you blend creativity with practical crafting, especially if you enjoy painting. Start with acrylic paint to map the wave shapes, then use a thin line of glue where you want the shells to create texture. Arrange shells like scattered foam so they cluster lightly at the crest and thin out below. Personalize by adding a subtle gradient background such as ocean blue to sand beige, or by using tiny shells in matching tones to your existing wall color. Texture painting is trending now because it looks artistic, not just decorative, and it adds depth you can feel with your eyes. Cost-wise, it is budget-friendly because canvas and paint are easy to find, and shells can be minimal since they act as accents. For practical tips, choose small lightweight shells and use a clear sealer over the whole surface so the painted areas stay protected too.
To make your wave line look natural, keep shell placement irregular but intentional, as if you are sketching the foam. If you frame the canvas, the finished piece looks extra neat and ready for hanging.
12. Oversized Seashell Wreath for a Front Door or Accent Wall
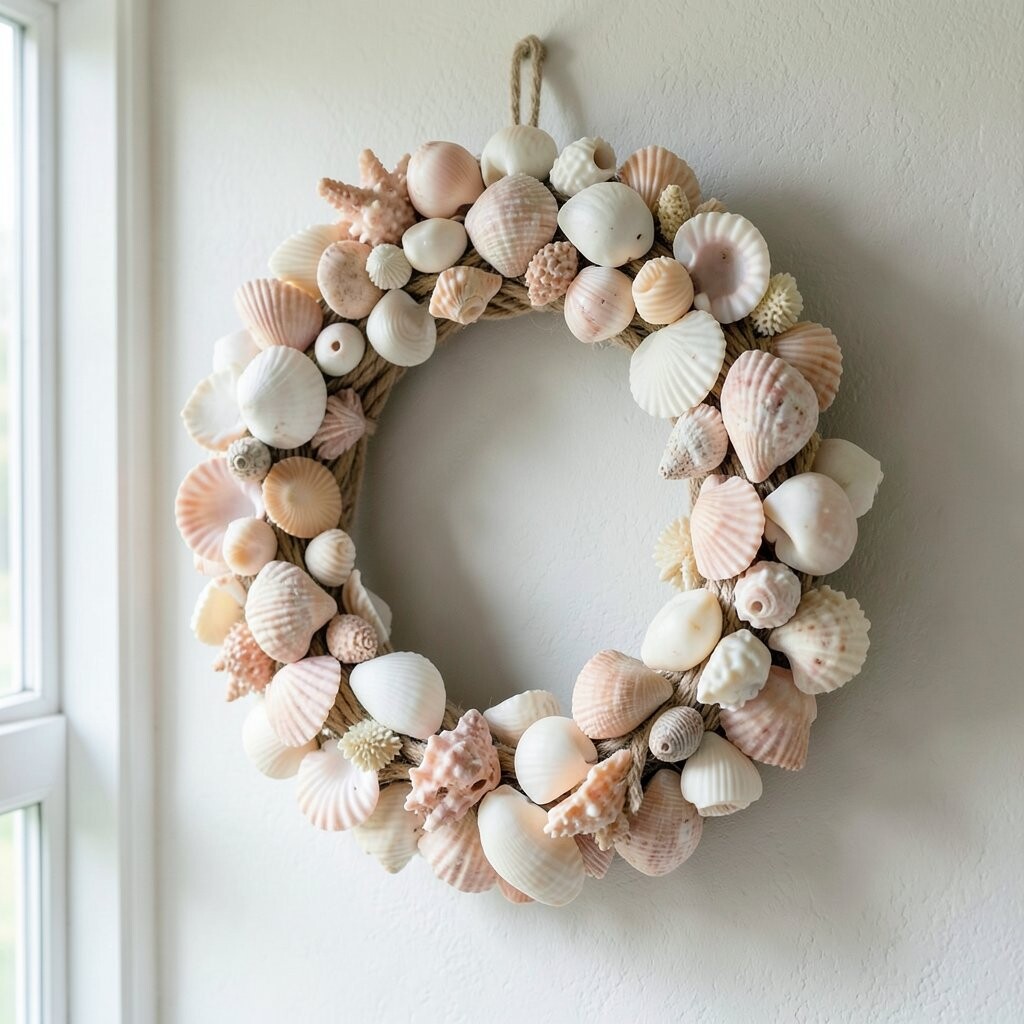
An oversized seashell wreath makes a bold statement that feels welcoming and festive. Picture a circular wreath base covered in shells of different shapes, with a few smooth sea stones tucked between for a richer texture.
This idea benefits you by giving an easy “wow” look without needing complex tools. Use a foam, wire, or grapevine base, then glue shells in overlapping rows so it looks full from a distance. Personalize it by choosing a theme such as monochrome white shells for a modern coastal style or a mixed natural look for a relaxed vibe. Wreath decor remains popular because it fits many seasons, and shell wreaths feel especially fitting for beach homes. Cost considerations can be controlled by using a mostly inexpensive base and focusing your budget on a few statement shells for the top and sides. For practical tips, reinforce hanging points with wire loops so the weight is supported safely. If you live in a humid area, consider sealing the wreath so shells do not dull over time.
13. Seashell Collection “Color Story” Gallery Grid
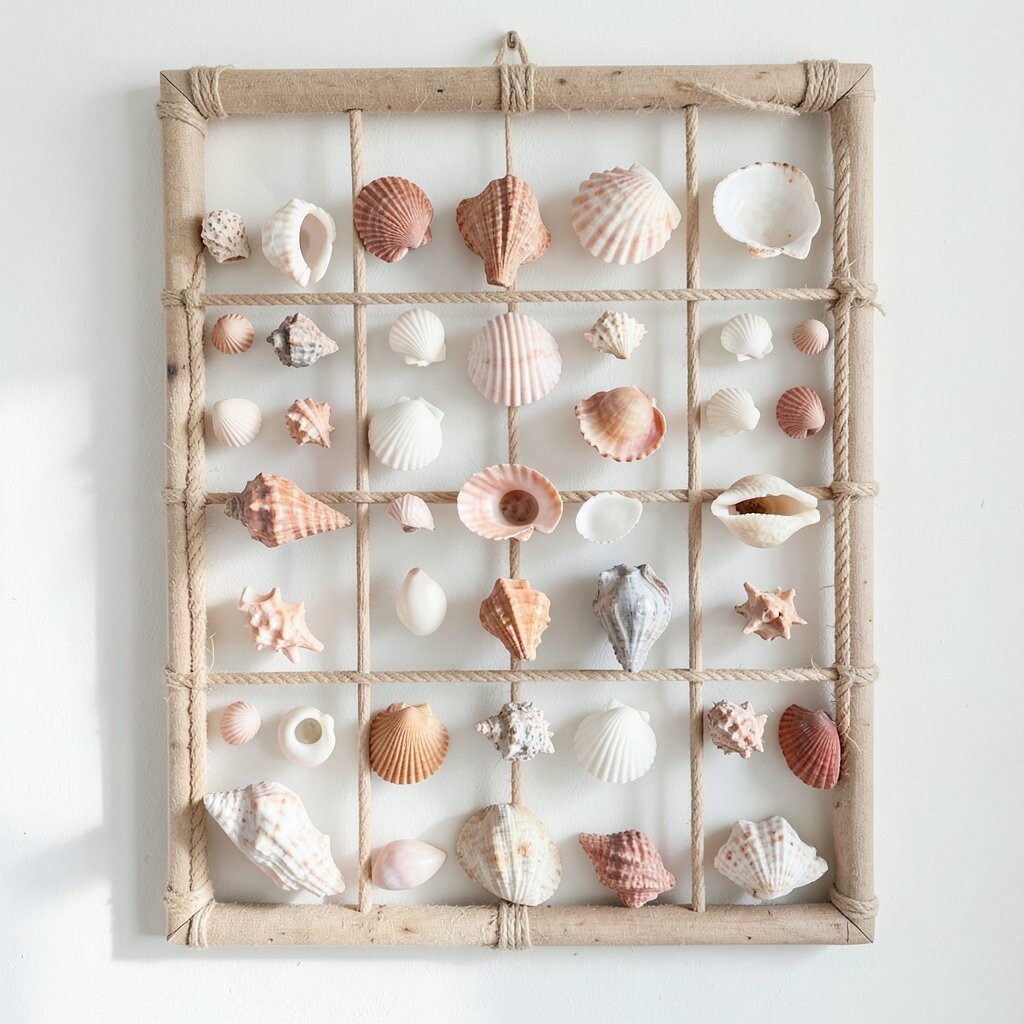
A color story gallery grid turns shells into a curated mini museum on your wall. Imagine a series of small frames or shadowbox squares arranged in a grid, each showing shells in a slightly different shade from creamy white to sandy gold.
This setup helps your decor look intentional because the collection is sorted by color and size. Use matching frames or consistent matting so the grid feels tidy, then fill each section with shells that belong to that color family. Personalize it by mixing shell shapes within a shared palette, or by adding tiny labels made from stamped paper behind the glass. This kind of structured display is trending because it looks like modern home styling rather than a single craft project. Cost can be managed by starting with a small grid and adding panels over time, using thrifted frames to save money. For practical tips, keep shell surfaces clean and sealed, and avoid heavy shells in tiny frames so hanging stays safe. When you photograph your layout before gluing, it is easier to keep symmetry and spacing consistent across the grid.
If you want a more playful twist, add one panel that breaks the palette with a brighter accent shell tone. That little surprise makes the whole gallery feel lively without making it messy.