
Every time you open the door, a seashell wreath makes the whole space feel coastal and warm. It adds charm without needing complicated tools or a big budget.
From simple circle wreaths to bold statement styles, these ideas give you plenty of ways to match your entryway. You can keep it breezy, rustic, or a little glamorous depending on how you style your materials.
1. Driftwood-Backed Beach Circle
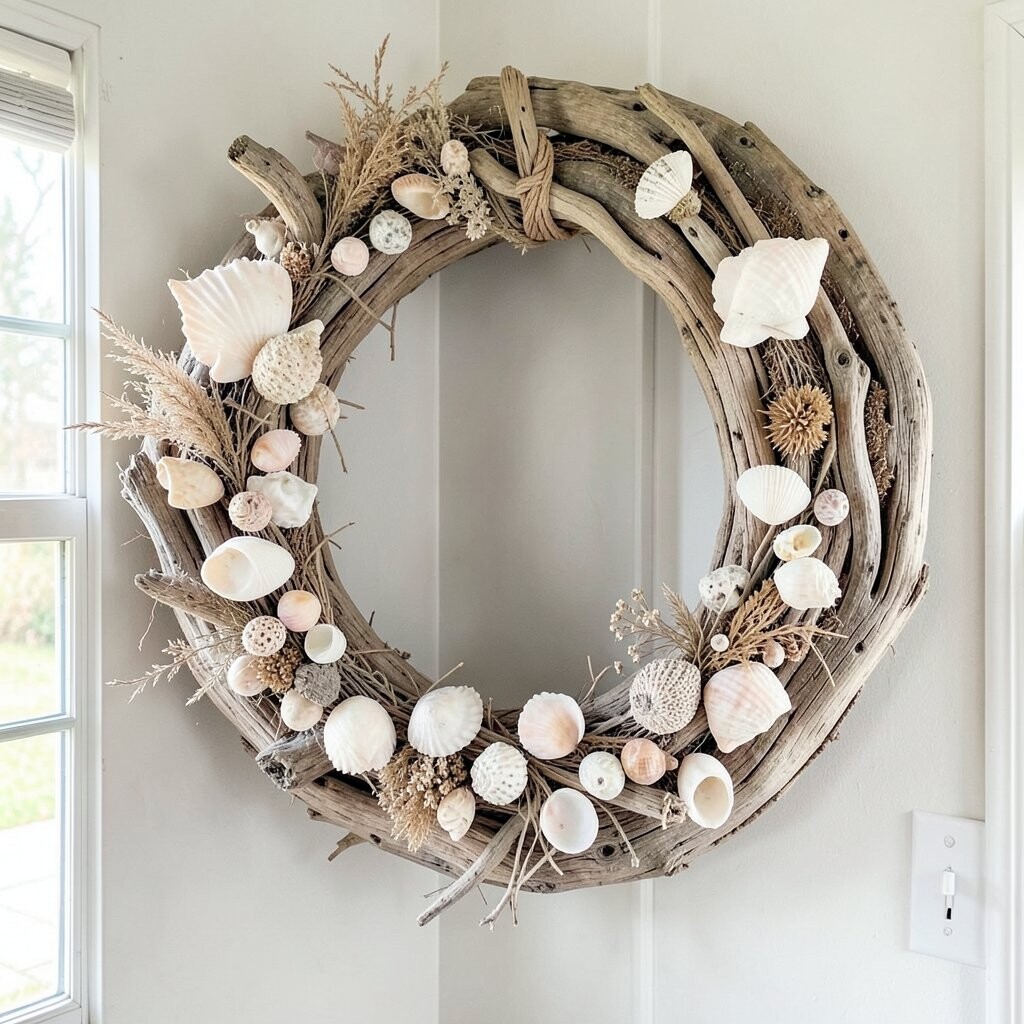
Picture a wreath base made from knotted driftwood pieces that look like they came from a quiet shoreline. Small seashells rest across the front like scattered treasures after a calm tide.
Choose a natural wreath form, then tuck flatter shells along the outside edge for easy spacing. To keep it looking neat, lay the shells in a dry pattern first, and only glue once you like the flow. This style feels unique because driftwood already has texture, so your seashells never look “stuck on” without meaning.
For practical upkeep, place the wreath in a covered spot near the entry so it stays dry during storms. If you live in a humid area, wipe shells gently with a soft cloth every few weeks to prevent dust buildup. When it comes to cost, a driftwood style can be mid-range because natural wood pieces vary, but you can still save money by using smaller driftwood sections and focusing shells on the most visible areas.
Personalize it by adding one or two larger statement shells at the top or bottom to balance the look. Pair warm neutral shells like sand-colored clams with a few darker accents, such as small spiral shells, for depth. This look stays true to current coastal trends that mix beach softness with rustic texture.
2. Mini Shells With Jute Rope Bow
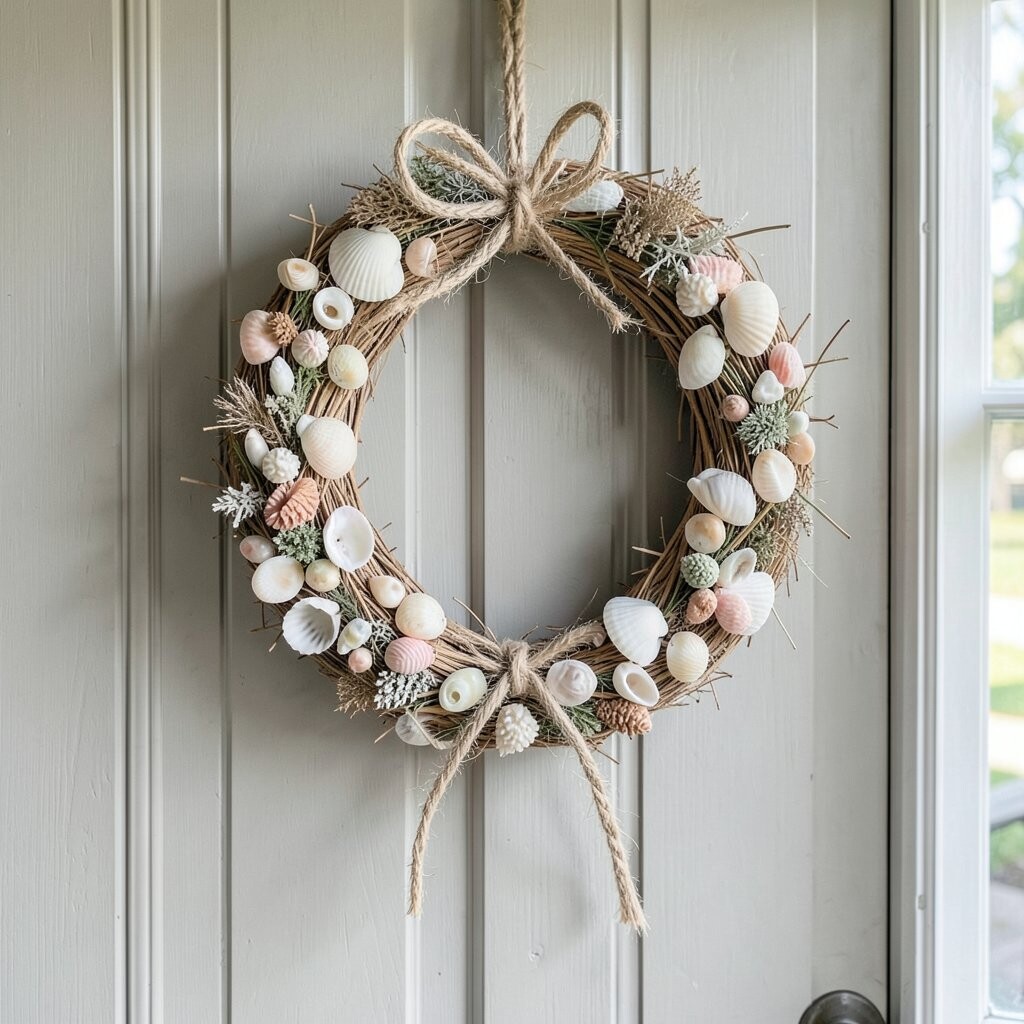
Imagine a wreath that feels light and friendly, covered in tiny seashells that create a gentle sparkle. A jute rope bow sits near the top, tying the whole design to a rustic entryway.
Start with a foam or wire ring, then glue small shells close together so you get even coverage. Leave a thin strip of the base visible only if you want a breezy, airy look rather than full coverage.
This wreath looks great because the tiny shells give a soft “pepper” effect that catches light as you walk past. It also offers practical value since small shells can hide minor gaps better than large pieces.
For personalization, choose shell colors like ivory, pale pink, and warm tan for a calm palette. If you like a modern touch, add a few polished shells or a thin line of starfish-shaped accents for a subtle sparkle.
When planning your budget, tiny shells often cost less per look because they cover more surface area without needing huge expensive specimens. Use leftover craft shells from past projects, or mix in a few affordable faux shells for bigger visual impact. This idea fits current trend love for natural fibers, like jute and linen, paired with coastal details.
To keep it durable, use a strong craft glue and press shells firmly for a few seconds. If you want extra weather resistance, spray a clear sealer made for outdoor crafts after the glue cures fully.
3. Coastal Pallet Accent With Sand-Tan Variation
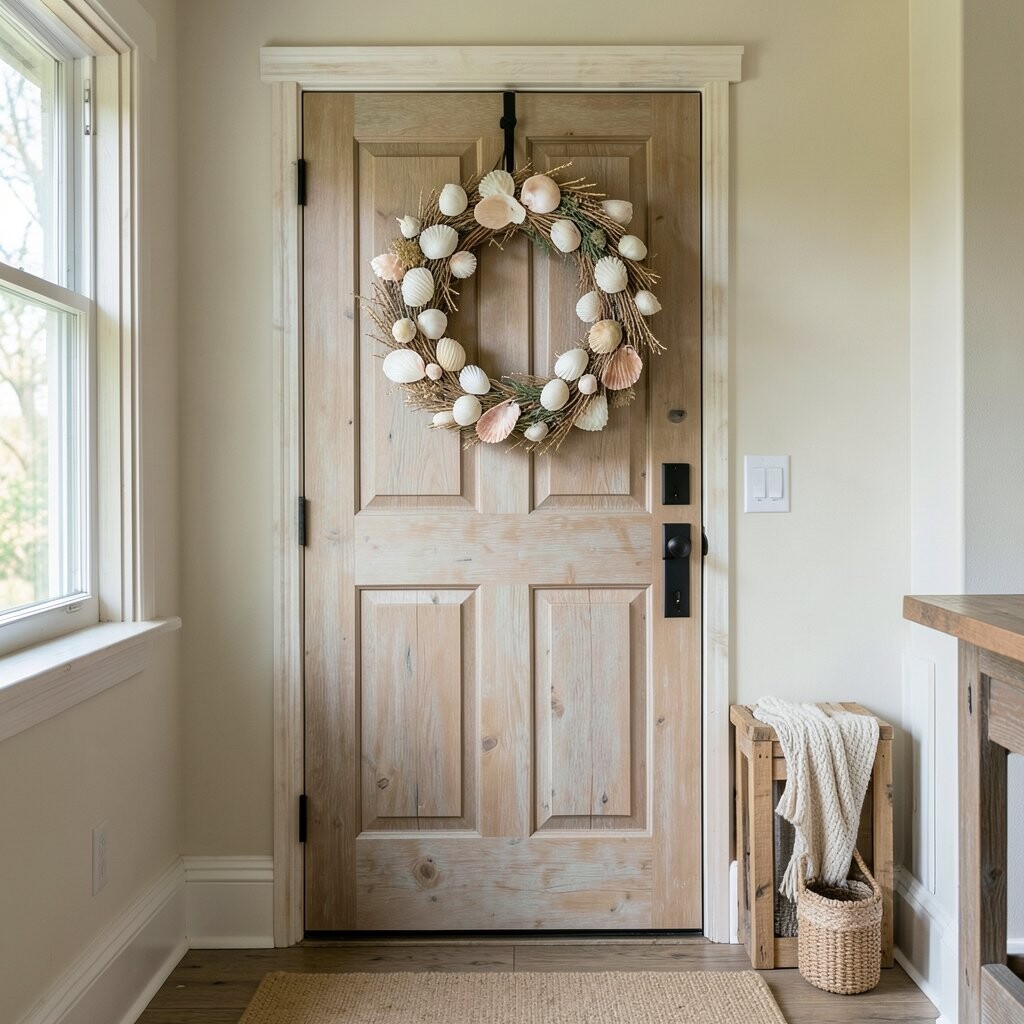
Visualize a wreath that borrows the calm color of beach sand, using shells in soft tan and creamy off-white. A small wooden plank accent gives it that rustic entry feel right away.
Build your base with a simple circular form, then cluster shells so the lighter tones dominate the outer edge. Add a few shells in slightly darker sand shades near the center to create a natural gradient.
What makes it feel special is how the tones flow together, like ripples spreading outward. You also get flexibility because you can swap in any shell mix you find, as long as the colors stay in the same family.
For practical tips, keep shells mostly the same size if you want an even surface, or mix sizes only near the center for interest. Use thin twine or ribbon to hang it from a hook so it sits flat and doesn’t twist.
When thinking about cost, a sand-tan palette is friendly because you can often find many inexpensive shells with similar colors. Borrow from friends or family who collect shells too, and mix real shells with a few craft pieces to stretch your supplies. Personalize it by attaching a small label tag with painted lettering that fits your entry style, like a family name or a season word.
This design also matches current trends in calm neutrals and warm natural decor, especially for rustic homes that want coastal charm without looking too busy. You’ll get a look that feels cozy, not cluttered.
4. Starfish and Spiral Shell Topper
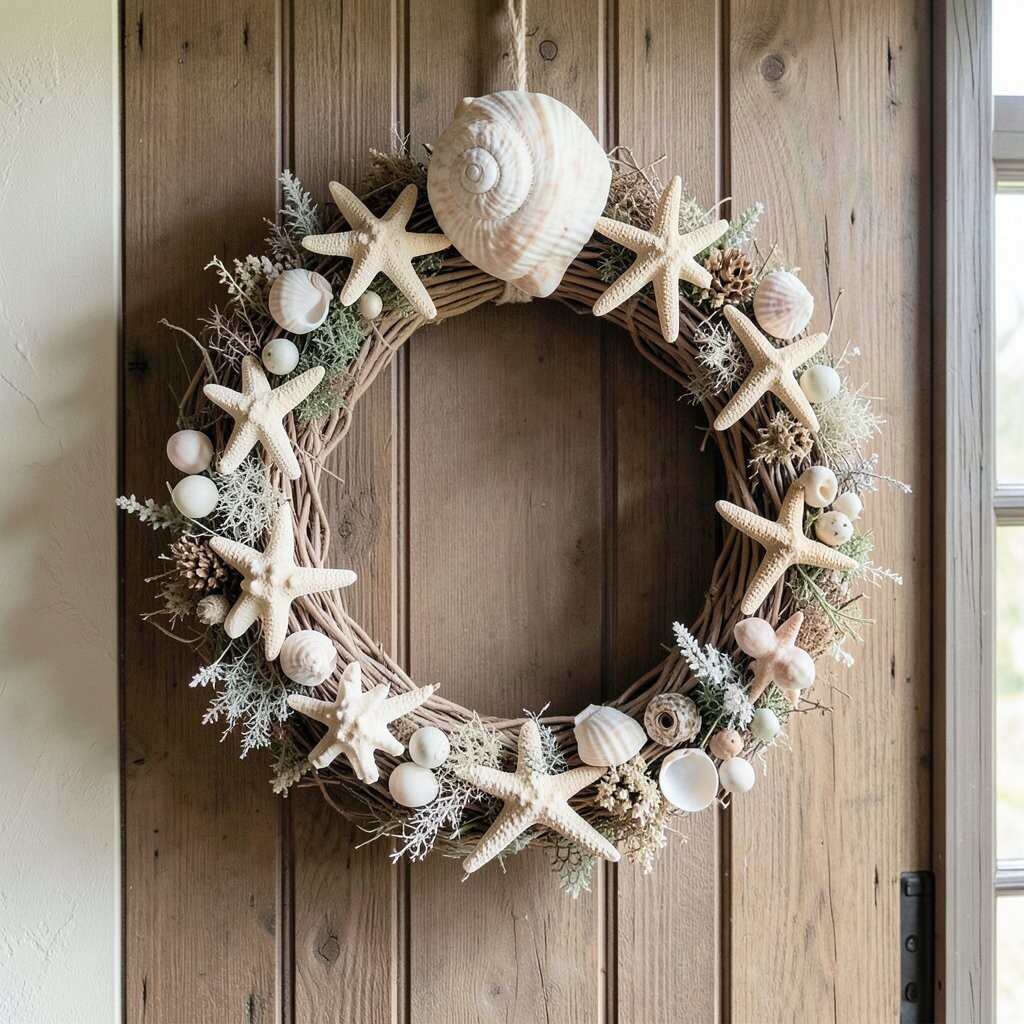
Think of a wreath with a clear focal point, where a starfish and a couple of spiral shells anchor the top. The rest of the shells fill in like a halo around that centerpiece.
Start by choosing one strong theme element, like one small starfish, then surround it with mixed shells that vary in shape. Place spiral shells and a few tiny ridged shells near the top so your eye naturally travels upward when you enter.
This idea feels unique because it creates movement with different curves and textures instead of only repeating similar shapes. It also makes the wreath look “designed” even when you use a simple base like a grapevine circle.
For practical tips, avoid heavy pieces that can pull the wreath forward on windy days if you hang it outdoors. Use a few small shell clusters on the outer edges to balance the weight of the main topper.
Cost can stay reasonable since starfish and spiral shells can be purchased in craft packs that include several shapes. If you already own a few real shells, use them as the featured elements and fill the rest with matching affordable pieces. Personalize by choosing colors that match your entry door, like creamy shells for light doors or warmer, sun-kissed tones for darker finishes.
5. Chalk-Painted Wreath With Seashell Edge
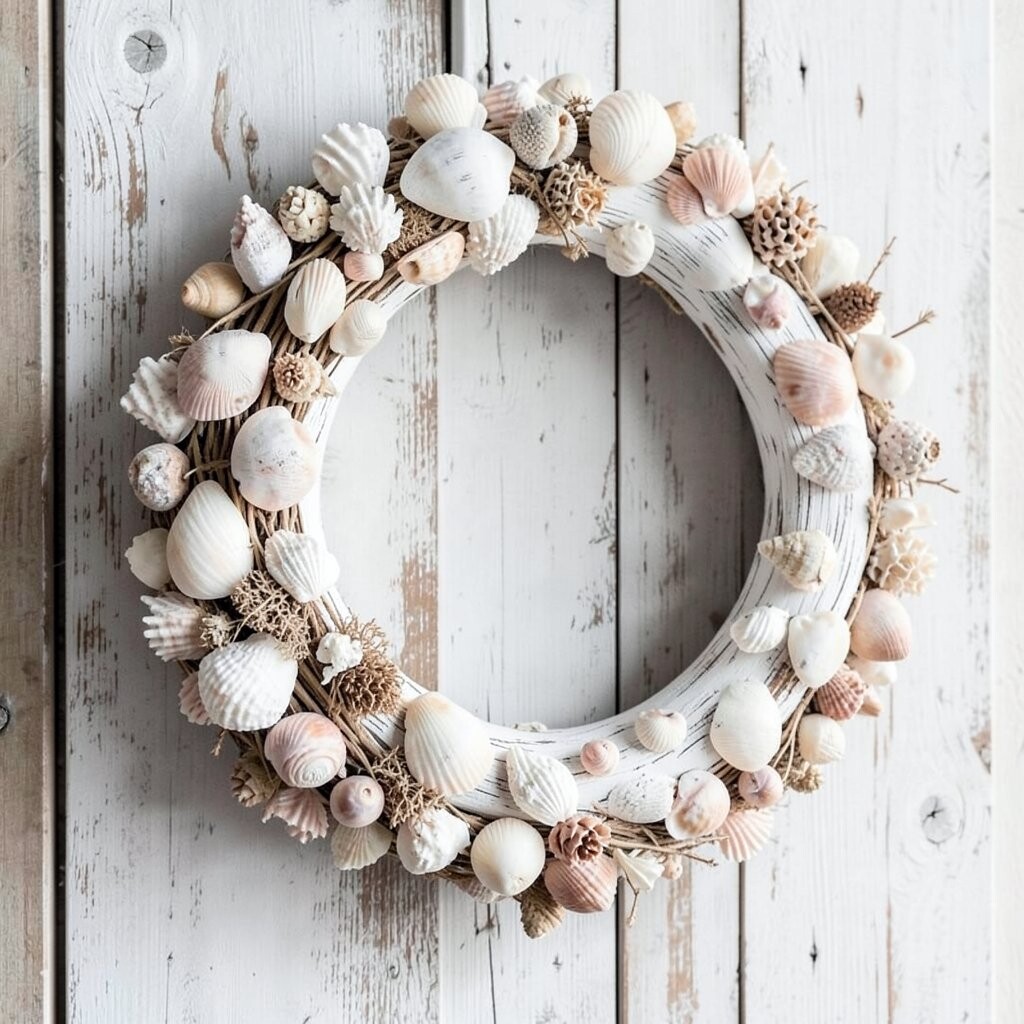
Picture a wreath with a chalky painted base, then just a ring of seashells along the outer edge. The soft paint makes the shells stand out without covering every inch.
Choose a matte base color like seafoam, pale gray, or warm white, then paint or use a pre-painted craft ring. Glue shells in a neat band around the perimeter, and leave the inner section clean for a modern, airy look.
This style is popular because it feels coastal but also a little farmhouse, with a clean border that looks tidy from across the porch. You’ll also save time since shell placement is focused rather than total coverage.
To personalize, add a small strip of ribbon in a matching tone, like burlap or cotton twill, tucked behind the shells. For practicality, keep the wreath indoors or on a covered porch, since painted surfaces can scuff if left fully exposed.
In cost terms, this can be budget-friendly because you need fewer shells than full coverage designs. Current trends lean toward less-is-more decor, and this border approach fits that vibe nicely.
6. Overlapping Shell Panels for Full Texture
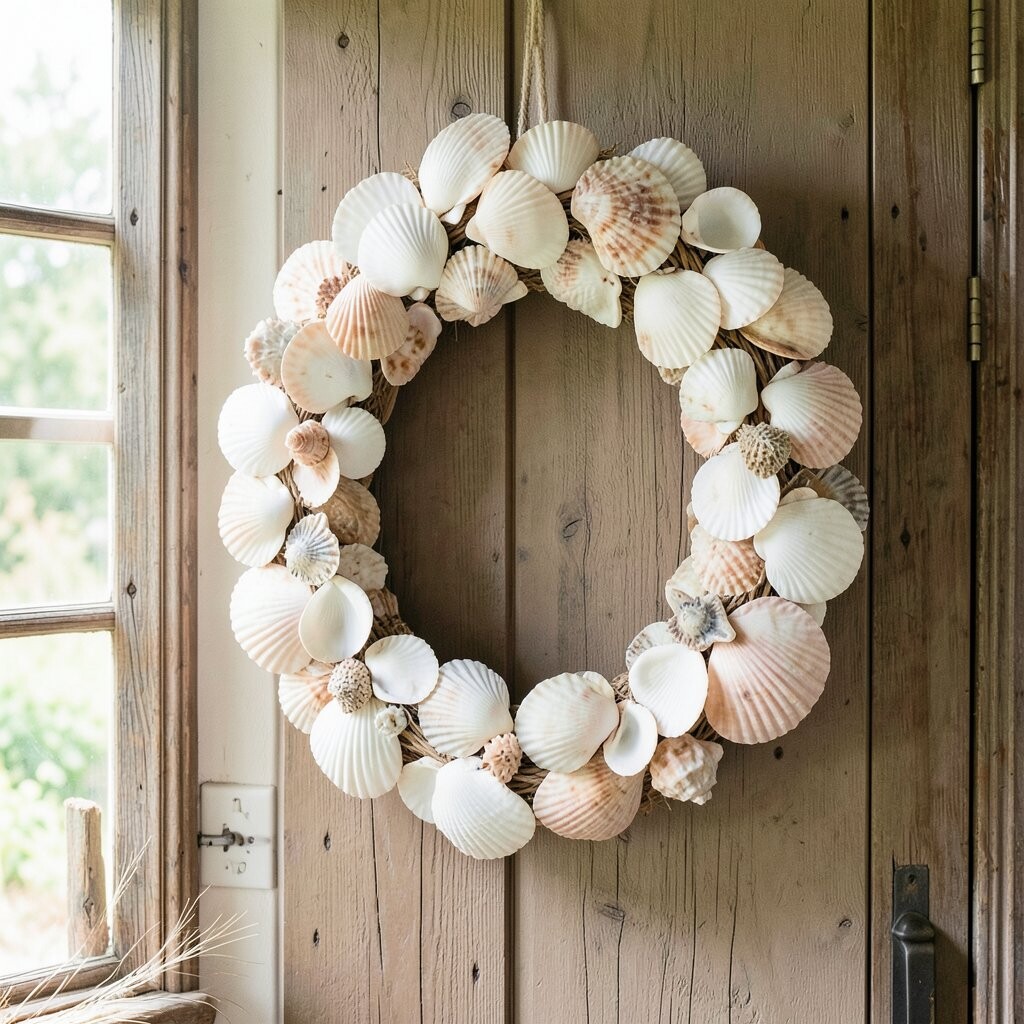
Imagine a wreath that looks almost like a shell mosaic, with pieces layered so you can feel the depth. When light hits it, the ridges and edges create a gentle shimmer.
Use a base form that holds shape well, then overlap shells in rows like shingles. Start from the outside and work inward so the seams look hidden and the top layer always covers gaps.
This wreath offers big visual impact, which is great for entryways that need a strong first impression. The layered texture is also practical because small shells can reinforce coverage and hide minor imperfections.
Personalize by using two shell families, like scallop-like shells and spiral shells, to create a subtle pattern. Choose a consistent color scheme to keep it cohesive, such as all creamy tones with one accent color like soft coral.
For cost considerations, layered panels can be mid-range depending on shell type, but you can stretch your budget by mixing larger shells with smaller filler shells. If you want weather resistance, use a strong adhesive and add a clear spray sealer after everything cures.
7. Grapevine Base With Natural Beach Assortment
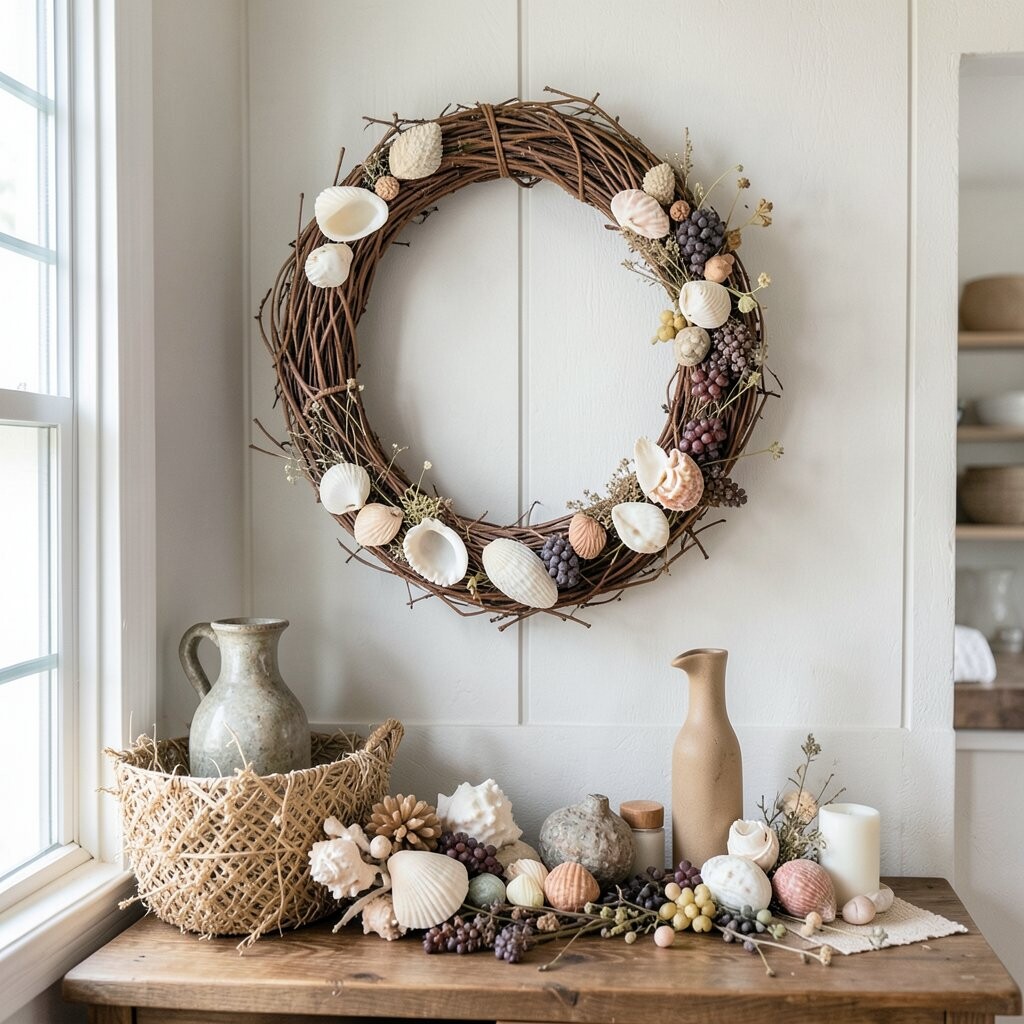
Visualize a wreath with a brown grapevine circle that shows through between shells, giving it an authentic, rustic look. Seashells appear to sit naturally on the curve rather than being glued into a solid wall.
Choose a mix of shells with varied sizes and edges, then glue them so the grapes remain visible like tiny shadows. This makes the wreath look airy while still delivering beach charm.
What makes it unique is the balance between organic texture and coastal detail. The grapevine also helps you adjust shell placement easily because you can tuck shells into gaps.
For practical tips, use hot glue in small spots so shells don’t slide while the glue sets. If you plan to use this outside, consider a weather-safe glue and keep the wreath covered when possible.
Cost can stay low if you buy a small assortment pack and focus on the most attractive shells for the outer ring. Personalize by adding a few sprigs of faux beach grass or dried sea oats to match current coastal styling trends.
8. Seaside Monogram Shell Letter Wreath
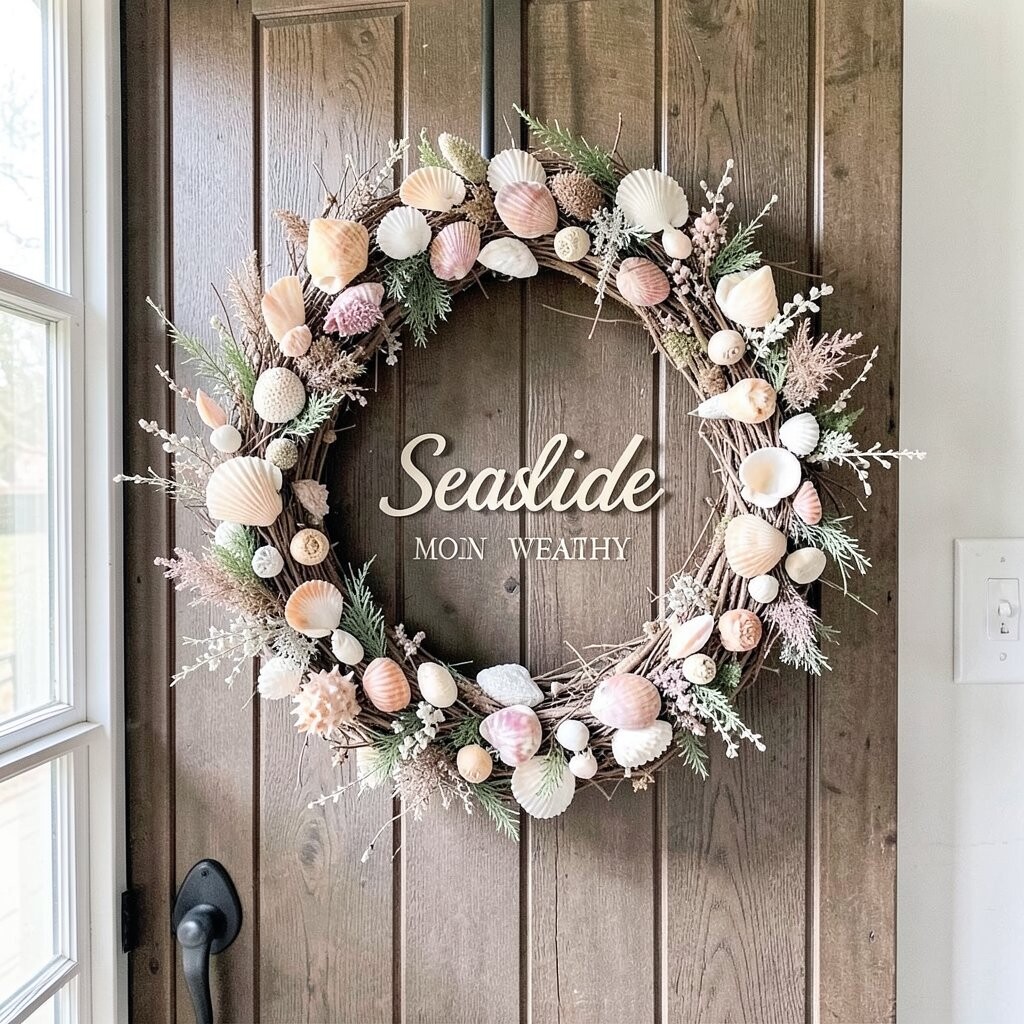
Picture a wreath that includes a clear letter or initial, shaped with shells in a bold, readable design. Your entryway instantly looks more personal and welcoming.
Start with a circular wreath base, then create a monogram using a lightweight wood or foam letter. Glue shells onto the letter first so the shapes look crisp, then add smaller shells around the outer ring to connect it all.
This style feels unique because it turns a decorative wreath into a message, not just a pattern. It’s also practical because you can make the letter as small or as large as your entry space needs.
Personalize with your family name initial, a seasonal word, or even a number if that fits your home. Use a cohesive shell color palette for the letter so it stays readable from the sidewalk.
Cost considerations vary, but you can often keep it reasonable by using one letter and a limited shell amount for the ring. Choose budget-friendly shells for the outer border, then splurge slightly on the shells that cover the monogram for extra shine.
Current trends favor personalized decor, and a monogram wreath is a great way to get that look without overwhelming your entryway.
9. Rustic Burlap Wrap With Shell Corner Clusters
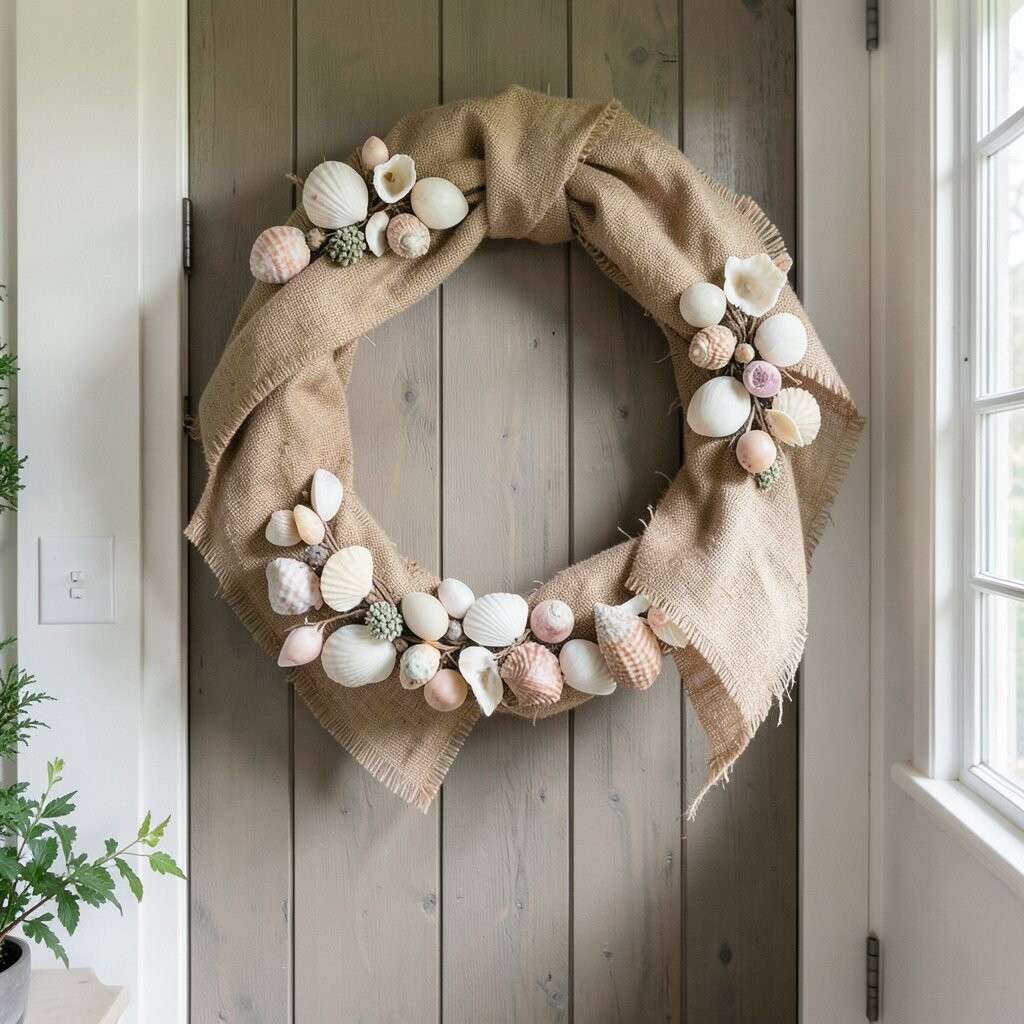
Imagine a wreath that starts with a burlap wrap, giving it that farmhouse texture, then gets shell clusters in only a few key spots. The shells look intentionally placed, like art on a wall.
Wrap burlap around a grapevine or wire base, then secure it with twine or staples. Glue small shell groups at the top and sides, and leave the center mostly burlap for breathing room.
This wreath is unique because it mixes soft fabric with shell texture in a way that feels cozy and wearable. It also helps with practical durability since burlap hides minor glue marks and keeps the base from looking bare.
Personalize by using burlap in a dyed shade that matches your door, like dark tan or muted gray. Add a tiny accent such as a small starfish or a couple of polished shells near each cluster to keep symmetry.
Cost is often friendly because burlap is affordable and helps reduce shell usage. This also fits current trends that pair coastal decor with rustic fabrics, especially in entryways that already use natural textiles.
To keep it looking fresh, gently brush burlap with a dry cloth after dusty weather, and re-tuck any loose shell pieces if needed.
10. Vintage Brass Hook Hanger With Shelly Swirls
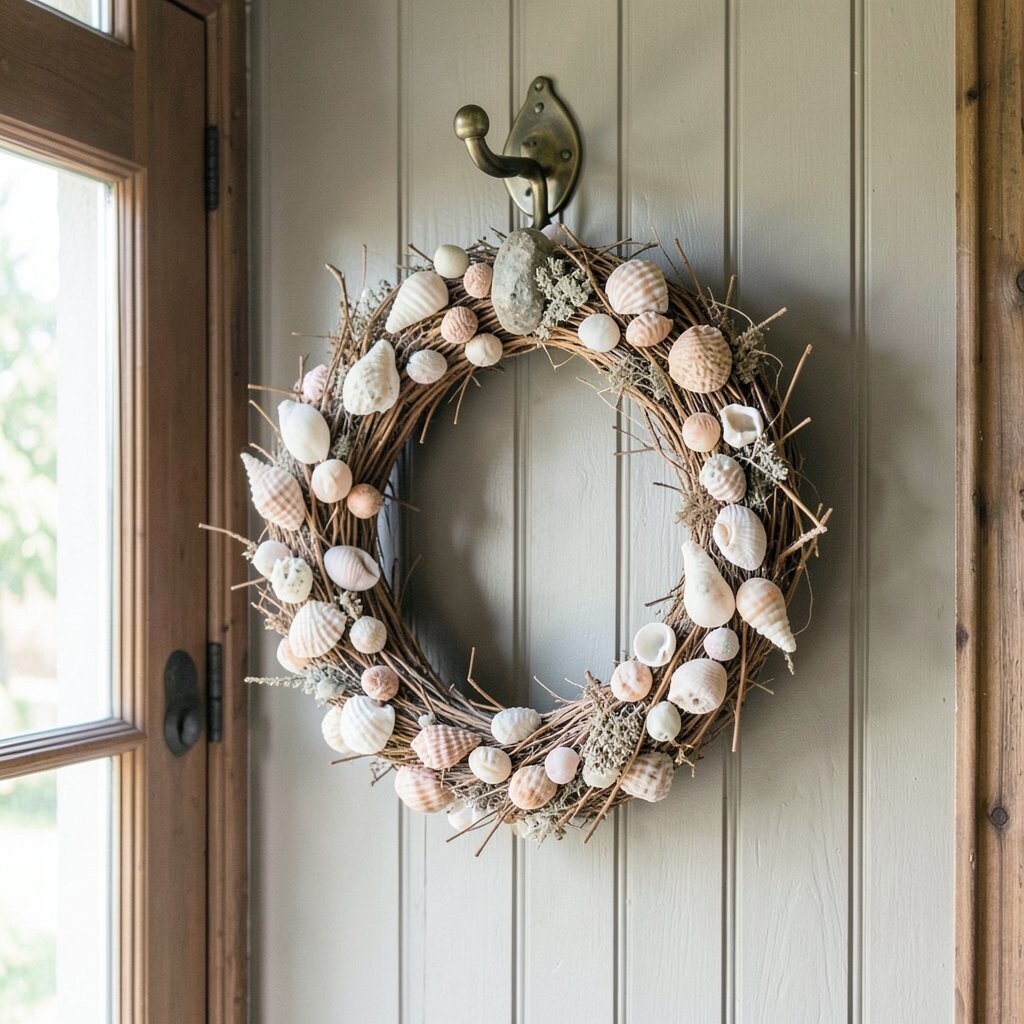
Picture a wreath that hangs from a vintage brass hook, and the shell design swirls like a gentle wave. The brass detail makes the entry feel a little classic while the seashells keep it relaxed.
Use a circular or oval base, then glue shells in a spiral path that guides the eye across the wreath. Mix shell shapes like scallop and spiral pieces to make the swirl feel dimensional.
This style feels unique because of the way the layout moves, instead of lining shells up in a flat ring. It also looks great in entryways with iron hardware since the brass and shells create a warm contrast.
For practical tips, secure the wreath hanger firmly so the weight distributes evenly. If you use lighter shells, you’ll need less reinforcement, but heavier shells should be glued to the base more carefully.
Cost considerations can be higher if you hunt for brass hardware, but you can save money by using a simple hook and painting it with metallic spray paint. Personalize by adding a small ribbon tail in a neutral color so the brass look stays soft and not too shiny.
This idea aligns with current trend love for mixed materials, especially when rustic entryways include metals, wood, and natural texture.
11. Whitewashed Frame Wreath With Minimal Shells
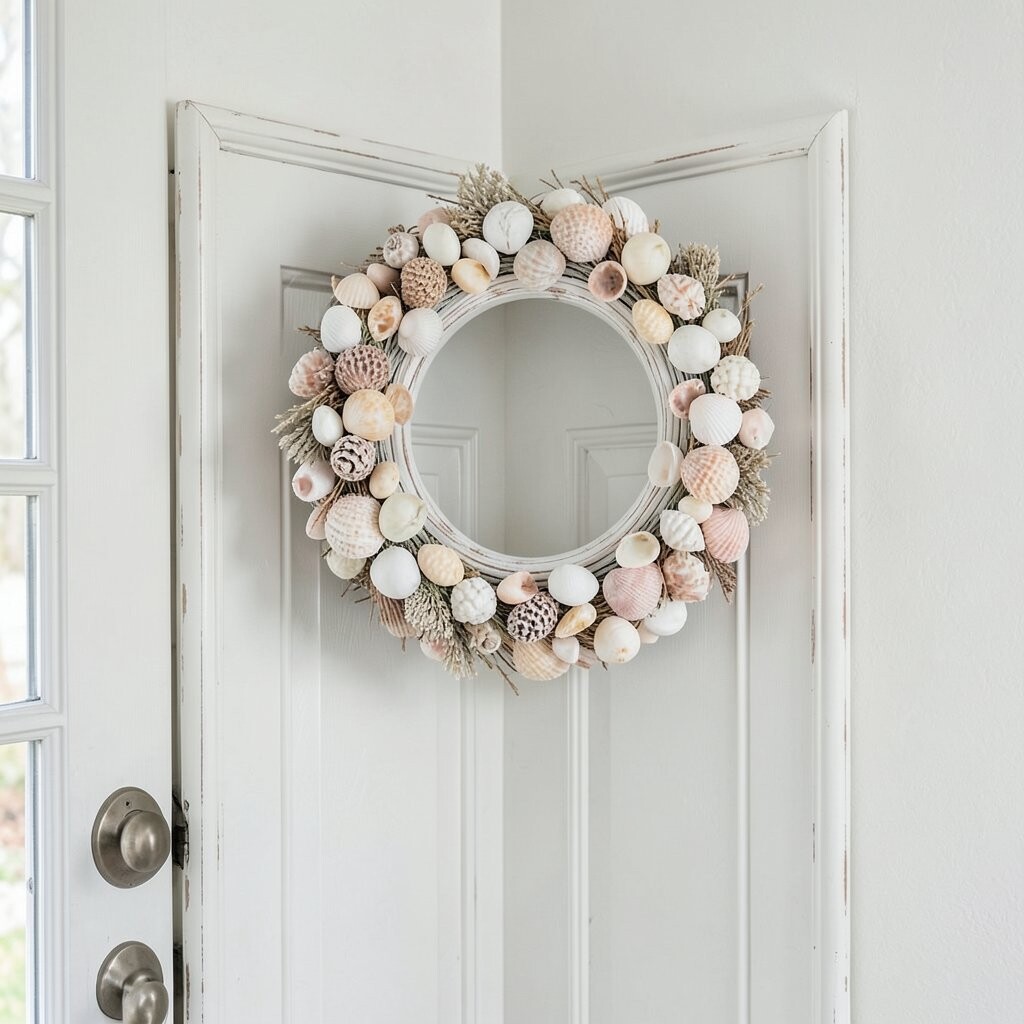
Imagine a wreath mounted on a small whitewashed frame, like a picture frame turned into wall art. Only a few shells fill the corners and edges, making the whole design feel calm and elegant.
Build the frame using thin wood strips or a craft frame, then whitewash lightly so some grain still shows. Glue a small scatter of shells at the top left and bottom right, then add a few along the inner edge for balance.
This wreath is unique because it feels like a curated display rather than a crowded craft project. It’s also practical because minimal shells require less maintenance and fewer supplies.
To personalize, choose shells that match in size and color, then paint one or two shells with a soft metallic like brushed gold. Consider adding a tiny hint of dried lavender or eucalyptus behind the frame if you like natural fragrance decor.
Cost is typically budget-friendly since you only need a handful of shells and a small frame. Current trends lean toward minimal coastal decor, and this keeps the look modern without losing the seaside vibe.
12. Sunburst Shell Wreath With Mixed Metallic Shine
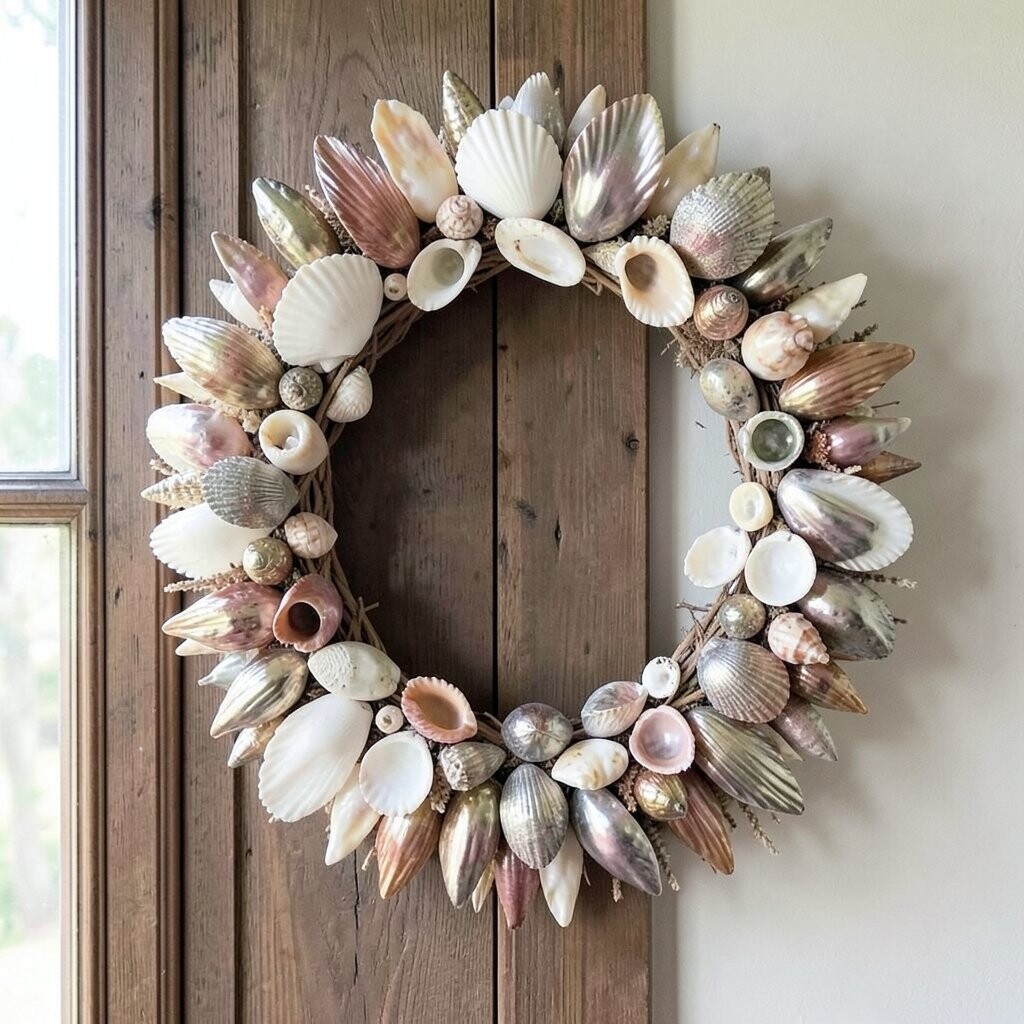
Picture a wreath shaped like a sunburst, where shells point outward in rays like sunshine. A few metallic accents give it a celebratory sparkle that still feels rustic.
Use a sunburst cardboard or wood fan base, then glue shells along the tips and in between. Add tiny touches of gold or bronze using paint on a couple of shell edges or by using metallic shell-like ornaments sparingly.
This wreath feels unique because sunburst shapes are bold and eye-catching, turning your entry into a mini seasonal showpiece. It’s also practical because the structure helps shells stay aligned instead of wandering in a circle.
For practical tips, reinforce the base so it doesn’t warp if it gets humid. Use waterproof glue if your entry is outdoors and remember that metallic paint can need a clear protective coat.
Cost considerations can be a little higher because sunburst bases take extra materials, but you can still keep costs down by using fewer shells per ray and filling small gaps with faux shell beads. Personalize by matching the metallic tone to your door hardware for a coordinated look.
This style fits current trends in coastal glam, especially for homes that mix beachy decor with warm metals.
13. Seashell Flower Wreath With Layered Petal Arrangement
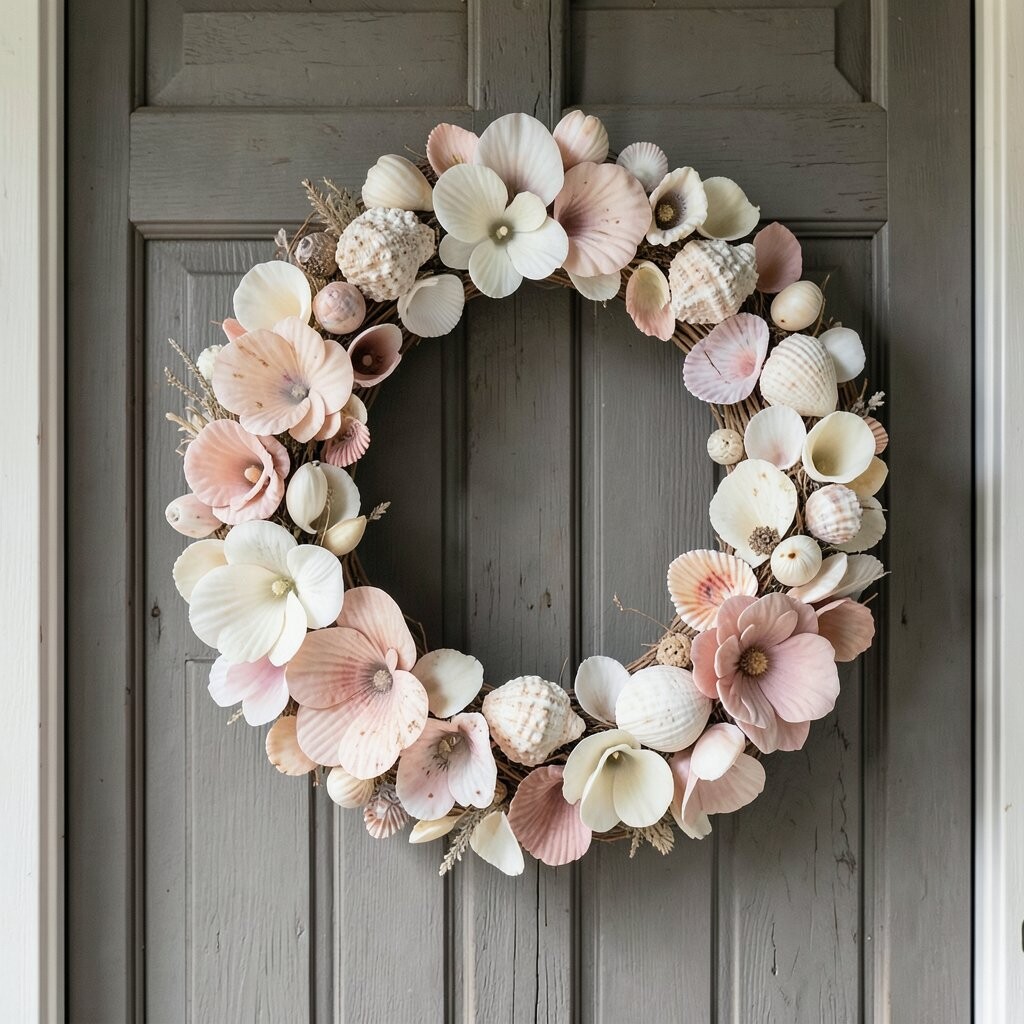
Imagine a wreath where shells are arranged like flower petals, with a layered center that looks almost blooming. The result feels playful, like coastal art you can hang on your door.
Start with a wreath base, then choose shells with similar shapes for the “petals,” such as oval or scallop-like forms. Layer them outward from a small center cluster, so each ring looks slightly bigger than the one before.
This style is unique because it creates a clear visual theme and looks great even from a distance. It’s also practical since you can swap shell sizes without breaking the overall flower pattern.
For personalization, use a color gradient in the petal layers, like creamy shells near the center and sandy tones outward. Add a tiny pearl-like bead in the center for a finishing touch that feels current and charming.
Cost considerations depend on shell variety, but you can keep it reasonable by using one main shell type for petals and only a few specialty pieces for the center. If you love a beachy look, this design also pairs nicely with seasonal accents like a light ribbon in summer colors.
When you hang it, keep it at eye level so the petal layers are easy to see when guests arrive.
14. Beach Glass and Shell Mix for Bright Contrast
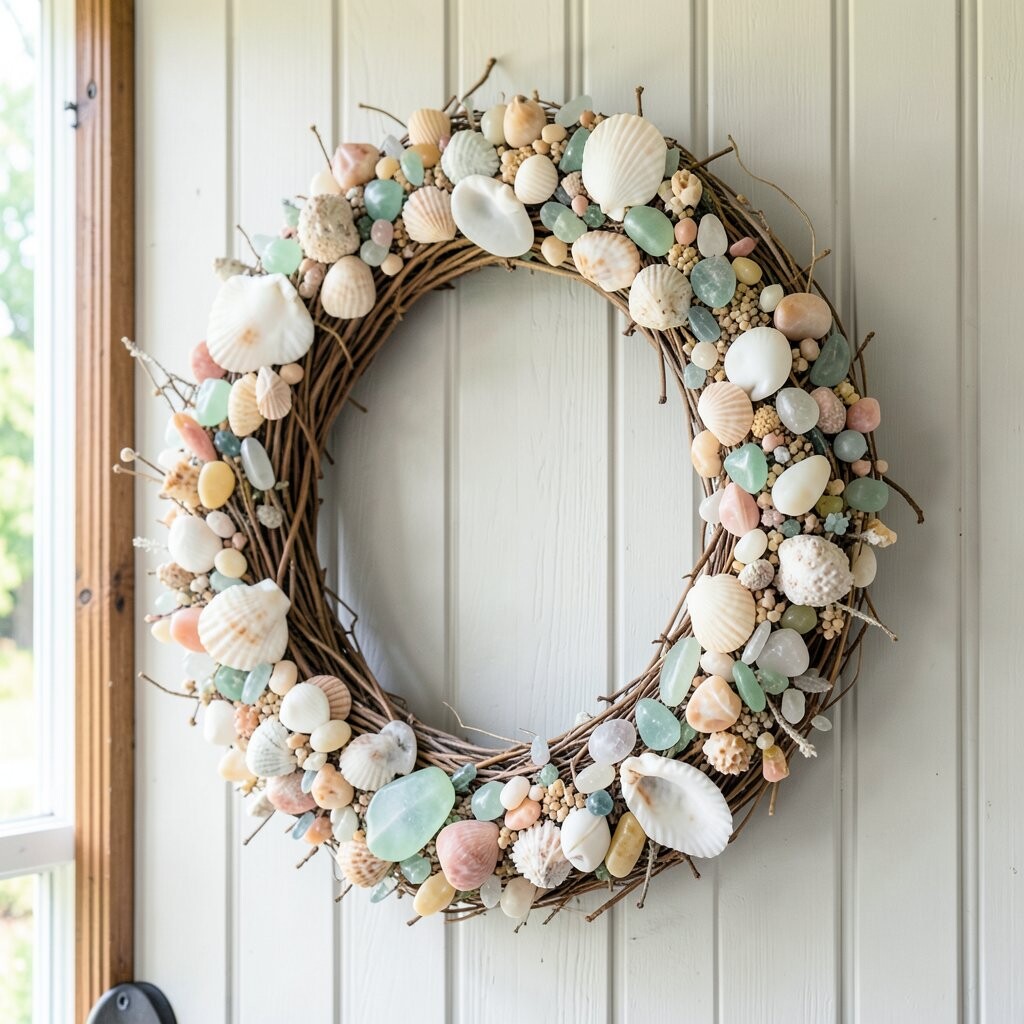
Picture a wreath that blends seashells with beach glass pieces, creating a cool sparkle in every angle. The glass adds a pop of color while the shells keep the design natural.
Choose a grapevine or wire base, then glue larger shell pieces first to anchor the layout. Fill the remaining space with smaller shells and beach glass fragments so the wreath looks balanced, not random.
This wreath feels unique because the glass texture catches light differently than shells, giving a lively shimmer. It also offers practical benefits since the glass pieces can help mask small gaps between shells.
For practical tips, handle glass carefully and make sure each piece is securely glued so it doesn’t shift over time. Use a clear adhesive or a strong craft glue that bonds well to both materials.
Cost considerations can rise if you buy beach glass, but you can often find affordable craft beach glass packs or reuse glass from other projects. Personalize by choosing glass colors that match your entryway, like seafoam green for pale doors or cobalt tones for dramatic contrast.
This idea matches current trends in colorful coastal decor, especially when homeowners want more personality than classic all-white shells.
15. Shell-Studded Wreath With Yarn-Wrapped Twine Details
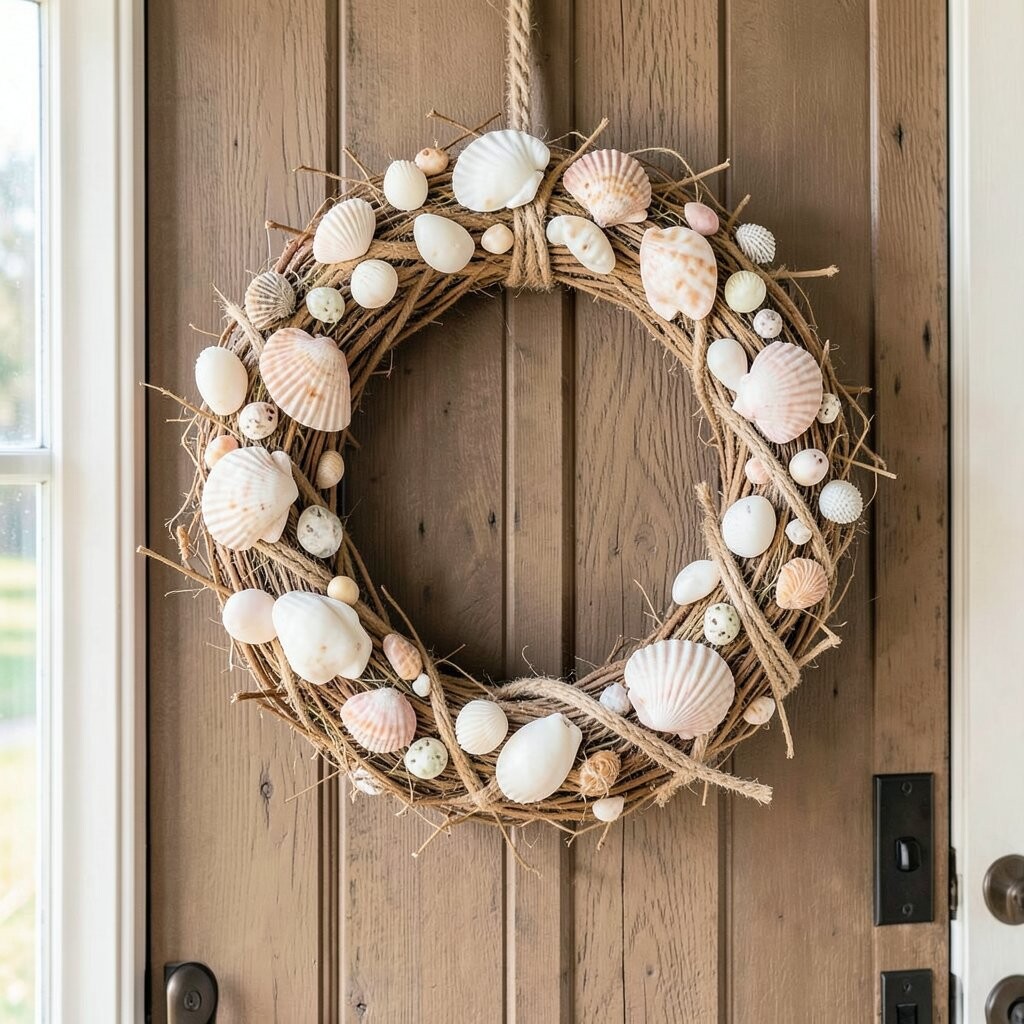
Imagine a wreath that mixes shells with handmade texture, using yarn-wrapped twine around the base. The cozy fiber makes the whole design feel rustic and soft, even in warm weather.
Wrap twine around the base ring, then glue sections of yarn in small wraps to create a thick, comfortable texture. Once the fiber looks even, glue shells over the outside so the yarn peeks through between them like natural stitching.
This style feels unique because it combines coastal materials with craft-made comfort, so it looks less mass-produced. It’s also practical because yarn hides uneven glue spots and keeps the wreath from looking too flat.
For personalization, choose yarn colors that match your door mat or entry decor, like oatmeal, cream, or muted gray. Add a small handmade bow with the same yarn to tie everything together.
Cost considerations are usually budget-friendly since yarn and twine are low-cost compared with specialty shells. Current trends favor handmade textures, and this fits right into that cozy, rustic direction.
If your wreath is outdoors, place it under cover and keep moisture away to prevent yarn from getting too heavy or moldy.
16. Seasonal Fall Leaves With Shell Mini Accents
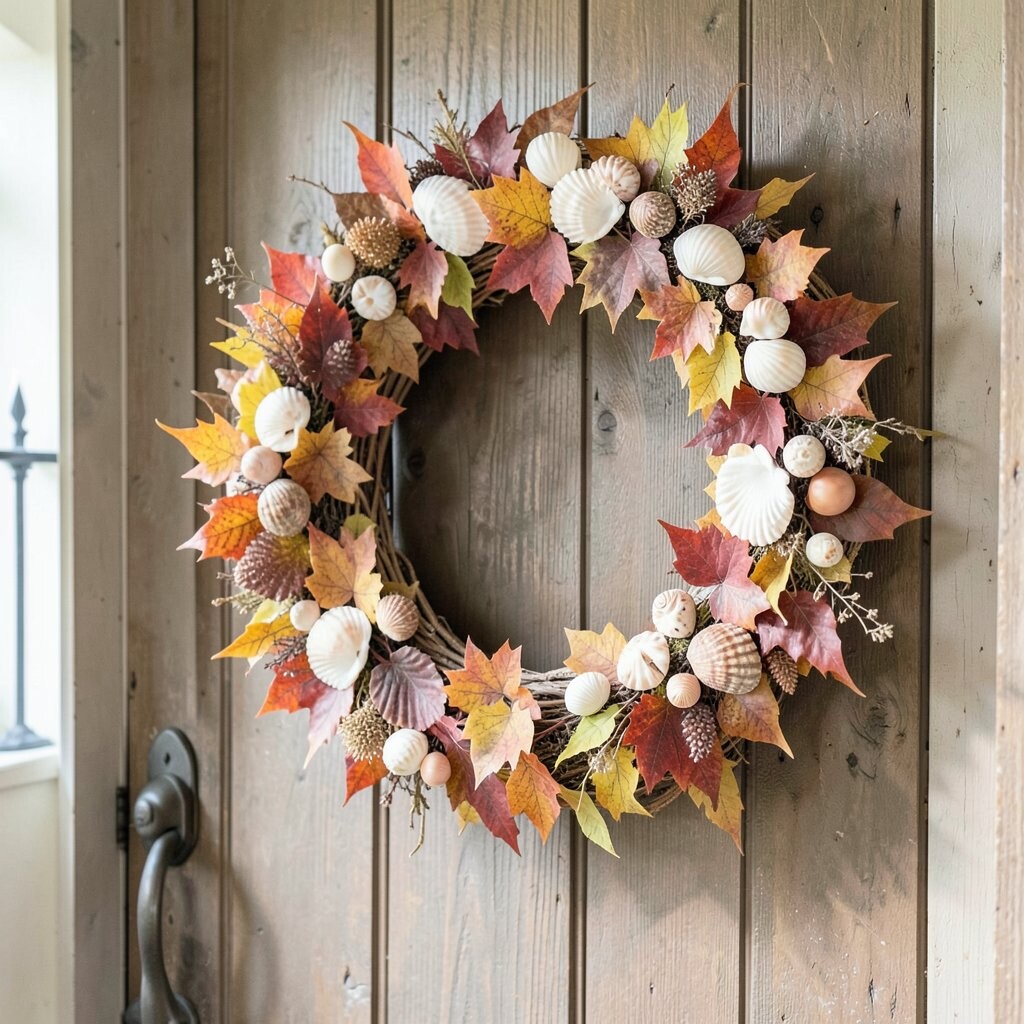
Picture a wreath that blends beach charm with autumn vibes, using subtle shell accents tucked among faux fall leaves. Instead of fully covering the wreath, shells add just enough coastal sparkle to make it feel special.
Start with a wreath base covered in warm fall colors, like burnt orange, rust, and deep green. Then tuck in small shell clusters near the outer edges and around a central leaf spray so the shells look like they belong.
This wreath feels unique because it keeps the seaside idea alive during the fall season without turning into a pure summer decoration. It also helps with practical decorating since you can reuse the base year after year and swap accents.
For practical tips, keep shells spaced so they don’t get hidden by leaves when the wreath is hung on a door. Use a few larger shells for focal points, then sprinkle smaller ones for balance.
Cost considerations are generally manageable since leaves and greenery are often inexpensive, and shells can be limited to small accents. Personalize by choosing a shell palette that matches the season, such as sandy neutrals with a touch of gold-toned sparkle.
This fits current trends in “seasonal coastal” decor, where people want familiar seaside style but with colors that match the time of year.