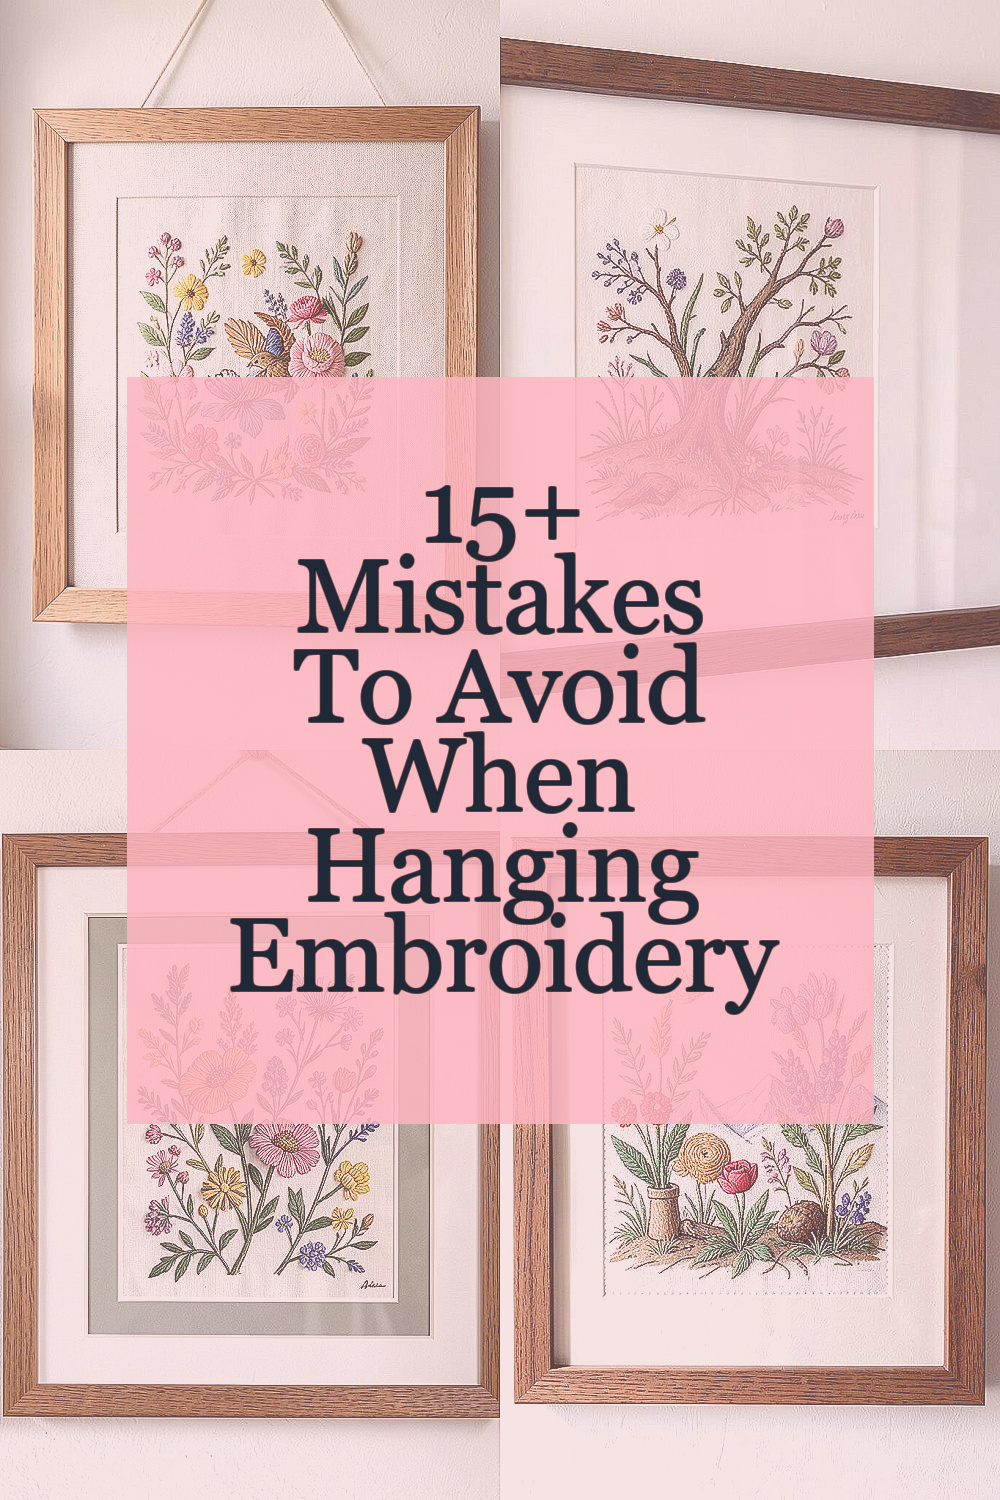
Embroidery deserves a frame that makes it feel finished, not stuck in the middle of a project. A few small choices can turn a nice piece into wall art that looks polished and special.
When you avoid common framing mistakes, your thread colors stay crisp and your design looks intentional from every angle. And you get to enjoy it for years without worrying about sagging fabric or dirty glass.
1. Match the Frame to the Fabric Weight

Think about what your embroidery is made on before you pick wood, metal, or a thick frame. A heavier fabric and fuller stitches need sturdier support so the center stays flat.
When the frame is too light, the backing can bow and your artwork will look wavy even if the stitching is perfect. Choosing a frame that fits the fabric weight helps your piece sit neatly, and it keeps the edges from pulling away over time.
2. Leave Space Between Stitches and Glass

If glass touches the embroidery, threads can get pressed down and the texture you love may flatten. Even a small gap helps keep the raised stitches looking dimensional.
You can see this easily by holding a framed sample up to the light and checking for contact. A little spacing keeps your design readable and makes the whole piece feel fresh and alive.
Using spacers or a mat that supports the fabric gives your embroidery room to breathe. That small change also reduces the chance of smudging from fibers rubbing against glass.
3. Pick the Right Mat Color for Thread Colors

The mat is like a quiet helper that supports the main character, which is your embroidery. Choose a mat that complements your thread colors instead of competing with them.
A cream or warm white mat can make reds and golds glow, while a soft gray can calm busy palettes. When the mat matches your color story, the piece looks more custom, even if you used a simple hoop.
Try holding different mat colors near the stitched area and step back to see what feels balanced. This is an easy way to get personalization without adding more stitching.
You can also match the mat to your room style, since current home décor trends often lean toward neutral backdrops that let handmade details shine.
4. Use Acid-Free Backing and Materials

Some backing materials can slowly damage fabric and threads as time passes. Acid-free supplies help your embroidery stay bright and stable.
When you use safer materials, the colors keep their depth and you avoid that dull, tired look that sometimes shows up later. It also means your wall art can be passed down without worrying about hidden breakdown.
5. Plan for Back Access Before You Seal Anything

Before you close the back, think about how you might adjust, clean, or change the layout later. Tight framing that blocks access can turn future fixes into a headache.
If you want the option to swap out seasons, add a new title card, or update a small arrangement, plan for easy access now. That flexibility is a fun kind of personalization that keeps your collection feeling current.
Many people like using hanging hardware that supports weight evenly, so the frame stays level on the wall.
6. Center the Hoop or Fabric Carefully

Nothing looks more “almost done” than embroidery that sits off-center. Even if the design is lovely, a small shift can make the whole piece feel rushed.
You can check centering by folding an imaginary line through the middle and aligning the fabric to that axis. A quick measuring moment saves you from the awkward look you notice every day.
When your piece is centered, it feels intentional and more like a store-bought favorite. That polished look is part of what makes framed embroidery feel special and unique on your wall.
7. Don’t Stretch the Fabric Too Tightly

Stretching can warp the design, especially for fabric with grain lines that may shift. If the center pulls too hard, circles can turn into ovals and curves lose their softness.
A gentle tension lets the embroidery keep its natural shape. It also helps prevent stress on the stitches, which can loosen if the fabric fights against the frame.
8. Protect Your Threads from Direct Sunlight

Even beautiful thread can fade faster in bright sun. If your wall gets strong daylight, choose placement with softer light or use frames that add protection.
Indirect light helps maintain color depth and keeps details crisp. This is one of those practical choices that saves money later, since you won’t need to redo parts as quickly.
9. Choose Clear Glass or Quality Alternatives Wisely

Clear glass can look great, but not all glass performs the same. Some surfaces can distort details or create glare that hides your stitching.
If you see reflections when you walk past the frame, it’s hard to enjoy the texture. Anti-glare glass can make the artwork easier to see while still keeping the view clean.
Quality glass or safe alternatives also protect from dust, which matters for hand-stitched pieces that you want to keep looking fresh. That steady protection helps your embroidery look “new” for longer, which is a smart cost consideration.
It’s also a good match for current trends, since many homes now highlight tactile wall art with lighting that makes texture pop.
10. Hide the Raw Edges Neatly

Framing is the part people rarely notice until something looks messy. Raw fabric edges can peek out, and they may also shed threads over time.
Pressing and trimming carefully before you back the embroidery keeps edges tidy and helps the design look professional. Neat finishing is part of what makes your piece feel unique, because it shows care in every layer.
11. Match the Backing Thickness to the Mat and Spacing

Your backing should support the fabric without flattening it. If the layer stack is off, the glass may sit too close, or the fabric may sag.
Think of the framing layers as a team that needs good balance. A properly matched stack keeps the embroidered surface visible and stable, so you get a clean look every time you glance at it.
When the thickness fits well, your frame also closes smoothly and stays square. That accuracy helps the whole piece look more custom, especially for modern, minimalist walls.
12. Select Hanging Hardware for the Frame’s Real Weight

Choosing the right hook or wire matters more than people think. If the hardware is meant for lighter frames, your embroidery could tilt or pull away from the wall.
Check the total weight including glass, mat, and backing, not just the stitched piece. Solid support keeps your artwork level, which makes the design feel calm and tidy.
A stable hanging setup also helps protect the frame edges, since bumps and shifts can loosen materials. It’s an easy way to avoid costly redo work later.
13. Clean Smudges on Glass Before Final Assembly

Glass often picks up fingerprints during assembly, and those marks show up under room lighting. If you handle the glass even a little, wipe it carefully before you seal the frame.
Use a gentle cleaner and a lint-free cloth so you do not scratch the surface. When the glass is clean, your embroidery texture stands out instead of getting hidden behind haze.
14. Don’t Forget to Consider Your Room’s Style

Even the best embroidery can look out of place if the frame style clashes with your décor. Match the wood tone or metal finish to nearby furniture and décor accents.
If your room uses warm woods, a matching frame can make the piece feel like it belongs there. If your room leans modern, a simple black frame can add crisp contrast and highlight the stitching.
This kind of matching is a personalization win, because it turns your wall into a coordinated gallery. Plus, it supports current trends that favor curated, color-aware styling rather than random mix-and-match.
When your frame fits the vibe, your embroidery becomes the feature, not the distraction.
15. Choose a Backing Plan That Resists Dust

Dust settles easily on framed surfaces, and it can dull the look of your artwork over time. A backing plan that seals reasonably well helps your embroidery stay cleaner longer.
Using a tight-fitting back and good-quality materials reduces air movement around the fabric. Less dust means less frequent cleaning, which protects threads and saves effort.
16. Personalize with a Subtle Detail, Not Extra Clutter

You can make embroidery framing feel uniquely yours without overcrowding the design. Add a small title card, a stitched label, or a color accent that echoes your threads.
Keep the personalization subtle so the stitching remains the main focus. This approach creates a polished, gallery-like feeling and avoids the “too busy” look.
If you love seasonal decorating, consider swapping only the smallest component while keeping the frame. That keeps the cost down and lets your collection feel fresh throughout the year.
When the detail matches your style and thread palette, the finished wall art looks thoughtful, not improvised.
And that sense of intentional uniqueness is exactly what makes framed embroidery something you’ll enjoy looking at daily.