
Some boards hold more than paper. They hold the feeling of a place you love.
Memory boards can turn everyday corners into stories you can see. With the right design, they feel warm, personal, and surprisingly useful.
1. Fabric-Covered Frame With Pin-Friendly Charm
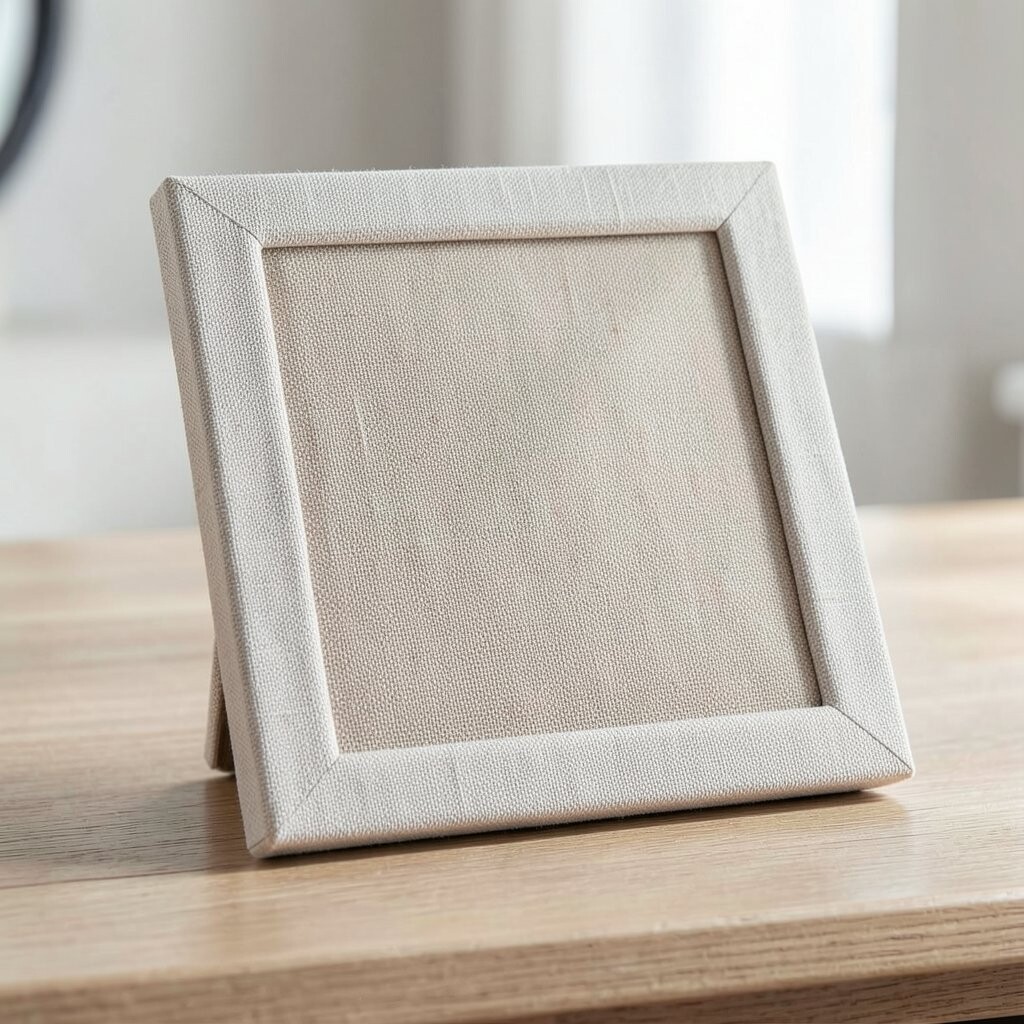
Start with a simple frame and wrap it in soft fabric like linen or cotton. When you pin photos and ticket stubs to the surface, the whole board looks gentle and lived-in.
For a practical upgrade, choose a fabric that grips pins well and won’t snag easily. Keep your colors limited to two or three so everything looks tidy, even when you add new memories.
2. Magnetic Photo Grid for Instant Swaps
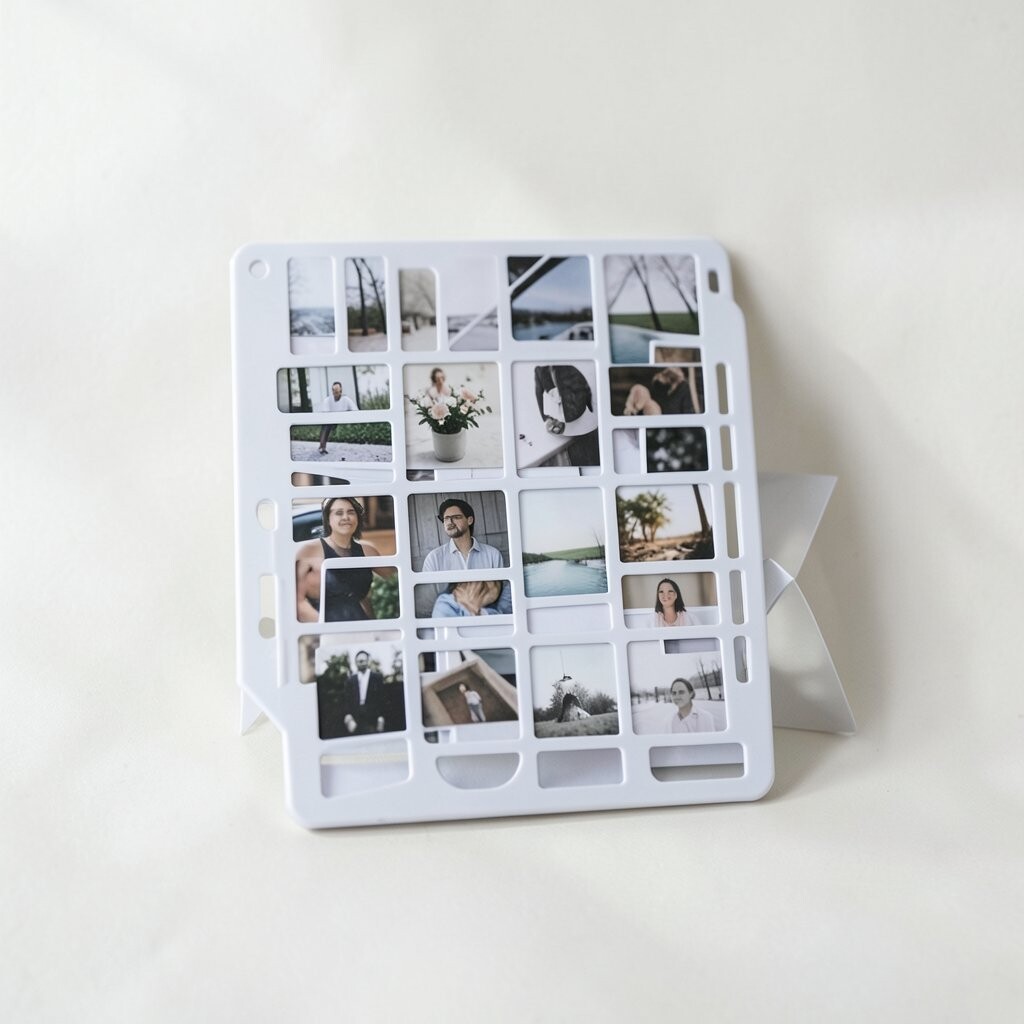
If you love changing things often, a magnetic surface is a game changer. Photos, postcards, and small notes can shift around without tape stress.
Pick a metal board in matte black or warm copper to match modern spaces. Use thick magnets for heavier images, and mix sizes so your layout feels playful instead of strict.
To personalize, add a few tiny labels on the back of magnet pieces so you can rearrange faster later. This style also fits current trends like flexible decor, where your wall can evolve with your mood.
3. Corkboard With Layered Borders and Soft Color Pops
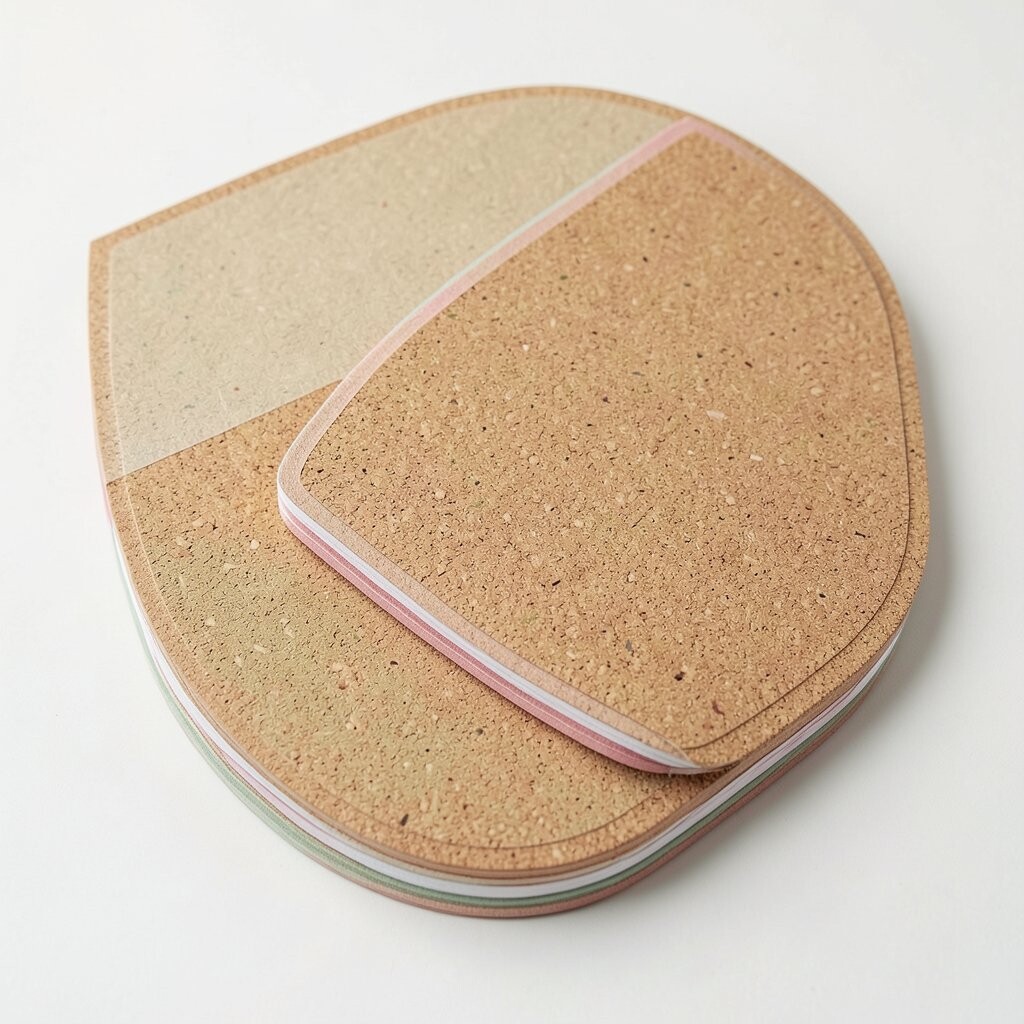
A corkboard memory wall looks classic, and it welcomes lots of items. Add layered borders with craft paper, wood trim, or even a ribbon edge to make it feel special.
Try using a color pop like sage, blush, or navy to highlight the frame. You can clip photos in clear sleeves so the board stays clean while still feeling full.
For cost, cork tiles and basic trim are usually easy to find and budget-friendly. If you want a low-cost twist, paint the trim and leave the cork natural for contrast.
4. Shiplap-Style Background for Coastal Stories
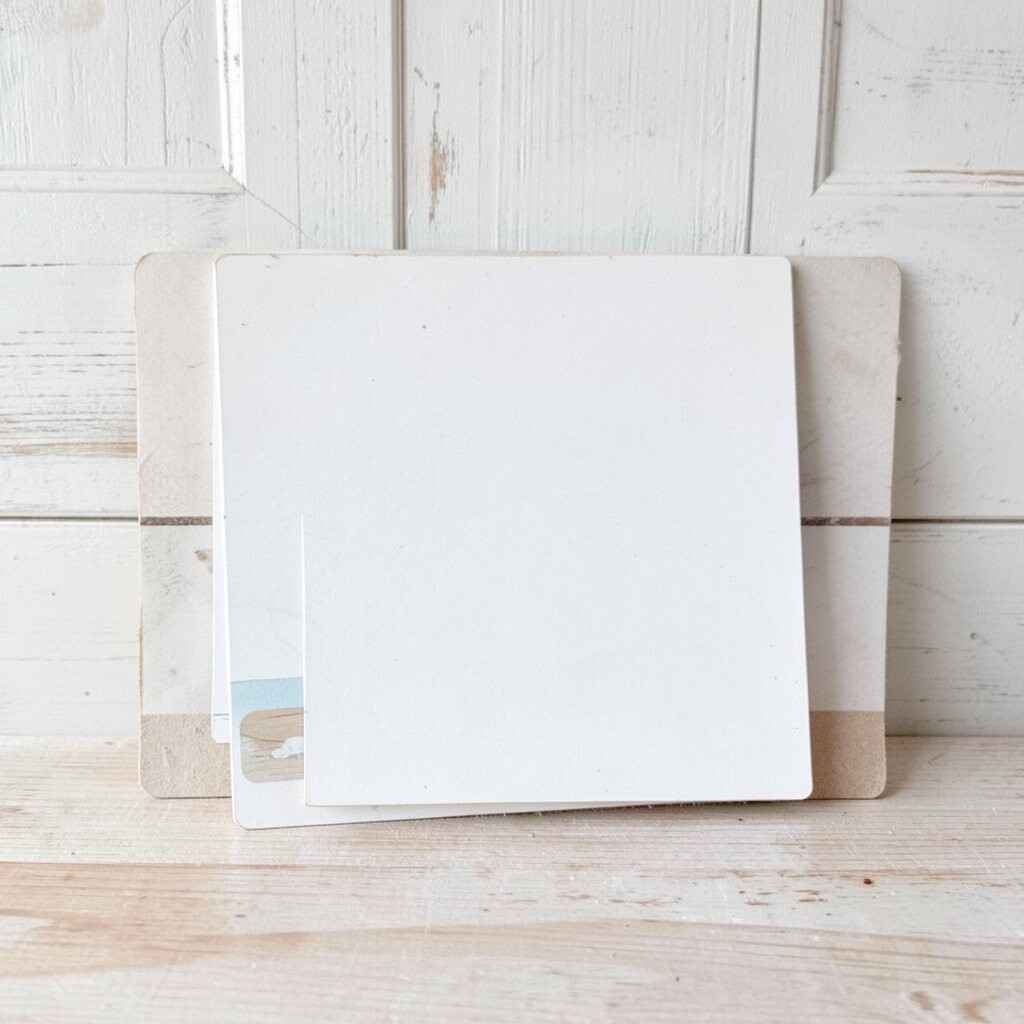
Turn your memory board into a mini coastal scene by adding a shiplap-style backing. Even plain wood-look panels can give it that relaxed, airy look.
Lightly sand the surface and stain it a shade that matches your room. Pin photos of beach days, seashell doodles, and maps, and place your favorites at eye level for daily joy.
5. Pegboard With Clips for Organized Creativity
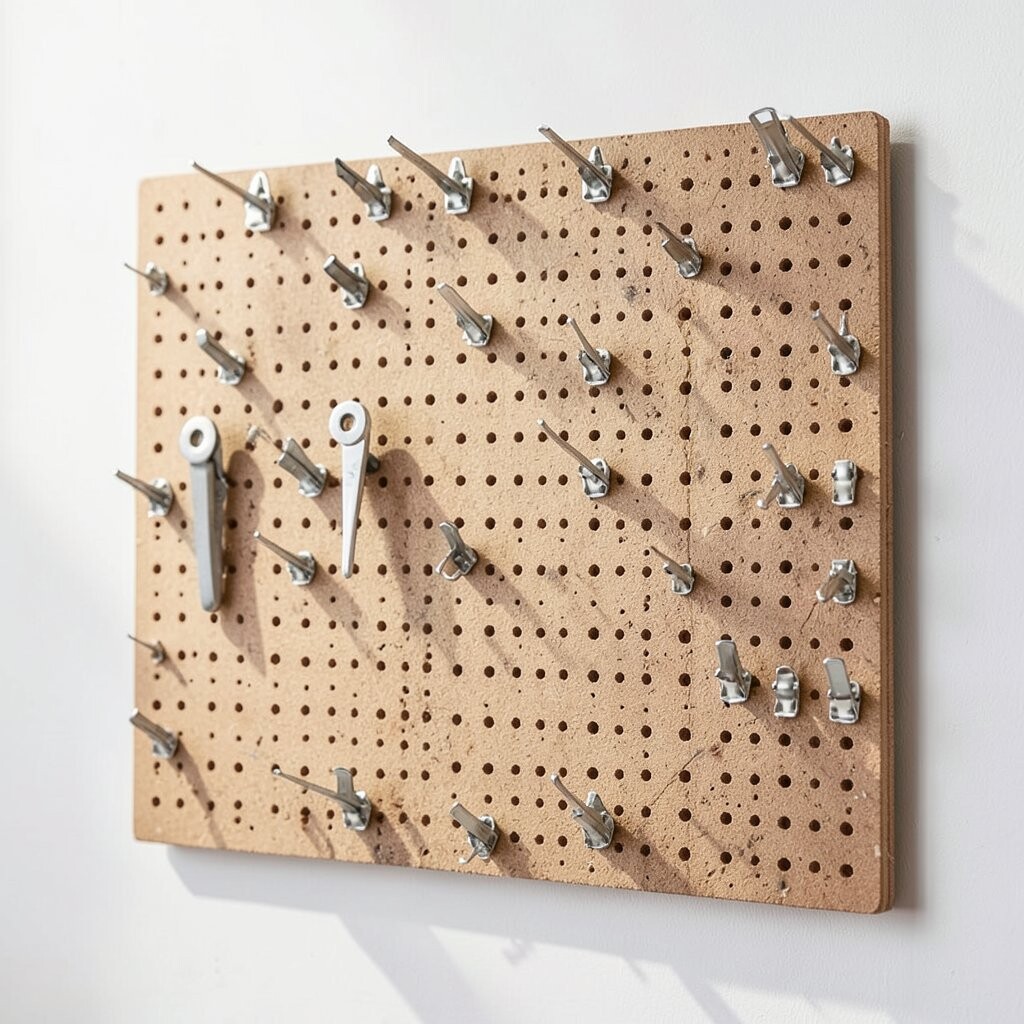
Pegboard memory boards bring a tidy, hands-on vibe. Use small clips, binder rings, or clothespins to hold photos and notes along the grid.
The big benefit is that everything stays neat, and you can rearrange without damaging prints. It also works well in kitchens, craft rooms, and entryways because it’s practical and easy to maintain.
For personalization, hang mini baskets for envelopes and one roll of twine for quick updates. To keep costs reasonable, buy a smaller pegboard and expand later as your collection grows.
6. Floating Shelf Memory Board for a Curated Look
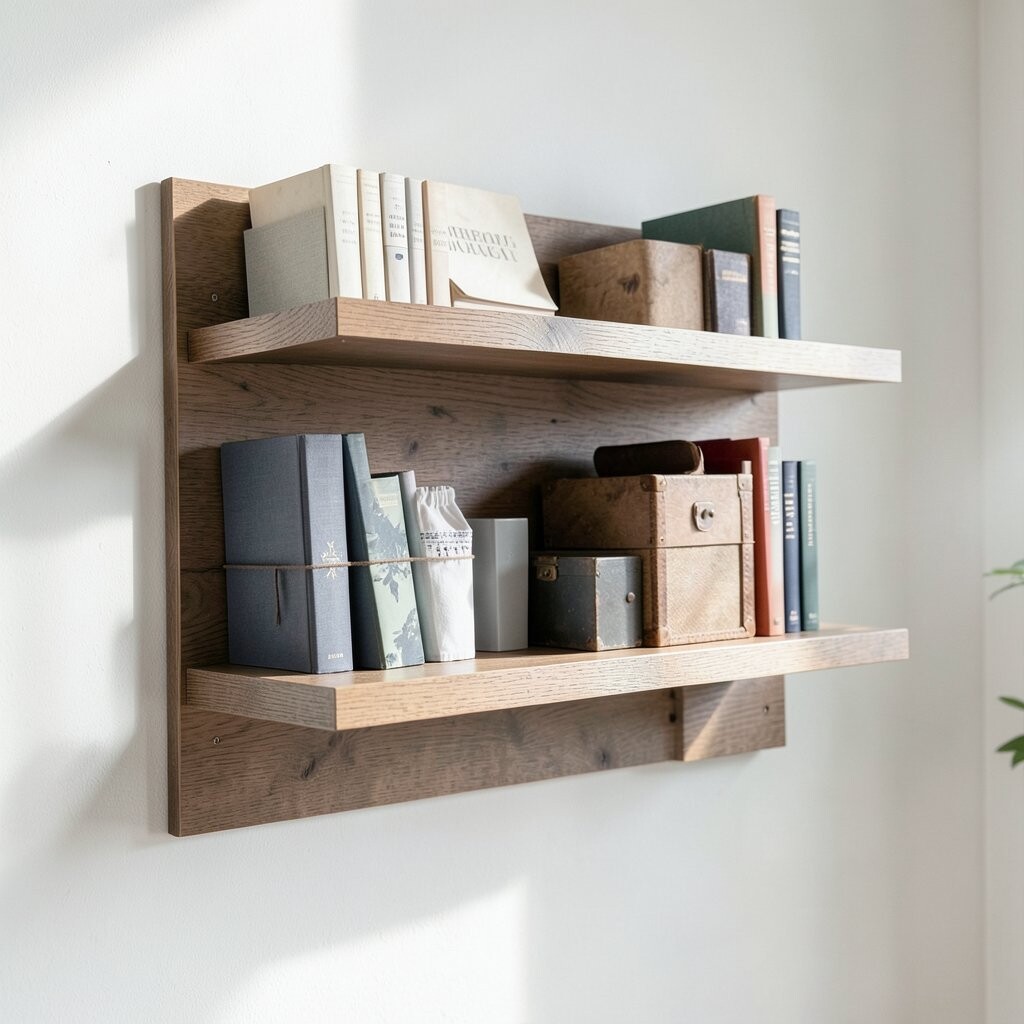
Some memories look best when they have breathing space. Mount a floating shelf display and pair it with a narrow backing board for small photo placements.
Use frames that lean slightly at different angles so the wall feels curated instead of cluttered. Add one or two decorative items like a tiny plant or a lamp-like charm to blend memories with everyday style.
7. String-and-Clip Ribbon Wall With Dreamy Motion
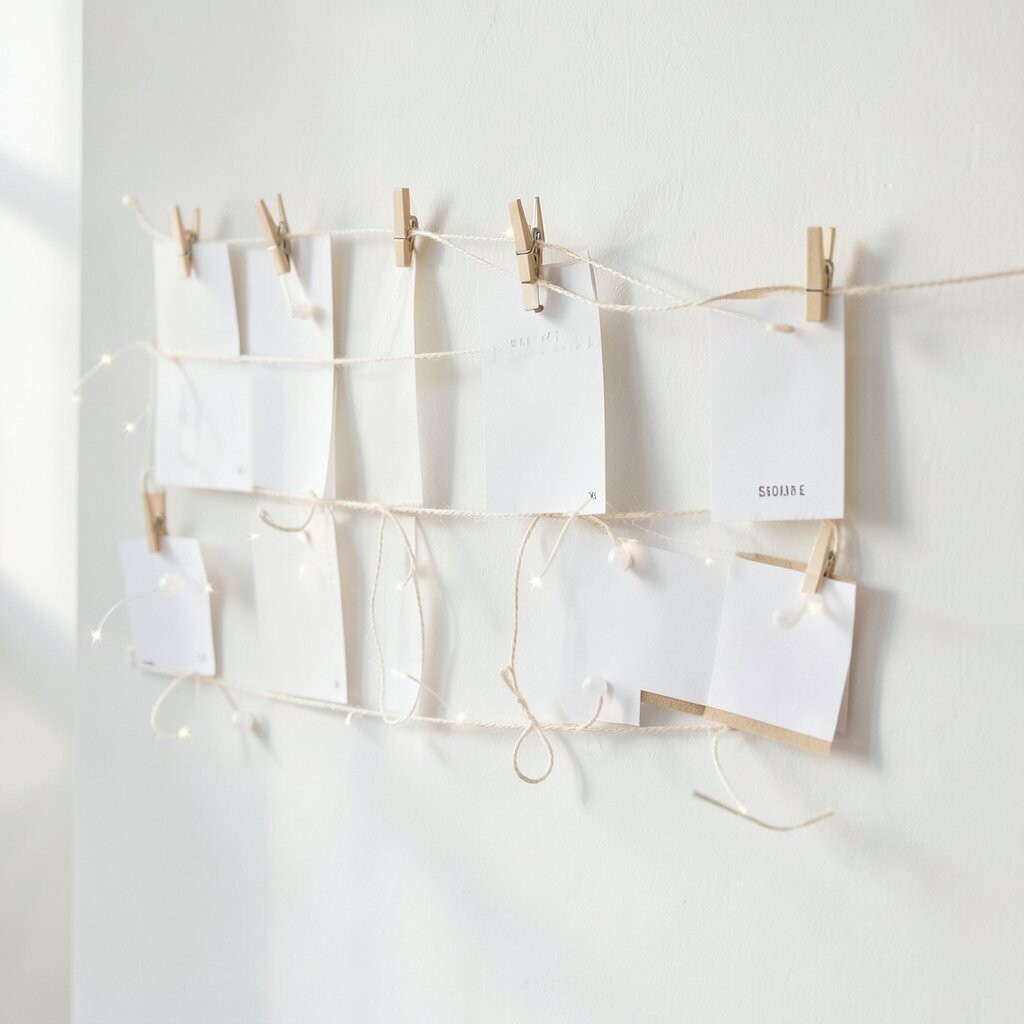
Wrap a wall with a few lengths of ribbon or twine, then clip memories along the line. It creates a light, airy look that feels full of movement.
Choose ribbon colors that match your room theme, like cream and gold for cozy spaces. Use mini clothespins so the photos hold firmly even with light bumps.
This is especially great for personalization because you can add quotes, pressed leaves, or even small fabric scraps. If you want a trendy touch, mix in subtle metallic clips that catch light without feeling flashy.
8. Acrylic or Glass Panel Board for Clean, Modern Style
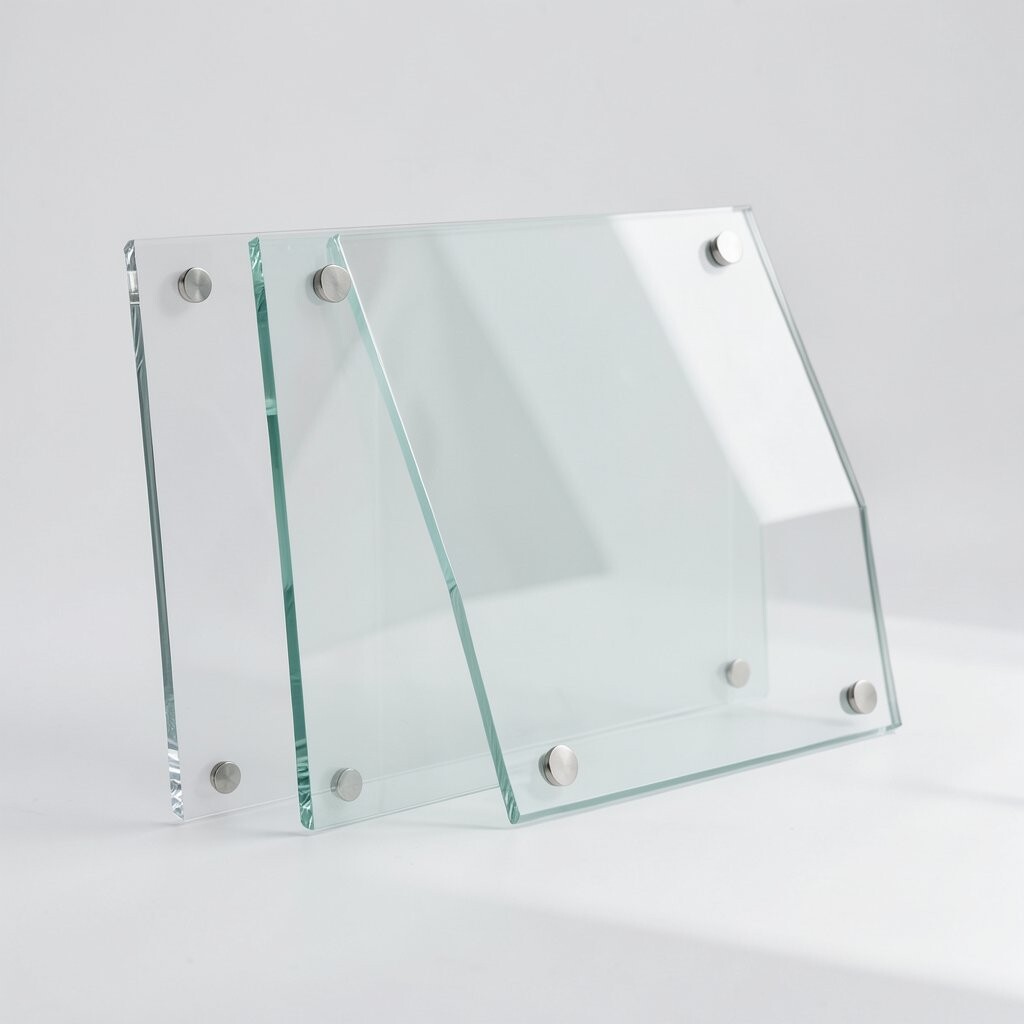
A clear board gives your memories a polished, modern feel. It’s perfect if you like the look of minimalist decor.
Attach acrylic panels with a sleek frame and use small standoffs or corner clips for a floating effect. Add LED strip lights behind the panel for a soft glow, but keep the wiring hidden for safety and clean lines.
9. Blackboard Memory Board for Seasonal Messages
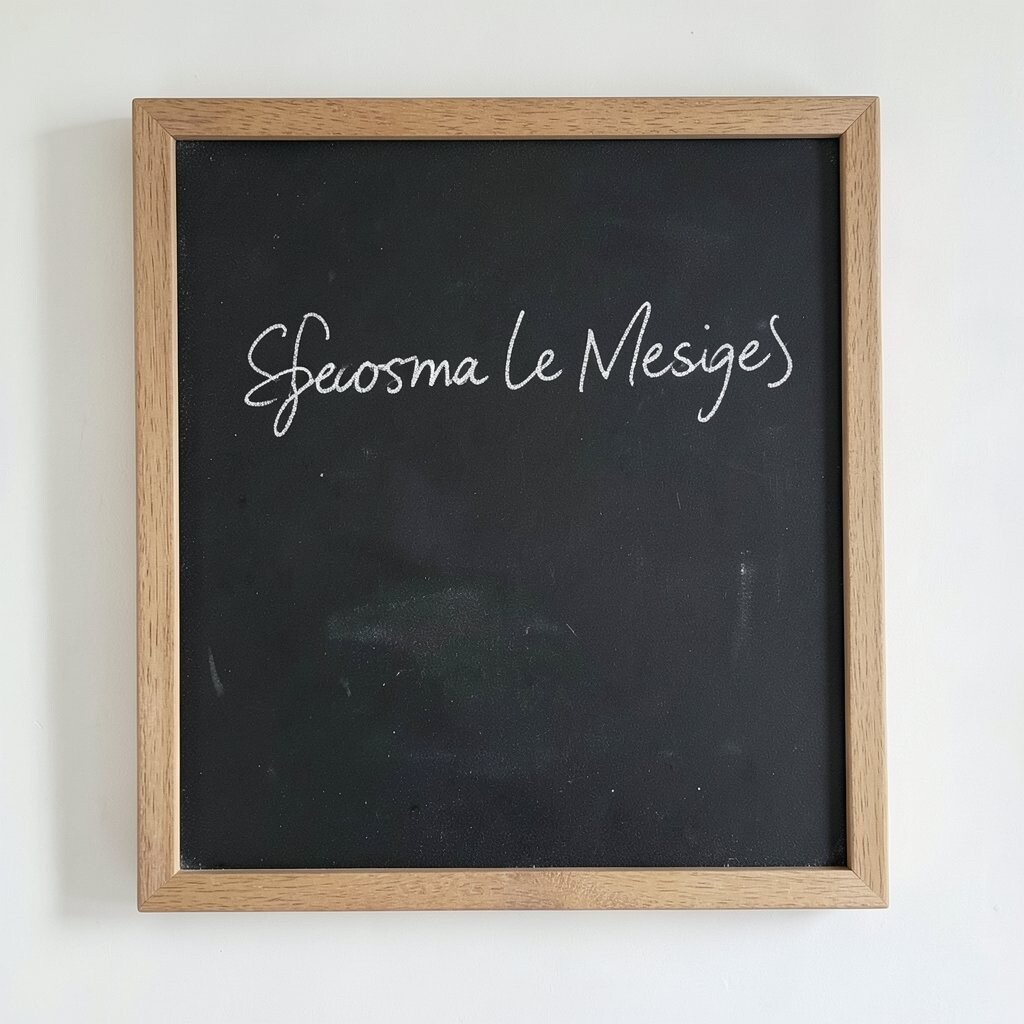
A blackboard memory board turns your wall into a creative space that also works like a journal. Write short notes in chalk while you pin photos around the edges.
The visual contrast between dark background and bright images looks bold and fun. Use chalk markers for smoother lines, and wipe the board when you want a fresh start.
For practical tips, seal finished chalk writing with a light fixative so it lasts longer. This idea is popular right now because it blends memories with everyday updates, like seasonal plans and fun reminders.
10. Timeline Layout Board With Milestone Moments
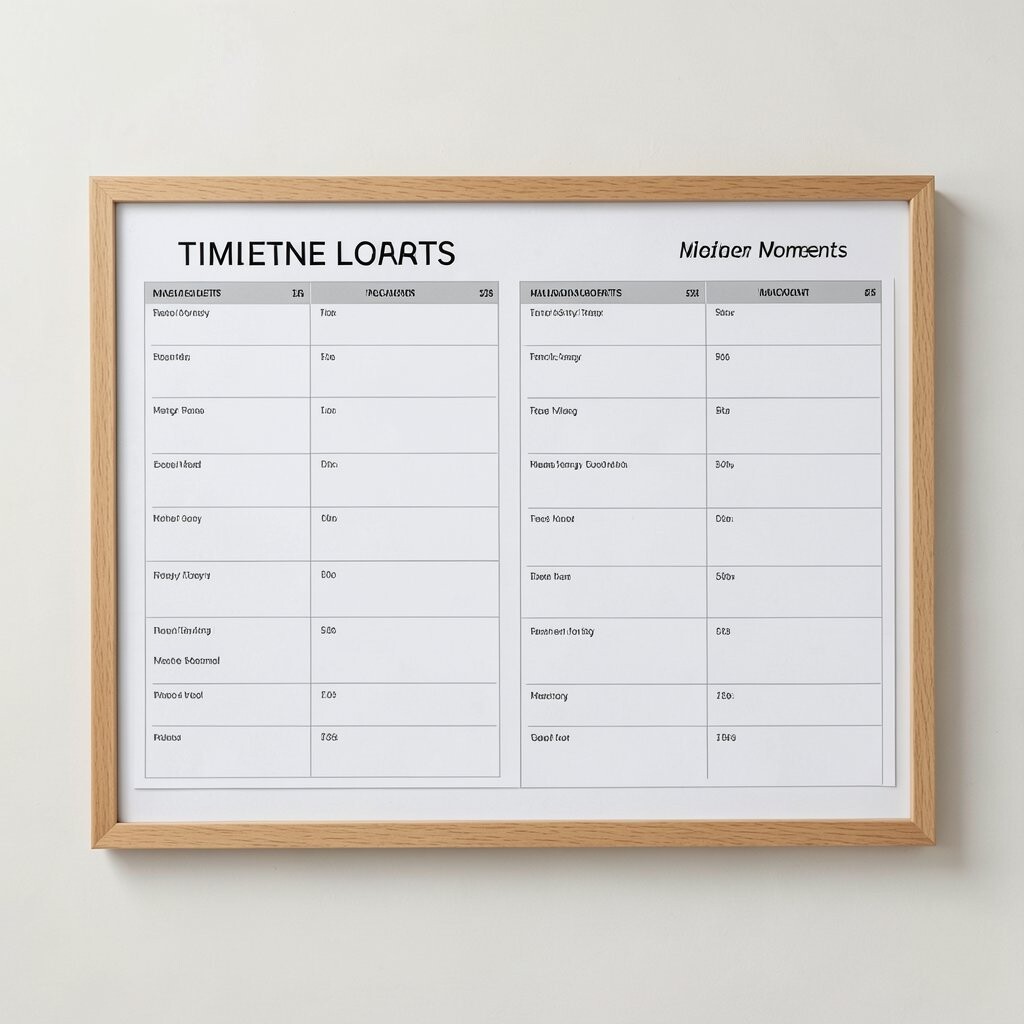
A timeline memory board helps you see growth in a clear, friendly way. Start with a simple horizontal or vertical line and build from earlier moments to new ones.
Use small printed dates or month cards beside photos so the story feels easy to follow. This approach also prevents overcrowding, because you can leave room between milestones for future additions.
11. Scrapbook-Style Mixed Media Wall With Texture Layers
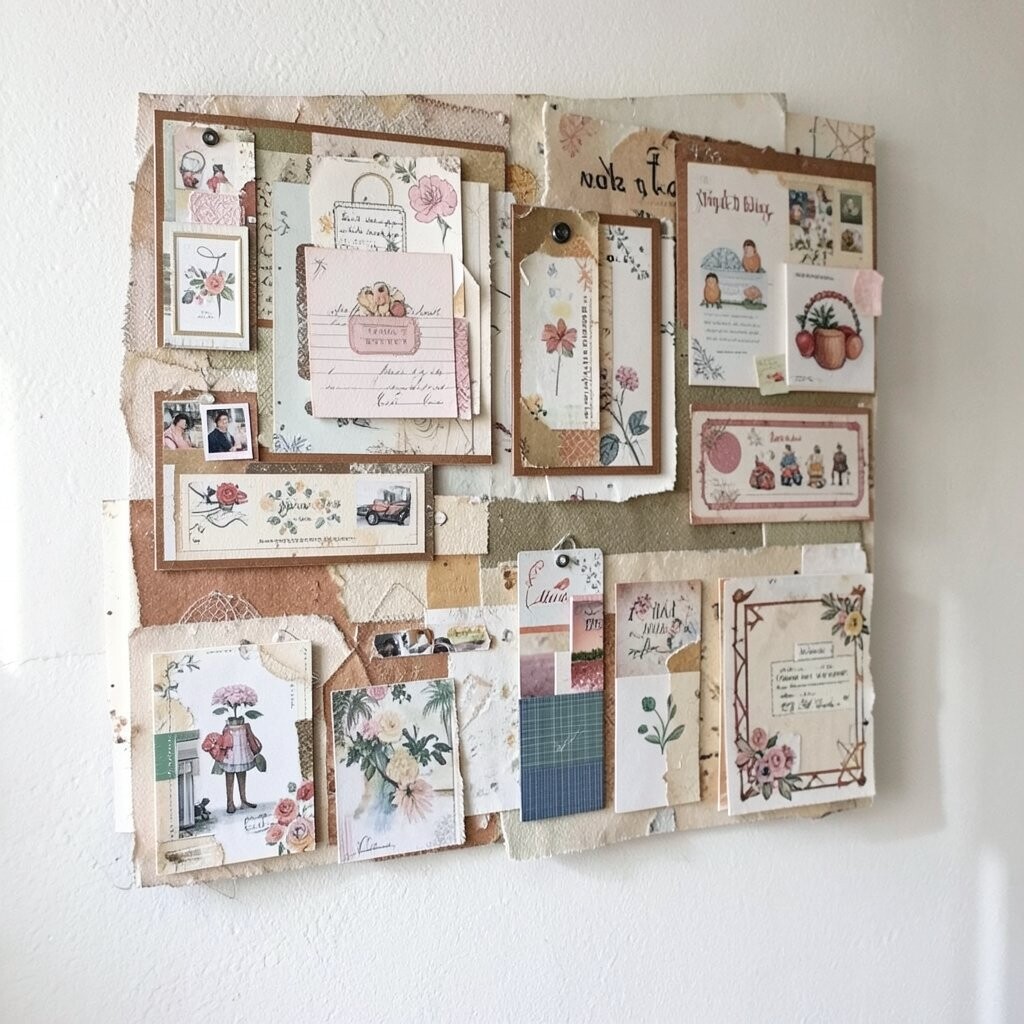
Make your board feel like a mini scrapbook by mixing paper scraps, fabric bits, and photo corners. Use textured backing like cardstock or a craft paper sheet so the wall has depth.
This style shines because every section looks unique, like a handmade page. Add small handwritten notes for context, and consider clear tape only where it won’t cover important details.
If you want cost control, use leftover craft supplies from past projects. The best part is that mistakes look charming when everything feels layered on purpose.
12. Family Recipe and Memory Board for Everyday Warmth
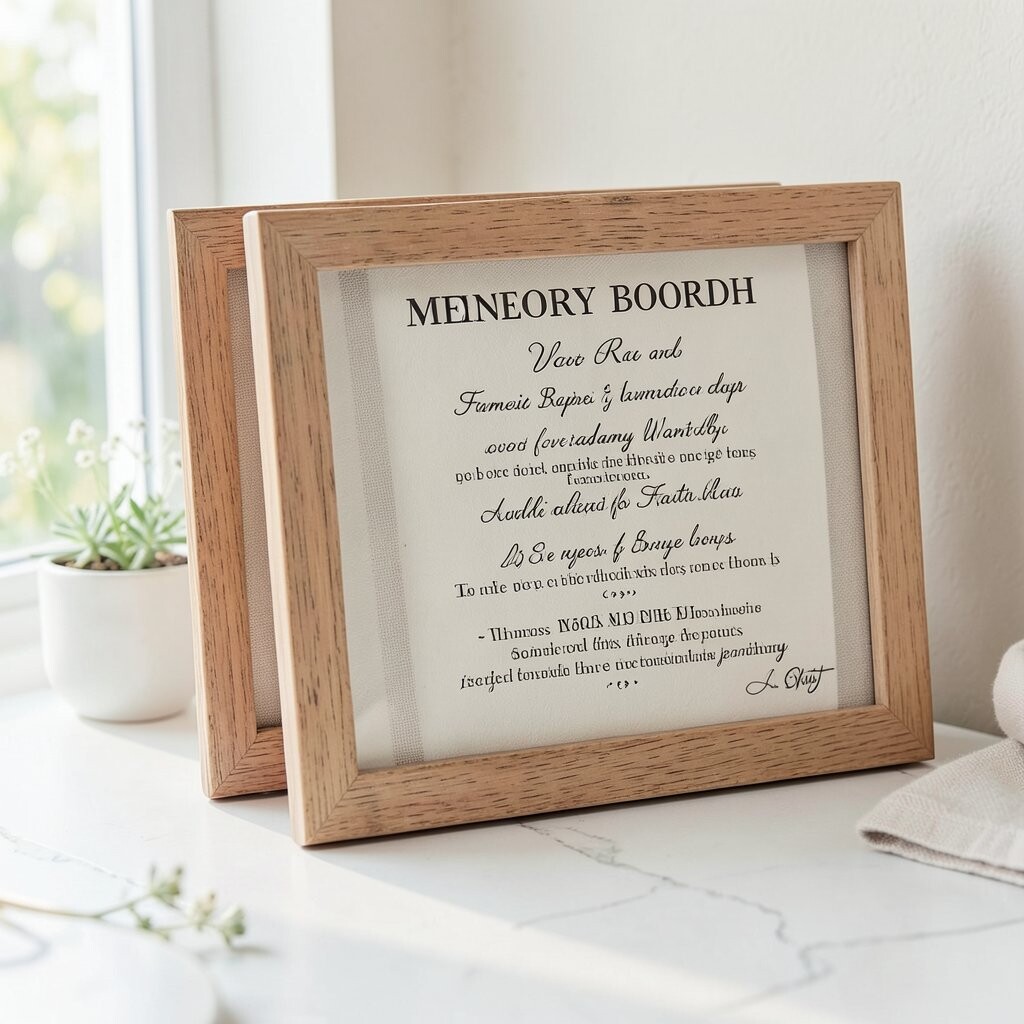
Combine photos with recipe cards for a memory board that supports daily life. A kitchen-friendly board can hold family favorites, meal stories, and small note cards.
Use index-card size sleeves or clipboards so cards stay protected. For personalization, include one ingredient sketch, a favorite cook’s quote, or a short memory about the first time you cooked something together.
To keep it budget-friendly, reuse old frames or thrift-store finds as the backing. Current trends lean toward lived-in kitchens, and this board fits right in without looking formal.
13. Travel Map Memory Board With Pins and Path Lines
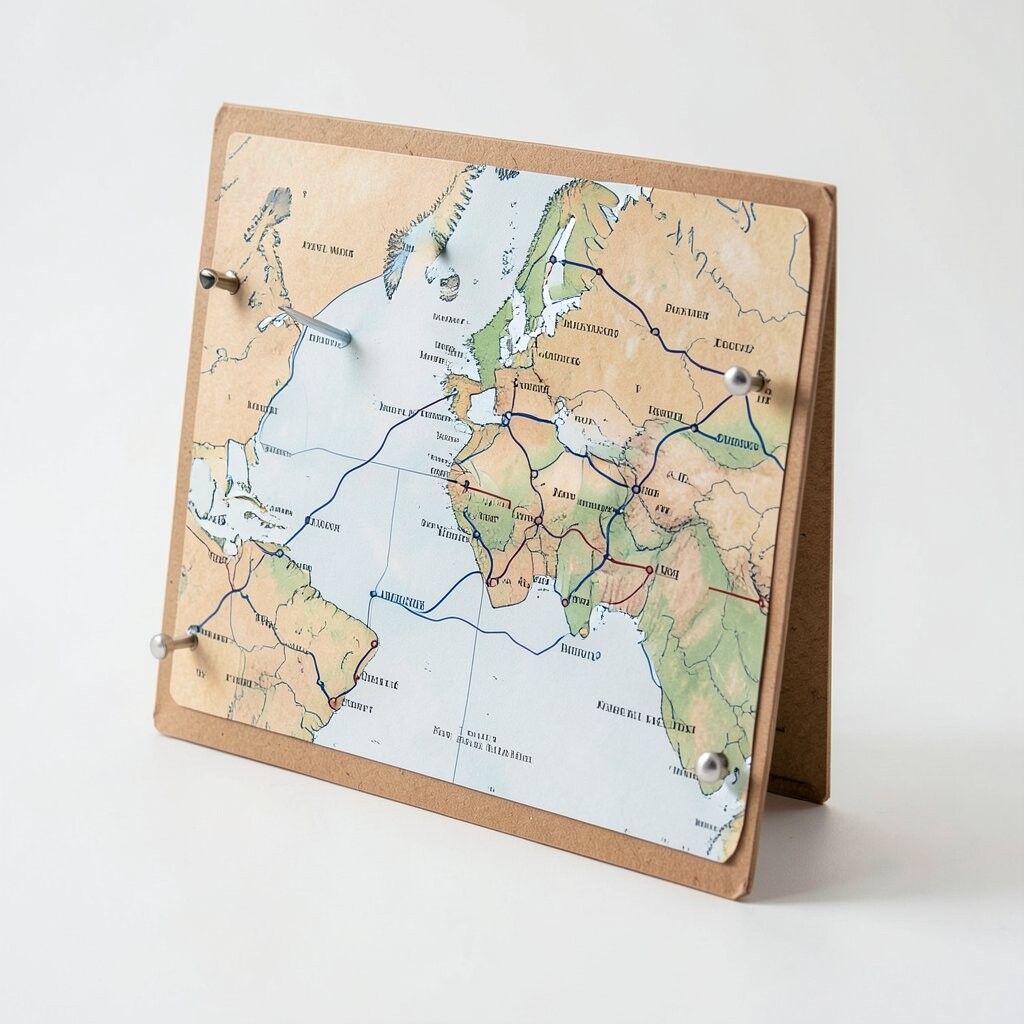
A travel map board turns wanderlust into a wall display you can touch. Use a map print as the background and place pins along the places you’ve visited.
Draw simple path lines with a thin marker to show the route. It looks especially nice in neutral rooms, where the map colors add warmth without fighting your decor.
For personalization, attach tiny photo strips near major stops and add a short note about what you loved most. If you’re watching costs, print your map at home and frame it with a basic border for an easy upgrade.
14. Theme-Based Board for One Subject You Love
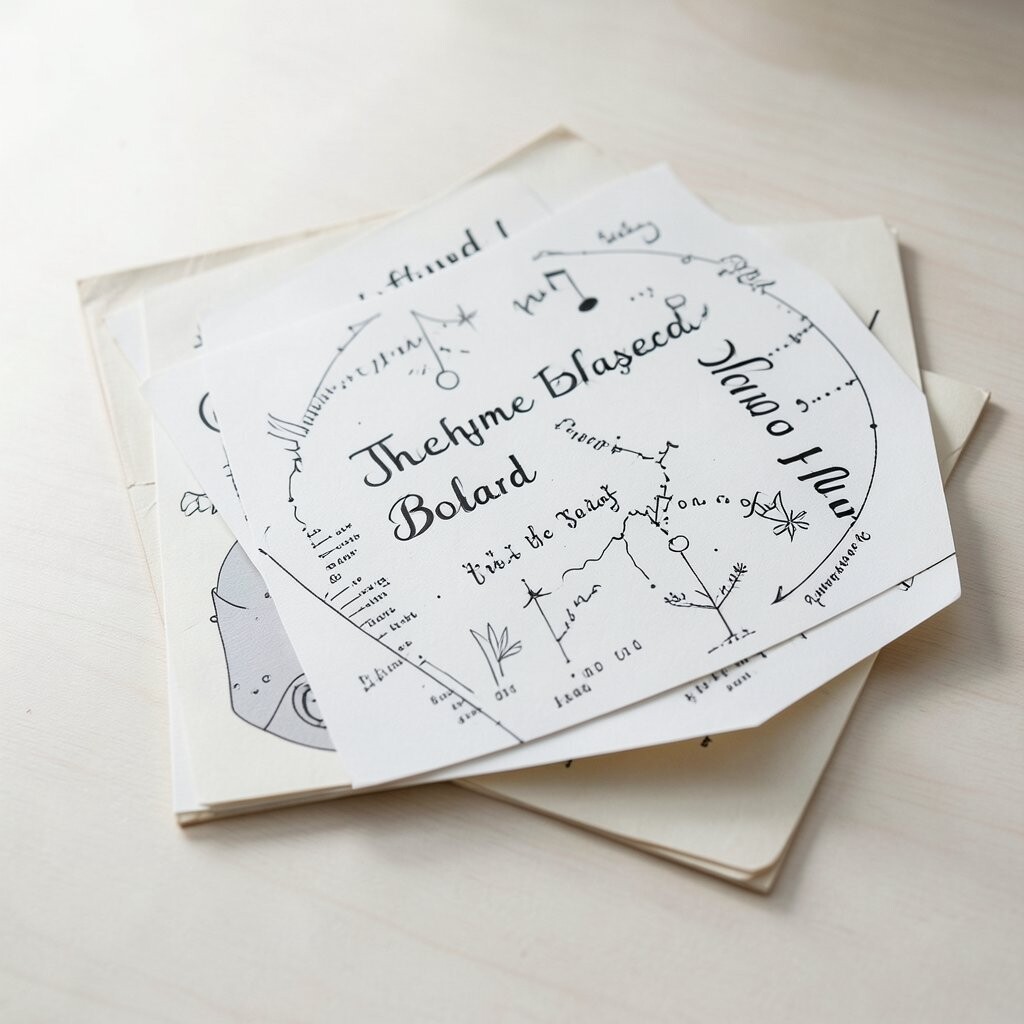
Pick one theme, like art shows, concerts, or sports nights, and build your memory board around it. When items share a common vibe, the whole wall looks more intentional.
Choose coordinating colors and keep the photo sizes close for a clean look. Add small memorabilia like programs or wristbands in clear pockets so they stay protected.
This idea feels unique because your board becomes a personal gallery instead of a random mix. If you want it trendy, add a few minimal graphic elements like simple icons or stamp-style dots to unify everything.
15. Color-Blocked Memory Board With Chunky Frames
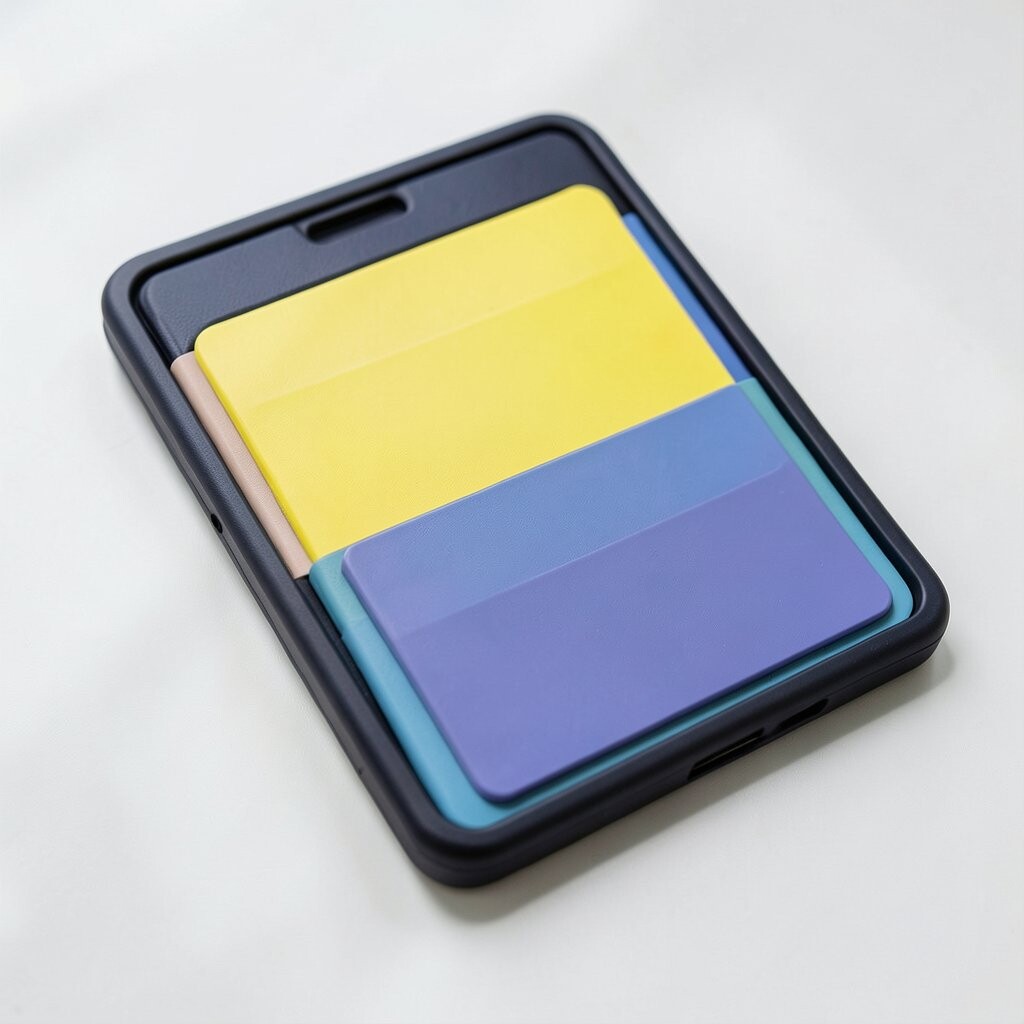
Color blocking gives your memory board a bold, modern energy. Divide the board into sections with different paint colors or colored paper panels.
Place photos in each block according to color palette, like warm tones together and cool tones together. Use chunky frames or thick borders for a stronger visual presence.
For practical tips, measure your wall space first so each block stays even. Cost can stay low by using paint swatches or scrap cardstock, and then upgrading with frames later if you want.
16. LED-Backlit Memory Board for Nighttime Glow
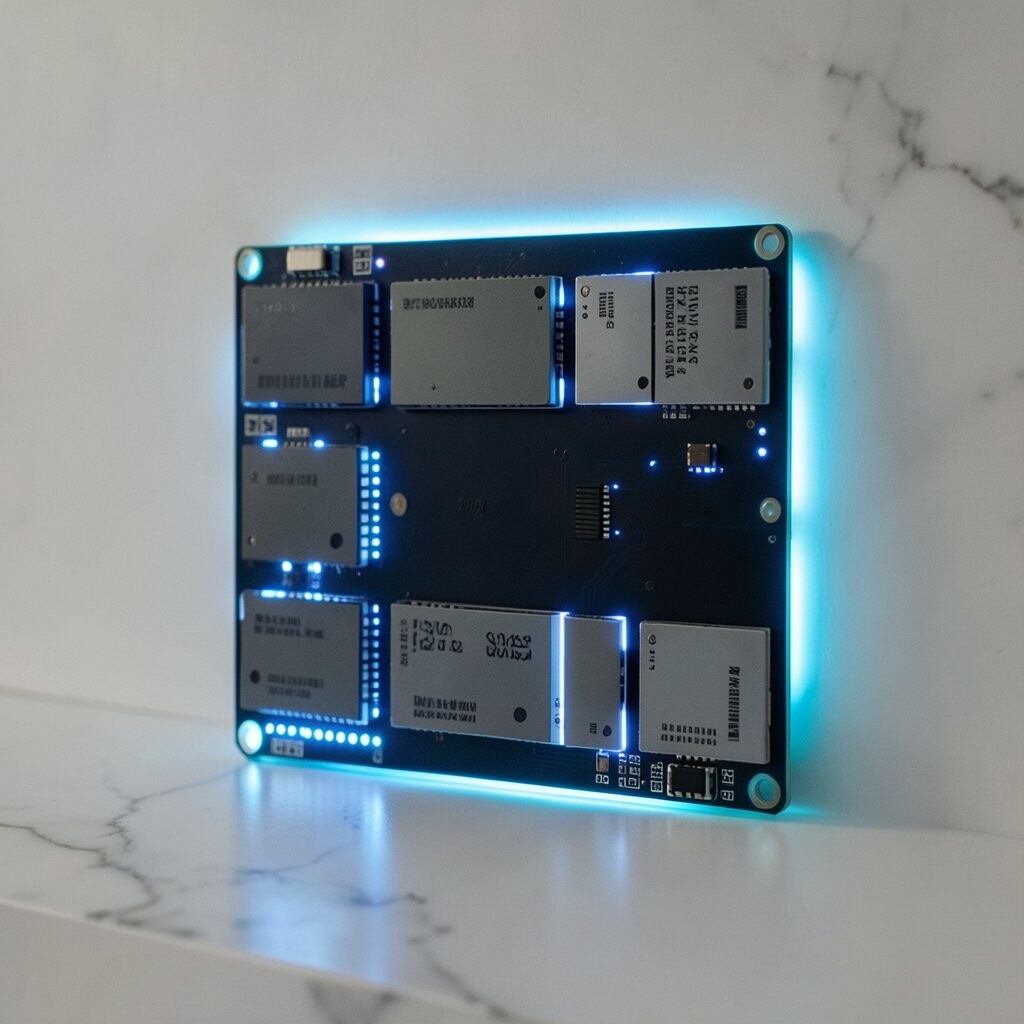
An LED backlit memory board makes your space feel magical after dark. The glow turns photos into a soft spotlight, and your wall becomes a warm corner.
Use a thin light strip behind a translucent backing, then attach photos with small clips so you don’t hide the light. Pick a light color like warm white or soft amber to keep it cozy and not too harsh.
For personalization, place your most meaningful images in the brightest center area. It’s also a popular modern trend because it blends function and mood lighting in one beautiful display.