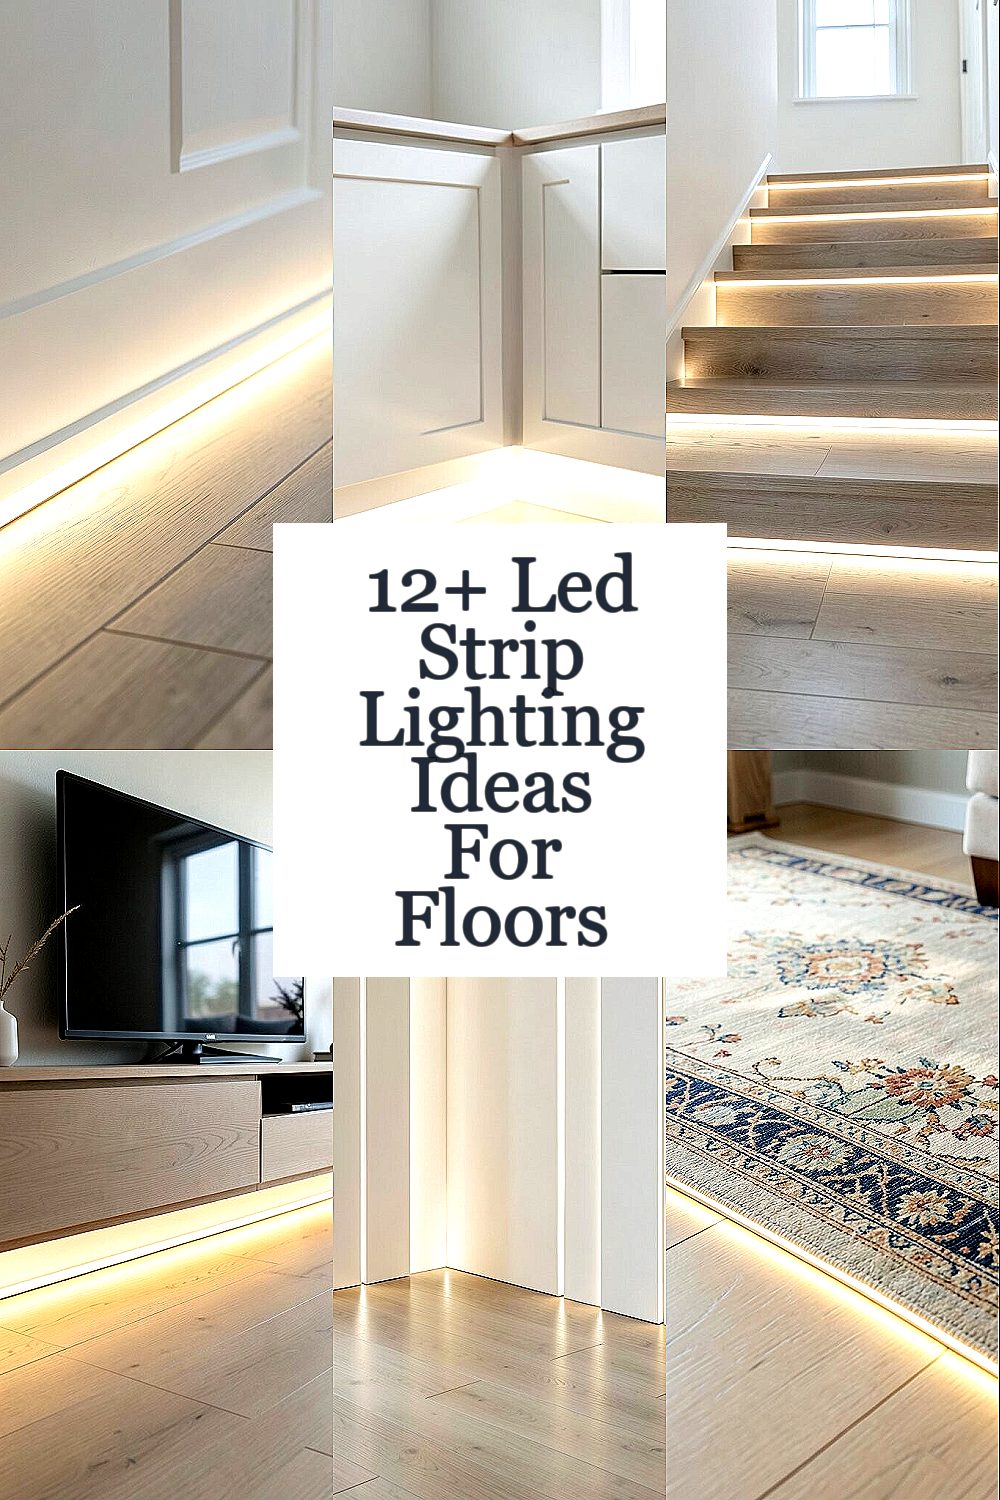
The floor can become the coziest part of a room with the right glow. When you place LED strips in smart spots, everyday spaces start to feel special.
1. Cove Lighting Along the Baseboards for Soft Glow
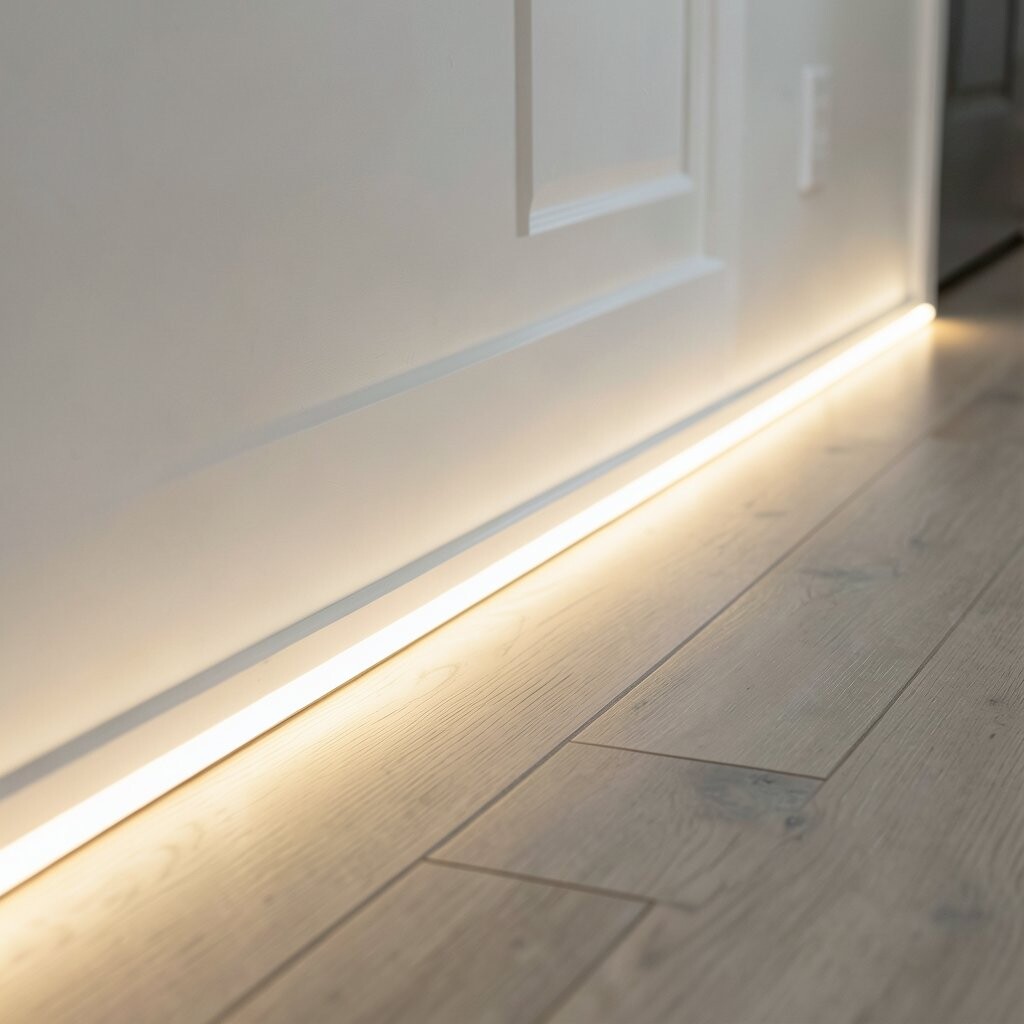
Imagine walking into a room and seeing a gentle ribbon of light hugging the floor. That calm glow makes walls look taller and corners feel less harsh.
Choose a thin aluminum channel so the light stays even and doesn’t look spotty. Pick a warm white color for living rooms, and a slightly cooler tone for kitchens where you need clear visibility.
To personalize the look, you can change the color mood with an RGB controller or keep it steady with a dimmer. For floor-level comfort, keep the strip aimed slightly upward so the light washes over the wall instead of blasting your eyes. If you want an easy upgrade, start with a single wall and extend after you see how it changes the room.
2. Under-Cabinet and Under-Shelf Strips That Make Everything Feel Brighter
LED strips under cabinets and shelves can make your floor feel brighter because the whole room gets a cleaner light level. You’ll notice the difference when cooking, reading, or just moving around at night.
Install the strip in a narrow channel and route the wire neatly along the back edge. Use diffusers if you can, because they soften the glow and help the light look more expensive than it really is.
For uniqueness, try layering light colors, like warm white under shelves and a subtle accent hue inside open cubbies. If you’re watching cost, focus your first strip on one high-impact area such as a pantry cabinet or a display shelf. A dimmer switch is also a smart move since you can match the lighting to the time of day.
3. Stair Tread Illumination for a Safer, Sleeker Path
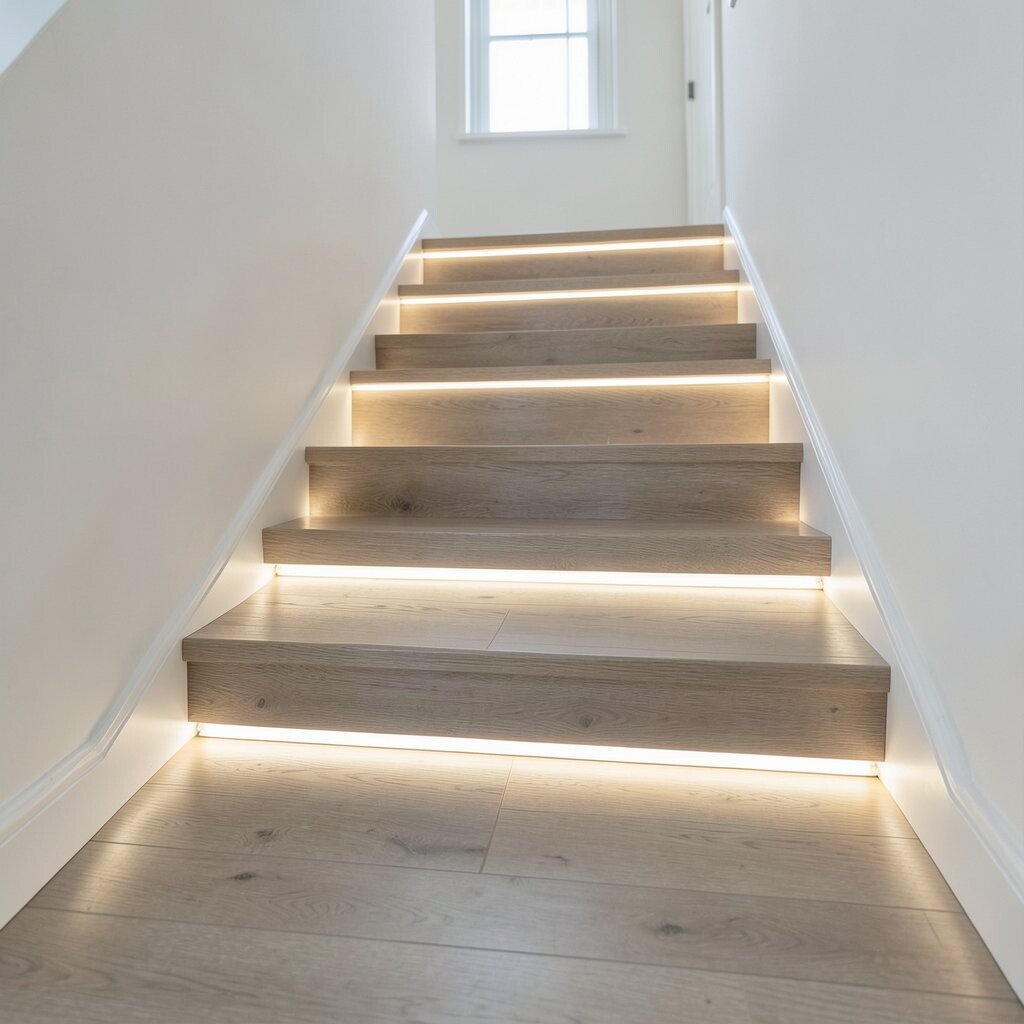
Stairs are one of the most practical places to add LED strip lighting, and the effect is instantly stylish. Each step can glow like a quiet guide, especially in evening hours.
Run a strip along the underside of each tread edge or mount it in a recessed channel for a clean look. Choose a warm or neutral white for comfort, and avoid overly blue shades that can look icy.
To personalize, you can set a gentle fade so the light slowly ramps up when you turn it on. Consider motion sensors for hallways that get used often, so lights come on automatically without touching switches.
If you want a budget-friendly plan, start with just the most used staircase run and later expand to landings. For longevity, pick strips rated for reliable indoor use and double-check the power supply size before installing.
4. Backlighting Under a Floating Media Console for a Low, Modern Look

A floating media console looks extra sleek when it’s backed by LED strips. The light appears to lift the furniture off the floor, even though it’s solid and secure.
Mount the strip along the back underside and aim it downward slightly, so you get a soft halo on the floor. Use a channel with a diffuser to avoid visible dots and make the glow feel smooth.
For a trend-forward vibe, try warm white paired with a dim-to-warm feature that mimics natural sunset. If your console has open shelves, adding small strips inside can add depth and make your room look layered.
Think about personalization by matching the light intensity to your viewing habits, like brighter tones for daytime and gentle levels for movies. This setup usually costs less than you might think because it uses simple mounting and wiring, and it can dramatically change the room’s mood.
5. Vertical Wall-to-Floor Strips That Create Floating Light Panels
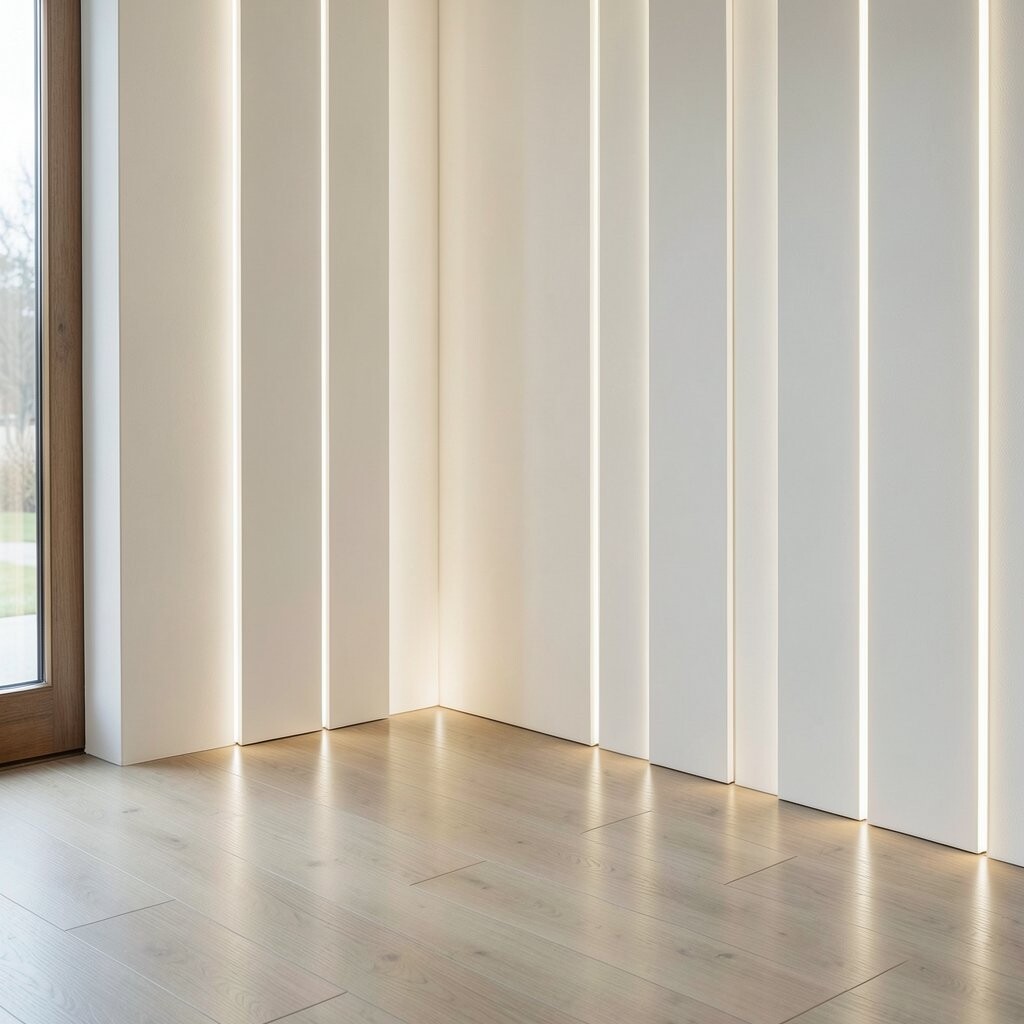
If you mount LED strips so they run from the wall down toward the floor, the room starts to feel taller. The light looks like a vertical panel even though it’s just a flexible strip.
Use corner clips or a thin track so the strips follow clean lines and don’t sag. For a strong effect, keep spacing consistent and use a diffuser that hides the individual diodes.
Personalize the mood by selecting a color temperature that fits your decor, such as neutral white for balanced rooms. If you like experimenting, use RGB with a slow color-chasing effect that you can turn off when you want a calm space.
To keep costs in check, limit the installation to one or two strong wall sections instead of covering every wall. When you aim the light slightly across the floor, it also reduces the need for extra lamps in the same area.
6. Edge-Lighting Around Rugs and Flooring Borders for Depth
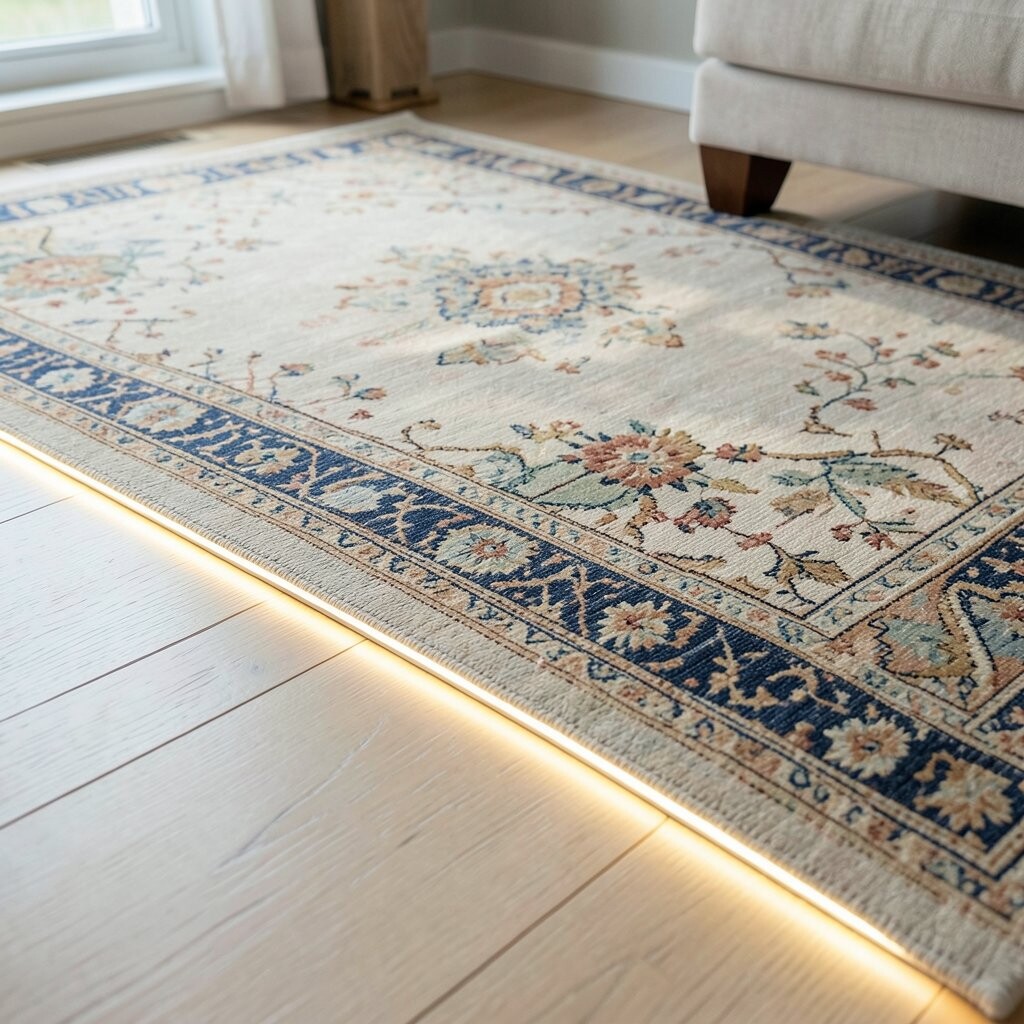
Rugs can look even more grounded when you trace their edges with a subtle LED glow. The light creates a boundary that makes the room feel designed, not accidental.
Place the strip so it shines just next to the rug edge, like a tiny spotlight that outlines the shape. If you have hard flooring, a channel helps you keep the light tight and neat.
For uniqueness, pick a color that matches your decor accents, like soft amber with earthy tones. If you prefer a natural look, stick to warm white and set the brightness low so it feels cozy instead of bright.
Practical placement matters, so plan the wiring path before you start. You can also use adhesive-backed channels, but test the surface cleanly first so the bond holds.
7. Floor-Level Accent Lighting Behind Plants and Bookshelves
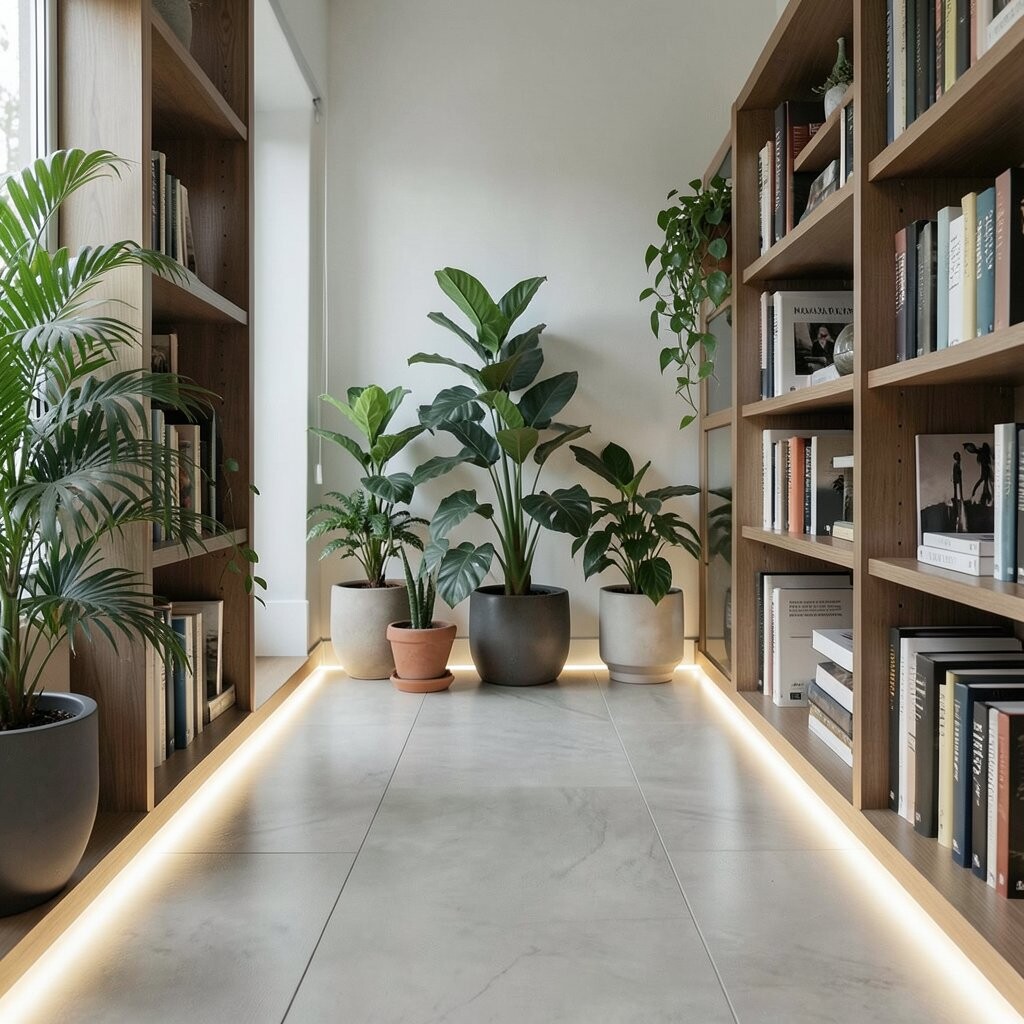
When plants and bookshelves get a gentle light from below, they look richer and more three-dimensional. The floor glow makes greenery pop and gives shelves a “gallery” feel.
Hide the strip behind a shelf base or mount it along the back edge near the floor. Aim the light upward a little so it highlights leaves, spines, and textures instead of reflecting straight into your eyes.
Personalize your setup with a warm white for cozy rooms and a slightly brighter neutral for home offices. For current style, many people are pairing low lighting with natural textures, like wood, woven baskets, and stone finishes.
If you’re keeping costs low, choose one statement shelf or plant corner as your first installation. A small power adapter and careful routing usually make this a manageable DIY project for many homes.
8. LED Strips in a Recessed Channel Along the Hallway Base
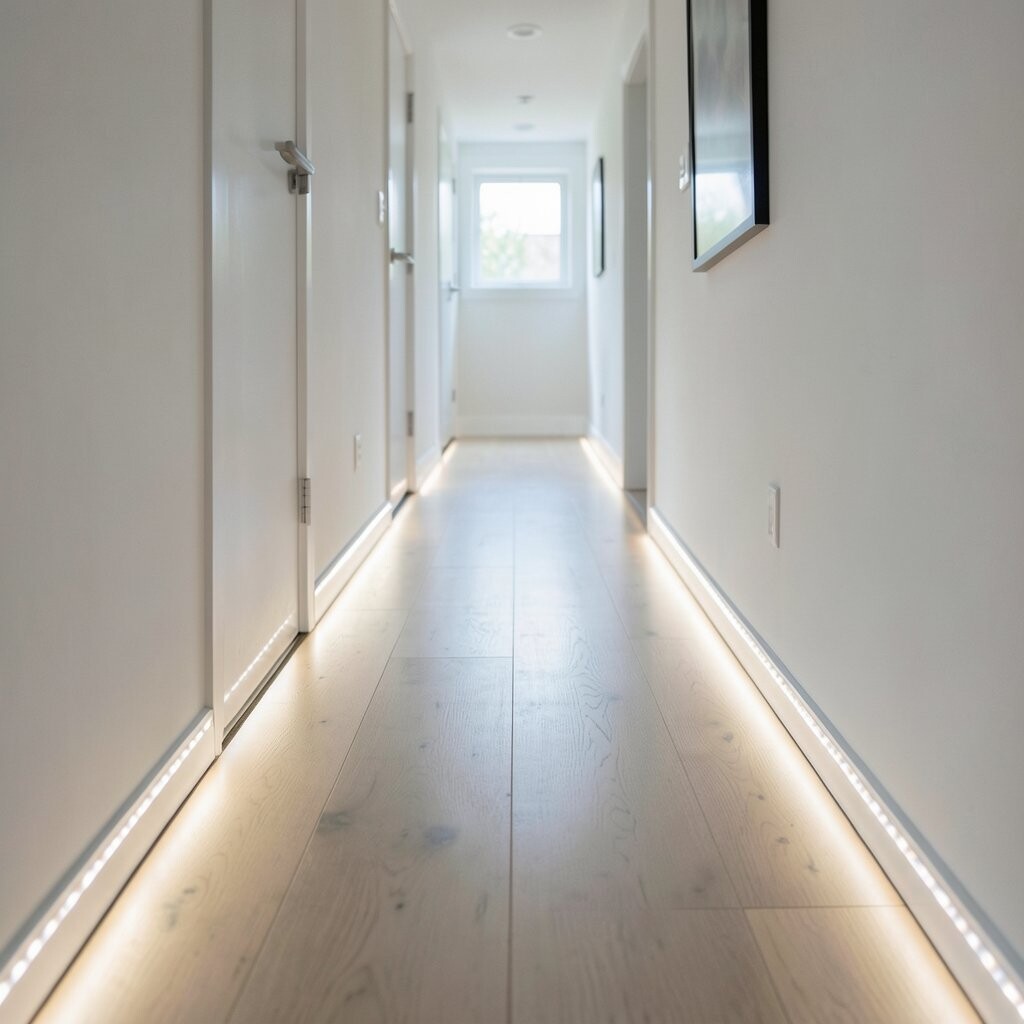
Hallways are often dark, even when the ceiling lights are on, and floor-level strips solve that fast. A recessed channel creates a clean, built-in look that makes the glow feel intentional.
Run the strip along the baseboard area and seal the channel so light stays protected. Choose a warm white for cozy comfort, and keep the brightness moderate so it feels relaxing rather than harsh.
For uniqueness, add a gentle effect that turns on gradually so you never get that sudden glare at night. Motion control can be really helpful here, especially if the hallway is where you carry groceries or kids rush past.
To personalize further, match the light timing to your routine, like brighter at first thing in the morning and softer in the evening. Cost-wise, a hallway run often uses a smaller length than whole-room installs, which helps keep your shopping decisions practical.
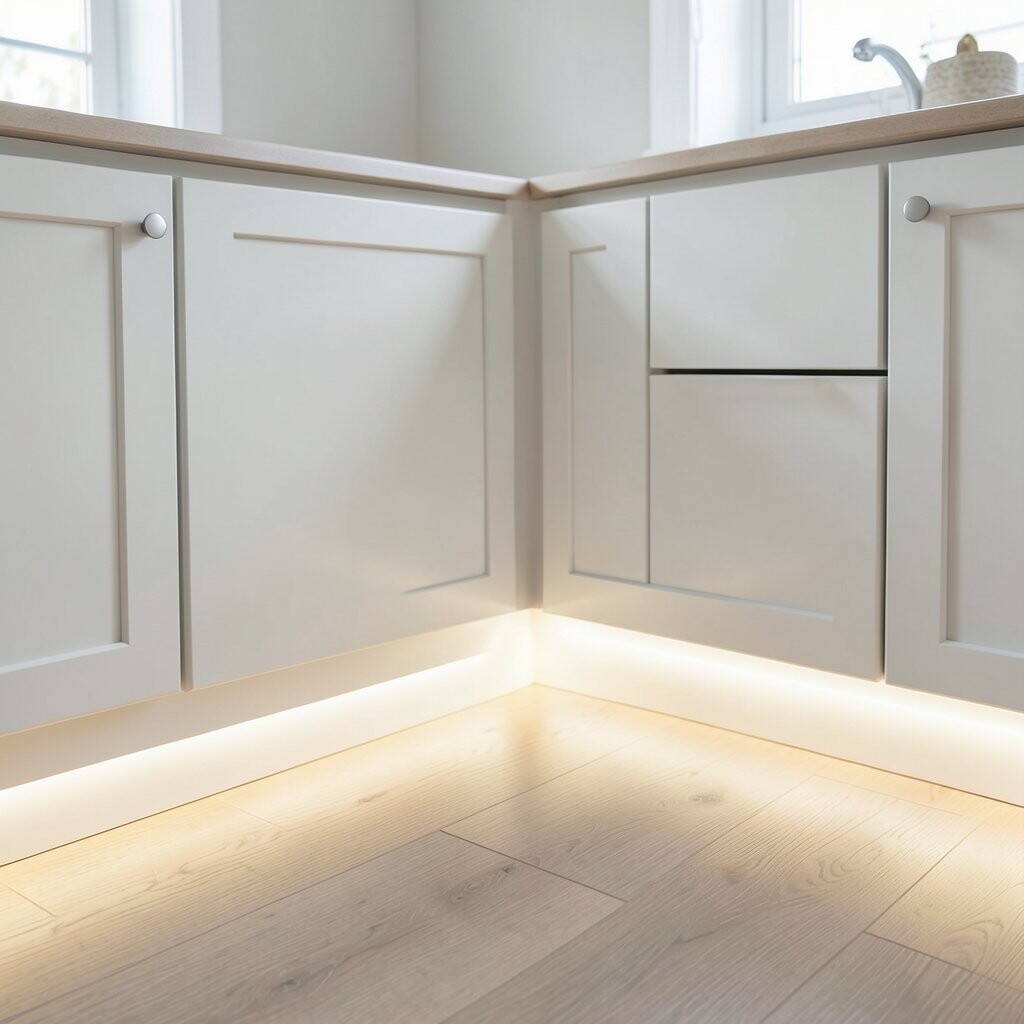
9. Backlit Kitchen Kickboards for a Clean, Modern Edge
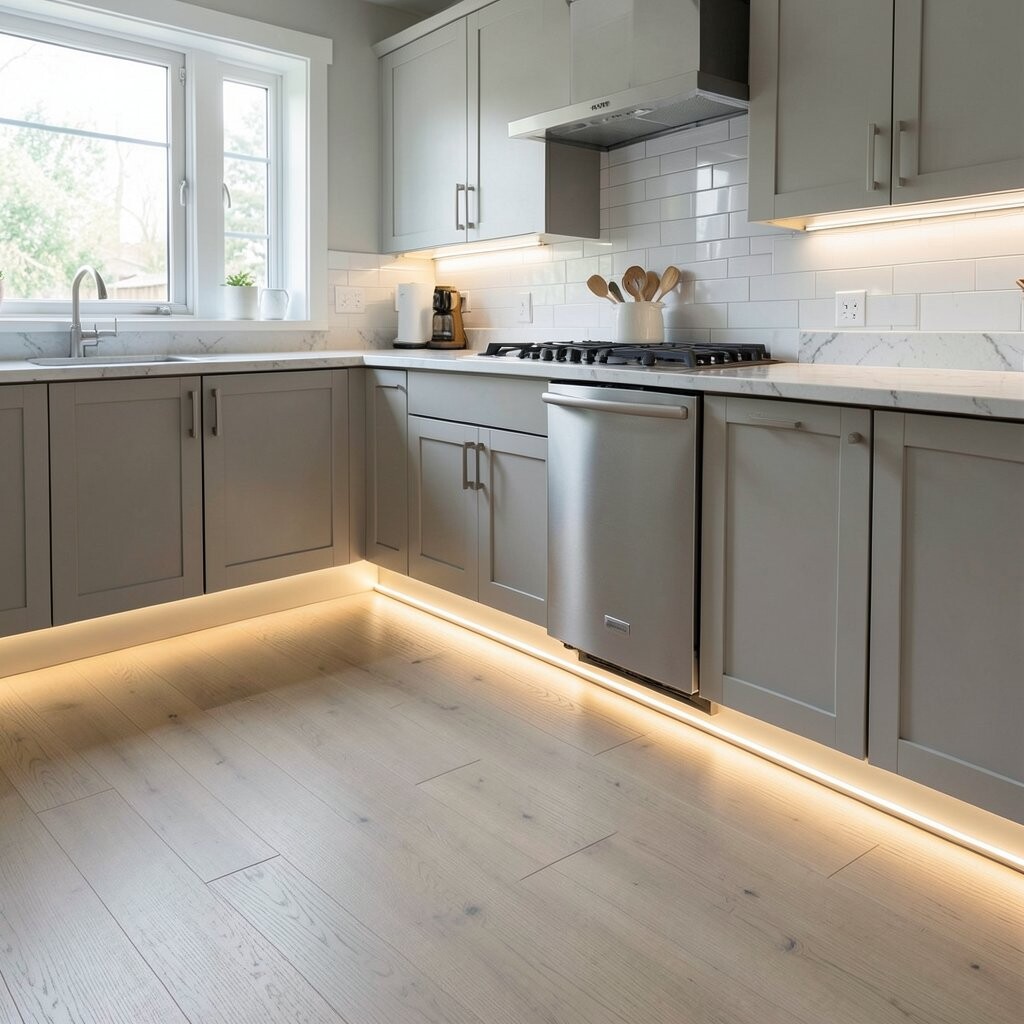
The kitchen has lots of hard surfaces, so adding floor-adjacent LED strips can make everything feel smoother and calmer. You get a neat glow that also helps you see the floor when you reach for a dish.
Install the strips along kickboards under cabinets, then diffuse the light so it spreads evenly. Warm white works nicely for everyday cooking, while neutral white helps with food prep where clarity matters.
For personalization, set up separate zones so you can brighten only the main cooking area. Some people also like using subtle color accents behind glass-front cabinet doors for a boutique feel.
If you’re thinking about cost, focus on the visible runs first, like the long cabinet wall and the area near the sink. Using a quality channel and diffuser can reduce the chance of visible hot spots, which saves you from redoing the work later.
10. LED Strip Lighting in Window Nooks for Cozy Evening Ambience

A window nook can become the coziest corner when the light glows from low along the floor. It feels like the room is gently lit from the outside, even when it’s dark.
Mount LED strips along the base of built-in seating or along the lower edge of a window frame. Use an adhesive channel with a diffuser so the light spreads nicely and avoids bright dots.
Personalize your vibe by choosing warm white for reading comfort, or a soft RGB setting for a playful mood. This is also a great place to use smart controls, since many trends now focus on scheduling lights for routines.
Keep it practical by measuring the nook area carefully and planning cable routes behind furniture. Cost considerations are easier here because you’re lighting a small zone, but the impact often feels larger due to the intimate space.
11. Lighting the Base of a Feature Wall to Frame Art and Texture
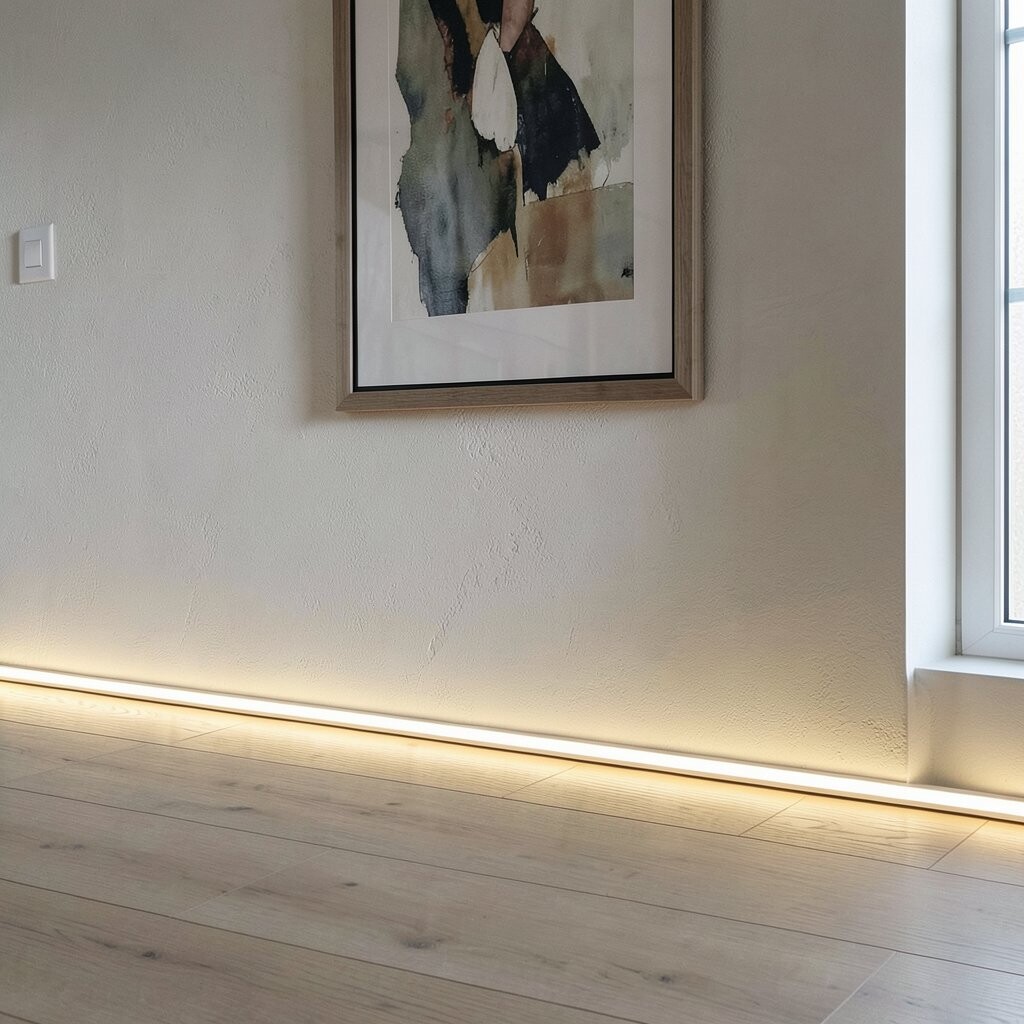
Framing art gets even better when there’s a subtle light rising from the floor. An LED strip along the base of a feature wall adds depth, making textures feel more vivid.
Place the strip inside a shallow channel at the floor edge and aim it upward to graze the wall. This method makes paint, wallpaper, wood panels, or tile patterns look richer without needing a bright spotlight.
For uniqueness, you can coordinate the light temperature with the room’s other lamps so everything feels consistent. If you want a modern look, use a dimmer and keep the light level just high enough to define the artwork area.
To keep the project manageable, choose one feature wall rather than lighting every wall in the room. Over time, you can add matching strips around doorframes for a connected, stylish flow.
12. Color-Changing LED Strips Under Benches and Seating for Parties
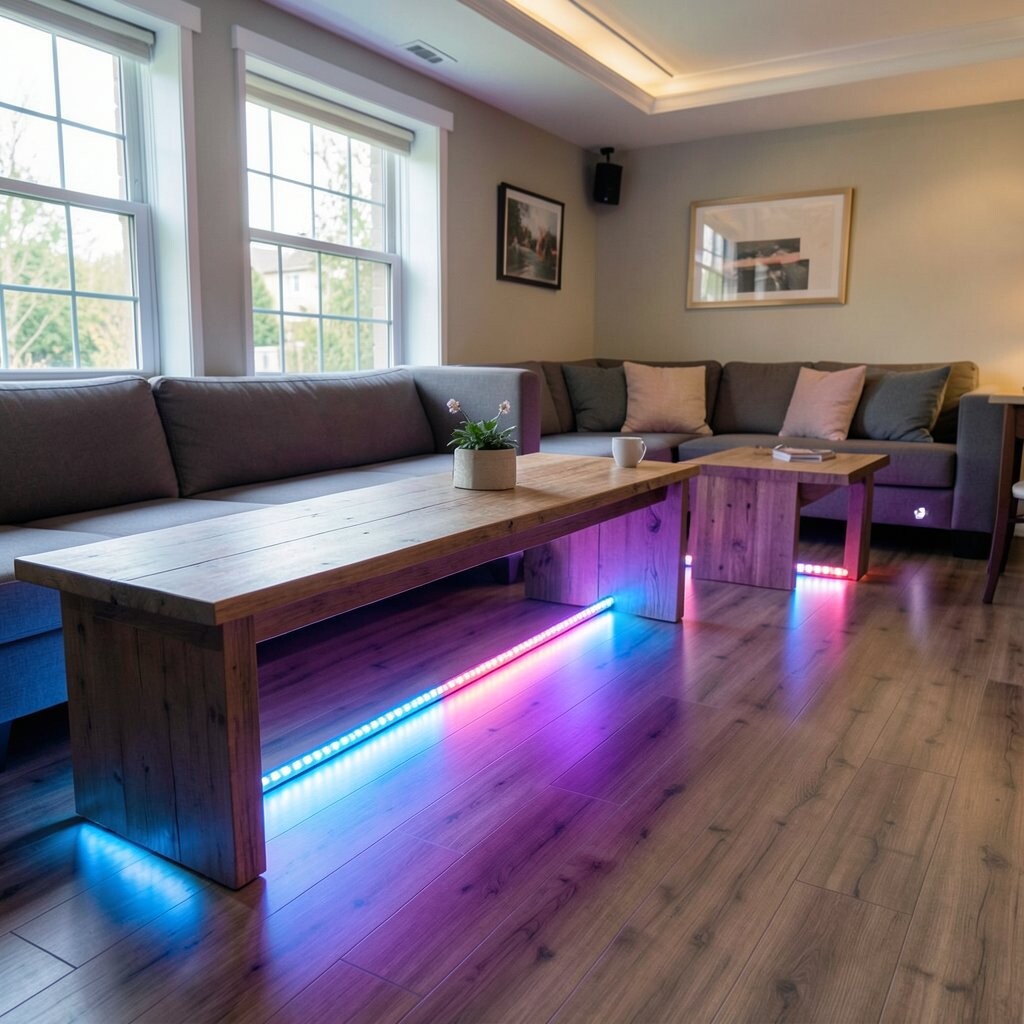
Under-bench lighting is a fun way to brighten the floor while adding personality to your space. It makes gatherings feel lively because the glow follows the furniture lines.
Mount the strip under benches or inside seating platforms, then point it so the light washes the floor lightly. Color-changing LEDs work great here since you can switch to calm hues for everyday use and brighter tones for events.
For practical setup, use a controller that supports smooth transitions, so the light changes feel stylish rather than distracting. Personalize with preset scenes for movie nights, birthdays, or relaxing evenings at home.
Cost-wise, this is often a middle-ground choice because you get a lot of visual impact from a relatively short strip. Also consider safety by using secure mounting and making sure the wires are protected from foot traffic.
13. Smart LED Strip Flooring Corners for Night-Time Convenience
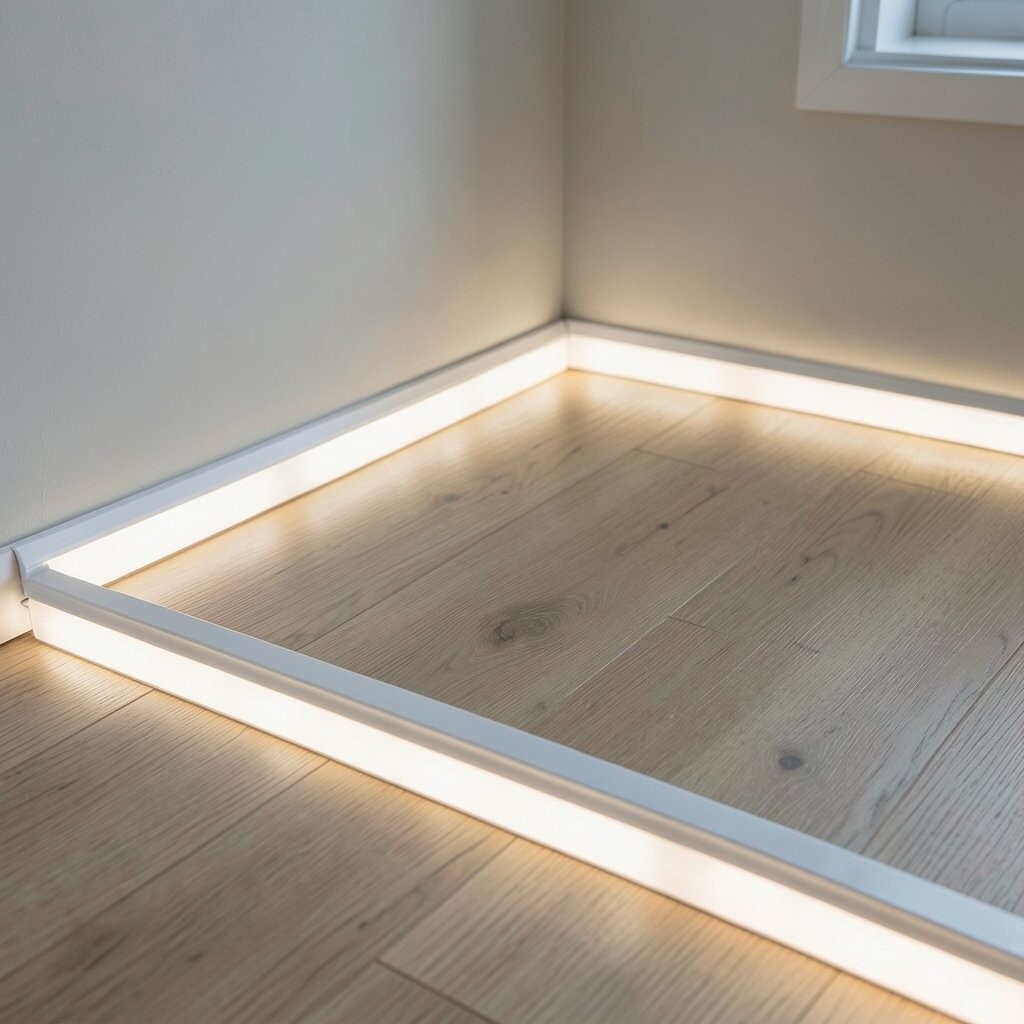
Lighting your floor corners with small LED strips makes nighttime movement feel easier and safer. The glow guides you without lighting up the whole room like a spotlight.
Install strips along interior corners or closet edges, then set the brightness low so it feels gentle. Choose warm white if you want a classic cozy look, or try a mild neutral for rooms where you need clearer sight.
Personalize with smart controls that turn the lights on when you approach, especially in bathrooms, hallways, or bedrooms. A trend right now is using app-based scheduling so the glow matches the time of day automatically.
If you’re mindful about budget, start with one or two corners and add more later. Many smart setups also let you reuse controllers across multiple rooms, which can reduce the cost of upgrading your whole home lighting plan.