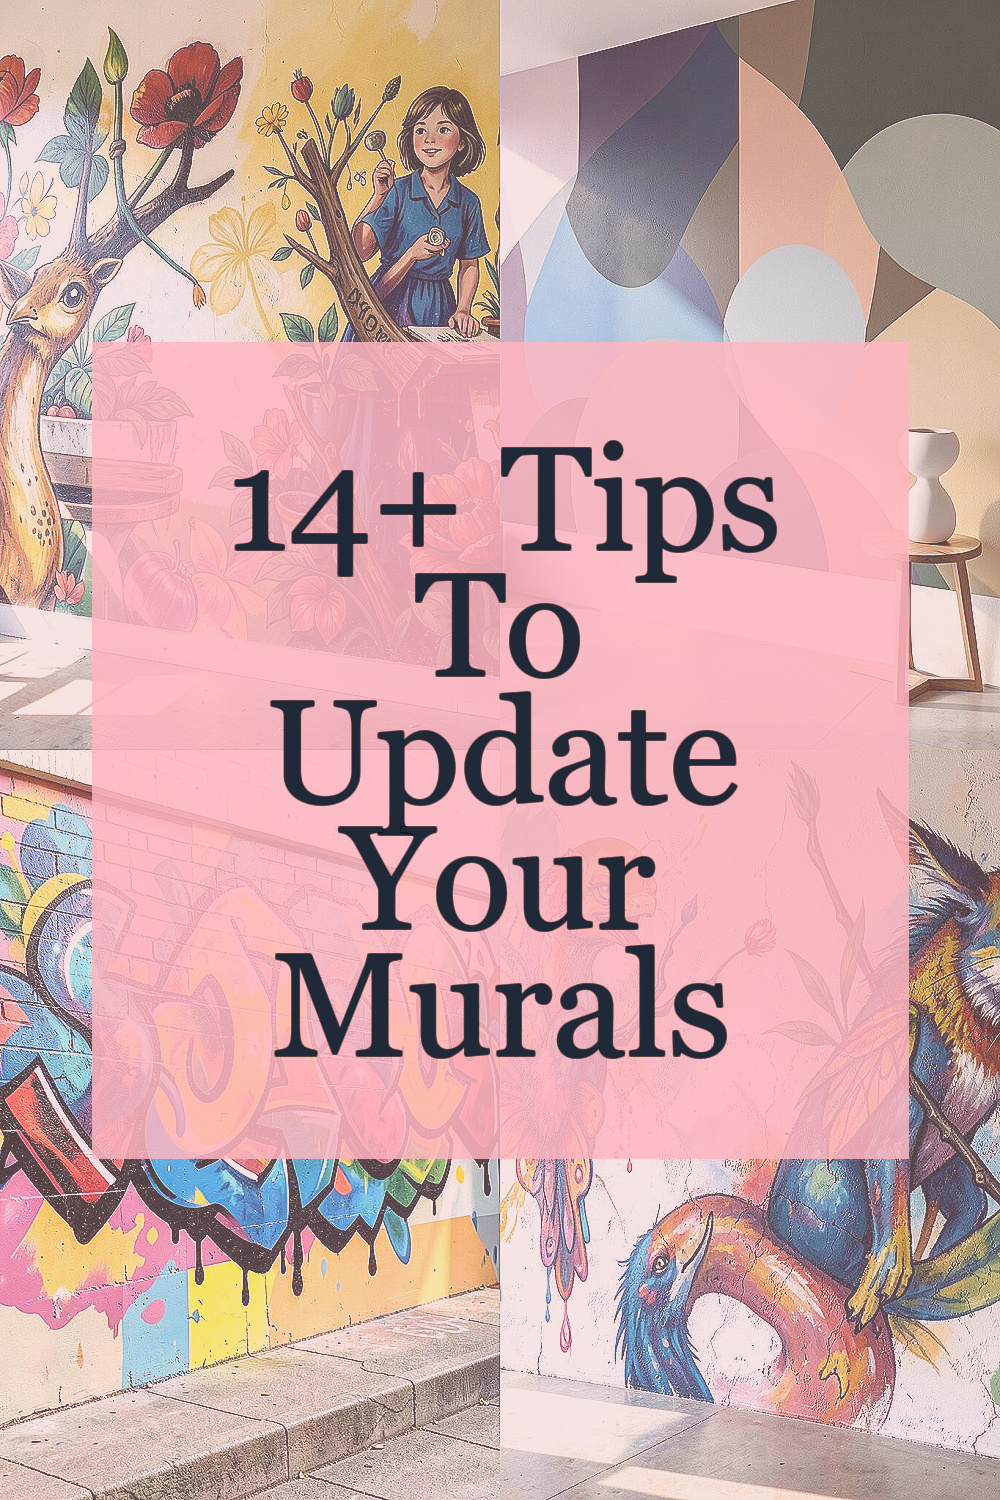
The wall you stare at every day can start telling a better story. Small changes can make a mural feel fresh, bold, and uniquely yours.
1. Choose a Theme That Feels Like You

Pick a theme that matches your daily mood, like ocean calm, city energy, or cozy garden vibes. When people look up, they should feel something instantly, even before they read any details.
Try sketching a quick mood map with colors and shapes you already love. A theme helps you plan paint colors, lettering styles, and background textures without getting lost. It also keeps the mural from looking random, so your wall looks intentional and complete.
2. Refresh the Color Palette With Modern Shades

Look at what’s trending in home color and art spaces, like warm clay tones, soft sage greens, and deep navy accents. These colors work well because they feel current while still being easy on the eyes.
Test your palette by painting small swatches on scrap board or directly on paper taped to the wall. Modern palettes often use one bold accent with calmer supporting colors, which makes your main art pop. When your colors harmonize, the mural feels new even if the drawing stays familiar.
For cost control, limit yourself to a few new paint colors and reuse older tones when possible. If you have leftover paint, you can mix it slightly to match the updated shades. This keeps spending under control while still giving a clean, updated look.
3. Add Depth With Simple Layering Techniques

Depth can be as easy as painting a soft shadow behind key shapes. Use a light hand and blend the edges so it looks natural, not cut out.
Layering also means changing background intensity, like making distant elements lighter and more faded. You can paint a gentle gradient behind clouds, waves, or skyline lines to make the wall feel farther away. This gives the mural a richer, more professional feel without complicated tools.
Try a quick method by adding a thin glaze on top of dry paint. A glaze is a see-through layer that makes colors look warmer or deeper. It’s a smart way to add uniqueness while keeping costs low because small amounts go a long way.
When you layer, remember to let each coat dry fully so you don’t smear earlier work. You’ll also protect your colors by avoiding thick piles of paint. The result is a mural that looks dimensional and lively as you move past it.
4. Use Texture to Make the Wall Feel Alive

Texture turns flat art into something you can almost feel with your eyes. You can mimic sand, stone, grass, or fabric using simple tools like sponges, palette knives, or even crumpled paper.
For a fresh look, try one textured element per section, such as a rocky border or a woven-looking frame. Too much texture everywhere can get busy, so pick focal areas. This makes the mural feel designed, not accidental, and it’s a great way to personalize your style.
5. Outline With Confidence and Clean Lines

Sharp outlines help your mural read clearly from a distance. Use a steady brush, painter’s tape for straight edges, or a fine marker made for walls.
Before you commit, practice on a small patch so you learn how your paint flows. Clean lines make colors look brighter because shapes stay defined. This upgrade can feel dramatic while still being affordable, since it uses tools you may already own.
If you want a modern vibe, consider using thinner outlines with more spacing between elements. That style looks airy and bright, especially under daylight. It’s a fun way to update without repainting everything.
6. Incorporate Local References and Tiny Stories

Your neighborhood can become part of the mural in a sweet, subtle way. Add a landmark silhouette, a favorite street sign style, or a symbol that only locals would notice.
These details create uniqueness because they reflect real life, not generic art. A mural becomes more than decoration when it carries memories. You can keep it practical by choosing small elements that take less time than full portraits.
7. Swap One Big Element Instead of Redoing Everything

If your mural already has a strong layout, updating can be much cheaper than starting over. Choose one section, like the sky area or a central character, and repaint it with new color or a new shape.
Replacing one big element keeps your wall from looking messy, because the overall composition stays balanced. It’s also easier to plan because you already understand the space. Plus, you can reuse existing paint and supplies, which helps with cost considerations.
To make the swap feel intentional, adjust nearby colors so the new part blends smoothly. A small touch-up around the edges often makes everything look like it always belonged there. This method gives you a fresh mural without the stress of full demolition.
8. Add a Lettering Moment for Personality

Lettering can make a mural feel welcoming and personal. Try a short phrase, a single word, or even a date that matters to you and your family.
Keep the letters simple and readable, using thick strokes or a friendly script style. When letters are clear, they guide the eye and give your art a focal point. You’ll also get uniqueness because your phrase and handwriting style are yours alone.
For a practical approach, sketch the lettering lightly first using chalk or a pencil that doesn’t smear much. Use painter’s tape to block off letter zones so your edges stay neat. This upgrade can be budget-friendly since you only need a few lettering brushes and the paint you already chose for the palette.
9. Blend Hand-Painted and Stenciled Sections

A mural can look polished when it mixes freehand art with stencil shapes. Paint a character or main figure by hand, then use stencils for stars, leaves, patterns, or geometric borders.
This blend helps you control details without spending extra time on every tiny area. Stencils also bring consistency, which looks great in repeating motifs like waves or tiles. If you want a modern look, try clean geometric shapes around softer painted scenes.
To keep costs down, use one stencil pack for multiple projects, like repeating circles or chevron lines. You can also make your own stencil with thick cardboard for custom icons. That personalization makes the mural feel one-of-a-kind.
10. Match the Mural Lighting to the Room

How a mural looks depends on where the light hits it. If your wall gets bright afternoon sun, you might want deeper colors that won’t fade as easily.
If the room has warm lamps, consider using warm highlights like golden yellows or peachy tones. Lighting changes the mood, and your mural should match it so the wall always looks inviting. This is a practical step that helps the art feel right day and night.
11. Create a Frame Effect With Shapes or Borders

A frame can make your mural feel like an art piece, not just paint on a wall. You can paint a border, a simple rectangle, or an organic edge like a wave-shaped frame.
Borders also make it easier to refresh later because you know where to keep details. Use a contrasting color to separate your artwork from the wall background. This upgrade adds structure and makes the mural look more intentional, especially in entryways or hallways.
12. Add an Interactive Element Like a Hidden Pattern

Interactive art makes people smile when they notice it slowly. You can hide a subtle pattern in the background, like tiny footprints, small constellations, or repeating leaf shapes.
This approach adds uniqueness without forcing you to draw complicated full images everywhere. It also gives your mural rewatch value, because viewers find something new each time they look. Use lightly tinted paint so the pattern appears gentle, not loud.
To keep the project manageable, choose one hidden pattern and repeat it across a limited area. For example, you can add the pattern inside clouds, along the bottom border, or behind a main character. That keeps it practical and keeps your budget steady.
13. Protect Your Work With the Right Finish

Once your mural looks amazing, protecting it helps it stay that way. A clear sealant or protective top coat can help resist scuffs, moisture, and light wear.
Pick a finish that matches your wall type and the room conditions. Matte finishes hide small imperfections, while satin finishes can brighten colors slightly. This small step supports long-term beauty and helps your mural look updated even after months.
If you’re painting in a high-touch area, sealing becomes extra important. You’ll likely spend a little more upfront, but it can save money later by reducing repainting. It’s one of the smartest cost considerations you can make.
14. Document Your Process With Before-and-After Photos

Take photos before you change anything so you can see the mural grow. You don’t need fancy gear, but consistent lighting helps you notice what improved.
Documenting gives you confidence and proof when you share your work with friends. It also helps you plan the next update because you can see which colors and techniques made the biggest difference. Plus, it’s inspiring to watch your wall evolve over time.
If you want to keep things organized, label photo folders by date and section. That makes future touch-ups faster and reduces wasted paint. It’s a practical habit that supports your personalization goals without extra cost.
When you look back, you might even spot new ways to add uniqueness, like a better border shape or a fresh highlight. That makes the mural feel like an ongoing project rather than a one-time task. You’ll be more excited to keep updating.
15. Plan Future Updates With a Simple Style System

To keep your mural feeling fresh long term, create a small style system you can reuse. Choose consistent line thickness, recurring shapes, and a set of highlight colors so new sections match old ones.
This makes future changes smoother because you won’t wonder how everything should connect. You can also save time by keeping a short list of go-to paint mixes or colors. It’s a practical way to manage cost considerations, because you buy less trial paint over time.
For personalization, decide what will stay yours forever, like your signature border style or a favorite symbol. Then decide what can change, like background texture or lettering size. When your mural has a predictable system, it stays cohesive while still evolving in exciting ways.
And as current trends shift, you can swap a color accent or update the texture approach without starting over. That flexibility keeps your art mural wall looking modern and cared for. The best part is how much ownership you feel every time you make a new mark.