
Handmade projects have a way of turning everyday moments into something special. With the right materials and a little patience, you can make gifts, decor, and useful pieces that feel truly yours.
Keep a curious mindset and a light touch. When you choose a craft that fits your mood, you will enjoy the process and the results.
1. Pressed Flower Charm Bookmarks
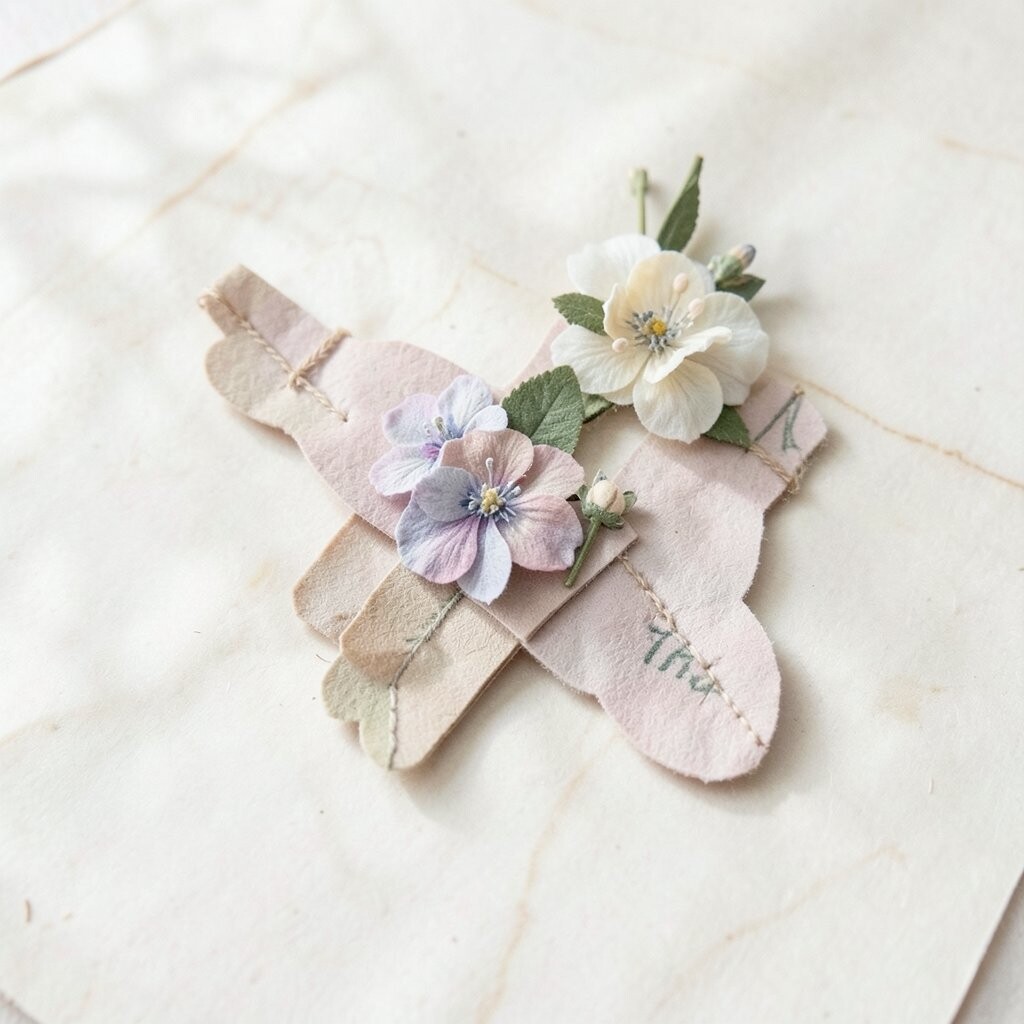
Imagine opening a book and seeing a tiny garden sealed in place. Sunlit petals, thin leaves, and soft fibers can look like they belong right on the page.
To make them, press flowers until they feel dry and flat, then place them inside a clear cover. Use craft-safe tape or a thin laminate sheet to keep the edges neat and protected from bending. A small ring or corner punch lets you add a string loop for extra charm, and you can personalize colors by matching blooms to your favorite book themes.
These bookmarks are budget-friendly because you can use flowers from your own yard or dried from a bouquet. They also stay unique since every pressed arrangement has its own shape and color tones. For a current touch, try layering tiny leaf fragments and using a subtle pastel background so the petals pop without looking too busy.
2. Upcycled T-Shirt Yarn Rope
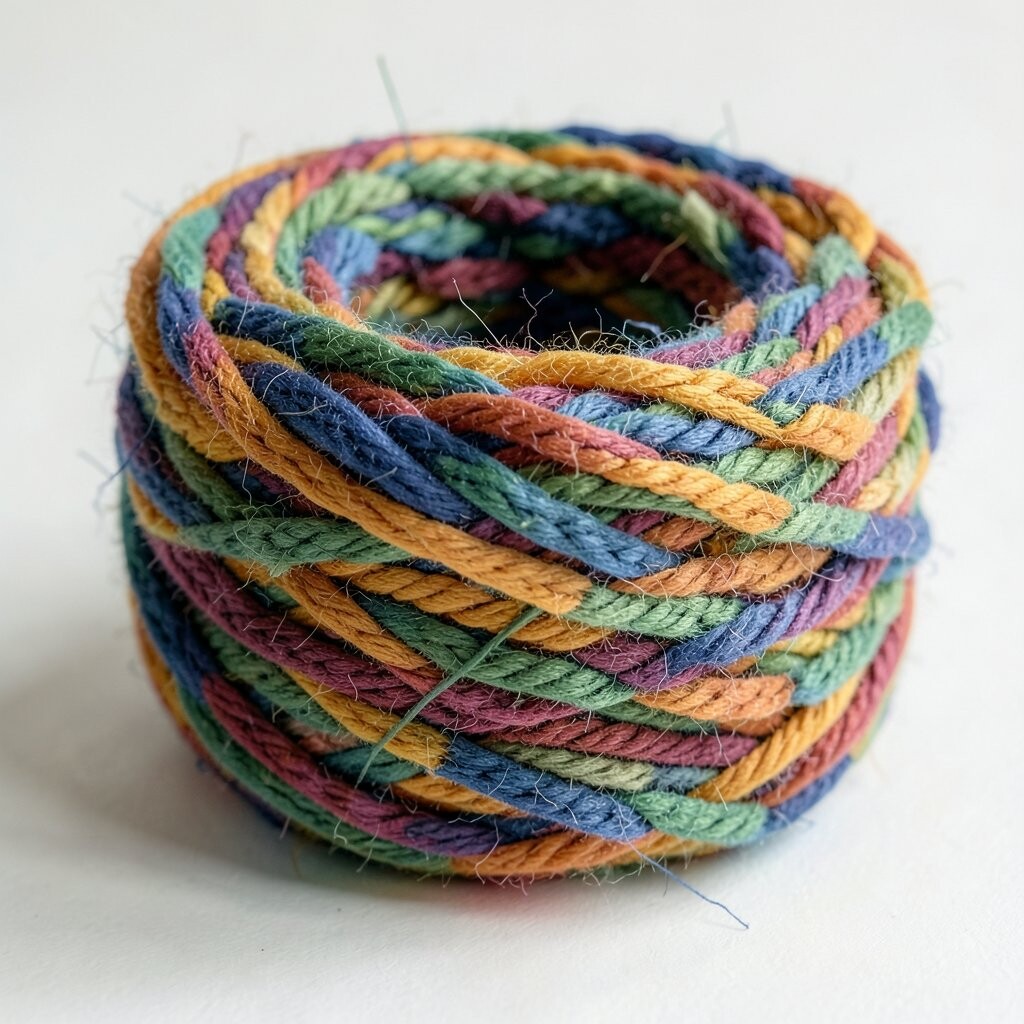
Picture a bulky, cozy rope made from a shirt that would have been tossed. It curls into chunky loops that look fun and modern.
Cut old T-shirts into strips and braid or twist the strips into a long “yarn” rope. As you crochet or knot with it, the fabric stretches just enough to create a soft, durable texture. If you want personalization, weave in different shirt colors like sunset gradients or sports team accents to make each piece feel like a wearable story.
This craft saves money and reduces waste, especially when you use shirts you already own. It is also trending because many people love handmade home goods that look bold and casual. For practical results, choose a shirt with a stable knit so the rope holds its shape, and keep your stitches tight when making baskets or mats.
Benefits show up quickly since the rope works for organizers, small floor poufs, and sturdy coasters. You will enjoy how fast it comes together compared to finer yarn, and the fabric texture makes it feel cozy at a glance.
3. Painted Terracotta Mini Plant Homes
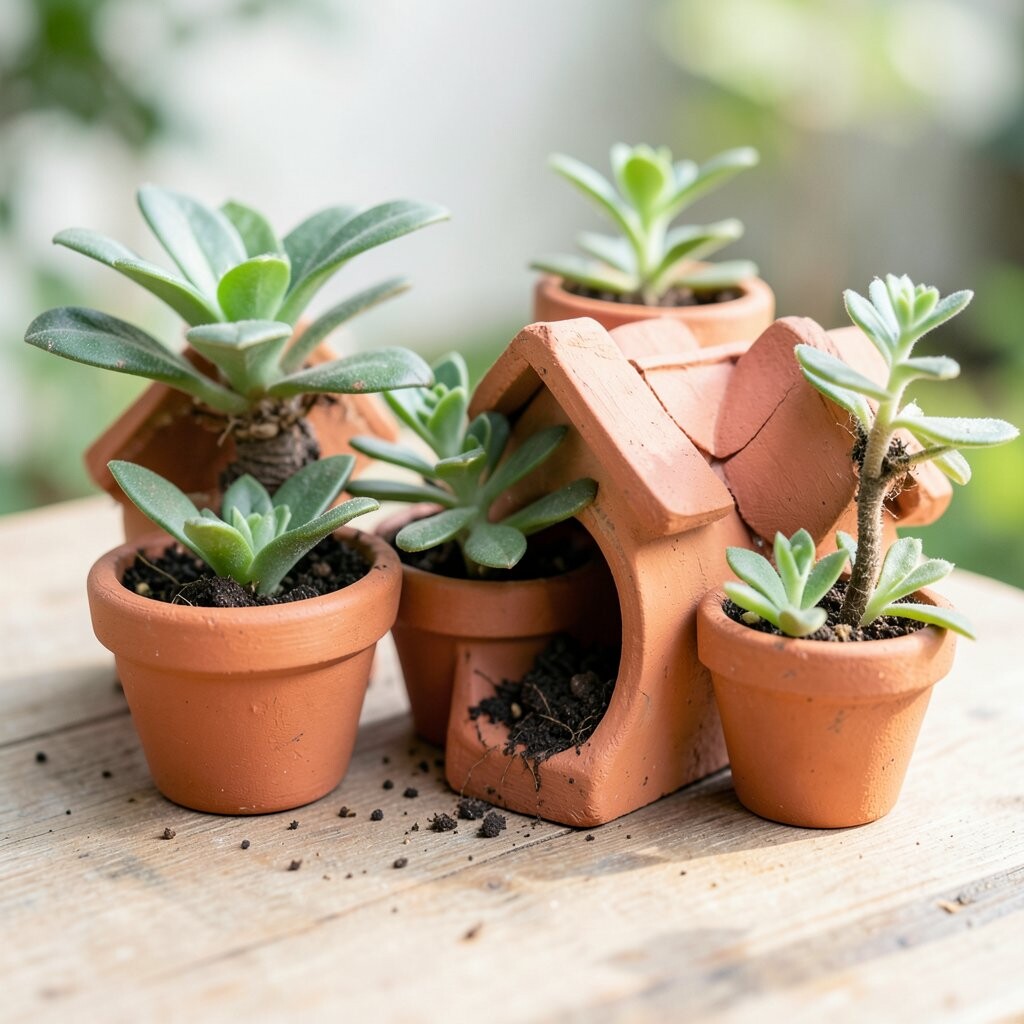
Think of little clay pots wearing bright coats of paint. Their smooth curves make even simple designs look cheerful and warm.
Start by cleaning terracotta, then paint the outside with acrylic and seal with a waterproof topcoat. Add patterns like dots, stripes, or tiny painted leaves for a sweet look that feels custom. For personalization, match the pot colors to your room palette or paint initials for thoughtful gifts.
These mini homes are great for small herbs or succulent cuttings, so you get both decor and a practical purpose. If you are cost-conscious, buy terracotta pots in mixed sizes and paint only the ones you love the most. Right now, people often lean toward earthy neutrals with a small pop of color, so try a muted base with one bright feature line.
4. DIY Soy Wax Scented Teacandle Tins
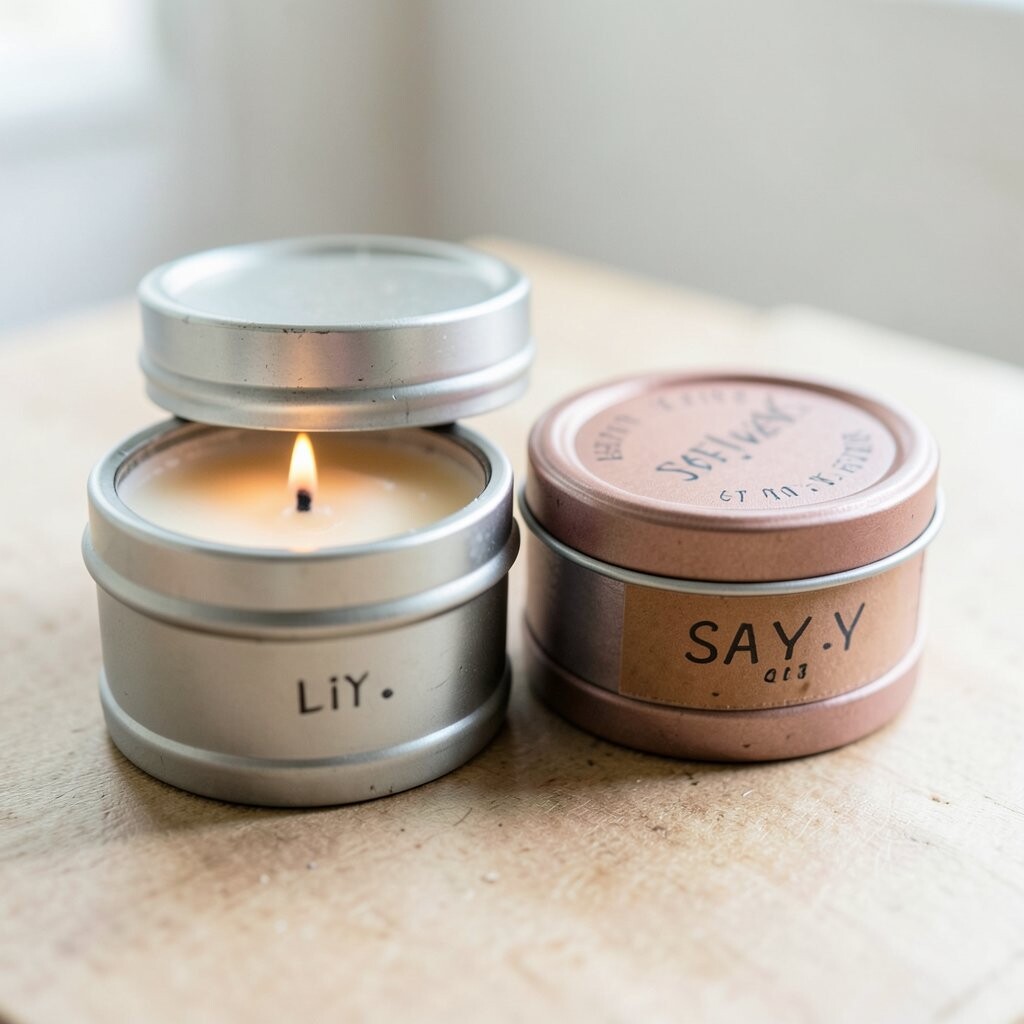
Picture a kitchen counter with little tins glowing softly and smelling like comfort. The scent feels gentle, like a warm hug when you open the lid.
Melt soy wax, add fragrance designed for candles, then pour into clean metal or tin containers. Drop in a wick tab in the center so it stays upright, and let everything set without moving. For personalization, use dried citrus slices or pressed herbs as visual accents, but keep them away from the wick so the candle burns safely and evenly.
This project is budget-friendly when you buy wax in larger bags and reuse old tins. It also feels unique because each blend can match your mood, from cozy vanilla to fresh garden notes. A current trend is clean, simple labels and soft neutral colors, so keep the tin designs minimal and let the scent be the star.
As you practice, you will learn how different wicks and pour temperatures affect burn time. That knowledge helps your next candle turn out even better, and it makes the craft feel like a skill you can grow.
5. Hand-Knit Scented Lavender Sachets
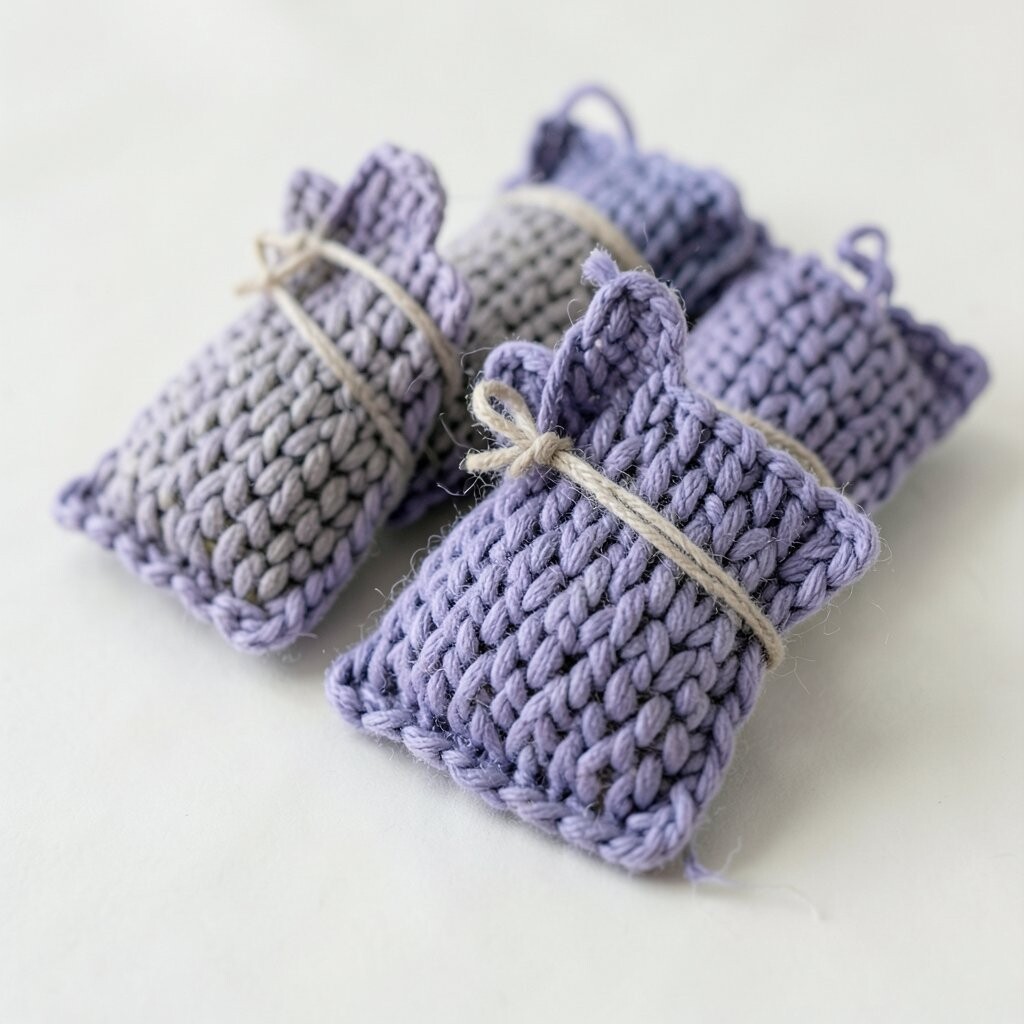
Close your eyes and imagine the calm of lavender tucked into a drawer. Small pouches can look lovely and quietly keep fabric smelling fresh.
Fill fabric squares or tiny sewn bags with dried lavender and stitch the opening closed with a matching thread. Add a ribbon tie so the sachet hangs in a closet or sits inside a dresser drawer. You can personalize by using different fabric prints, like florals or simple stripes, and by mixing a little chamomile for a softer scent.
Lavender sachets are inexpensive if you grow plants, buy small bundles, or dry a bouquet you already have. They are also a unique alternative to store-bought air fresheners because they look handmade and feel personal. For practical tips, choose breathable cotton or linen so the aroma lasts longer, and keep them away from direct heat.
Many crafters are pairing handmade sachets with gift wrap now, which makes them feel like a thoughtful add-on. If you want a modern touch, use minimal stitching and add a small fabric label with neat thread embroidery.
6. Geometric String Art Coasters
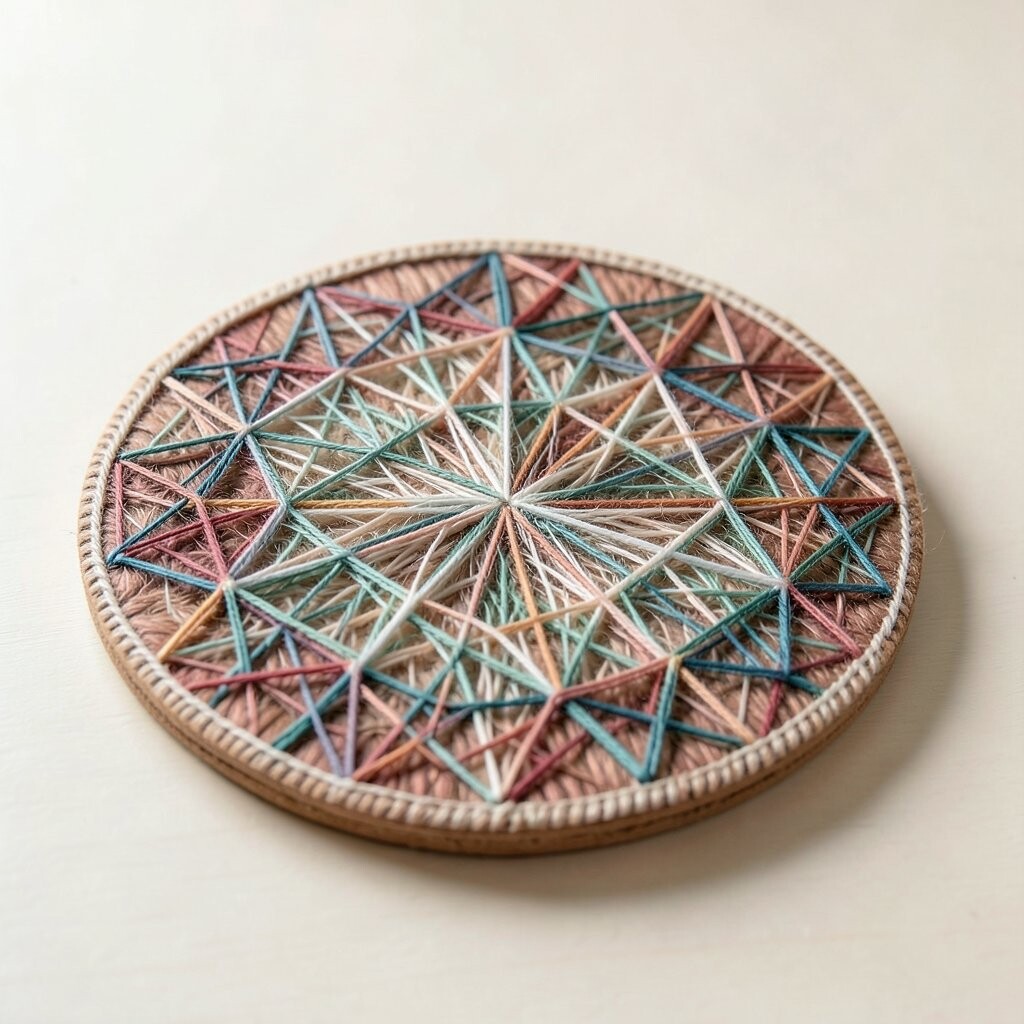
Imagine sharp, clean shapes made from colored thread stretched over wood. They look like tiny modern paintings you can set down and use every day.
Start with a board, mark a simple geometric layout, and hammer small nails along the lines. Wrap string around the nails and layer colors to create patterns that feel crisp and lively. For personalization, choose colors from your kitchen or living room and adjust the size to fit your cup mugs.
These coasters offer real benefits because they help protect surfaces while adding style. They can fit many budgets since you can use scrap wood and leftover thread, string, or embroidery floss. A current trend is bold, high-contrast color palettes, so try black base with bright thread lines for a striking look.
To keep edges neat, plan your nail spacing and keep tension even while wrapping. Once you finish, seal the string with a light clear coat so it resists fraying and stays tidy.
7. Embroidered Patch Denim Wall Pocket
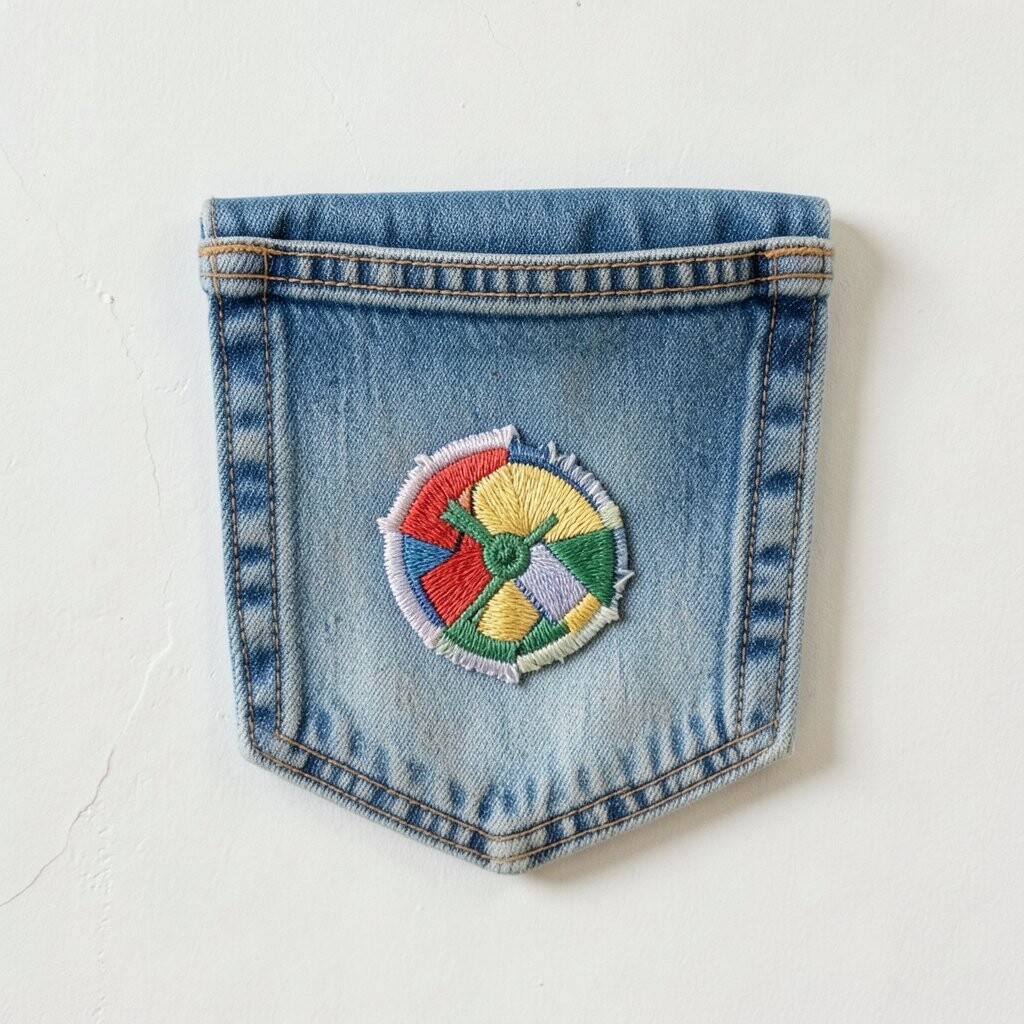
Picture denim reclaimed into a functional pocket that hangs like art. The texture of stitched fabric makes it feel sturdy and full of character.
Cut shapes from old jeans, then layer them into a wall pocket design with decorative embroidery. Add stitched borders, simple flower motifs, or neat lines that guide the eye across the pocket sections. Personalize by using your favorite colors of thread and adding small stitched initials for a family feel.
This creation is practical because you can store keys, mail, charging cables, or small craft supplies. It is unique since no two pairs of jeans match exactly, and your stitching will reflect your own style. For cost considerations, rummage through thrift stores for jeans in good condition or use fabric offcuts you already saved.
To keep it trending, use simple line art patterns and a limited thread palette like two or three colors. When you finish, reinforce the backing fabric so the pocket holds weight without sagging.
8. Hand-Poured Resin Photo Fridge Magnets
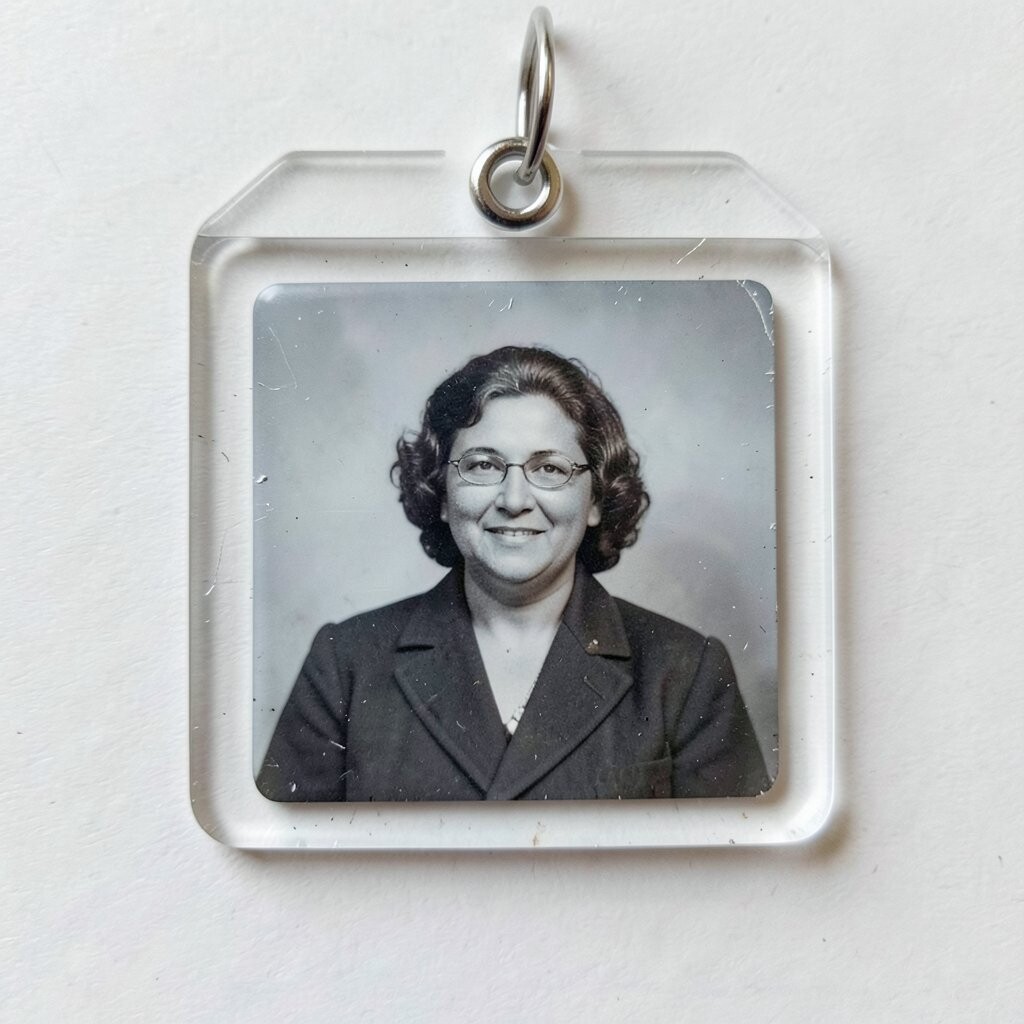
Imagine your favorite memories trapped in glossy little blocks of light. Each magnet catches reflections and makes the fridge feel more personal.
Use small molds, mix resin carefully, then place a tiny printed photo backing under clear resin. Seal the top layer, add a magnet disk, and allow full curing before use. For personalization, trim images into mini scenes like sunsets, pets, or handwritten notes, and you can mix colors by adding small pigments or metallic flakes.
This craft can be unique and giftable because the magnets become tiny keepsakes. Resin supplies can cost more than simple crafts, so it helps to start small with a basic kit and reuse leftover resin for tiny batches. A current trend is using glossy, minimalist designs and real paper images rather than complicated graphics.
9. Paper Quilled Alphabet Wall Tiles
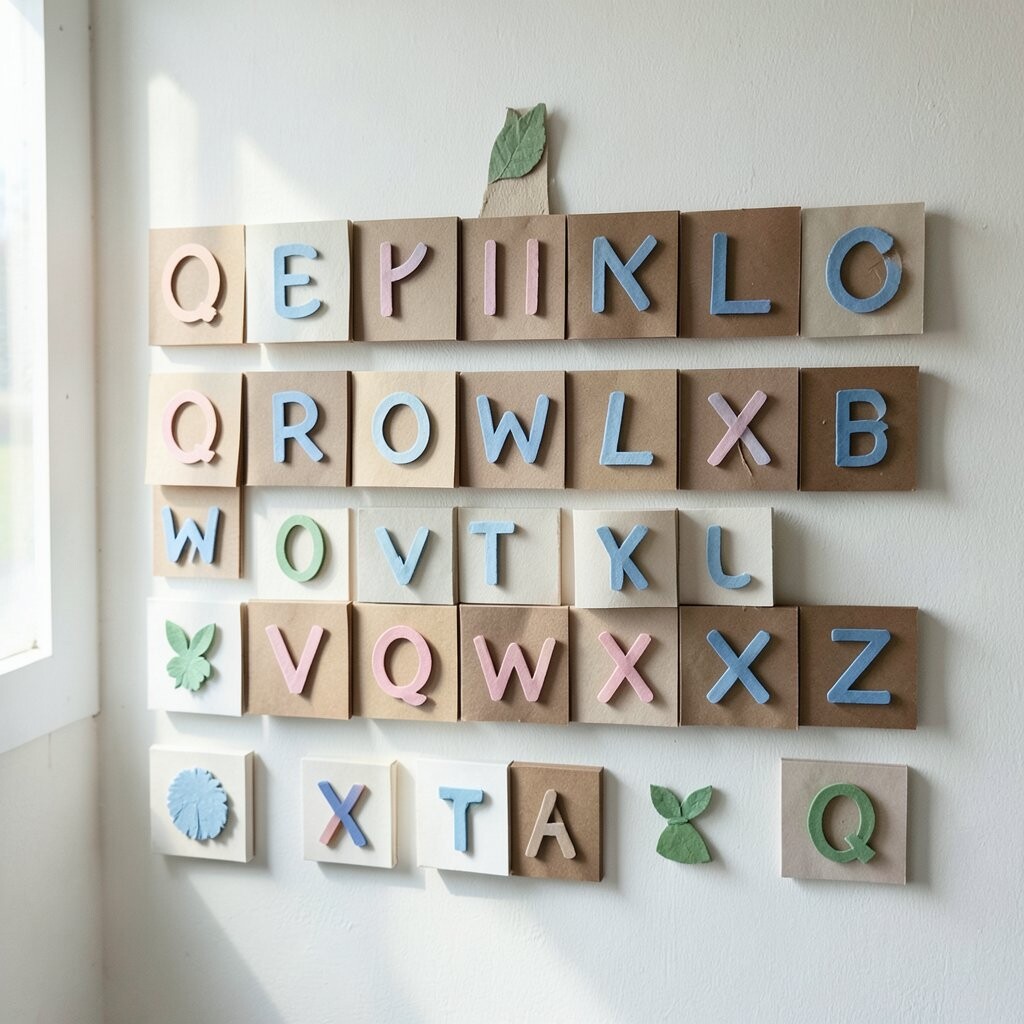
Think of raised paper strips curling into letters you can hang. It looks like a modern quilt made from handwriting and shapes.
Roll thin paper strips into coils, then shape them into curves and angles that form letters. Glue the pieces onto a sturdy board and frame them for a clean wall display. Personalize your tiles with a name, a favorite word, or a short reminder like “home,” and vary coil sizes for depth.
These tiles benefit your space because they add texture without taking up much room. The materials are often low cost, especially if you use scrap paper and starter quilling tools. For a current look, pair one bold word with lots of negative space so the design feels airy and modern.
To keep the edges tidy, use a template for each letter and plan your color palette before gluing. When you do, your letters will look sharp and intentional.
10. Handmade Beeswax Wraps for Lunch and Storage
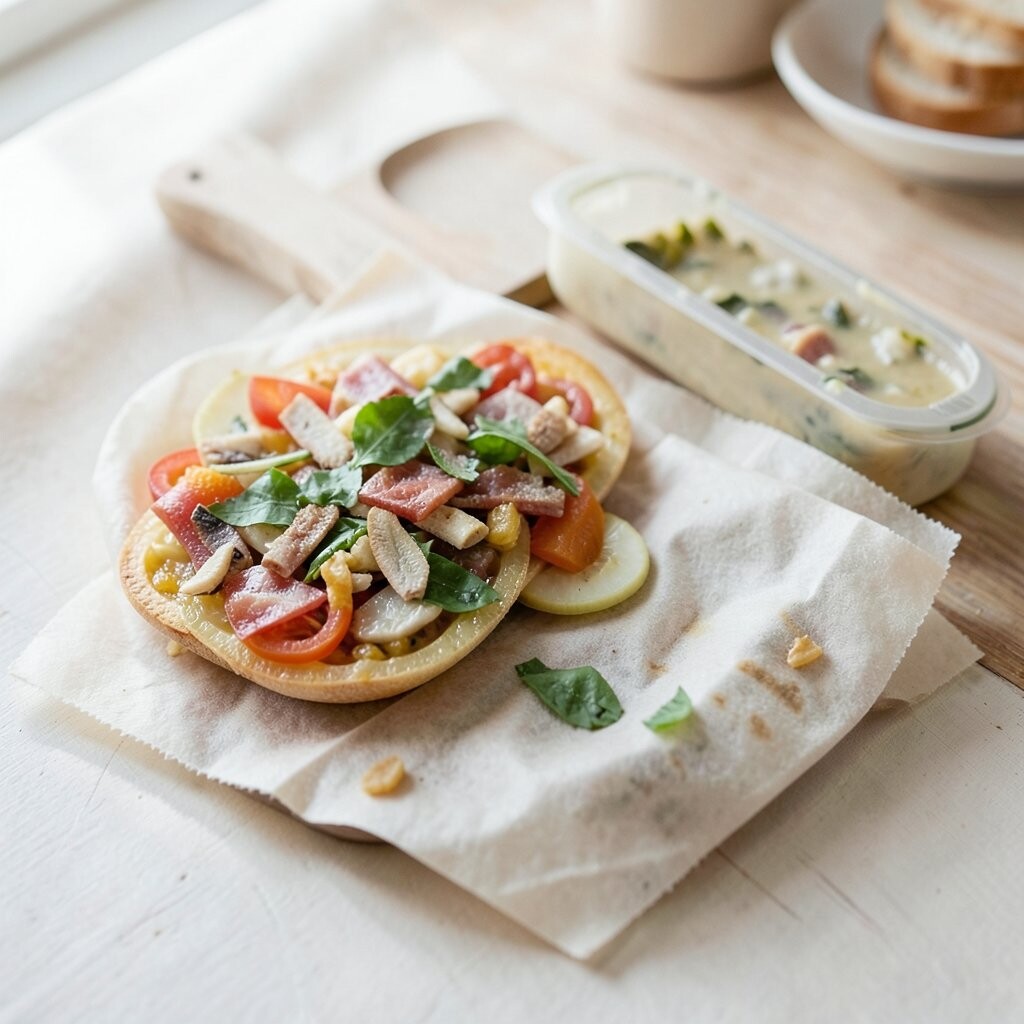
Picture a bright cloth sheet that gently clings to bowls and leftovers. It feels flexible, reusable, and wonderfully natural.
Warm beeswax and mix it with a little jojoba or coconut oil, then brush the blend over cotton fabric. Let the wrap cool and firm up so it holds its shape while still staying pliable. Personalize with fabric patterns you love, like gingham or tiny florals, so using it feels cheerful rather than choresome.
This creation offers clear benefits because it replaces single-use plastic wrap for many everyday uses. It is often cost-effective over time if you reuse the wraps for months, sometimes longer. A current trend is low-waste kitchens, and these wraps fit right in with that simple lifestyle shift.
For practical tips, test the wrap on a dry bowl first and avoid heavy meat juices at the start. Use cool water to clean, and air dry flat so the wax layer stays strong.
11. Crochet Granny Square Cozies for Tumblers
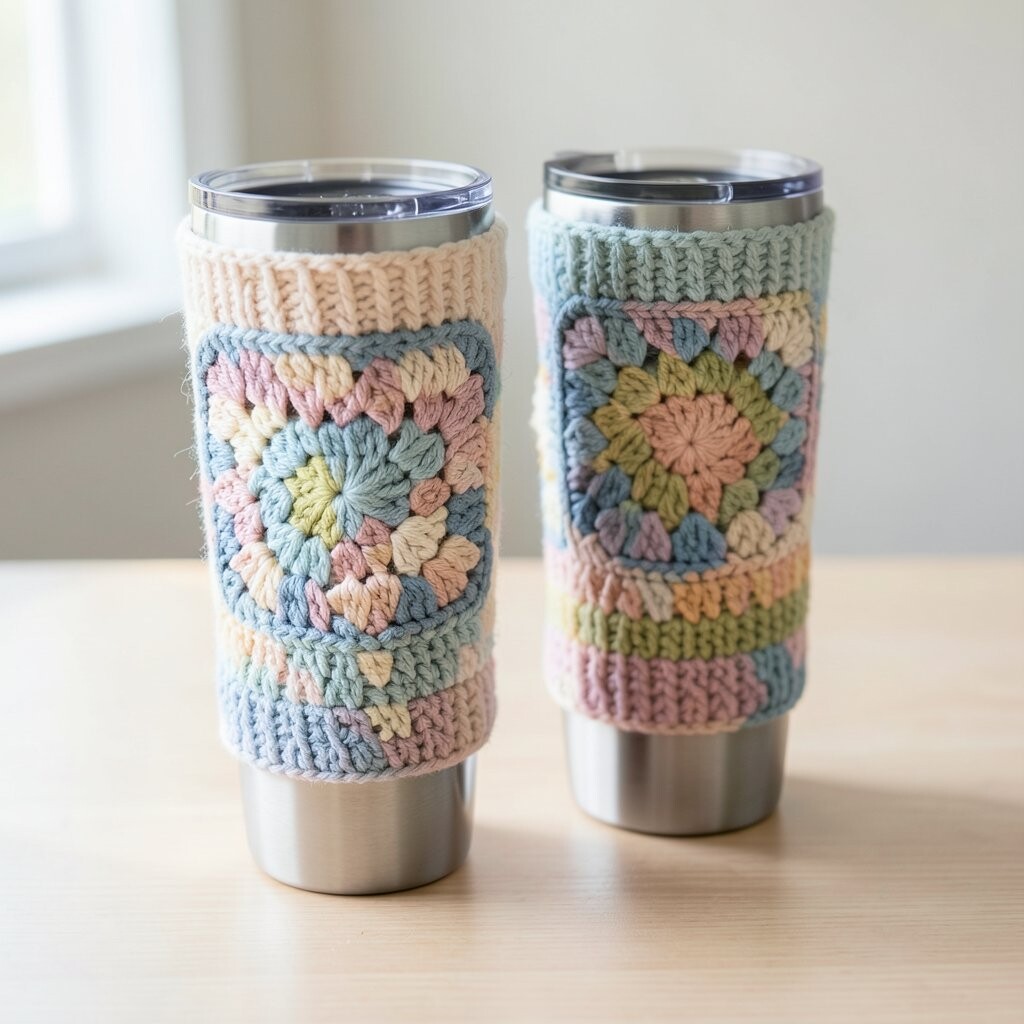
Imagine your drink cup dressed in a cozy little blanket of color. It makes every sip feel more festive, even on ordinary days.
Work small granny squares and connect them into a cozy sleeve, then add a simple ribbed edge at the top. Use yarn colors that match your wardrobe or holiday mood, and choose a stretchy stitch so it fits different cup sizes. Personalize by adding a small appliqué star or stitched initial on one side.
This is a craft that brings immediate practical benefits since it helps protect hands from hot or cold drinks. It can be budget-friendly when you use yarn scraps or leftover skeins from other projects. Right now, many people are leaning into colorful, patchwork patterns, so bright square combos feel very current.
12. Handmade Bottle Cap Keychains with Tiny Charms
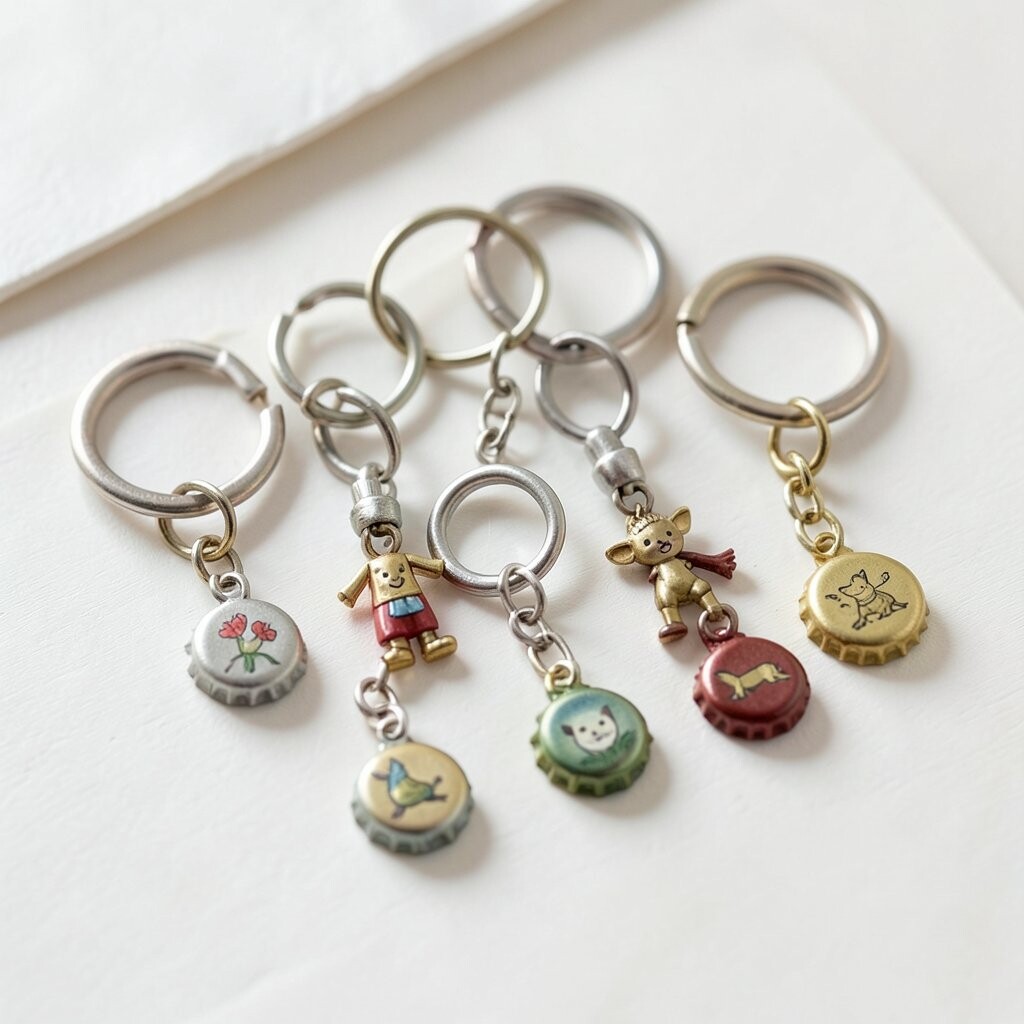
Picture a keychain that jingles softly and shows off tiny artwork. Bottle caps give you a quick, bold base that looks fun at a glance.
Clean caps, then paint or print designs on the inside, sealing them with a clear craft adhesive. Glue on tiny charms like mini stars, beads, or letter pendants, and attach a key ring with a sturdy loop. Personalize by using concert ticket art, favorite sports colors, or a tiny photo of a pet.
This craft can be surprisingly low cost because caps are often free from drinks, and the rest of the supplies are simple. It is also unique because you control the design and can make matching sets for friends. For practical tips, check that the adhesive cures fully before attaching anything heavy so charms do not loosen later.
If you want a trendy vibe, use holographic nail polish touches or metallic paint for a modern shine. Keep designs simple so the details stay readable when the keys are moving.
13. DIY Mosaic Candleholders from Broken Tiles
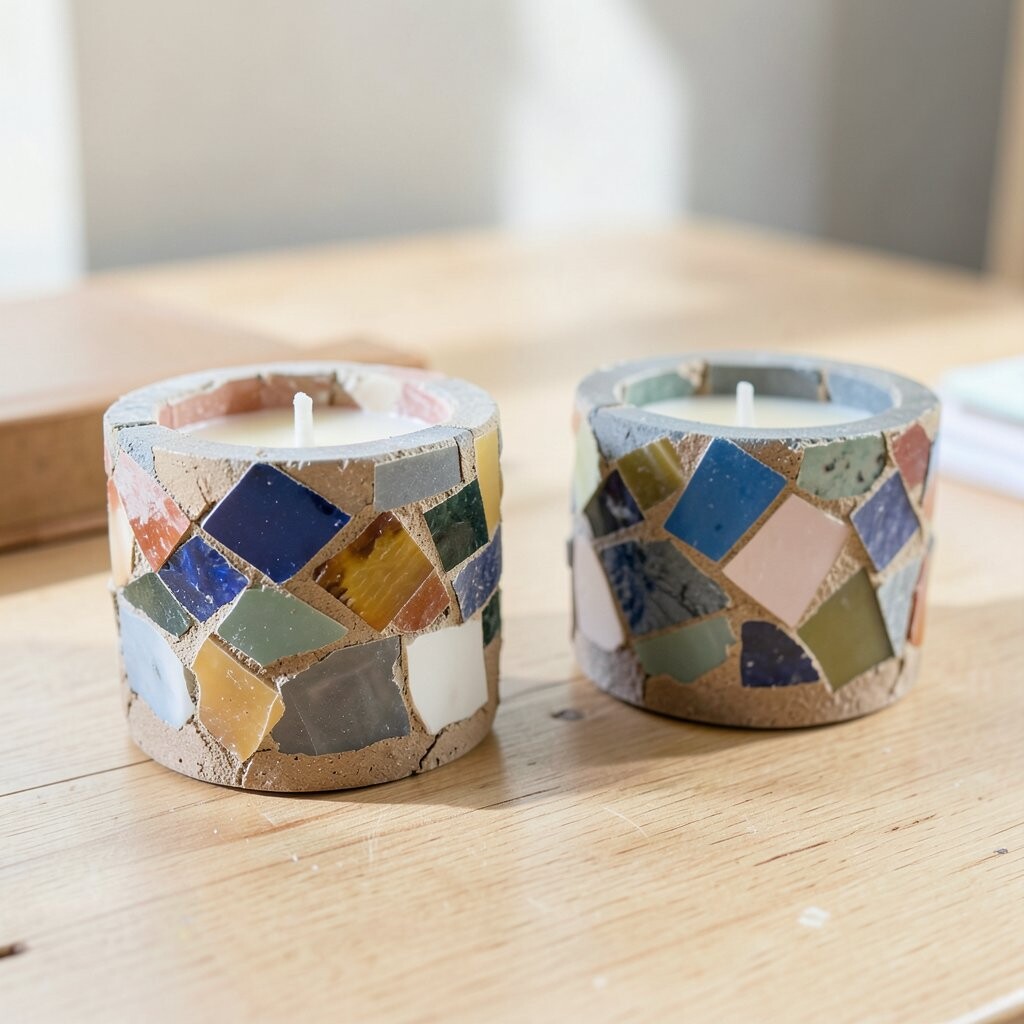
Imagine candleholders covered in tiny tile pieces that catch warm light. Each mosaic sparkles like a miniature stained-glass scene.
Break ceramic or glass tiles into small chunks, then arrange them into a pattern on a sturdy base. Glue pieces with mosaic adhesive, fill gaps with grout, and wipe away haze for a clean finish. Personalize with color themes like beach blues, autumn oranges, or calm greens to match your decor style.
These candleholders bring a big visual benefit without much workspace drama. The materials can vary in cost depending on tile type, but thrifted tile scraps often keep the budget low. A current trend is artisan-looking imperfect grids, so slightly uneven tile placement can actually make the piece feel more handmade.
14. Needle-Felted Cat and Dog Pocket Pins
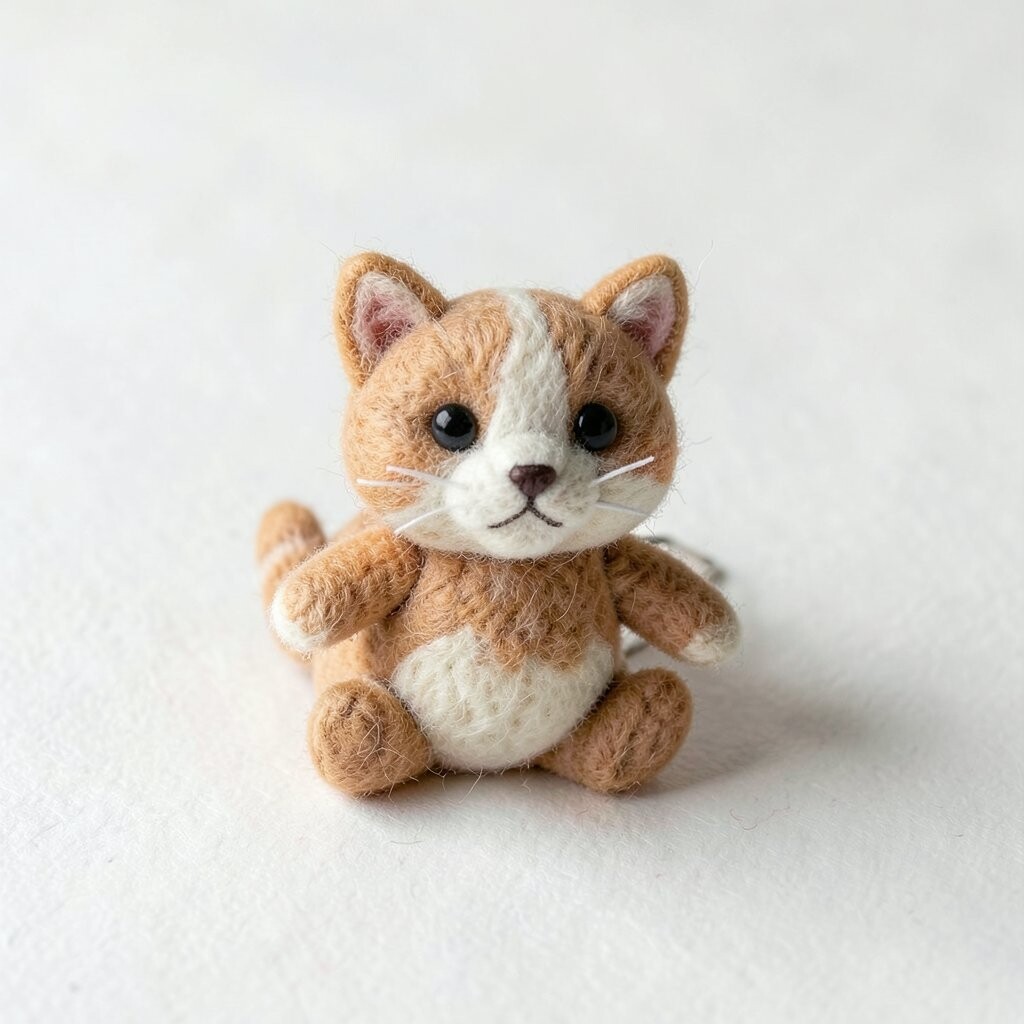
Picture a tiny felt friend sitting on a pin like it belongs to your outfit. Needle-felting creates soft texture that looks cute and real.
Create small shapes by layering wool and felting with a needle until the fibers lock together. Add simple features with contrasting wool, then mount the finished figure onto a brooch pin or magnetic backing. Personalize by making each pet’s color pattern unique, like calico patches or sleek tuxedo stripes.
This craft is uniquely satisfying because you can make mini characters even with limited supplies. Wool can cost a bit, but you can use small amounts per pin, and you can buy starter packs for a reasonable start. For practical tips, keep your needle consistent in direction and work slowly to avoid breaking fibers.
Right now, tiny animal pins feel trendy because they let you show personality on jackets, bags, and hats. Make a small set with different breeds so you can rotate them for different moods.
15. Acrylic Paint Pour Coaster Set with Resin-Top Finish
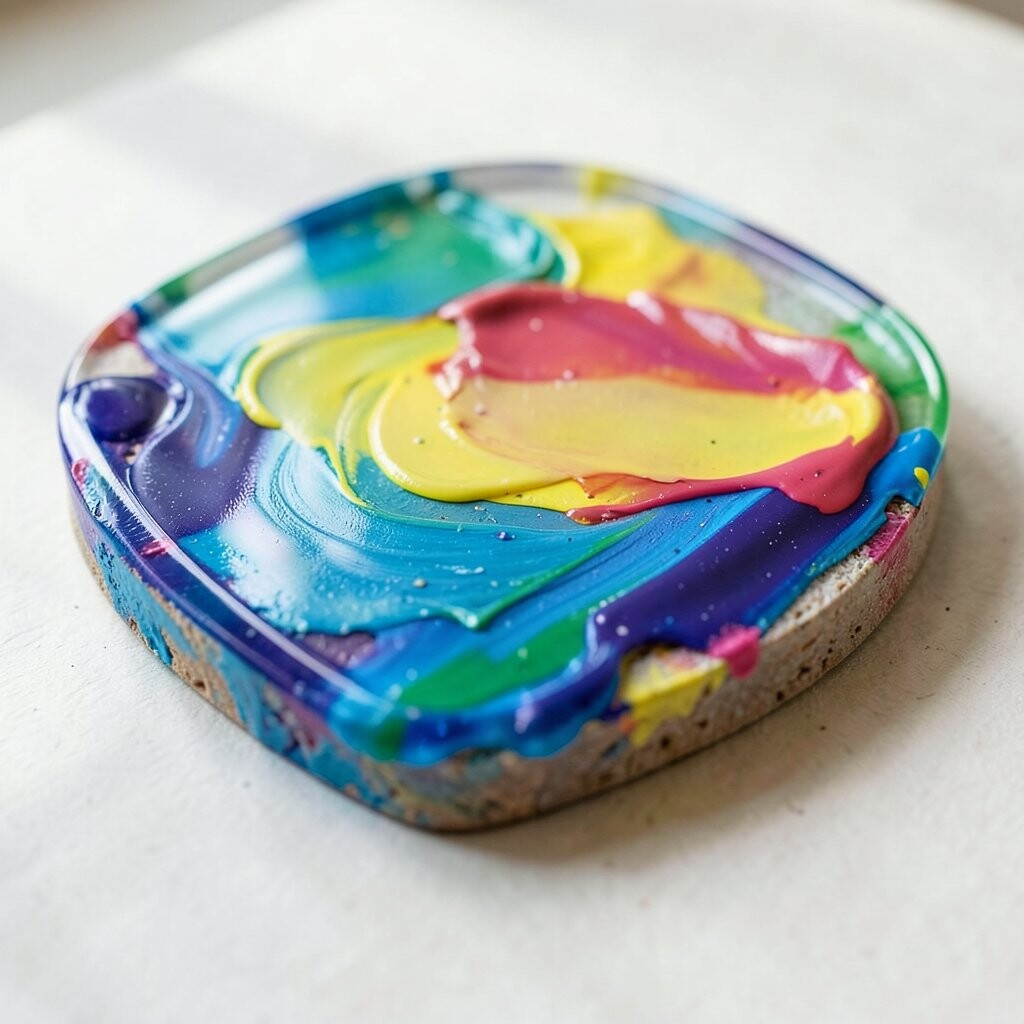
Imagine pouring swirling colors and then watching them settle into smooth, glossy islands. The finish makes each coaster look like modern art you can use.
Use a pouring medium and acrylic paint, pour onto level surfaces, then layer colors until you like the flow. When dry, add a thin resin top coat to seal and protect, then cure fully before placing drinks on them. Personalize with a color palette that matches your home, like warm browns and golds for cozy spaces or cool blues and whites for a fresh look.
These coasters offer practical benefits because they protect tabletops and also brighten the room. The cost can be moderate since you need paint supplies and resin, but a little goes a long way for small coaster sets. A current trend is marbled, organic patterns with simple color rules, like two main colors plus one accent.
For practical tips, wear gloves, protect your workspace, and keep the surface level so the pour does not run off. If you want cleaner edges, tape the coaster mold area and remove the tape after initial setting.
16. DIY Mason Jar Bath Salt with Herb Labels
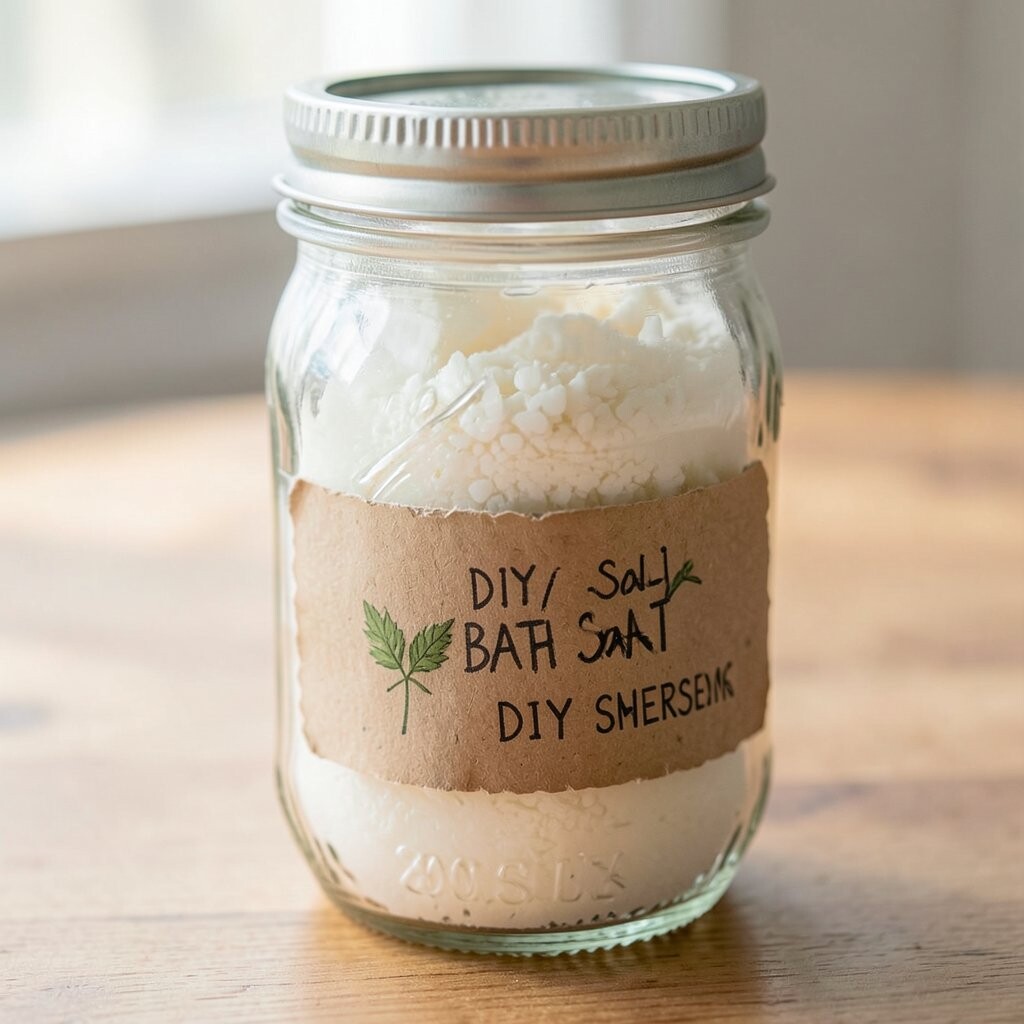
Picture a jar of pale, sparkly bath salt with herbs tucked inside like tiny green treasures. It looks spa-like and feels special when you open it for a soak.
Mix Epsom salt with a little baking soda for softness, then stir in dried herbs and a fragrance safe for skin. Tint the mixture lightly with cosmetic-safe color, and pack it into clean mason jars with a tight lid. Personalize by adding simple herb blends like lavender, chamomile, or eucalyptus, and by writing small labels on paper tags for a charming handmade touch.
This creation has clear benefits because it is relaxing and can be more budget-friendly than some store jars. It is also unique since your scent choice becomes part of your gift, and herbs make each jar look distinct. For practical tips, measure scent carefully so the aroma stays pleasant, and keep jars sealed to protect from moisture.
Right now, many people love gifting small self-care items in reusable jars. Using recycled jars and simple kraft paper labels gives your bath salt a modern, thoughtful look.