The moment you picture color on a blank wall, motivation kicks in. Painting a mural feels big, but it can stay simple when you move step by step.
1. Pick a Wall That Will Treat You Kindly
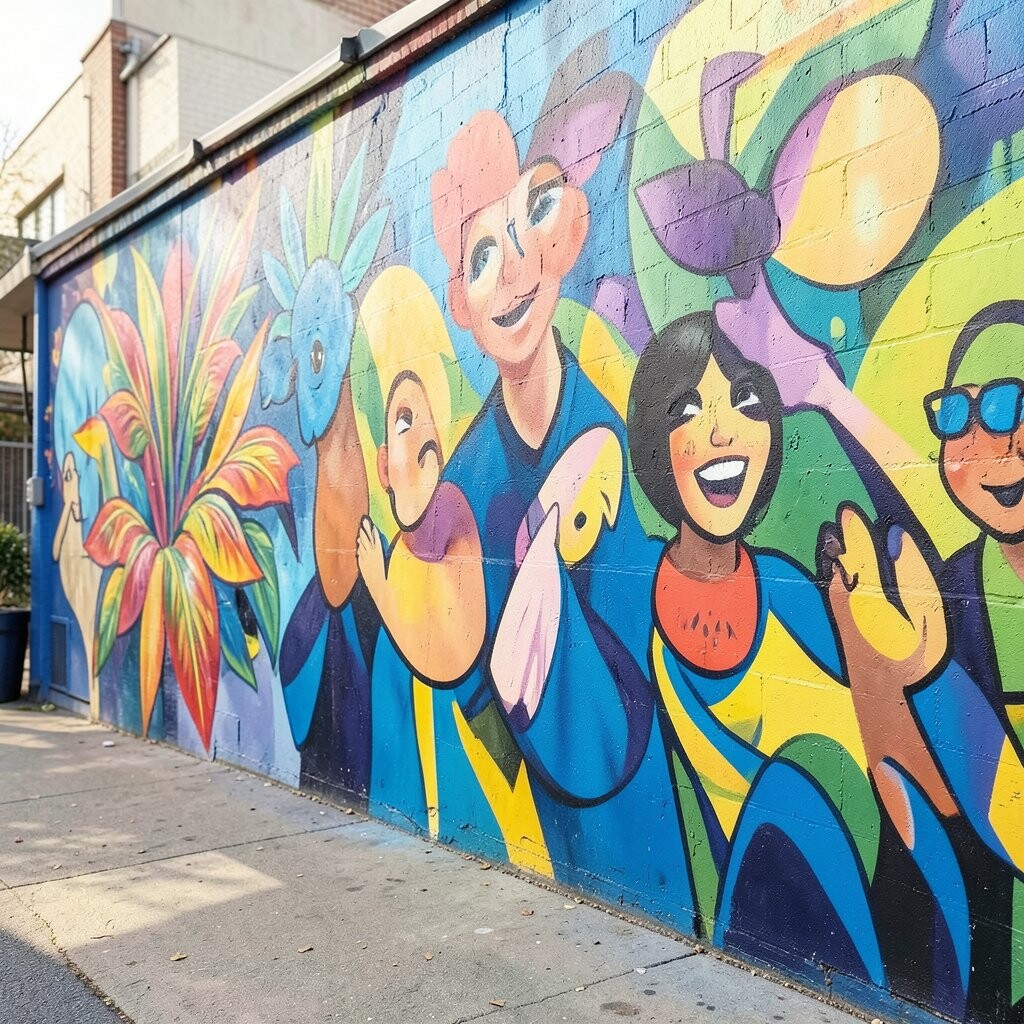
Choose a wall that gets along with paint, meaning it should be solid, clean, and not too cracked. Stand back and look at the whole space in daylight so you can see how the colors will sit when shadows move across the surface.
Look for a wall with decent exposure, since a mural on a rough, damp, or shady spot can make adhesion tricky. If the wall has peeling paint, treat it like a red flag and plan to prep before you paint. When you can, measure the area and notice nearby features like windows, doors, or vents so your design can “talk” to the real layout.
2. Gather Materials Like a Calm Creator
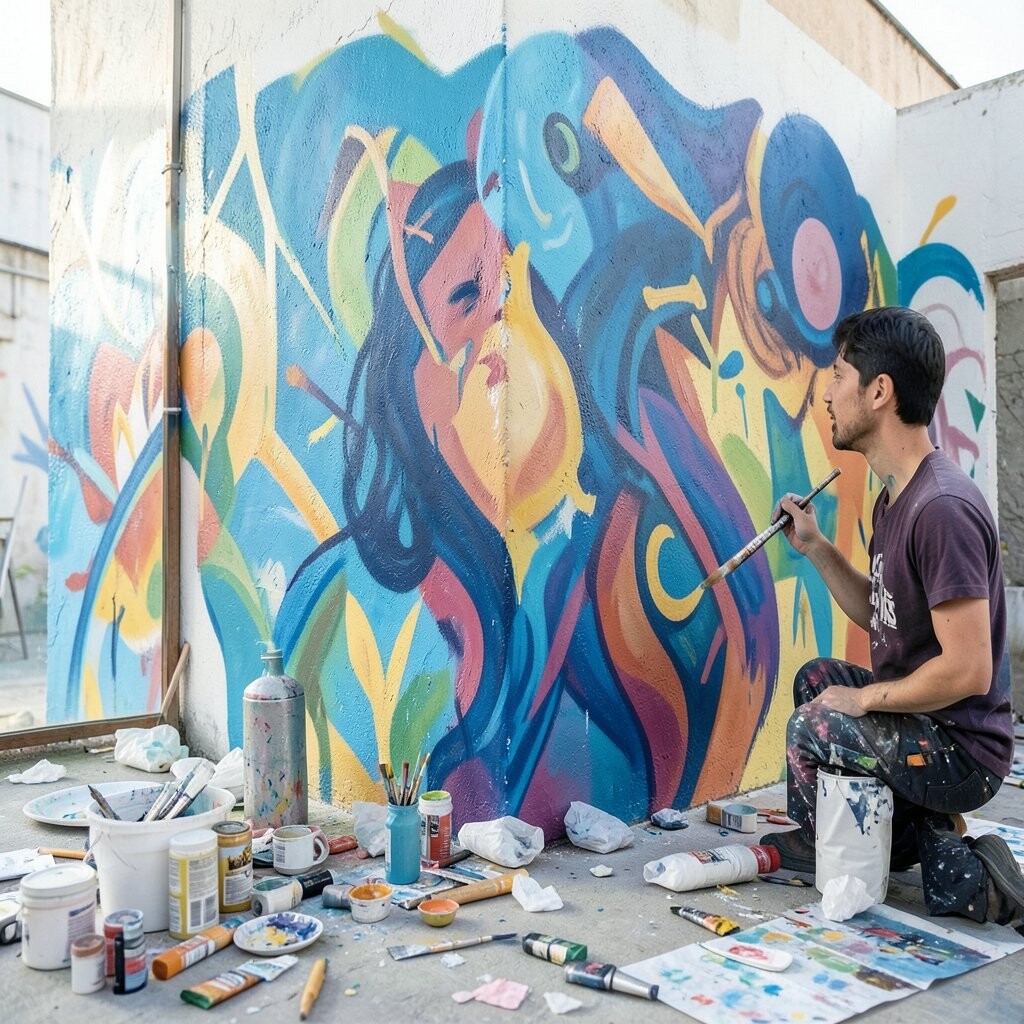
Collect brushes, rollers, trays, painter’s tape, drop cloths, and a few sponges before you start. Having everything nearby keeps your workflow smooth and helps you avoid last-minute trips.
For beginners, a starter set with different brush sizes makes it easier to handle both broad shapes and small details. Get a primer made for your wall type and a quality exterior or interior paint suited to where the mural will live. If you’re working indoors, consider low-odor options to keep the space comfortable.
Don’t forget the boring tools that save you hours, like sandpaper, a putty knife, and cleaning rags. A sturdy ladder or platform matters too, because safe height lets you paint straighter lines. Budget-friendly brands can work, but quality pigment usually gives richer color with fewer coats.
3. Clean, Patch, and Prime for Real Grip

Start by cleaning the wall so dust, grease, and loose flakes don’t block your paint. Use soap and water or a proper cleaner, then let the wall dry completely.
Fill small holes and cracks, then sand everything until it feels smooth. A primer step is not just for coverage; it helps paint stick evenly and reduces blotchy spots.
When you prime, watch how the surface changes from dull to uniform. That even base makes your colors look more like the ones you imagined instead of muted and uneven. After priming, check for rough spots and sand lightly again so your first colors glide on.
4. Choose a Theme That Matches Your Mood
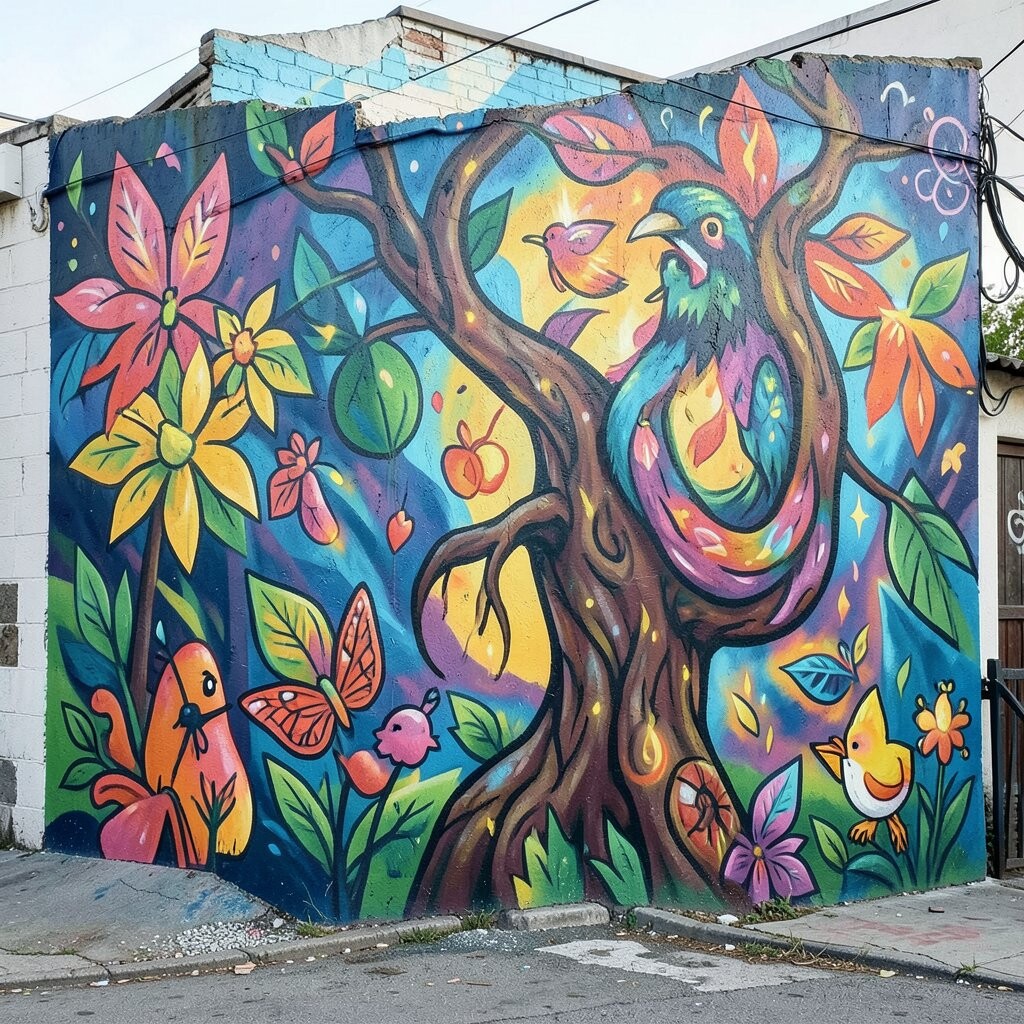
Your mural can be playful, calm, bold, or nostalgic, and your theme should match how you want people to feel. Think about what the wall faces and who will see it most often, like neighbors walking by or kids heading to school.
Pick a theme that also fits your skill level, since simple shapes look great even before you get fancy. A nature scene with big leaves, a geometric pattern, or a story made from friendly characters can all feel unique without being overly complicated. When you choose a theme early, everything else gets easier, from sketching to color picking.
5. Sketch a Simple Layout First
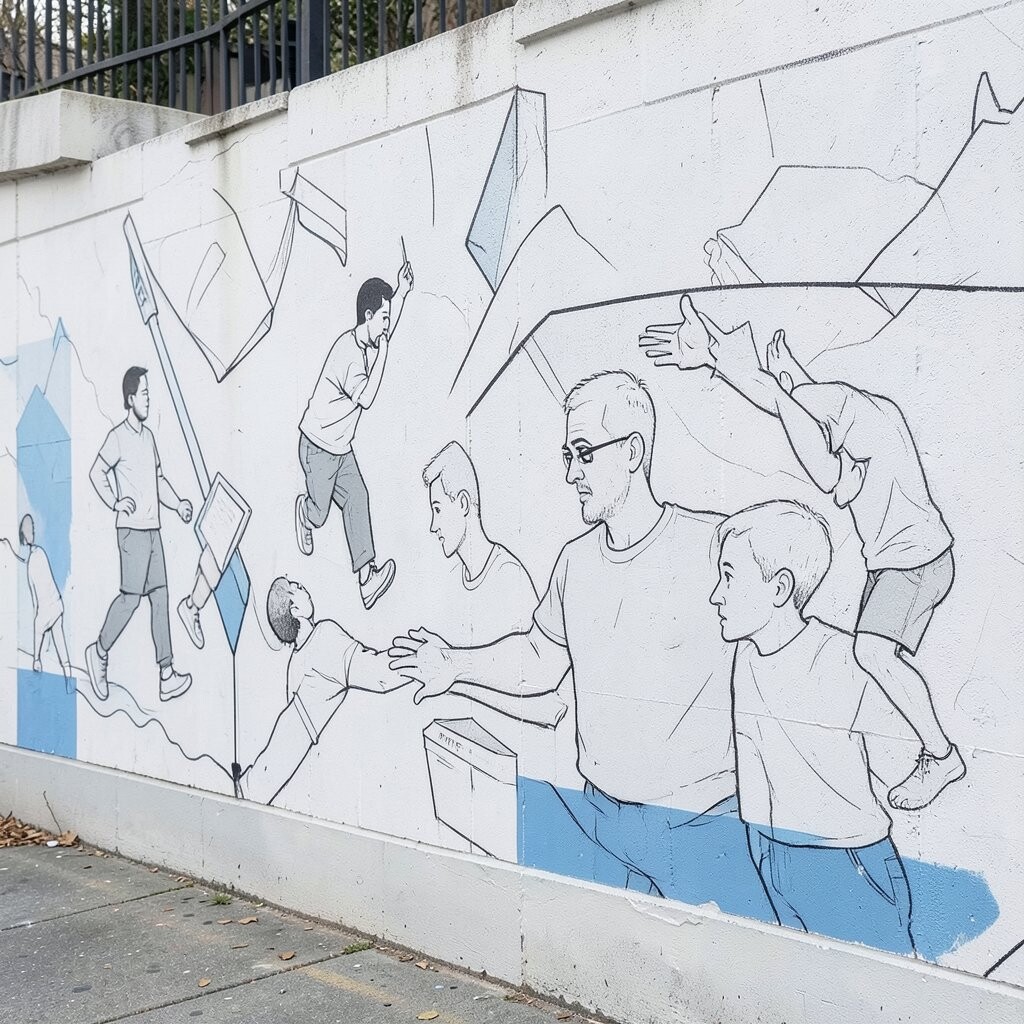
Make a rough sketch that focuses on major shapes, not tiny details. Even a paper drawing can help you spot problems like awkward spacing or lines that will look crooked on a big wall.
Consider a composition with clear focal points, such as a large sun, a smiling face, or a central emblem. Keep important elements higher than eye level if you want them to catch attention quickly. If you want depth, try layering shapes so foreground elements look bigger and more vivid.
Try a grid or basic proportions to keep things from stretching in weird ways. After you sketch, step away and imagine the mural from across the space. If it feels balanced in your mind, you’re on track.
6. Transfer the Design With Methods You Can Trust

Use transfer techniques that match your comfort, like projecting a light image or using chalk to mark your lines. For many beginners, lightly sketching with pencil first and then tracing over with chalk is a reliable approach.
Trace key outlines, then erase or adjust before you commit to paint. When you transfer carefully, you spend less time fixing errors later and more time enjoying the art.
Make sure lines you care about stay visible even after priming and tape work. If you’re projecting an image, keep it stable and check that the edges line up with the wall corners. If the design includes curves, transfer those gently, because curved lines should feel smooth, not jagged.
7. Plan Color With a Beginner-Friendly Palette
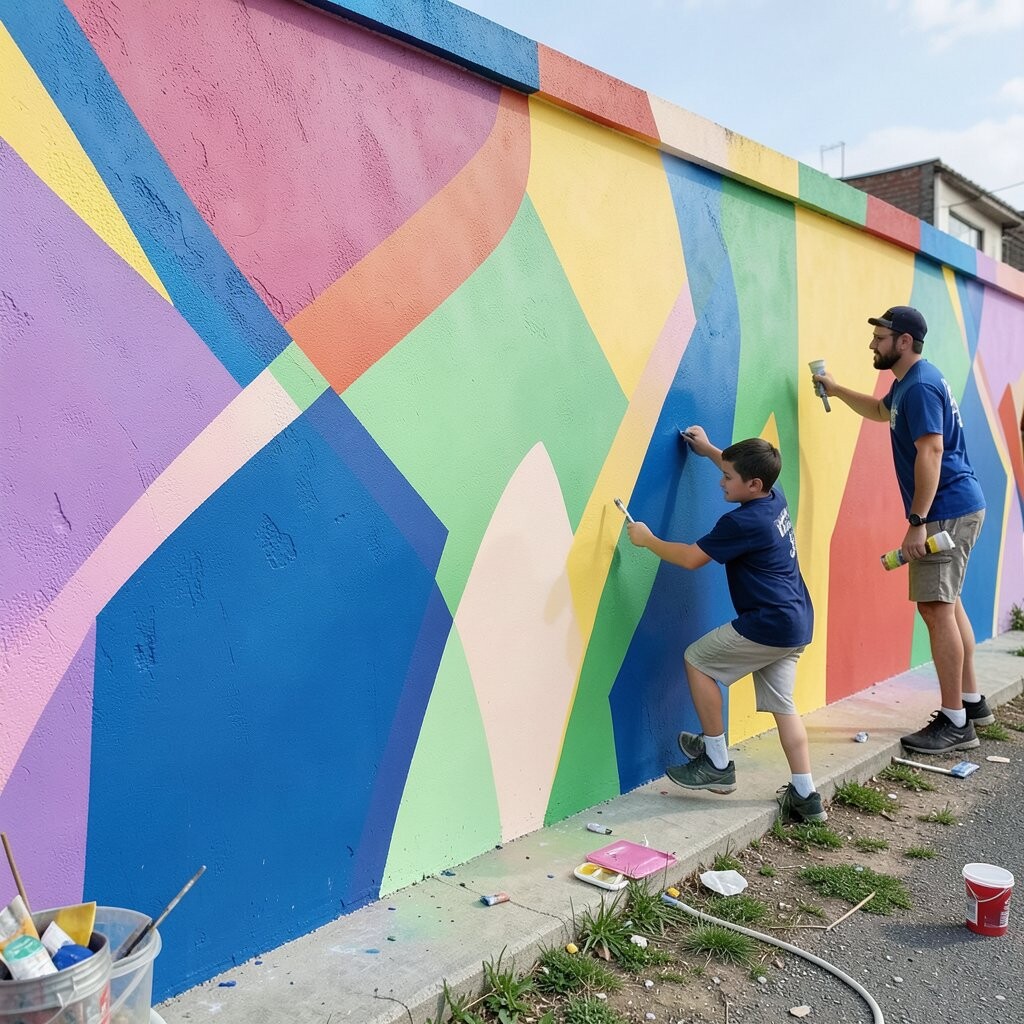
Pick a limited palette so you don’t end up with random colors that fight each other. A good beginner palette often includes a few main tones, one highlight color, and one darker shade for depth.
Test paint samples on paper or cardboard because wall color can look different under real light. Warm colors can feel welcoming, while cooler tones can feel calm and airy.
Think about contrast, since it helps your shapes pop from far away. If you want a modern look, try clean blocks of color with crisp edges, which can feel sharp and trendy. And if you like a classic vibe, blend soft transitions between neighboring colors.
8. Protect Floors, Walls, and Your Sanity

Lay down drop cloths and tape plastic around nearby surfaces so paint splatters stay where you want them. Cover outlets or nearby trim carefully, because small drips can become annoying later.
Plan your work zone so you can move without stepping on fresh paint or knocking over supplies. Keep a damp cloth nearby for quick cleanups, since wiping mistakes early is far easier than scraping them later.
9. Block in Big Shapes Before Details

Start with large areas using rollers or wide brushes, because blocking sets the mural’s overall look. When the big shapes are in place, your brain understands where everything else belongs.
Work from background to foreground so earlier layers don’t get smeared. Use light, even strokes and don’t worry about perfection on the first coat.
After each section dries, add deeper shades to create simple depth. This method keeps you from overworking paint while it’s wet. You’ll also notice mistakes sooner, since misaligned edges become clearer once the color fields are visible.
10. Use Tape and Edges for Clean, Modern Lines

If you want crisp edges, painter’s tape can help you get that “finished” look. Place tape carefully along your guideline lines, then press it down gently so paint doesn’t seep under.
Keep your tape removal timing in mind, because removing too late can peel paint. When you peel tape, pull it back slowly at an angle so lines stay sharp.
11. Add Shadows and Highlights for Depth

Shadows make a mural feel more real, even when the style stays simple. Pick one light direction, then add shadows on the opposite side of shapes.
Highlights bring focus, like a small bright edge on a leaf or a glowing part of a character. Use lighter tones sparingly so you don’t lose contrast.
If you’re unsure, study a photo of sunlight and notice how shadows soften near the edges. Beginners often get better results by using gentle blending with a sponge or a soft brush. Over time, you’ll build confidence and your mural will look dimensional.
12. Paint Details Slowly and in Layers

When you’re ready for details, slow down and work in small sections. Focus on one area at a time so you don’t rush and create shaky lines.
Use smaller brushes for lines, texture, and facial features, and keep your strokes steady. If you’re painting patterns, do a few repeats and pause to check that the spacing feels consistent.
Layering works well for beginners, because you can build from base color to midtones and then add fine highlights. Let layers dry before adding more, since wet paint can cause smudges. This patience makes the mural look intentional rather than hurried.
13. Personalize It for Your Community and Story

Your mural should include something that feels like it belongs to you or your neighborhood. Add a subtle symbol, a local landmark, an animal that people recognize, or a short visual motif like waves or mountains.
Personal touches can also be playful, like tiny hidden icons in corners or repeating patterns in the background. If you’re painting for a school or business, consider including colors tied to their identity so the mural feels connected.
Don’t overdo it, though, because too many elements can crowd the design. Choose a few meaningful details and give them clear space. When people spot those touches, they often feel more welcome and proud.
14. Keep Costs Under Control While Staying Quality
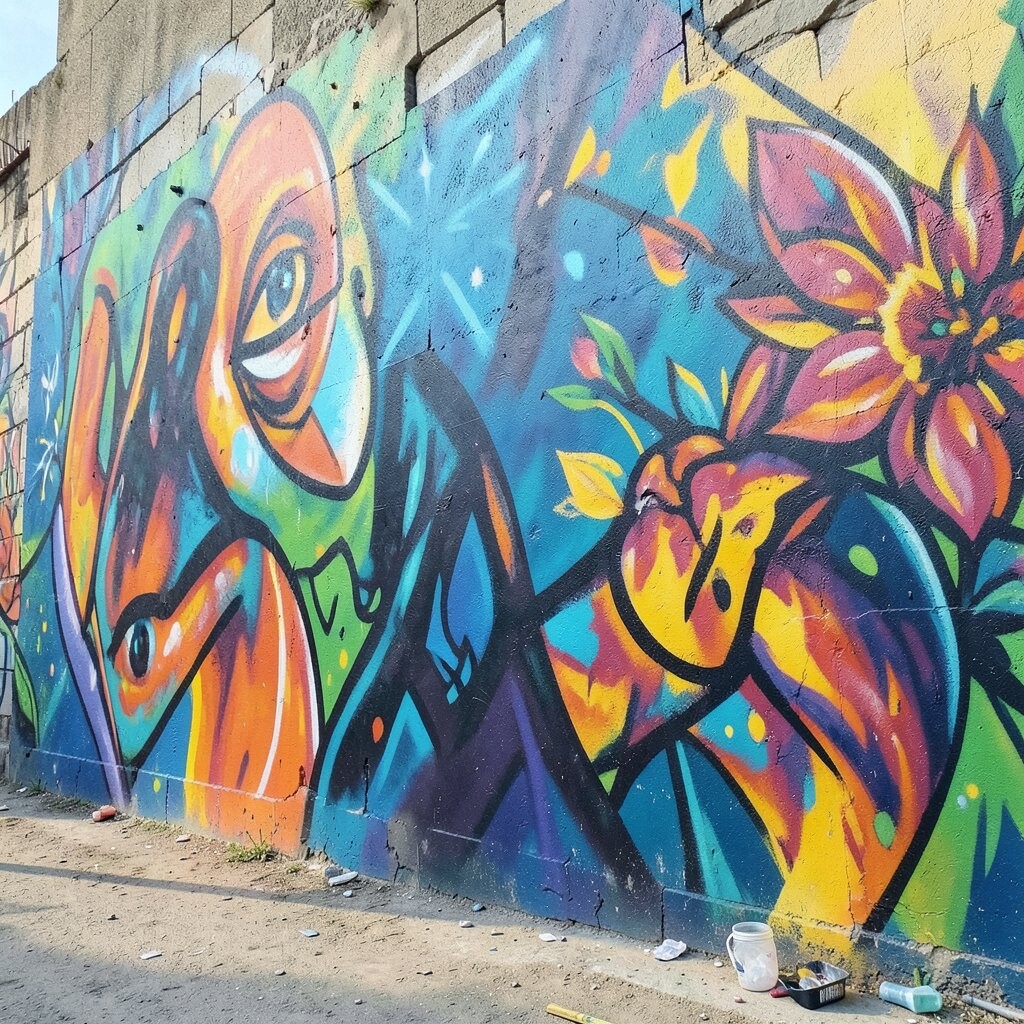
Budget for paint first, because paint usually takes the biggest share of the cost. Buying small test cans can help you avoid waste from wrong colors.
For larger areas, rollers and larger brushes can be more efficient and reduce labor time. If you must save money, consider splurging on a few key colors that you’ll use a lot, since those choices affect the mural’s overall feel.
Also think about drying time and number of coats, since thicker mistakes can cost you more paint later. When you plan carefully, you might need fewer touch-ups, which saves both time and money. If you’re doing this for a community project, ask local stores about discounts or donation programs for art supplies.
15. Let It Cure, Then Seal and Maintain

After the final paint goes on, allow proper curing time so the mural hardens and becomes more durable. Rushing this stage can lead to smudges, especially if the surface is exposed to moisture or traffic.
Seal the mural with a clear coat that matches the location, such as weather-resistant options for outdoor walls. A good seal helps protect from rain, sun fading, and scuffs from everyday life.
Maintain it by doing quick visual checks, cleaning gently if needed, and touching up small chips as soon as you notice them. A mural that gets cared for can look fresh for years. Over time, you’ll also learn what works best on your specific wall, which makes your next project easier.