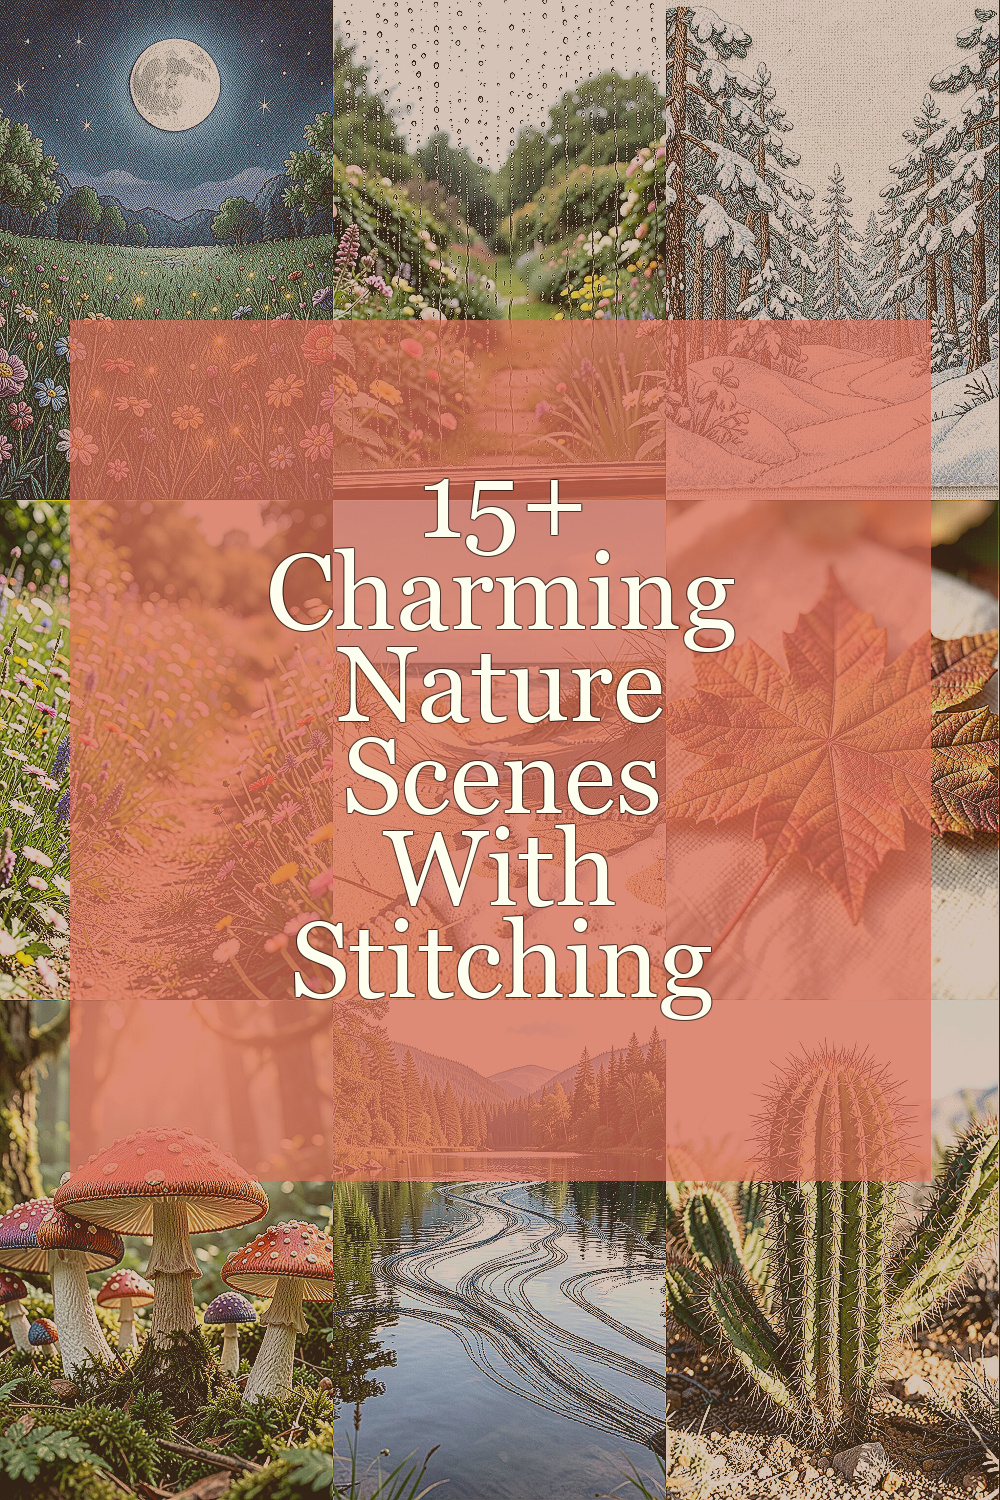
Soft threads can turn quiet outdoors into something you can hold. Each stitch can add texture, light, and tiny stories to your fabric.
As you work, you will feel calmer, and your project will start to look alive. Even small details can make a piece feel special and personal.
1. Moonlit Meadow With Firefly-Glint Stitches

Imagine a meadow at night, shaded in cool blues and deep purples. Tiny bright points are scattered like fireflies, each one made with careful thread placement.
Use metallic floss or a short strand of silk for the glints so they catch the light when you move the finished piece. For the meadow grass, try long-and-short stitches that shift in height, which gives a gentle, breathing look.
If you want the scene to feel dreamy, blend two thread colors in the same row rather than using one flat shade. Personalize it by placing a “constellation” of glow points that match a favorite memory or a meaningful date.
2. Rainy Window Garden With Woven Droplet Texture

A window scene can feel cozy and warm, even when the sky is gray. Stitch little droplets that hang and slide, using varied lengths so they look wet and real.
To get that slick texture, combine couching stitches with tiny straight runs for the highlights. You can also add a subtle shadow behind the droplets using a darker thread, which makes the shine pop.
For practicality, keep your background fabric tightly hooped so droplet shapes stay neat. If you enjoy seasonal crafts, swap the garden colors for autumn oranges or spring greens.
3. Snowy Pine Forest With Layered Thread Depth

Picture tall pine trees standing in a quiet winter mist. Each branch can be stitched like a small set of decisions, with soft layers that build a snowy canopy.
Work the trees in stacked sections, letting one branch group overlap another. Use slightly different white and gray thread shades so the “snow” reads as depth, not just a single color.
This project is great for stitchers who love structure, because the tree lines guide your hands. Personalize it by adding one unexpected detail, like a tiny red berry cluster or a faint path between the trunks.
For cost planning, choose one main thread brand you already have and mix two compatible shades. That way you get depth without buying a whole new kit.
4. Wildflower Path With Stem-Skimming Satin Stitches

A winding path through wildflowers can look like a living postcard. Colors feel brighter when your stitches follow the direction of stems and petals.
Use satin stitches for petals, then switch to stem stitches for slender leaves. Keep your tension even so the satin petals look smooth, and let the leaf stitches taper for natural movement.
To make it feel actionable, sketch a light path line on your fabric first, even if you later cover it with stitching. Personalize the path by changing flower types, like adding tiny daisies for a calm vibe or bold blooms for a cheerful mood.
For current trends, many makers are pairing simple linework with richer surface stitching, which lets your flowers look layered without overcomplicating the design. If you want a budget-friendly approach, use cotton thread for petals and reserve expensive silk or specialty thread only for the brightest accents.
5. Coastal Sand Dunes With Surf Foam French Knots

Think of soft sand dunes where the wind smooths gentle curves. Near the shoreline, frothy foam can be built from small curls and dots.
Use French knots and tiny loop stitches to form the foam, placing them where waves break and spread. Let your sand area stay mostly matte, then add a few scattered stitch directions to suggest ripples.
A practical win here is choosing a stable fabric with a tight weave so knots and loops sit firmly. Uniqueness can come from your own shoreline style, like making the wave line long and slow or short and foamy.
If you enjoy sharing your work, stitch a small signature ripple pattern in one corner so the piece feels like yours. Thread costs are manageable because you can reuse blues and tans you already own, and the foam accents can come from just one extra color.
6. Autumn Maple Leaf With Thread-Veined Realism

An autumn maple leaf can be stitched like a close-up portrait. Focus on the veins so the leaf looks crisp, even when your background is simple.
Try stem stitches to follow the vein lines, then fill the leaf with angled satin or split stitches. Blending orange, rust, and a touch of green in the edges gives a realistic color fade that feels fresh.
This style is unique because it celebrates structure, not just color. Personalize it by adding a tiny “weather” detail, like a speckled dot pattern to suggest raindrops or dry leaves.
7. Enchanted Forest Mushrooms With Spore-Dot Detailing

Forest mushrooms look magical when their caps hold gentle folds and highlights. You can create that magic by stitching textured curves and adding tiny specks under the cap.
For the spore effect, use small seeded dots or micro French knots arranged in clusters. Keep the cap smooth with layered satin stitches, and let the stem be slightly darker for a grounded look.
The benefit of this design is how forgiving it can be, since nature already has uneven shapes. If you want a playful twist, personalize by choosing mushroom colors that match your favorite outfit palette or your home decor colors.
Cost considerations are easy here because the design works well with just a few thread colors plus one darker shade for dots. Many current stitchers love these whimsical micro-details, since small textures make modern pieces look extra polished.
8. Serene Lake Reflection With Long-Stitch Ripple Movement

A lake reflection can feel peaceful, like a breath you can stitch into fabric. The trick is to show how water stretches shapes and softens edges.
Use long straight stitches for the water surface, then slightly vary the length to suggest ripples. Mirror the sky colors above in a thinner, more blended way below, so the reflection feels linked.
For practical tips, keep your horizon line clean and consistent before you start filling water. Personalization can be as simple as adding a tiny floating leaf near one corner or changing the sky mood from sunrise pink to late-afternoon gold.
9. Desert Cactus Study With Stitchy Spines and Shadowing

Desert scenes are striking, especially when you capture the cactus shape clearly. Stitching spines makes the subject feel touchable and sharp.
Work the cactus body with satin stitches in sections so each color band looks like it has depth. For spines, use short straight stitches or thin chain stitches that radiate outward, keeping spacing uneven like real plants.
Uniqueness shows up when you add a small cracked-earth texture using sparse running stitches. If you want easy personalization, include a second cactus silhouette behind the first to create a layered depth effect.
Budget-wise, this design can rely on greens you already have, plus one warm tan for sand. Many crafters also like pairing these bold motifs with minimal backgrounds, which keeps the cost low and the focus clear.
10. Cherry Blossoms With Petal Confetti Split-Stitching

Cherry blossoms look light, airy, and celebratory. The secret is to make petals look like they are floating instead of sitting flat.
Use split stitches for petals and slightly stagger them so each one has a different angle. Add tiny dots or small loop stitches for centers, then place a few petals along the border as if they fell.
This scene is action-friendly because you can scale it up or down without changing the style. Personalize it with a color shift, such as dusty rose for a vintage mood or brighter pink for a spring party vibe.
11. Mountain Range at Dusk With Gradient Backstitch Contours

A mountain range at dusk brings soft drama to your hoop. You can make those distant ridges feel far away by using gentle gradients and clean contour lines.
Start with backstitch lines for the mountain edges, then fill near layers with small fill stitches. Use thread colors that fade from warm near the horizon to cooler tones higher up, so the sky feels like it is glowing.
As a benefit, contour stitching helps you stay organized, which is great when you want the piece to feel neat. For personalization, add a tiny star line or a single winding path where you want the eye to rest.
For cost, you can limit expensive thread by using just one gradient or two closely related shades and letting the fabric show through between stitches. Current trends often favor calming color palettes, and dusk gradients fit that mood beautifully.
12. Lush Fern Corner With Cascading Feathered Stitches

A fern corner feels lush and cozy, like your fabric is growing a secret garden. The best fern details come from stitching fronds with a natural flow.
Use feathered stitches for the frond structure, letting the barbs line up like leaf edges. Add a few lighter accents with contrasting thread so the fronds look layered and slightly glossy.
This design is unique because it rewards slow attention, and your hands will learn the rhythm quickly. Personalize it by placing tiny “sprouts” near the center, or by turning the fern direction to match how you want the fabric to hang.
Cost considerations are gentle, since ferns look great with greens you already own. If you want to add sparkle without heavy spending, use a thin metallic thread only on the highest frond edges.
13. Rose Garden Border With Buttonhole Petal Edges

Even a simple rose can look ornate when petal edges are stitched with care. Borders also make your work feel finished without needing a complicated whole-scene layout.
Try buttonhole stitches around petal outlines to create a scalloped, tidy edge. Fill the petals with satin stitches, then add a few tiny seed stitches in the center to suggest the rose’s depth.
A practical tip is to test your stitch size on a scrap first, because buttonhole edges can look different depending on fabric thickness. Personalize the border by changing the leaf shape or adding a repeating pattern of buds between full roses.
For cost, you can keep the project affordable by using one rose color and one leaf green, then using a second thread shade only for highlights. Many crafters love these structured borders right now because they look polished in frames, quilts, and wearable items.
14. Storm Clouds Over Field With Stitch-Heavy Motion Lines

Storm clouds can feel dramatic without turning your fabric into a messy gray blur. The key is motion, like wind pulling fabric forward.
Use layered straight stitches that curve slightly, then add diagonal shading behind them to suggest cloud mass. For rain, place small running stitches in thin lines, spacing them so some areas look heavier than others.
This scene is beneficial because it lets you correct yourself as you go, since shifting cloud shapes are naturally forgiving. Uniqueness can come from your own “storm personality,” like choosing thunder-like zigzags for energy or keeping it calm with only drifting lines.
For cost, you can use one gray family for clouds and one dark thread for rain. Personalize it by stitching a small protective charm shape near a corner, such as a simple star or tiny heart, so the storm feels like it has meaning.
15. Tropical Leaves in Sunlight With Honeycomb Backstitch Texture

Tropical foliage can glow when you add textured stitching that looks like leaf shadows. Sunlight feels real when your stitches catch and release light across the surface.
Use backstitch patterns in short rows to build a honeycomb-like texture, especially on larger leaf areas. Then layer vein lines with fine split stitches so the leaf structure stays clear and elegant.
This design is unique because it mixes bold shapes with delicate linework, giving a modern craft look. Personalize it by choosing your own leaf pattern scale, like small tightly packed leaves for a dense, lush feel or fewer large leaves for a calm layout.
Cost considerations are flexible, since you can build most of the effect with a few green shades and a tan highlight. Current trends often favor high-contrast stitching, so using one bright yellow-green accent can make your piece feel vibrant without much extra shopping.
16. Lighthouse by the Shore With Reflective Thread Beacon Points

A lighthouse scene offers a clear focal point, which makes it fun to stitch and easy to admire. The light beam can guide the viewer across your piece like a gentle path.
Use long stitched rays for the beam, then add reflective accents with small metallic dots at the center. For the lighthouse body, combine straight stitches for crisp edges with subtle shading using lighter and darker thread bands.
The benefit of this theme is clarity, since most people naturally look at the beacon first and then travel down to the shore. Personalize it by changing the sea color to match your mood, like stormy slate for drama or turquoise for cheerful calm.
To manage costs, consider using one metallic thread sparingly only for the brightest beacon points. Many makers love these beacon details because they create a modern glow effect that looks impressive even with simple materials.