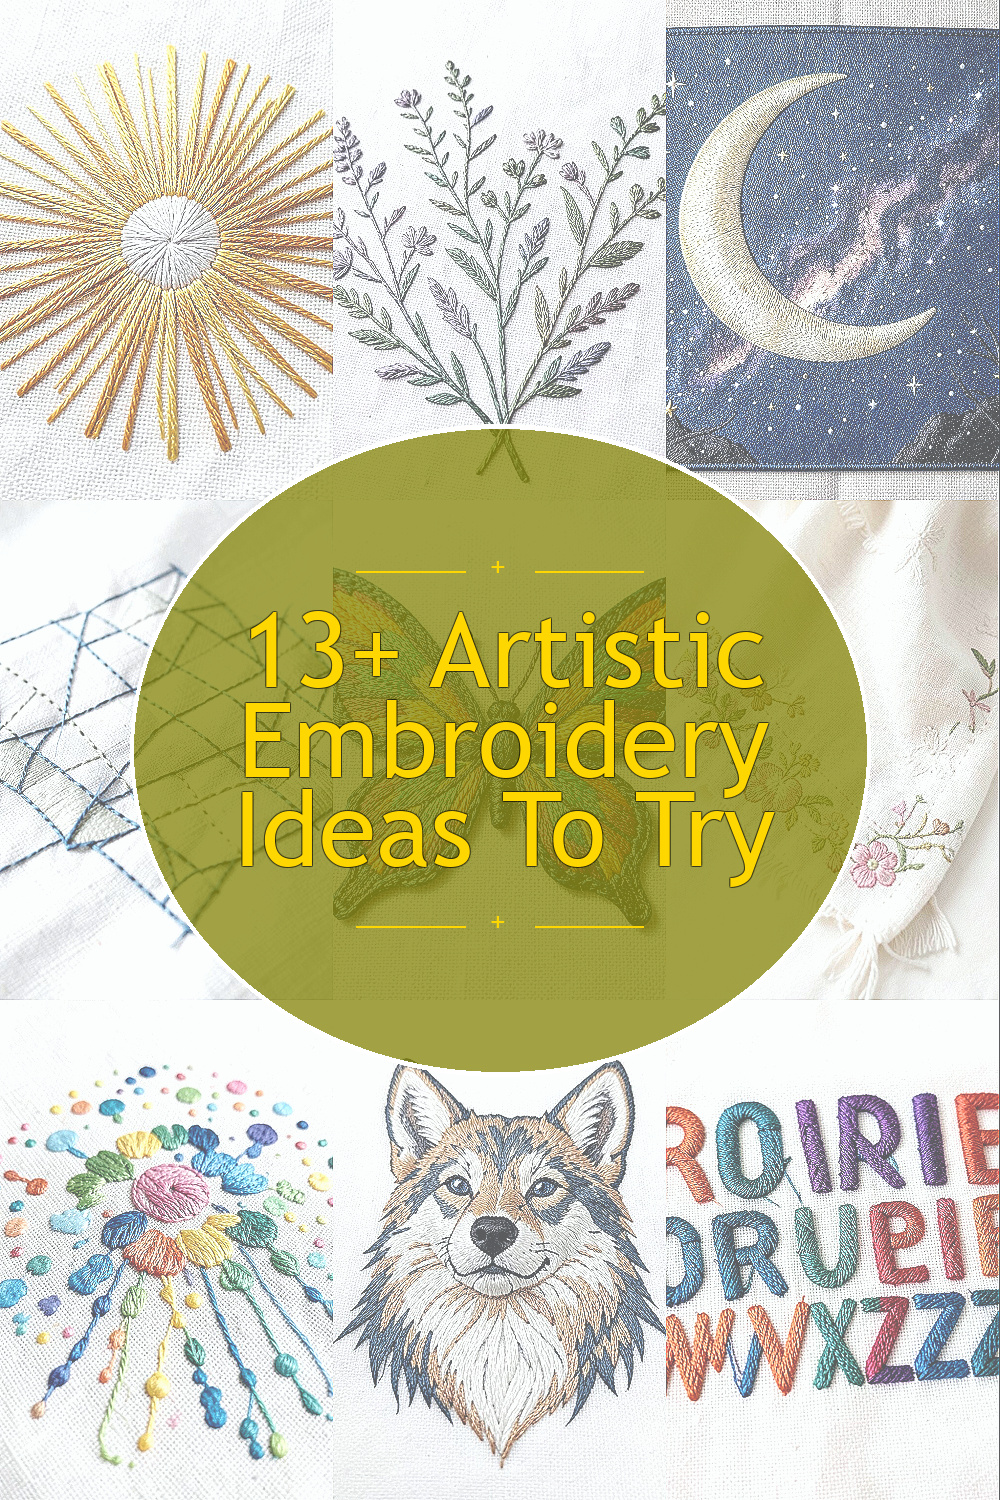
Stitching can turn everyday fabric into a little work of art. These ideas give you fresh ways to play with color, texture, and meaning.
Pick one that matches your mood, then start with a simple shape and build from there.
1. Sunburst Thread Radiance
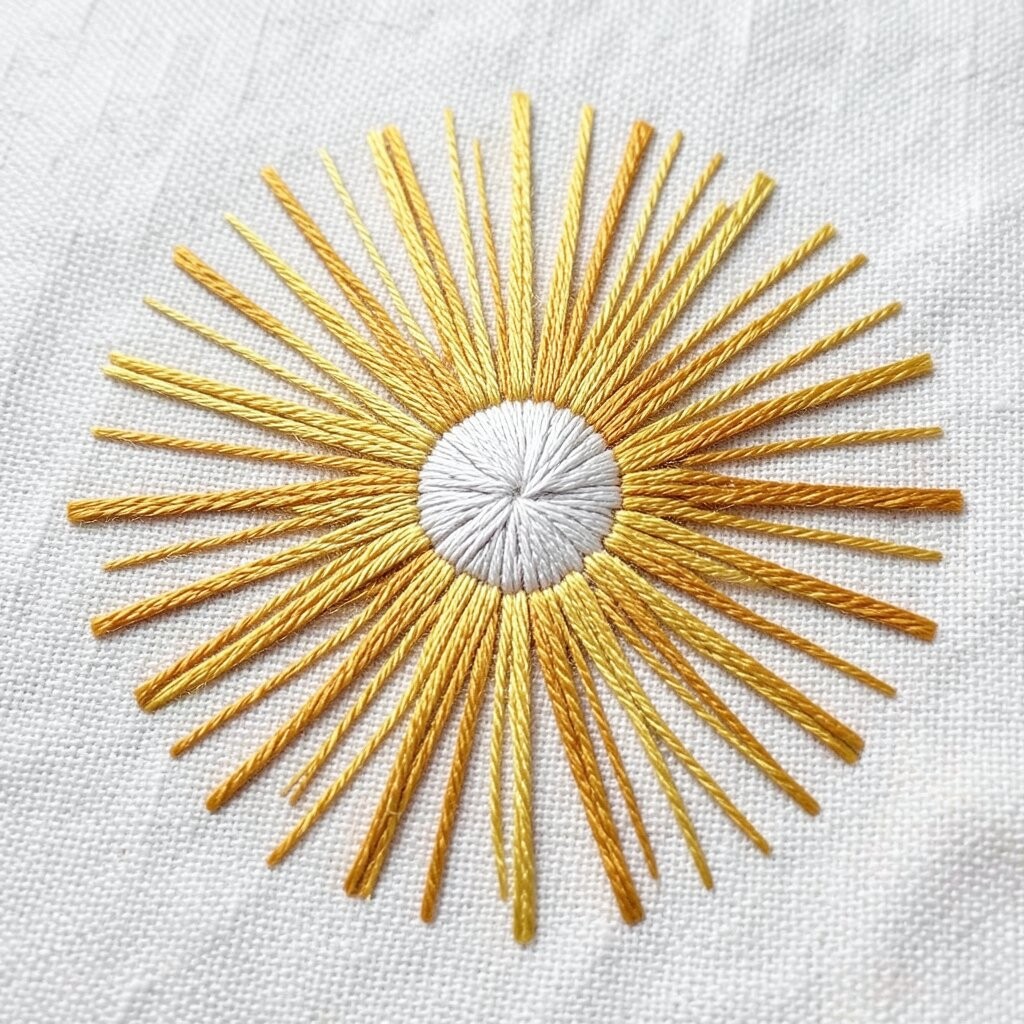
The design feels like warm light spreading outward from the center. You can picture bright rays in golden yellow, orange, and soft peach, with a tiny darker core for depth.
Use straight stitches that fan outward, and keep them slightly different lengths so they look hand-made. This idea looks bold even on small hoops, and it is a fun way to practice consistent spacing.
For personalization, pick colors that match your room or a favorite outfit. If you want it to feel more artistic, add a few satin stitch “spark” areas where the rays overlap.
2. Whispery Botanical Silhouettes
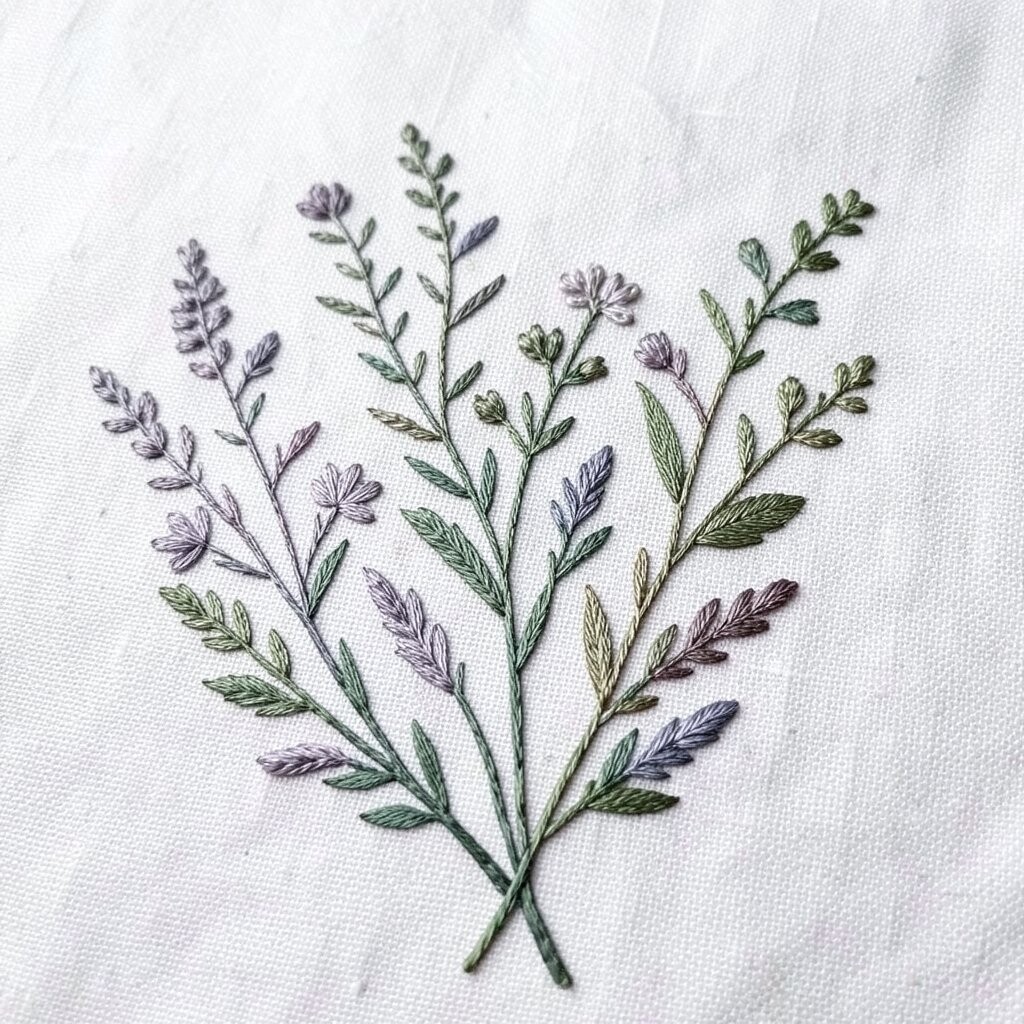
Try embroidering plants as gentle outlines filled with thin thread. Imagine a sprig of leaves with lighter floss for the back layer and deeper green for the front layer.
Use stem stitch for the main lines, then fill the leaf shapes with short, airy running stitches. This style helps your hand learn smooth curves, and it gives a calm, natural look.
Add small details like dots for seeds or a tiny flower bud made with French knots. Keep costs low by using scrap fabric and a small bundle of greens plus one accent color for blossoms.
3. Moon and Milky Stars Nightscape
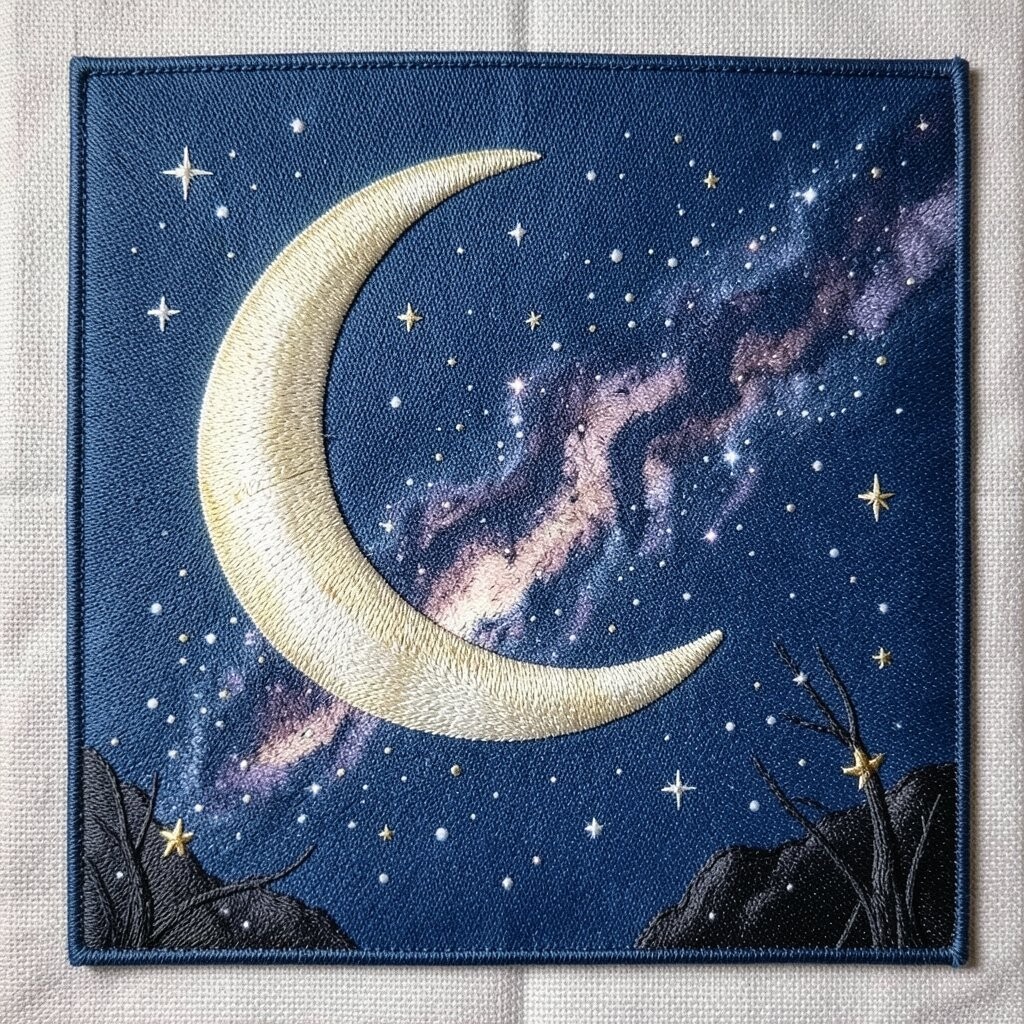
Create a dreamy scene with a large moon and clusters of stars. Think of a pale gray fabric base, a creamy crescent moon, and star points that sparkle like sugar.
Outline the moon with backstitch, then fill it with satin stitch using slight color blending. For stars, use single French knots or tiny stitched loops so they pop without needing heavy coverage.
Personalize it by choosing night colors like deep navy, forest green, or even purple with warmer highlights. This project is great for practicing neat knots, and it looks impressive in a small frame.
If you are mindful about cost, use one main thread color for the background and keep the star colors limited. A variety pack of embroidery floss often covers this theme without buying a lot more.
4. Geometric Quilt-Block Lines
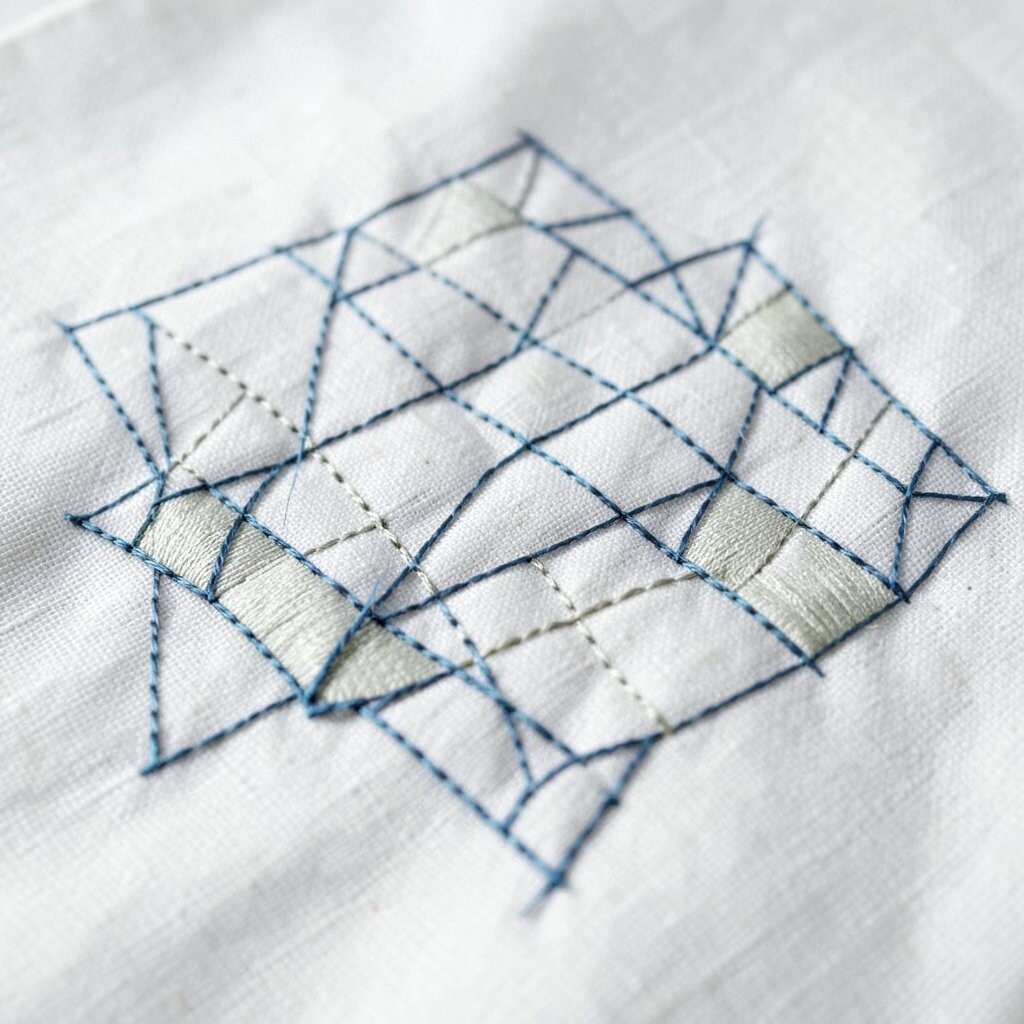
Geometric patterns bring a modern calm to embroidery. Picture overlapping angles like patchwork blocks, made with crisp lines in contrasting thread shades.
Start with a simple grid on fabric, then stitch shapes using backstitch and chain stitch for thicker edges. The result feels structured but still handmade, which is a big part of the appeal.
Choose color pairs that fit your style, like black and cream for a clean look or teal and coral for playful energy. If you want it to feel current, mix one bold accent color with two muted shades, a trend many makers love right now.
To keep it practical, use a light transfer method for the layout and plan your thread lengths so you waste less floss. Even beginners can succeed because the shapes guide your hand.
5. Painterly Butterfly Wing Stitches
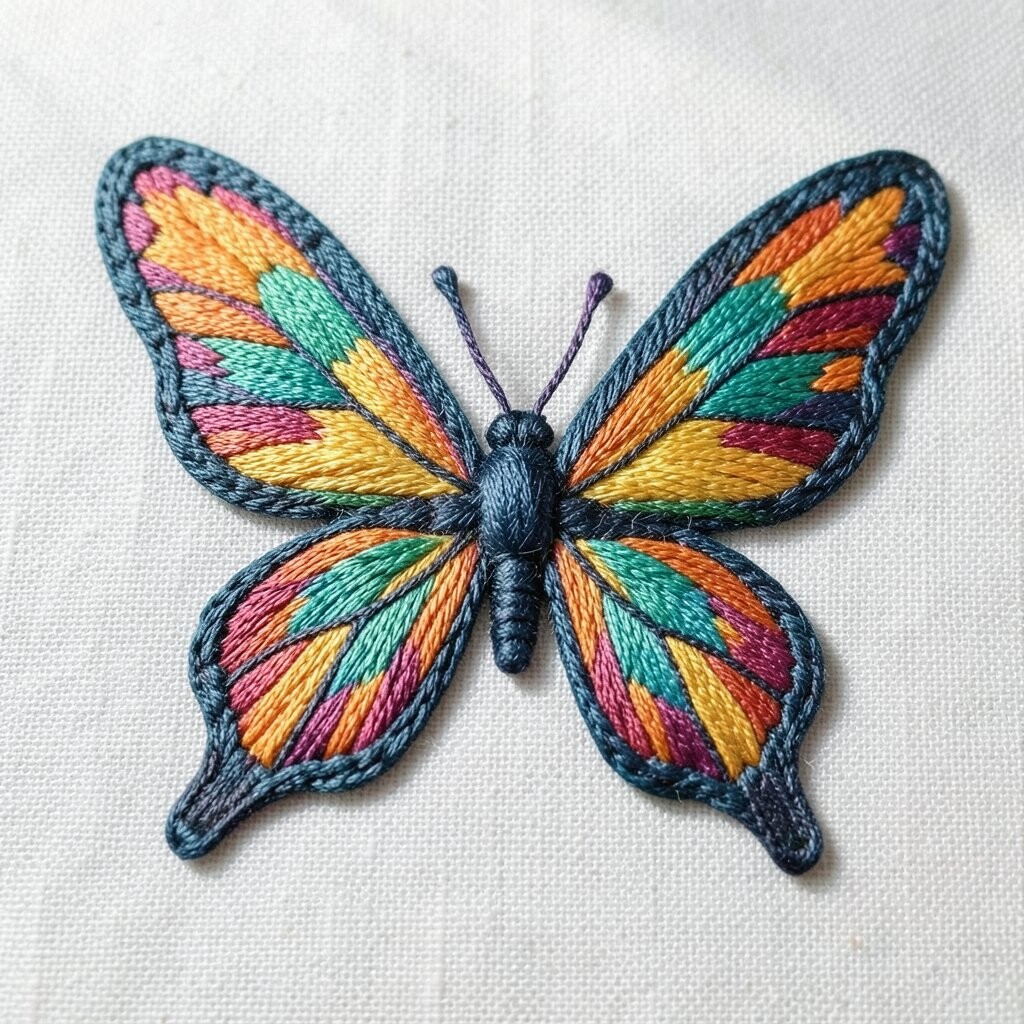
Butterfly embroidery can feel like art you can touch. Imagine wings made from layered satin stitches, with gradients that look painted rather than stitched.
Use long-and-short stitch for the wings, then add a few lines of backstitch to suggest veins. This gives a realistic look while still being manageable, especially when you break the work into sections.
Personalization is easy here, because you can match any butterfly to a real photo or make up your own fantasy colors. For cost control, reuse threads you already own and limit the number of gradient shades to three or four.
6. Cozy Scarf Border Motifs
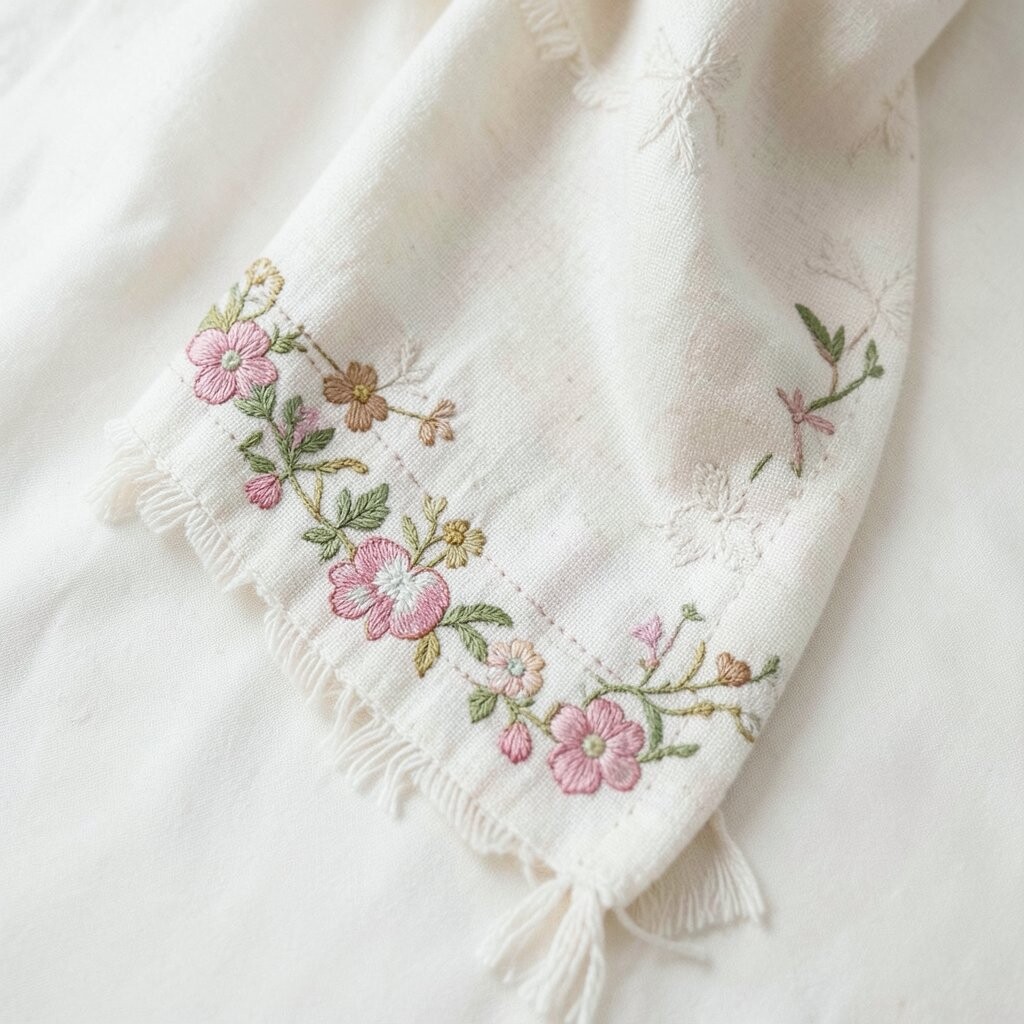
Turn a plain scarf edge into something special with repeating border motifs. Picture a line of small flowers, tiny hearts, or simple curls running along the hem.
Work each motif as a mini unit, then repeat it to form a tidy rhythm. This method builds confidence because you finish one shape and then do it again, but with a slightly different twist.
For personalization, choose symbols that matter to you, like initials, birth months, or a favorite flower. You can also vary the stitch style per motif, such as using chain stitch for one and satin stitch for another.
To keep spending reasonable, pick one main thread color for most of the border and one accent for small details. If your scarf is already patterned, match the border colors to the closest tones in the fabric.
7. Watercolor Dots and Drips
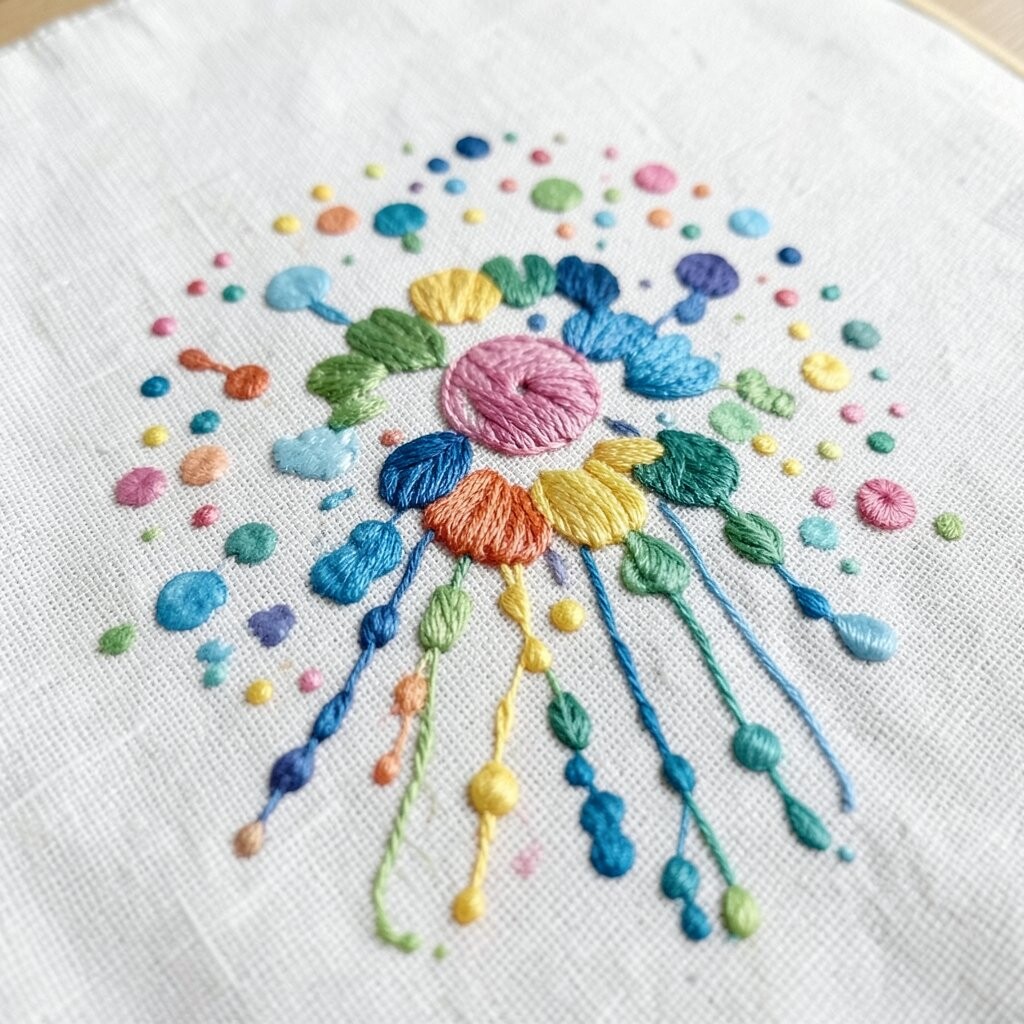
This idea looks like watercolor but made with thread. Imagine soft splashes of color where circles and drips blend together, creating a dreamy, airy surface.
Stitch loose satin stitch “blobs,” then add watered-down-looking dots with small backstitch marks. A light, random placement helps it feel artistic instead of too perfect.
Personalize it by picking colors from a favorite art print or your favorite hoodie. If you want a modern look, include one high-contrast color as a tiny focal spot, which is a popular style in many current fiber designs.
For practical results, stretch your fabric well and keep your stitches light so the fabric texture still shows. You can also use leftover floss shades to avoid buying new sets.
8. Serene Animal Silhouette Portraits
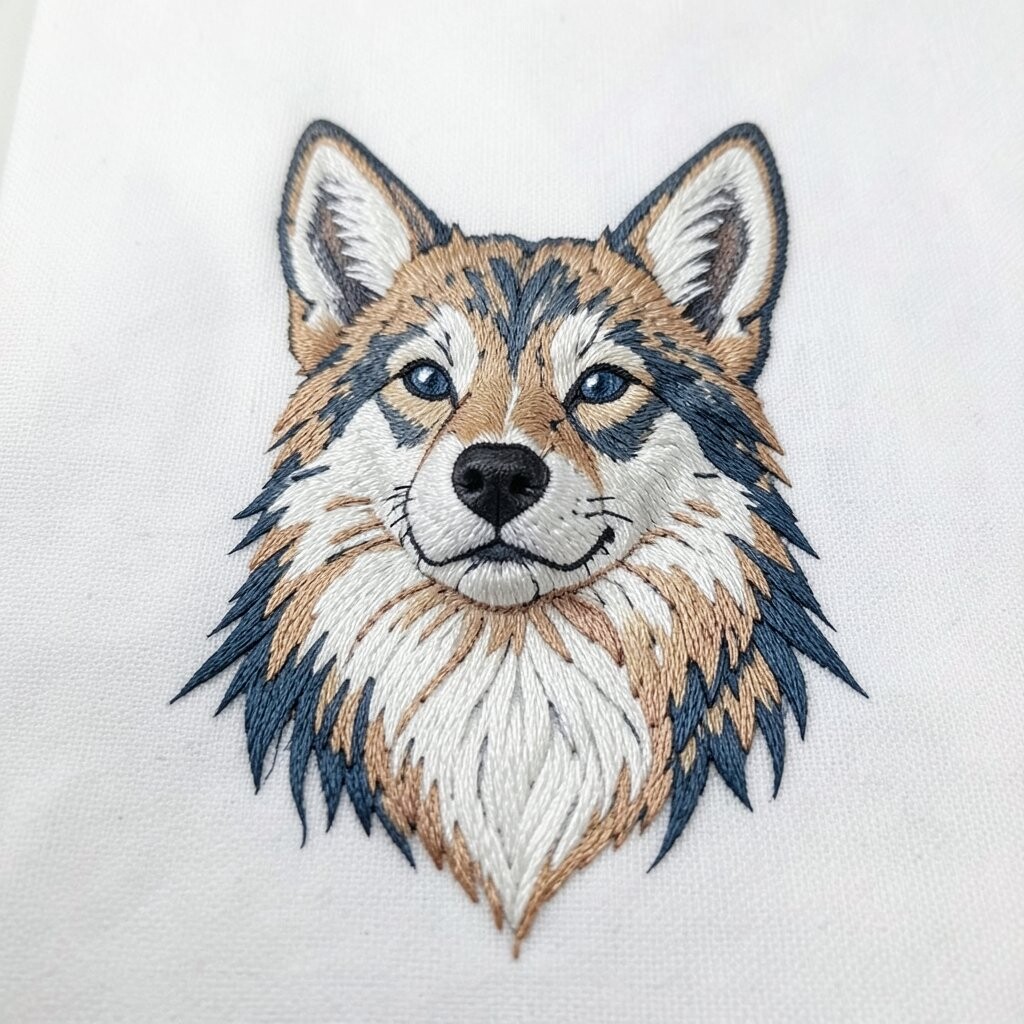
Simple animal portraits can be powerful and cute. Picture a cat or small bird as a bold silhouette, with a few embroidered highlights like whisker lines or feather textures.
Trace the outline, then use satin stitch for the solid areas, leaving small gaps for texture. This gives a clean, graphic look that stands out even from far away.
Personalization can be as easy as changing the species, adding a background shape, or adding a name tag using small stitched letters. If you are cost-conscious, pick one dark thread and one light highlight color, and you will be set.
To make it even more practical, use a hoop large enough to hold the face comfortably, since bigger space helps you keep edges smooth. This project also makes a thoughtful gift because animals feel personal.
9. Alphabet in Bold Thread Letters

Stitching letters turns embroidery into a message you can wear or hang. Imagine chunky, rounded text made with slightly uneven satin stitch for a friendly feel.
Choose a simple font style in your mind, then outline the letters with backstitch before filling them. This reduces mistakes and helps your lines stay readable.
Personalize by writing a name, a short word like “hello,” or a phrase that makes you smile. If you are following current trends, try mixing thick letter fills with thin sketchy outlines for contrast.
For cost considerations, you can keep threads limited by using one color for the main letters and a second for accents like dots or tiny hearts. Also, use smaller needles and shorter thread lengths to reduce tangles and waste.
10. Heartfelt Patchwork Pocket Design
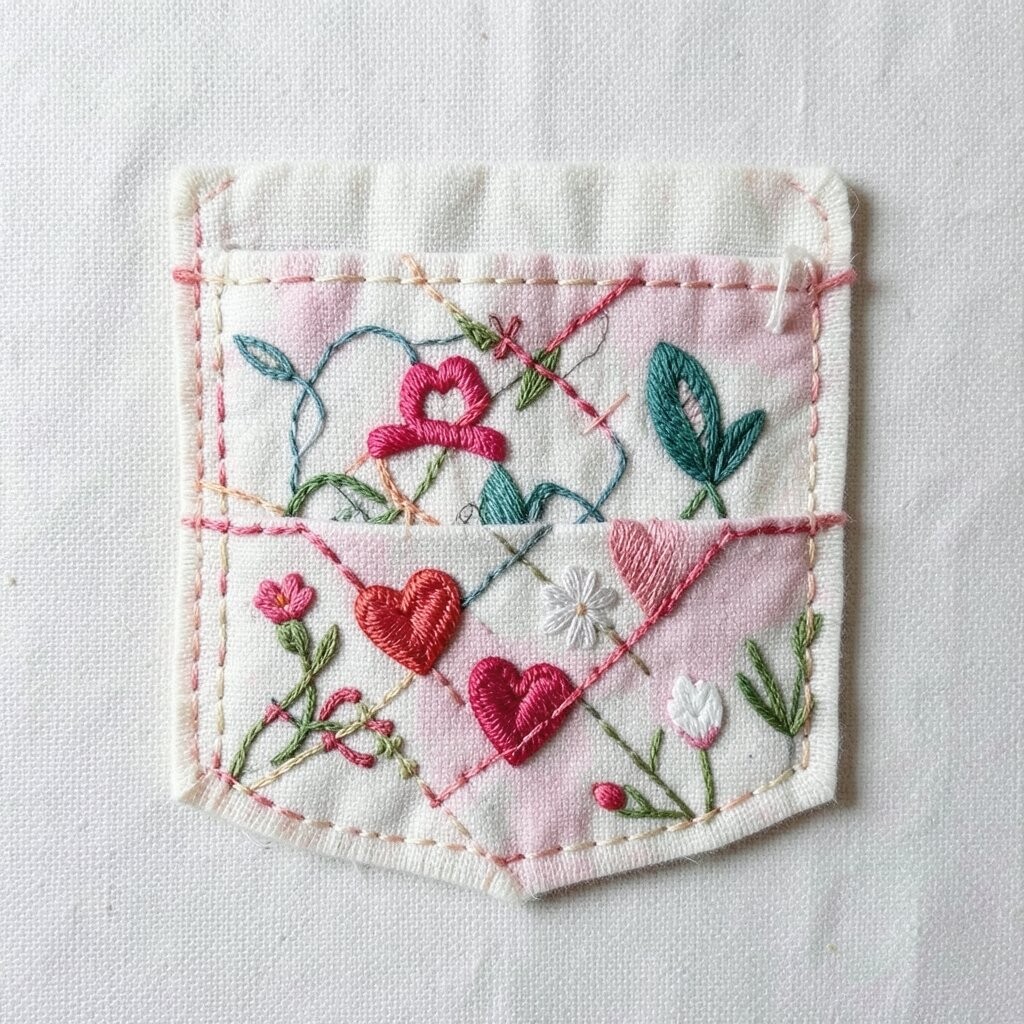
Make embroidery feel functional by building a pocket patch. Picture a stitched rectangle on a bag or denim, with small embroidered shapes arranged like tidy patches.
Use blanket stitch around the patch edges for a strong border, then stitch tiny motifs like stars, berries, or simple lines inside. This approach is great because it hides fabric wear and gives your item new life.
Personalization shines here since you can plan your patch like a scrapbook page. Include one motif that represents you, one that represents a friend, and one that matches your favorite color palette.
To manage cost, use fabric scraps and embroidery floss from your stash, and avoid heavy decorative materials if you are still practicing. If you are new, start with a small patch so it stays quick and satisfying.
11. Ocean Waves With Textured Foam
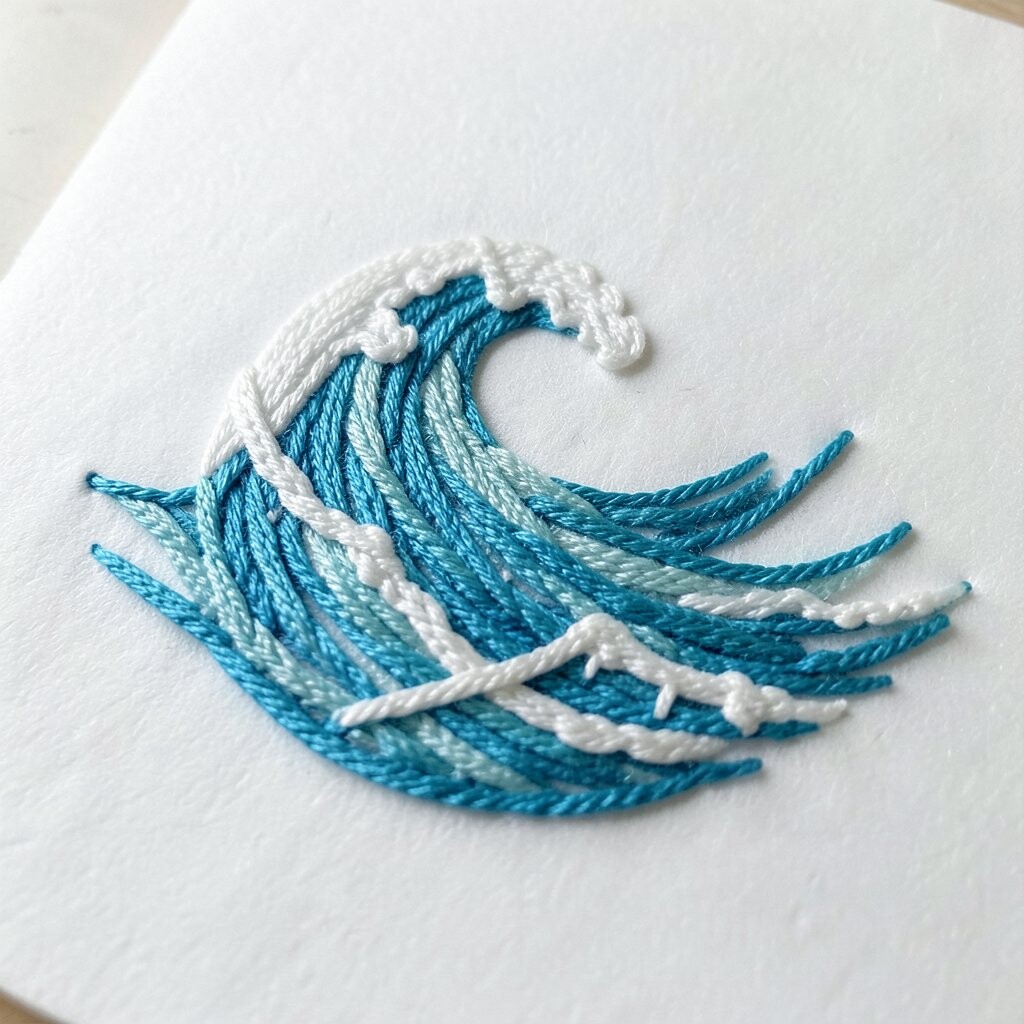
Ocean embroidery is perfect when you want motion without complicated detail. Picture wavy lines in blues and teals, with tiny stitch textures that look like foamy edges.
Stitch long curved lines with chain stitch, then add small filling stitches along the top of each wave. For foam, use tiny French knots or short satin highlights so the wave looks lively.
Personalize your ocean by adding shells, sea grass, or a small sail shape made from simple stitches. This theme feels popular right now because many people love calm, nature-inspired art for home spaces.
To keep it practical, use a limited color set and blend them gradually so you do not need many thread shades. A hoop and good lighting make the curves smoother, and stretching the fabric helps prevent wobble.
12. Ornate Lace-Like Knot Borders
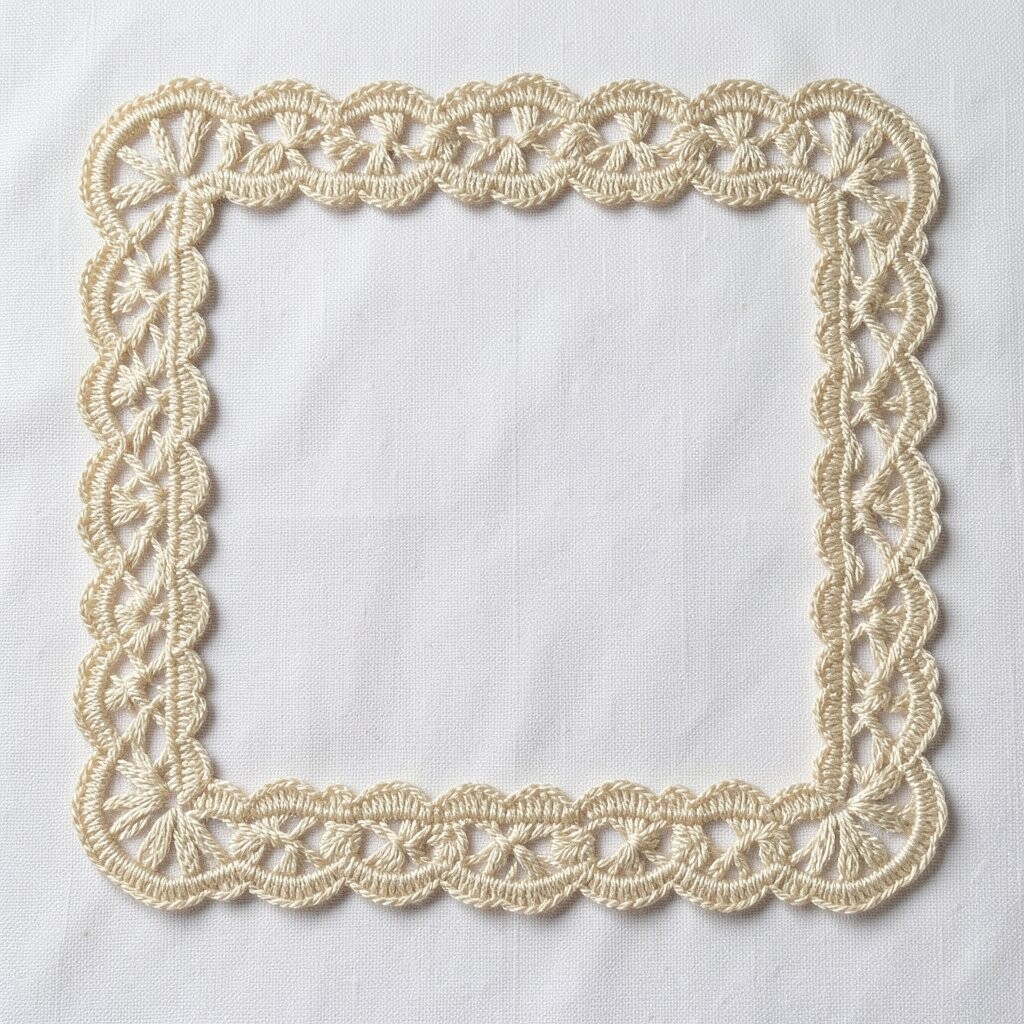
Bring delicate elegance with borders that look like lace. Imagine a frame around a card or handkerchief made from repeating loops and tiny knots, creating a soft pattern.
Use chain stitch for the main border rhythm, then place French knots as little “lace dots” in between. This gives an airy feel without needing any bulky materials.
Personalization is easy because you can scale the border larger or smaller. If you want a more unique look, alternate two knot sizes by using thicker floss for one section and thinner for another.
For cost considerations, knots use small amounts of thread, so you can get a lot of border work from a modest floss collection. This also makes it great for using near-empty skeins that you do not want to throw away.
13. Botanical Mandala Centerpiece
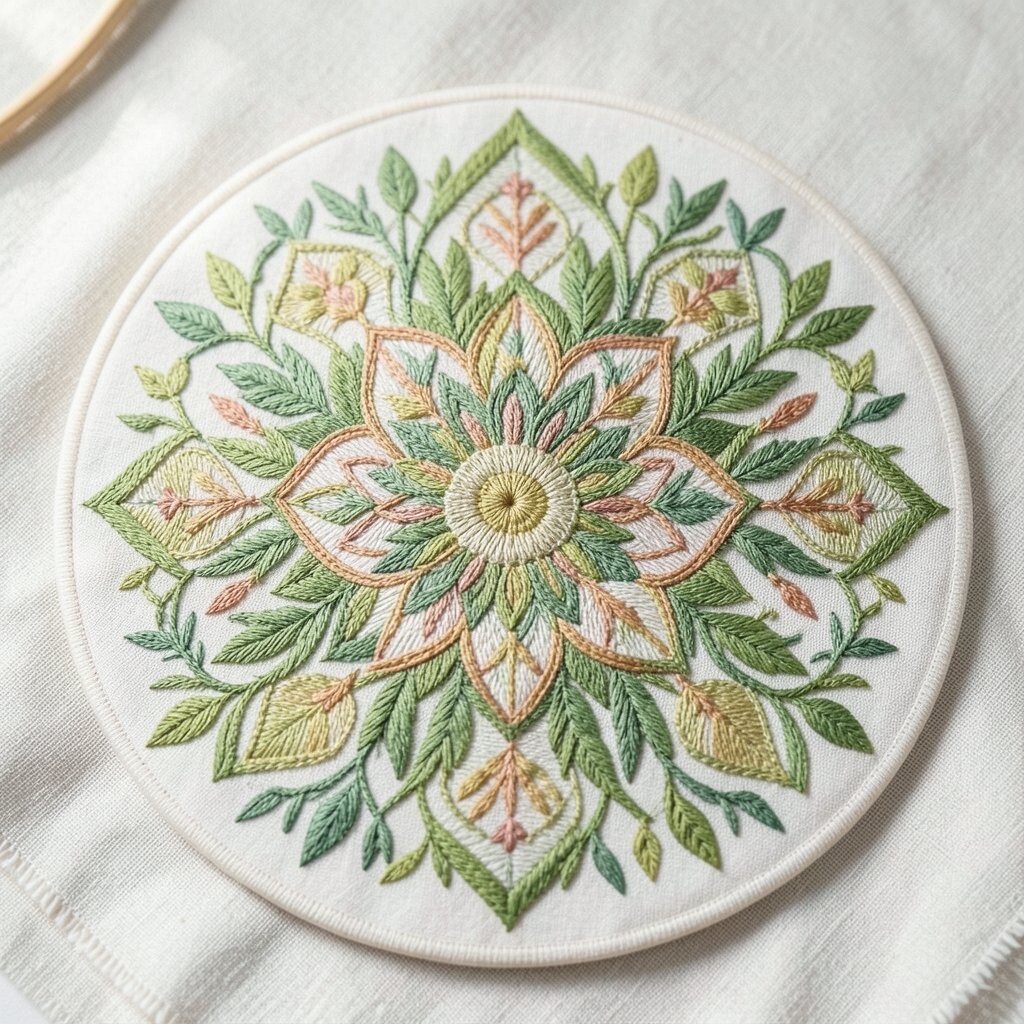
A mandala embroidery looks like a flower of patterns centered on your fabric. Picture symmetrical leaves and petals that radiate outward, with tiny connecting stitches that hold the design together.
Start in the middle with a simple flower shape, then build rings outward using satin stitch and lazy daisy stitches. The repeated symmetry makes the work feel relaxing, and you get a clear “wow” moment when it comes together.
Personalize it by choosing a theme, like spring blossoms, autumn leaves, or herbs from your kitchen. For trends, many makers love adding one metallic thread accent, which can make the center feel extra special.
To keep costs under control, use a single metallic accent sparingly and rely on your regular floss colors for the rest. Planning your thread colors before you start also helps you avoid buying extra shades mid-project.
For practical success, draw light guide marks with a fabric pen, then stitch over them so they disappear. If you keep your rings evenly spaced, the pattern will look intentional even if your stitches are hand-style.
14. Abstract Portrait Frames and Faces
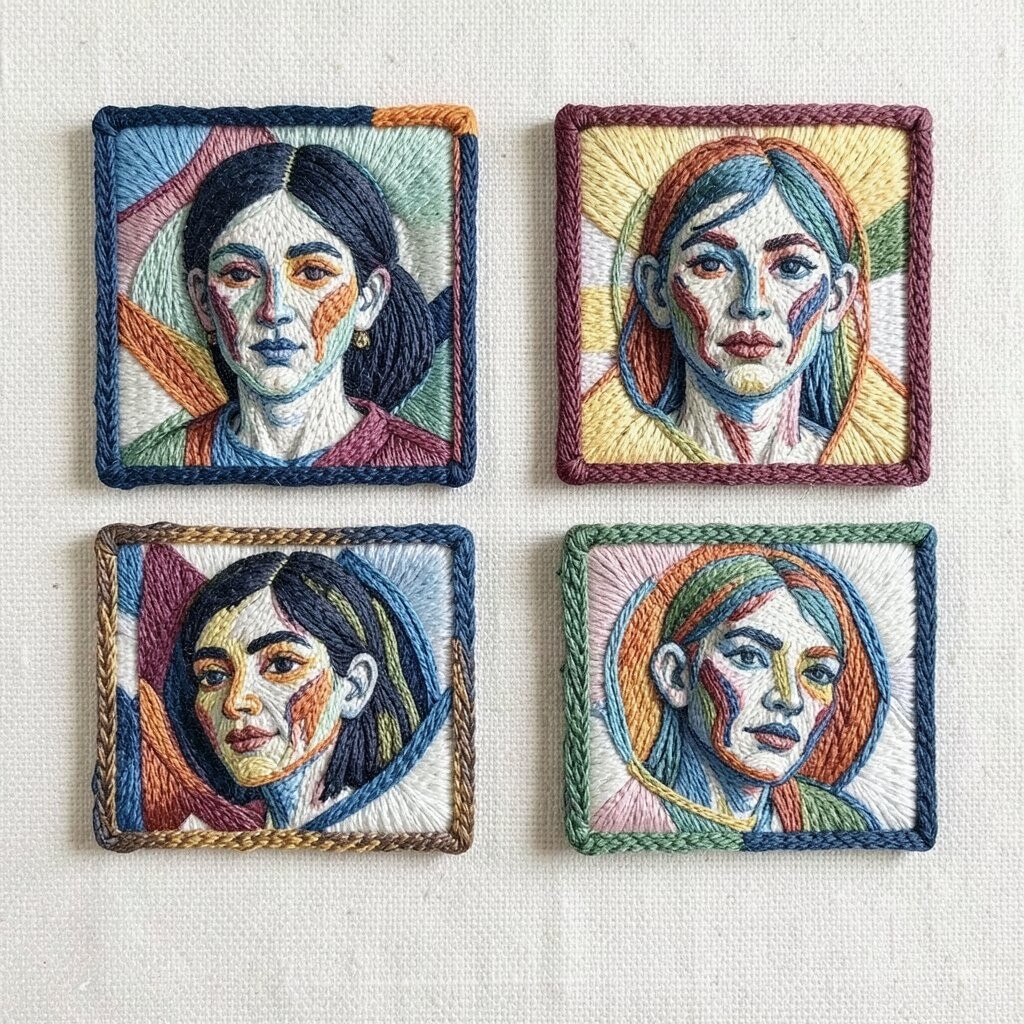
Create a modern abstract portrait using blocks of color and stitch textures. Imagine a face suggested by curved lines, surrounded by a stitched frame that adds energy and structure.
Use mixed stitches, like backstitch for outlines, satin stitch for filled shapes, and small straight stitches for grainy texture. This layered approach makes the piece feel expressive while still staying organized.
Personalization is powerful here because you can turn any memory into a look, such as your own hairstyle or a friend’s signature color. You can even add a date using small stitched numbers, which makes it feel like a keepsake.
For cost considerations, you can keep thread needs simple by picking a small color palette and repeating those colors in different sizes. Using fewer floss shades also makes the design feel unified, which is a style many people gravitate toward now.
To make it practical, use a hoop or stretch frame that matches your fabric size, and plan where you want the busiest textures. When you control the “busy” areas, the embroidery reads clearly and still feels artful.
Finish by adding a tidy border around the outside edge, such as blanket stitch, so your portrait looks framed and ready to show.