Your wall can look custom without turning your evening into a giant project. Tiny tile moments can make a big visual difference.
With a little planning and fast moves, you can get a mosaic look that feels fresh and personal. These hacks focus on small wins you can finish quickly and still feel proud of.
1. Add a Quick Border Using Scraps
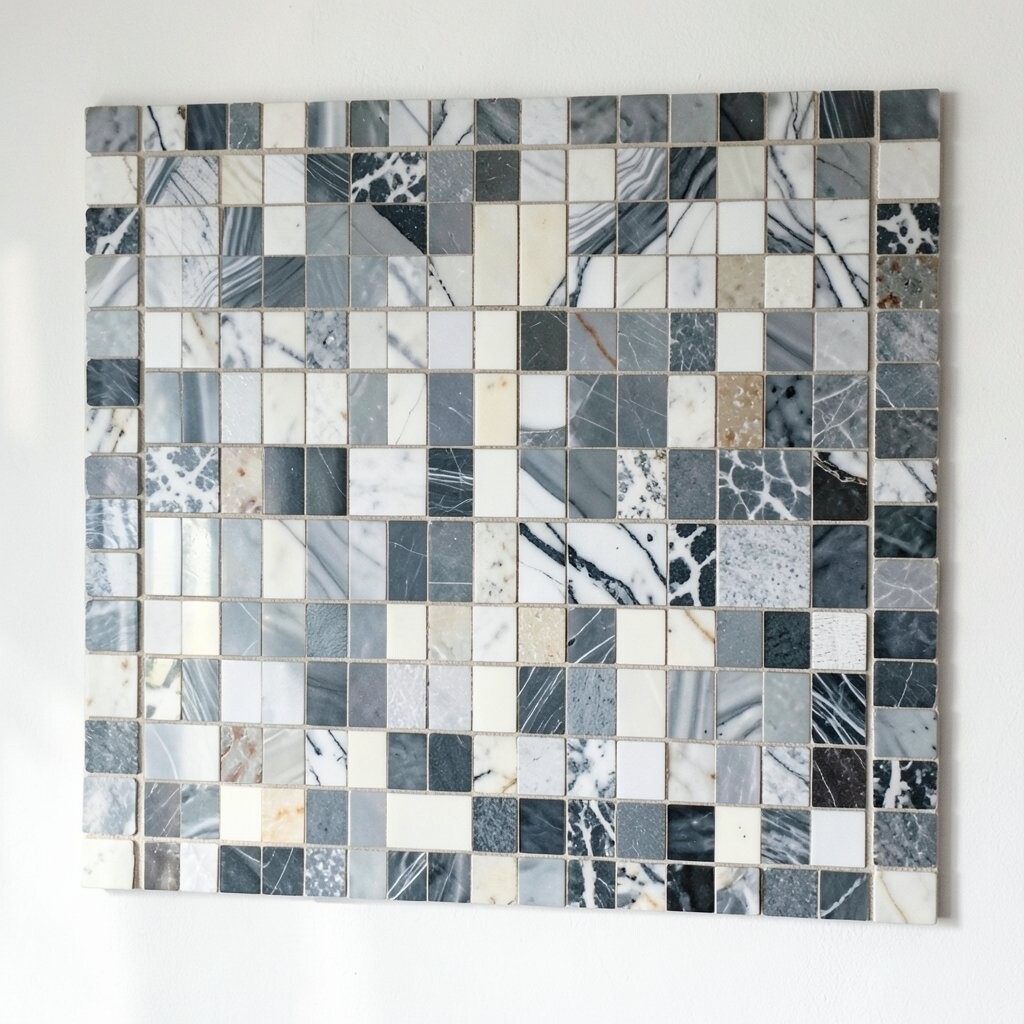
Rummage through leftover tile slivers and pick a few shades that match your room. Even a thin line across a mirror frame or shelf back can look intentional and neat.
Lay out a dry run first so the pattern feels balanced before you attach anything. For a clean look, use a straight edge as your guide and press each piece firmly so gaps stay even.
2. Create a Glittery Accent With Broken Tiles
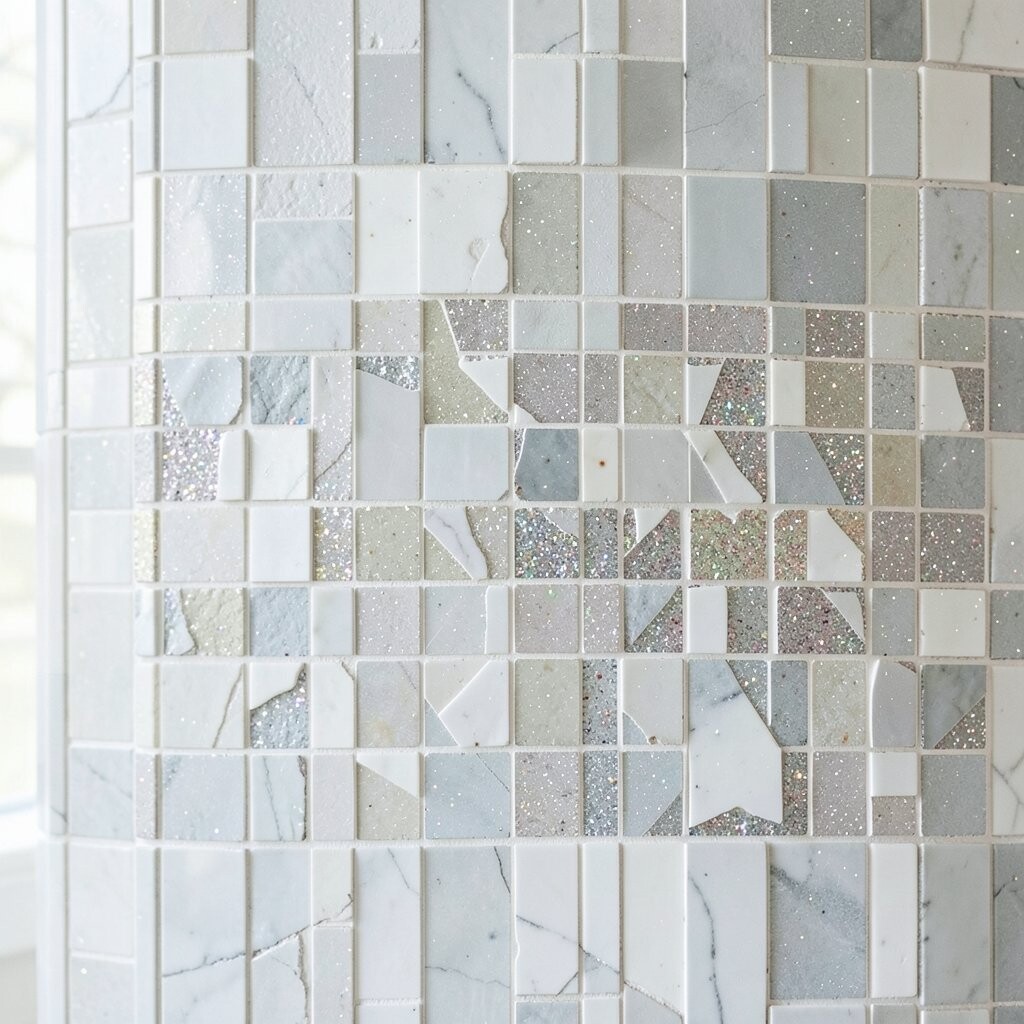
Use broken tile bits like tiny stars scattered around one spot on the wall. The texture will catch light and make the area feel lively, even with simple lighting.
Choose pieces with varied edges so you get a natural sparkle instead of a uniform look. This is a great way to reuse odd shapes that would be hard to fit into a full layout.
Work in small clusters rather than one big spill so it stays controlled. Seal the surface after setting so dust doesn’t collect in the grout lines.
3. Make a Minimal “Grid” Pattern for Calm Style
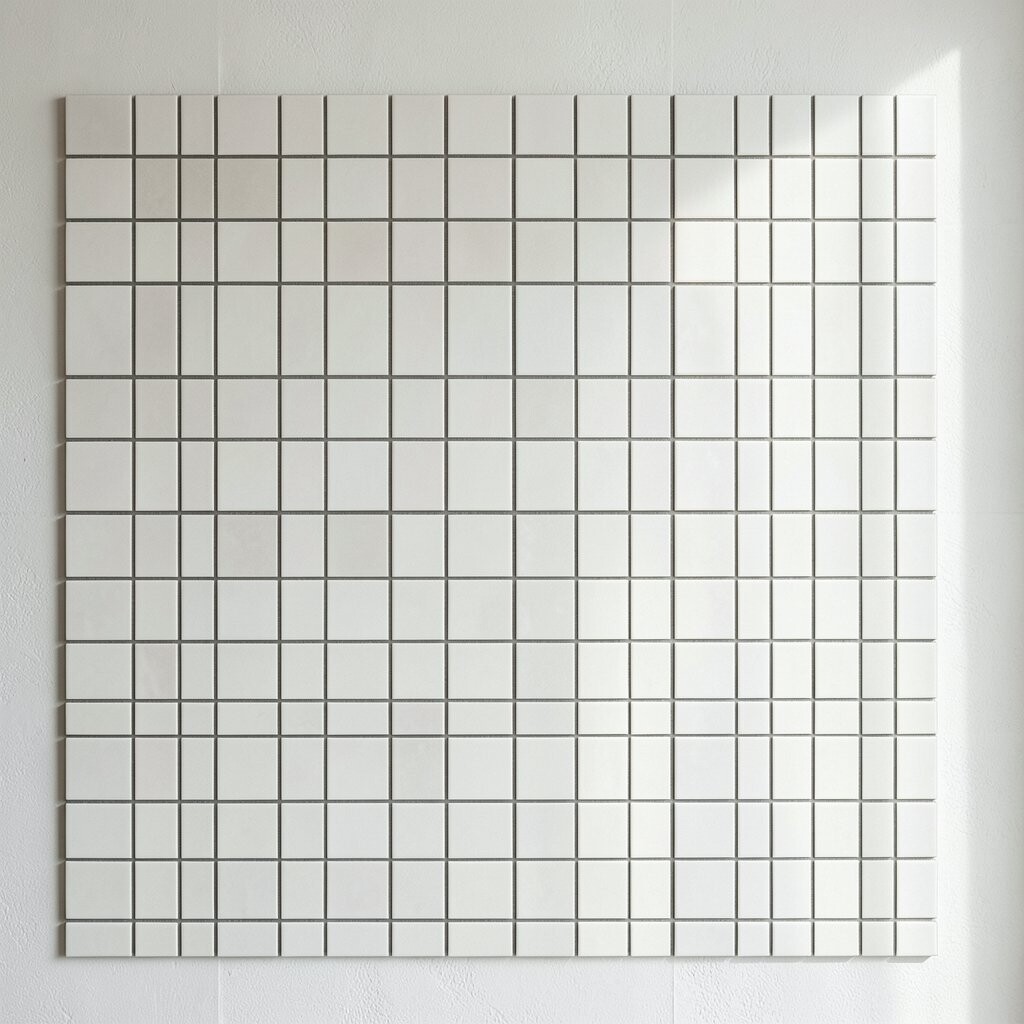
Arrange small square tiles in a simple grid so the wall feels tidy and modern. When your spacing is consistent, your eyes relax and the room looks organized.
Try making just one narrow section, like beside a light switch or around a small shelf. Use painters tape to mark rows, then place tiles one by one to keep alignment steady.
If you want extra polish, use a grout color that matches your wall paint instead of going bold. This hack stays budget-friendly because you can use small tiles you already have.
For today-friendly personalization, swap one tile color for a tiny surprise accent that nods to your decor.
4. Turn a Command Strip Into a Removable Mosaic
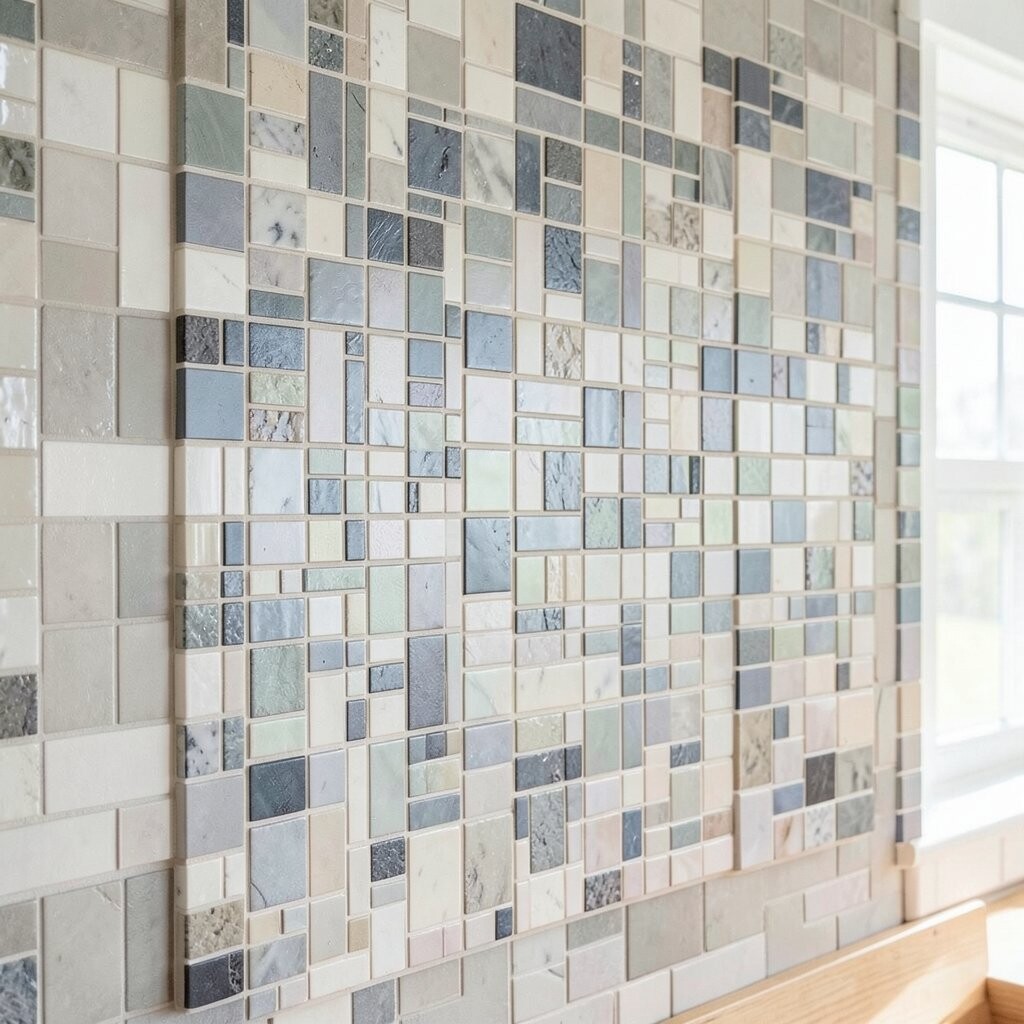
Want the look without committing forever? Build a small tile panel and mount it using strong removable adhesive strips.
This works especially well in renters’ spaces where you want easy changes. Use a thin backing board so each piece stays flat and your finished panel feels sturdy.
5. Edge-Frame a Small Art Print With Tiles
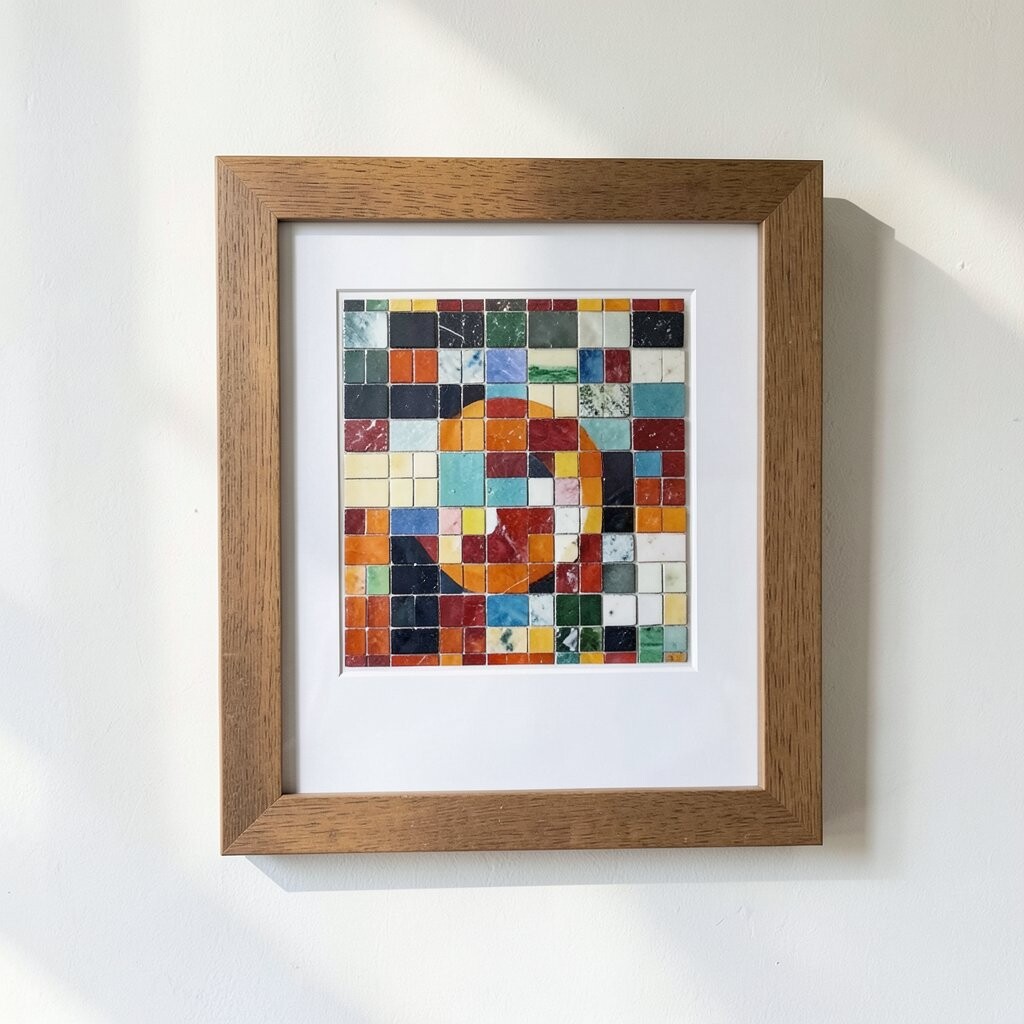
Pick one photo or print and surround it with a quick tile edge for instant style. The tiny pieces act like a custom frame, and they add texture you can feel from across the room.
Use matching tiles for a smooth look, or mix matte and glossy for more visual interest. Measure the art first, then leave a little breathing space so the frame doesn’t crowd the picture.
For personalization, add a single colored tile in each corner that matches your favorite pillow or mug. This hack is cost-smart because it turns a small cluster of leftovers into something that looks brand new.
6. Create a Textured Nameplate Using Letter Tiles
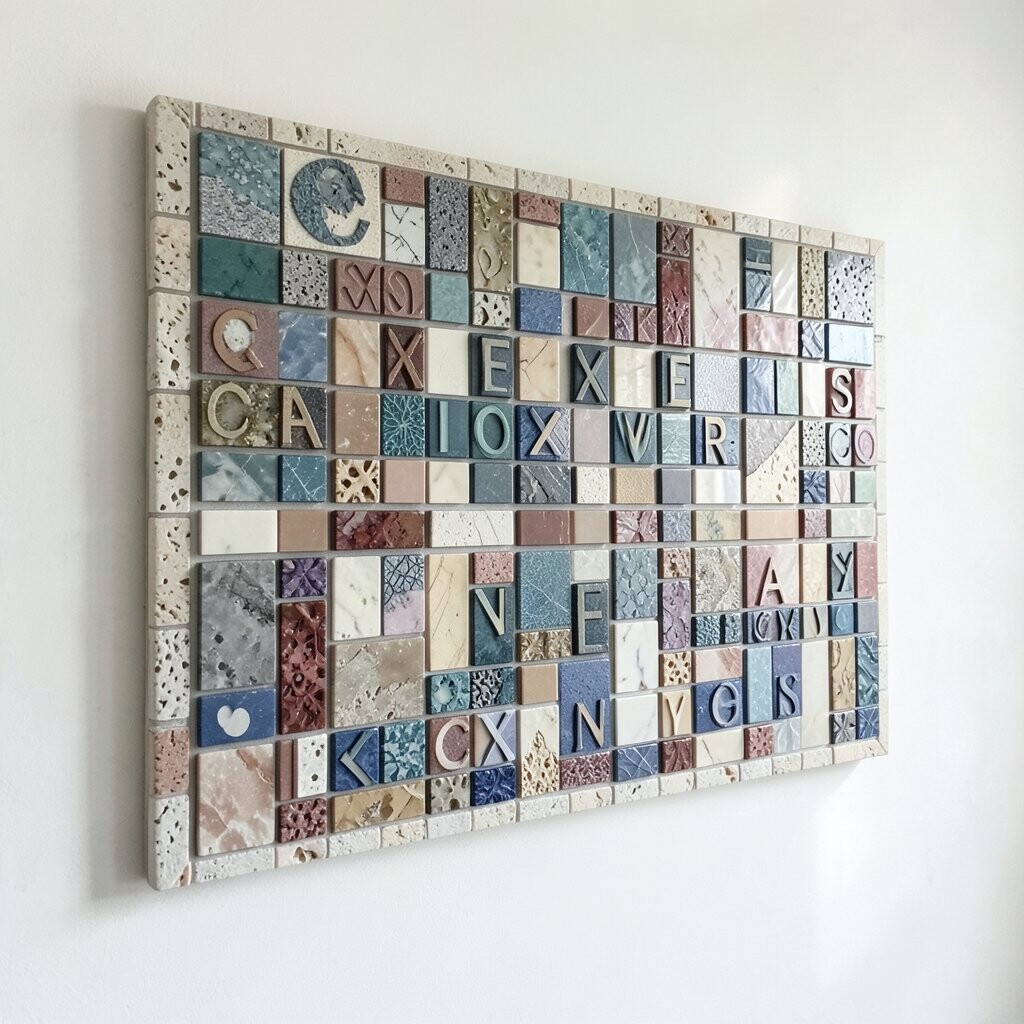
Spell a word like “HOME” or your initials using individual letter tiles. The raised texture makes the letters pop, and the wall becomes a warm focal point.
Place letters on a taped outline so each character stays even. Use tile adhesive for a secure hold, but keep the pile small so the edges don’t look messy.
If you can’t find letter tiles, cut foam sheets into letter shapes and glue small mosaic pieces on top. That approach is surprisingly quick and helps you stay within your budget.
7. Make a One-Row Waterfall Effect Down the Wall
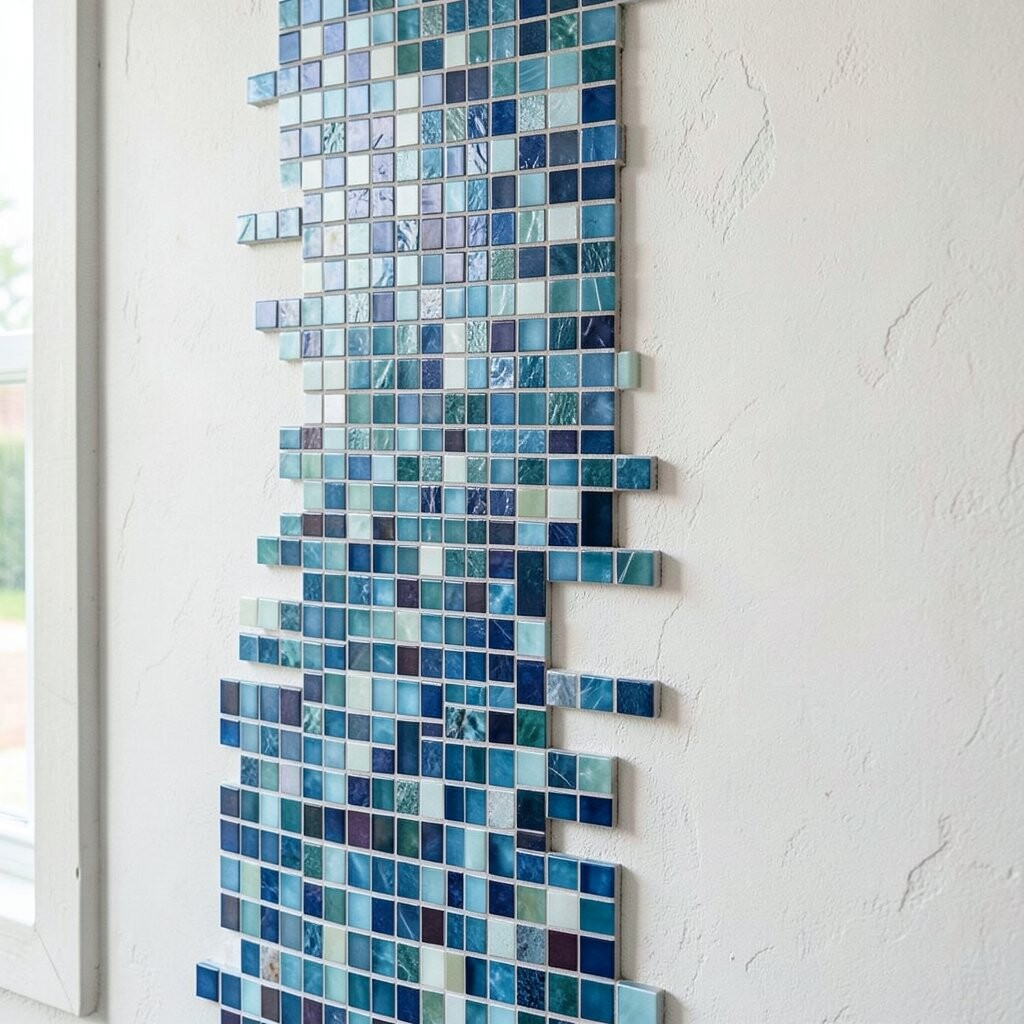
Start with a row of tiles near the top and let the rest “drip” downward with staggered sizes. The visual flow feels like a waterfall and makes your wall look designed, not accidental.
Pick a gradient of colors, from darker to lighter, so the effect feels smooth. To make it look intentional in a small time window, pre-sort pieces by size before you begin.
Use painter’s tape to mark a gentle diagonal so the cascading lines don’t wander. This trend-friendly look pairs well with modern bathrooms and cozy entryways.
For cost planning, shop for small clearance tiles or use bargain sheet mosaics that break easily.
8. Build a Tiny Mandala Centerpiece With Circular Clusters
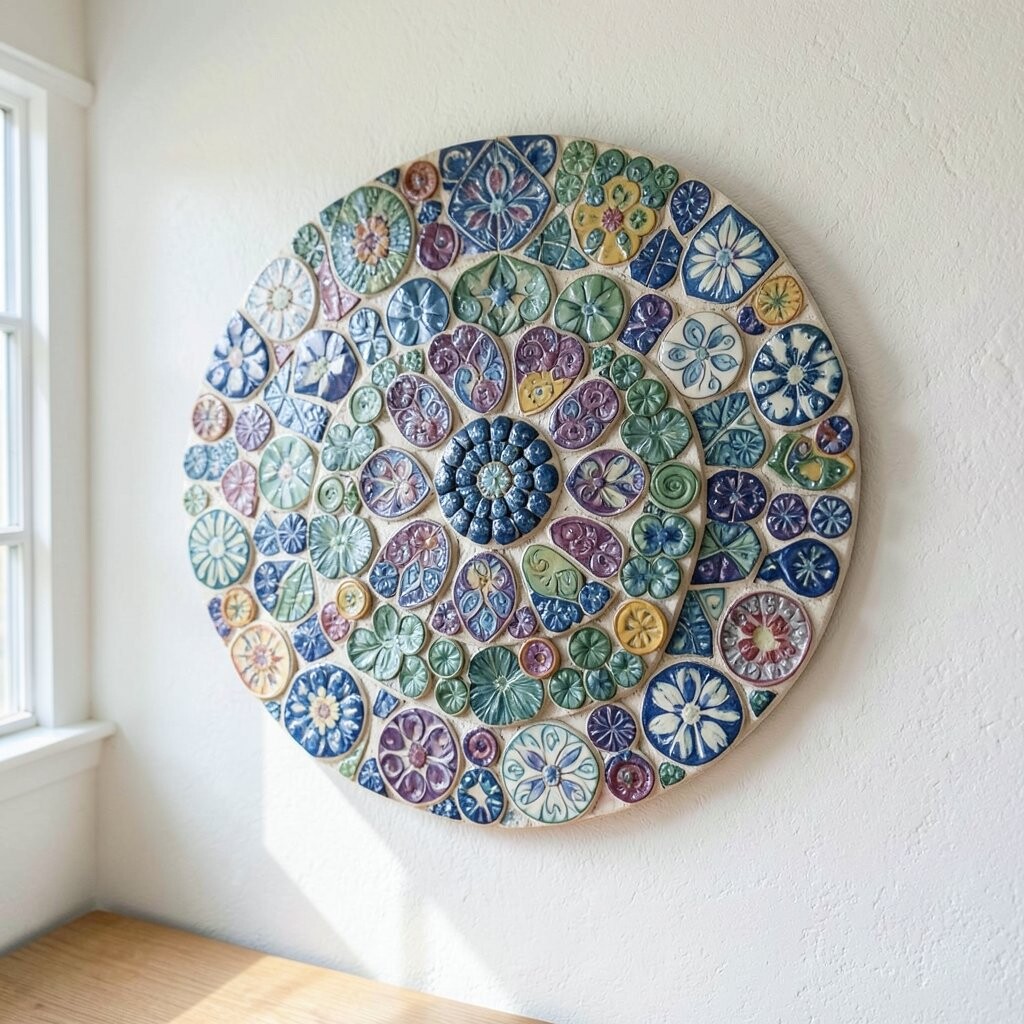
Choose one small wall spot and build a mandala using circular tile clusters. Start from the center and work outward, creating a repeating rhythm that looks intricate.
Even a small mandala can feel magical because the patterns create depth. Keep your center bold and then soften the outer ring with calmer colors.
9. Make a “Stone-Skip” Pattern With Two Color Choices
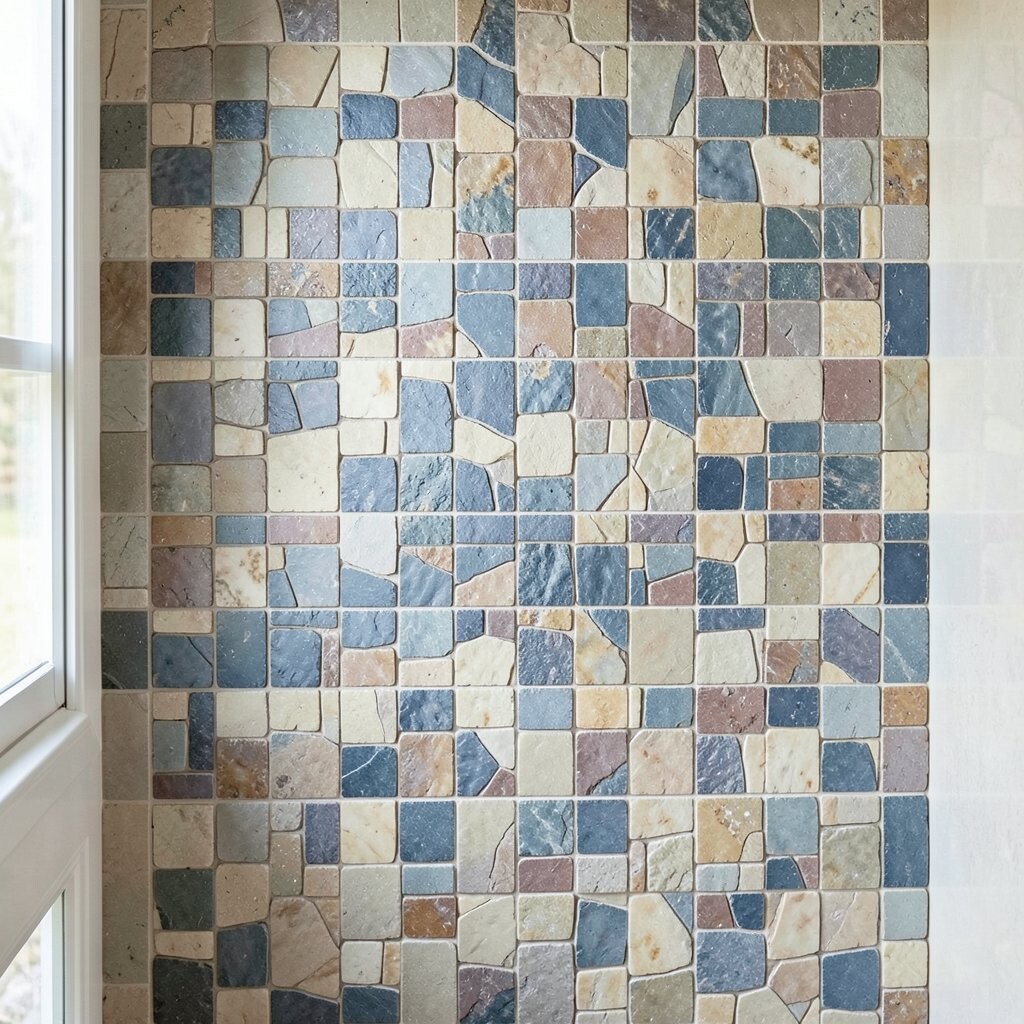
Use two tile colors and alternate them like stones skipping across water. The simple contrast creates movement and looks great in both bright and dim rooms.
Cut or break tiles into irregular shapes so the pattern feels natural. Plan a curve with tape first, then place each piece like you’re building a gentle arc.
This is a practical hack because it limits decision fatigue and helps you estimate materials quickly. If you want it to look more designer, choose one color as the base and make the second color a few accents.
Personalize by adding a seasonal color for holidays, then swap it back when the mood changes.
10. Cover One Outlet or Switch Trim Like a Mini Mosaic
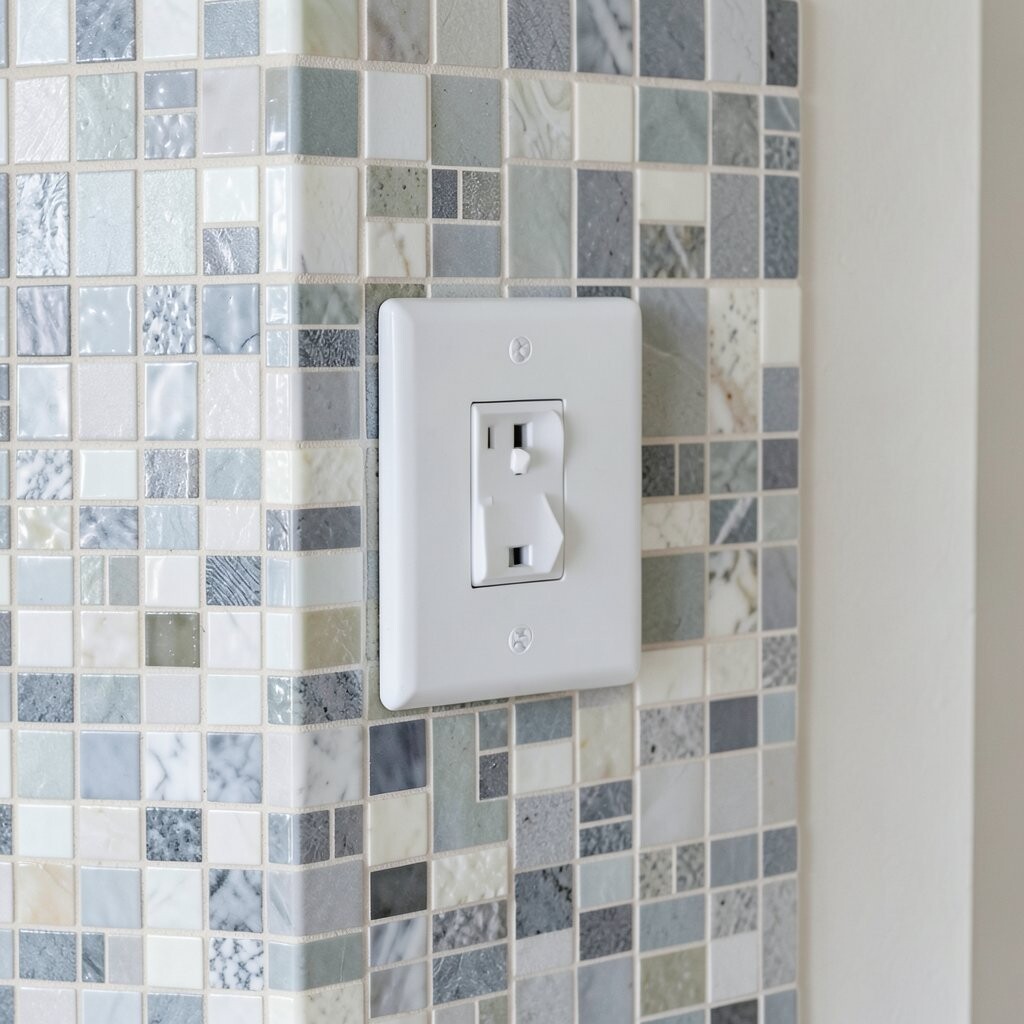
Instead of leaving trim plain, wrap a small area around an outlet or switch with mosaic tiles. When done carefully, it adds charm without needing much square footage.
Turn off power and work slowly so everything stays safe. Use a backing or border that matches the shape, then press tiles so edges align with the existing cover plate.
For a tidy finish, keep grout to a minimum and wipe as you go. This hack is also budget-friendly because you only need small amounts of tile and adhesive.
To match current trends, lean into warm tones like terracotta and honey, which pair well with many decor styles.
11. Create a Message Strip Above a Desk or Shelf
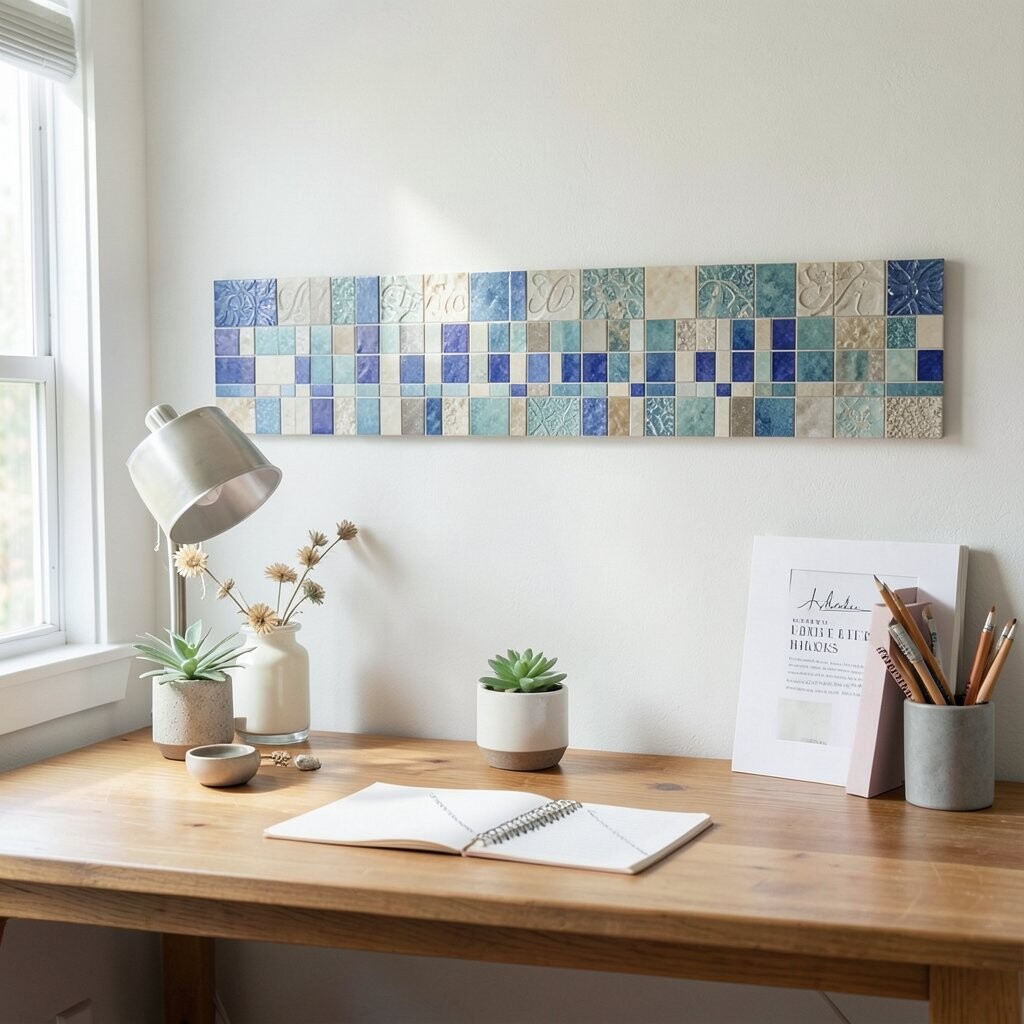
Write a short phrase using small tile segments, like a few words or just a single inspiring symbol. It feels like a handmade studio detail and adds personality to your work zone.
Keep the message narrow so it stays readable and doesn’t overwhelm the wall. Use tape to guide spacing, then press each tile firmly so letters stay straight.
If you want a clean modern look, use one font-like grid with uniform tile sizes. For a cozy style, mix tiny irregular bits and let the letters feel slightly organic.
Material costs stay low because you can use leftover colors and only tile the letters, not the whole wall.
12. Turn a Hooks Area Into a Functional Tile Catchment
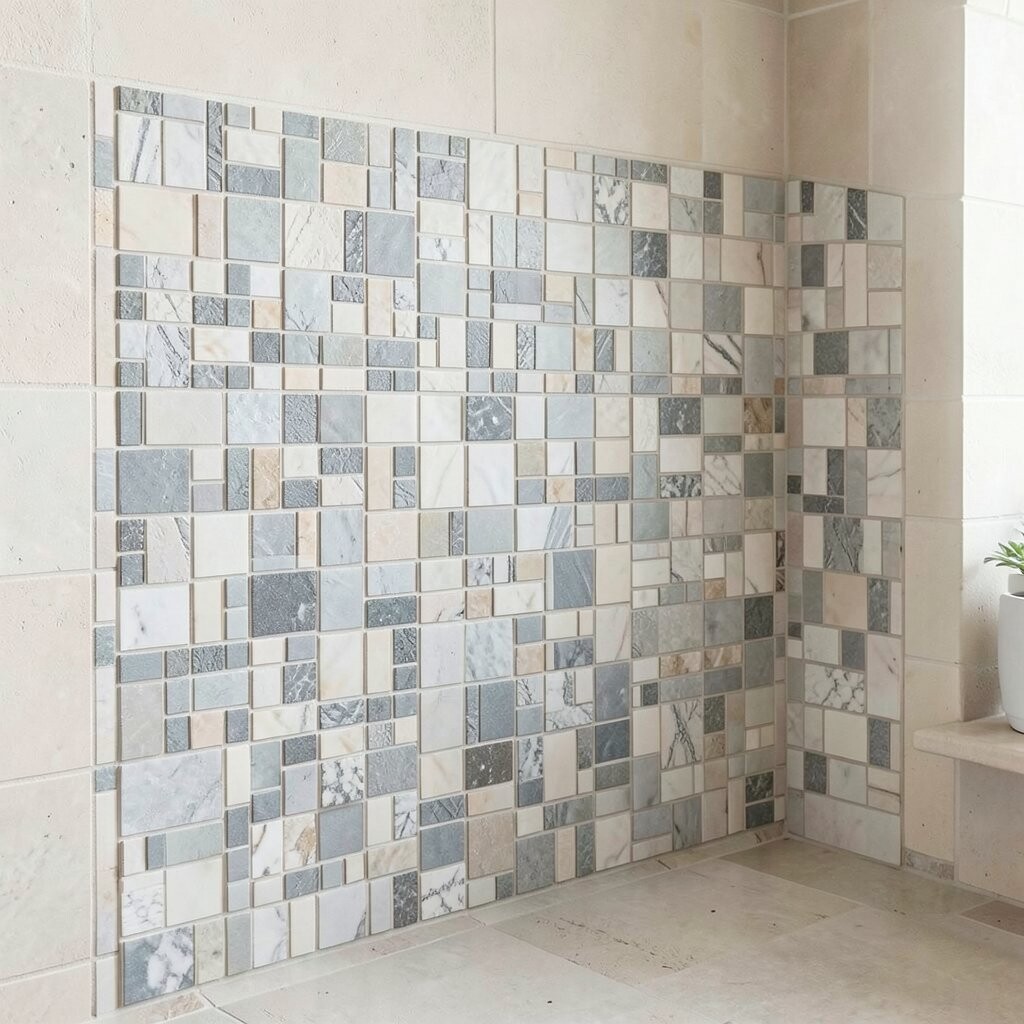
Make a small tiled landing zone under hooks so items look neat when they land. A mosaic area under your key hooks or scarf hangers keeps the spot visually tidy.
This hack helps your wall look styled and prevents scuffs from bags and daily use. Choose tiles that are easy to wipe, especially if the area gets splashy or muddy.
13. Add a “Framed Corner” Using Tiles at the Edge of a Shelf
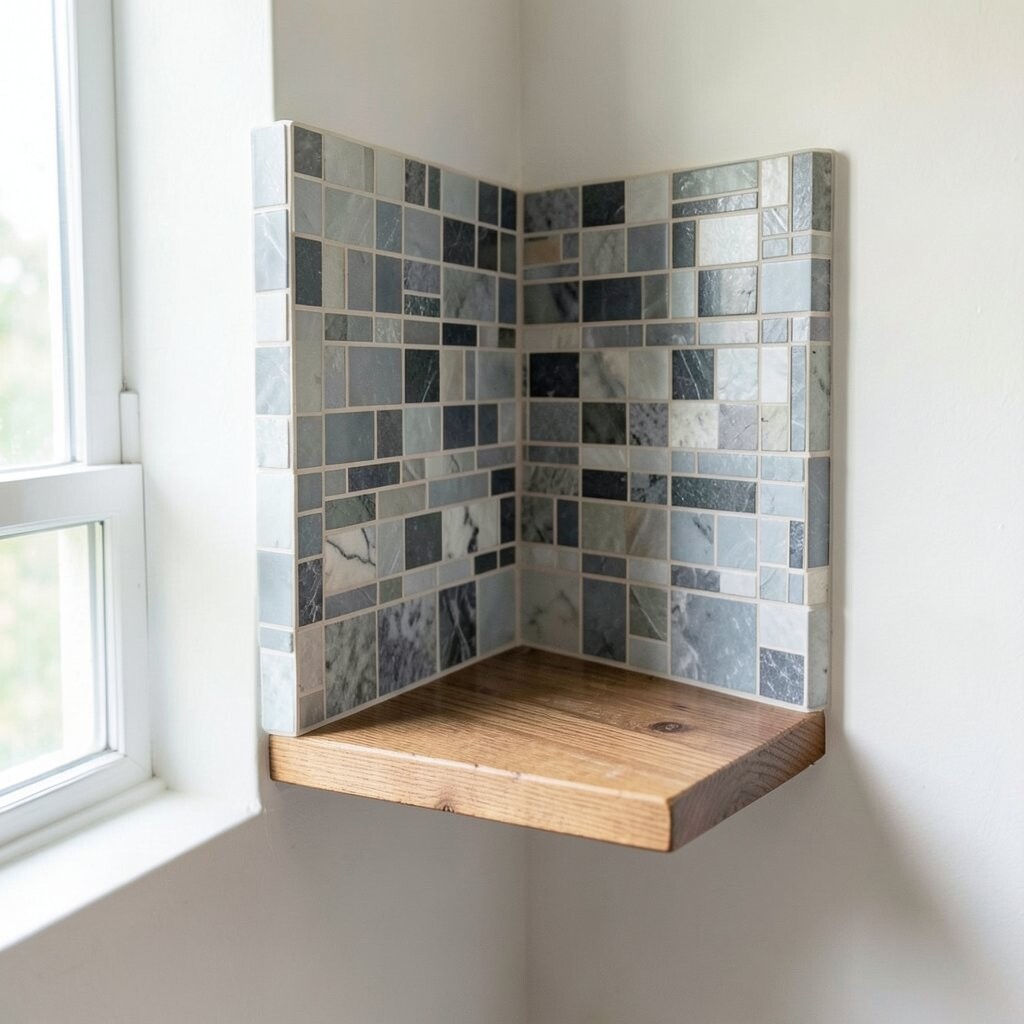
Create a corner accent by tiling just the outer edge of a shelf or ledge. The look is like a tiny architectural detail that makes the whole space feel finished.
Use consistent tile height and keep the line straight so it reads as a deliberate frame. For personalization, pick a color that echoes your backsplash or countertop.
Cost-wise, this is smart because you only need tiles for one strip. If you’re chasing a trending look, combine matte whites with a single metallic accent tile for subtle shine.
14. Make a Quick Texture Burst With Half Tiles
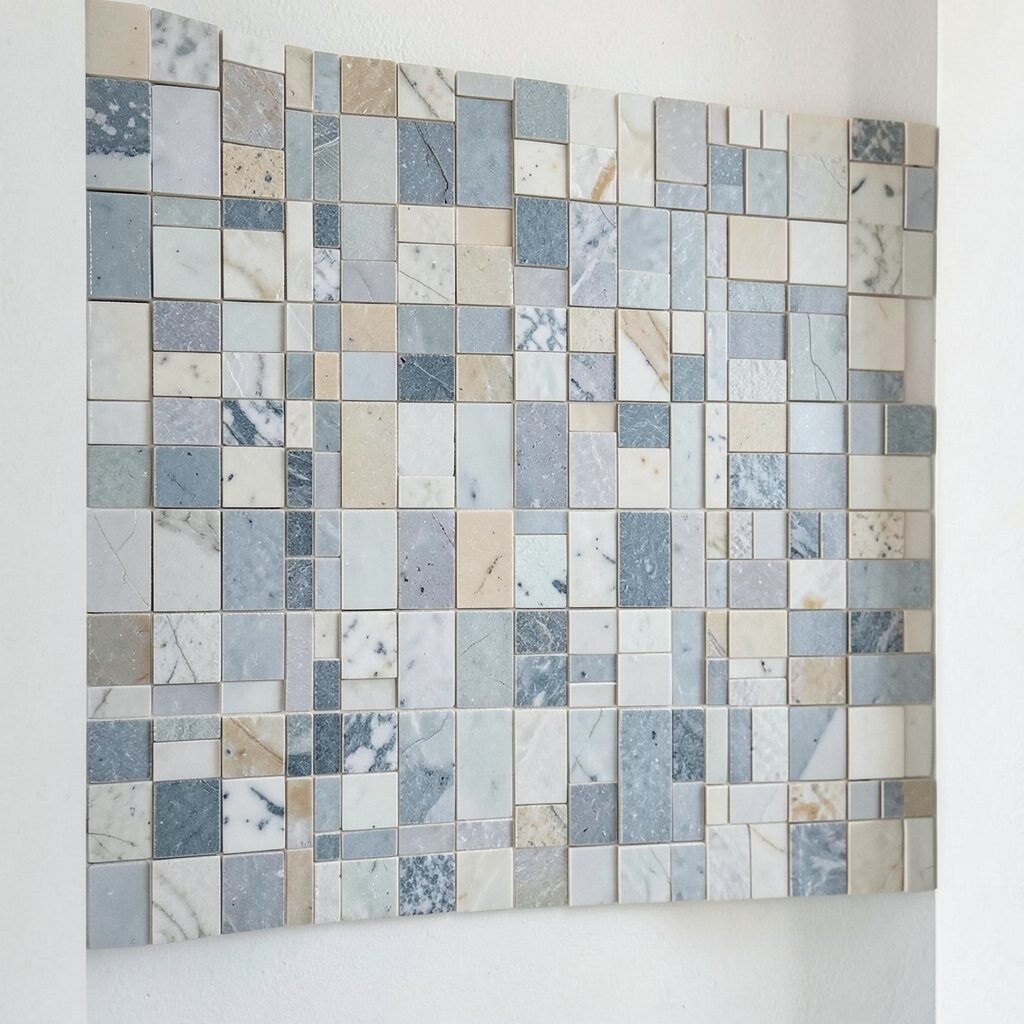
Place half-tiles like little steps that rise and fall across a small section of wall. The uneven height creates shadow lines that add depth without complex layout planning.
To do it fast, break tiles into halves beforehand and keep the pattern mostly consistent. Use the same orientation for many pieces so the burst looks intentional instead of random.
This uniqueness comes from texture more than color, so even leftover tiles can work. After it dries, use grout or filler lightly to keep edges smooth to the touch.
15. Create a Starry Pinboard With Tile-Capped Push Pins
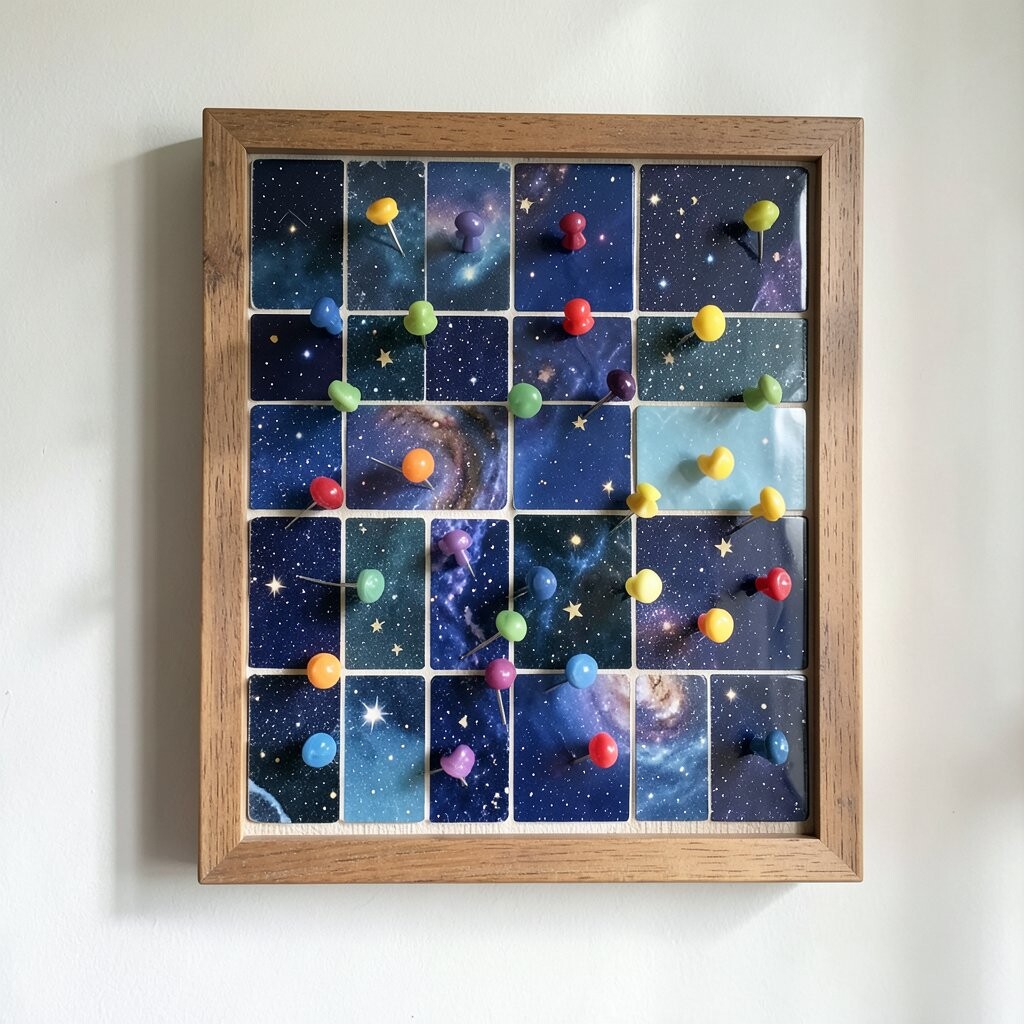
Turn a plain pinboard area into a mini mosaic highlight by capping small push pins with tile scraps. Each pin head becomes a tiny tile dome that looks playful and handcrafted.
Arrange them in a loose constellation shape so the wall feels whimsical but not messy. This hack is great for personalization because you can match your room theme with colors and glittery finishes.
For practical results, keep the pins clustered in one area so papers still hang easily. Choose durable adhesives and allow drying time so the tile caps stay secure.
16. Finish With a Color-Coordinated Seal for a “Store-Bought” Look
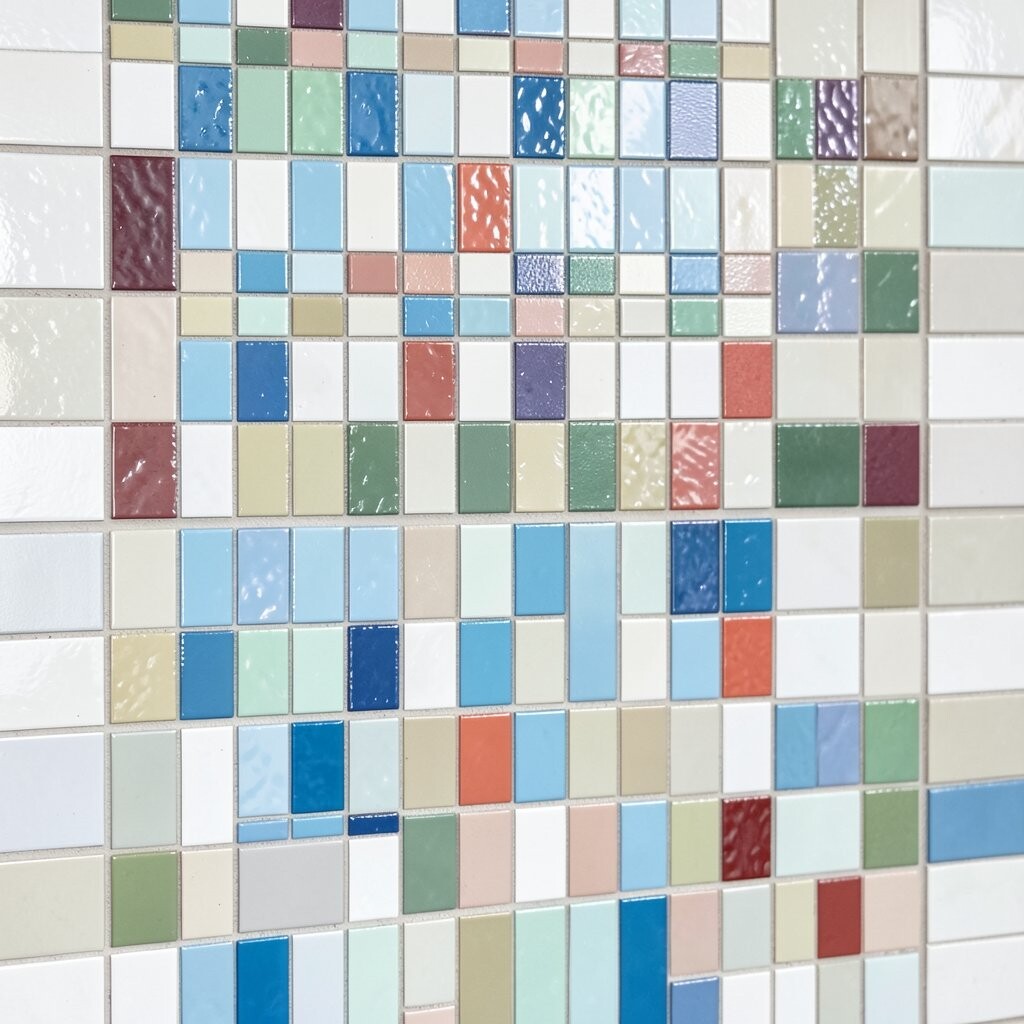
After your mosaic pieces are set, use a sealant in a finish that matches your tile style. A sealed surface makes grout look clean and tiles look more vibrant, like a fresh showroom job.
This finishing move also improves durability, especially in kitchens and bathrooms where walls get wiped often. When you plan the seal color, consider how it will blend with your wall paint and how it will look under your lights.
For cost considerations, check sample sizes at hardware stores because small amounts go a long way on small mosaics. Pick a trend-friendly finish like soft satin rather than super glossy if you want a modern, gentle look.
Personalize the final vibe by testing the seal on a spare tile first, then commit when you like how it changes the color.