
Walls can look amazing without fancy art skills. You can create murals that feel personal, playful, and totally doable.
1. Paint-By-Shape Stencils With Easy Grid Layout
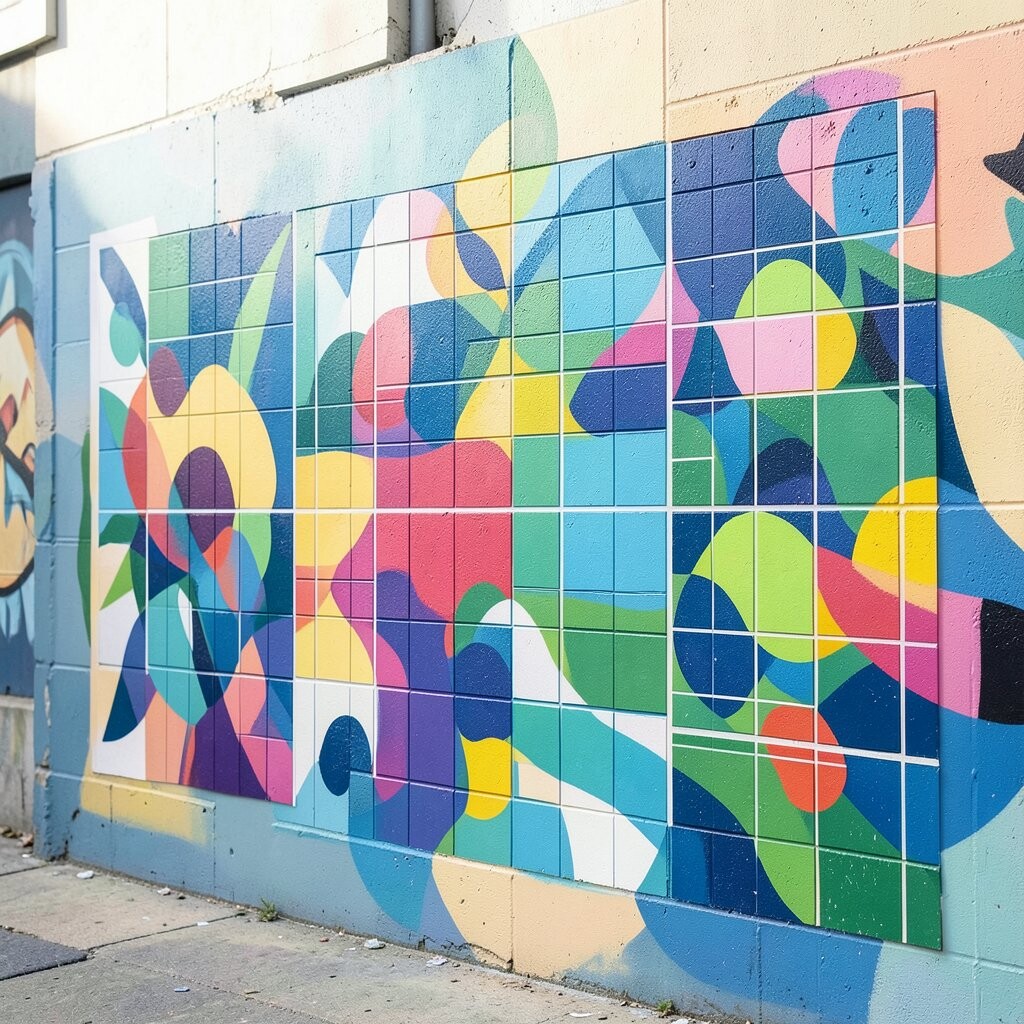
Start by drawing a light grid on the wall with chalk or washable marker. Then use simple shapes like circles, rectangles, and blobs as your “mural ingredients.”
Pick a small set of colors and paint one shape at a time using stencils or cut paper templates. This makes the final image clearer fast, even if your hand isn’t steady yet. Keep edges soft by dabbing a sponge brush instead of dragging a loaded brush. When you finish, you will see a neat pattern that still feels handmade and warm.
2. Tape Resist Ombre Borders for Clean, Dreamy Color
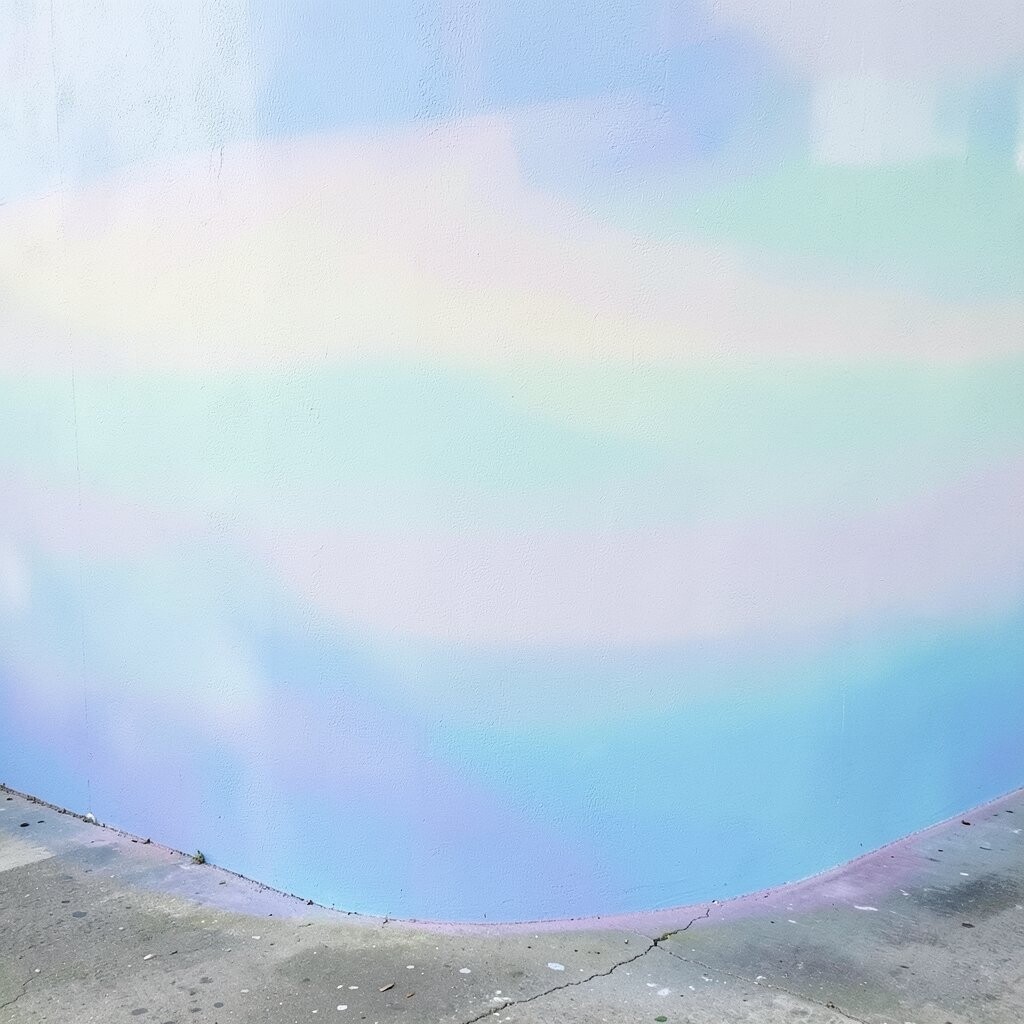
Use painter’s tape to create stripes or a border line where two colors meet. Paint a lighter shade first, then tape off the part you want to protect.
Now paint the next color and peel the tape while the paint is still slightly tacky for a crisp look. You get an ombre style gradient effect without needing to blend perfectly. For a current vibe, try natural sunset palettes like peach, coral, and deep terracotta. If you want it more personal, add tiny star dots along the border using a small brush and white paint.
Choose water-based interior paint if you need quick drying and easy cleanup. Plan around the wall size since bigger walls need more gallons than you expect. This technique stays budget-friendly because tape is cheap and you use only a few colors.
3. Sponge Texture Murals That Look Like Real Artwork
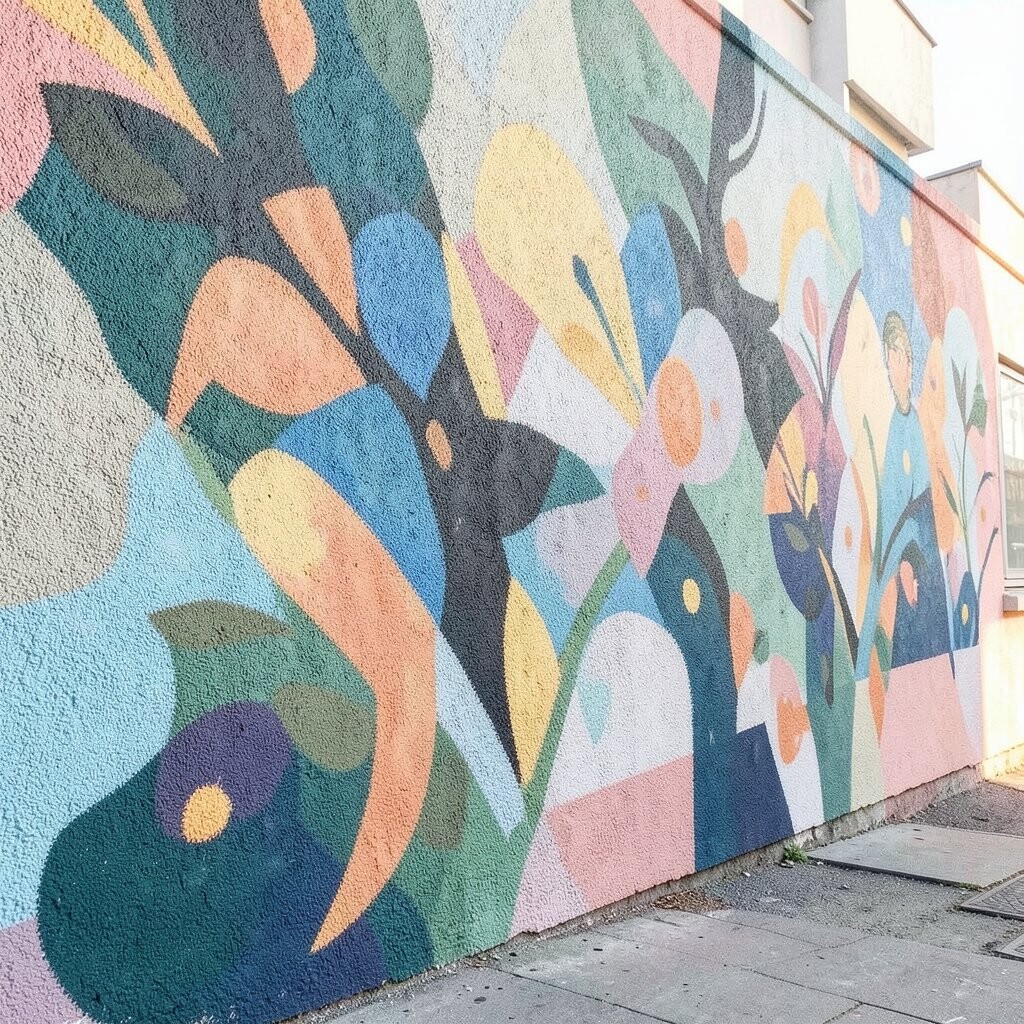
Instead of focusing on outlines, build your design with sponge layers. Dapple the wall with thick paint using a sea sponge or craft sponge to create a textured background.
Choose one main color and one accent color so the wall still feels organized. Stagger the sponge prints to form waves, clouds, or a dreamy sky. The rough texture hides small mistakes and gives your mural a professional feel. For uniqueness, switch sponge sizes and rotate the sponge often so no two patches look identical.
Lightly mist the wall with water if you want smoother edges. If you’re working indoors, protect floors with plastic and keep ventilation going. Many people love this look right now because it resembles mural paint finishes seen in modern cafes and bedrooms.
4. Projector Outlines for a Perfect Sketch Without Drawing Skills

Print a simple image you like, then use a projector to cast it onto the wall. Trace the main shapes with a pencil or chalk so you get an easy guide.
Paint over the traced lines with flat brushes, filling big areas first before adding details last. This helps you keep the picture aligned and gives you less guessing. For benefits, it speeds up the early stage when you might otherwise stare at a blank wall. If you want personalization, pick local symbols like a favorite plant, a pet silhouette, or a neighborhood landmark.
5. Color-Block “Badges” Inspired by Street Art

Draw or tape simple badge shapes like circles, hexagons, and shields on the wall. Fill each badge with a different color and keep your edges bold.
Add one-line designs inside the badges using a small brush or paint marker. Think of icons like a lightning bolt, a leaf, a wave, or a tiny face. This style is popular because it looks like wearable graphic art, but scaled up. Keep it cohesive by using a limited palette and a consistent outline color, such as black, navy, or cream.
If you are cost-conscious, use craft acrylics or leftover house paint. You can also mix a custom shade by blending two small test jars. Let each badge dry before stacking more paint so the wall stays clean and not muddy.
6. Paint Roller Clouds and Sunbursts for Big Impact

Get a foam roller and load it with a single bright color. Roll broad cloud shapes or wide sunburst rays, then switch to another roller for the next layer.
Because rollers cover large areas quickly, the mural looks dramatic even with simple forms. Make the sunburst by starting from a center point and sweeping outward with confident strokes. Leave some wall space showing so the rays feel airy, not crowded. For a unique touch, use a dry-brush technique to soften the edges after the paint sets.
Rollers are inexpensive, and you can reuse them for multiple rooms if you clean well. Current trends favor bold, graphic weather themes like sunsets and cloud gradients. Personalize by matching the colors to your room fabrics or the season in your area.
For the cleanest lines, mask the boundary with painter’s tape and peel it after the paint is partly dry. This helps prevent tearing and keeps edges crisp without extra work.
7. Household-Sponge “Marbling” With Two Shades

Mix two paint colors in separate cups, then lightly dab them onto a sponge. Press and twist the sponge against the wall to create swirling marbled patterns.
You don’t need perfect control because marbling forgives small differences. Add a third color only in small accents so the design stays balanced. This technique is visually satisfying because it looks like stone, clouds, or retro candy. For personalization, use your favorite colors and keep the marbling concentrated in a focal area like behind a chair or bed.
To keep costs low, mix small batches and test first on cardboard. If you’re painting in an apartment, use low-odor, water-based paints and protect surfaces with a drop cloth. Marbling is trending in many DIY murals because it feels modern and playful without requiring drawing skill.
8. Chalk-Line Perspective Street Scene Without Complex Skills

Use a chalk line to create perspective lines that pull the eye into a scene. Start with one horizon line, then draw angled lines that meet at a point.
Fill in simple building blocks along the lines using rectangles and triangles. Add windows as small squares, and paint a road stripe with a steady hand or painter’s tape. The perspective grid does much of the hard work for you, and it makes even simple shapes look deep. For benefits, it creates a sense of space and makes a wall feel bigger.
Choose a theme that fits your home, like a seaside walkway, a cozy alley, or a fantasy village. Keep the colors muted if you want calm, or go bold if you want energy. If you want a uniqueness boost, add one oversized element like a giant bicycle wheel or a floating lantern.
9. Faux Tile Panels With DIY Frame Tape

Make a grid of “tiles” using painter’s tape and paint each section a slightly different shade. You can also paint alternating colors so it looks like real ceramic work.
For the faux grout look, use a thin paint brush or sponge dipped in a contrasting color to lightly wash the tape lines. This gives a neat, tiled finish even if you’re not installing anything. The benefit here is realism without any masonry or heavy materials. It also helps you plan the mural visually because the wall becomes a set of small paint tasks.
To personalize, select tile colors that match your room style, from Mediterranean terracotta to modern monochrome. Cost stays manageable because tape is cheap and you can use budget paint. This look fits current decor trends like vintage bathrooms, kitchen backsplashes, and boho patterns.
Let each panel dry a little before peeling tape if you want sharper tile edges.
10. Dry Brushed Leaves and Branch Silhouettes

Paint the background first, then add branches and leaf shapes using dry brushing. Load a brush lightly, wipe off most paint on a paper towel, and lightly sweep onto the wall.
Because the paint is sparse, it creates a natural, feathery look that hides uneven spots. Make leaf clusters by dabbing near branch lines rather than painting every single leaf detail. This technique gives a calm organic mood and feels like painted nature art. For uniqueness, try a layered silhouette where one branch overlaps another with a different shade of green or a warm brown.
If you want personalization, choose plants you recognize, like palm leaves, eucalyptus-inspired shapes, or simple ivy. Keep costs down by using a small set of greens and browns rather than buying many new colors. Dry brushing is a modern mural favorite because it looks textured and soft, not rigid.
11. Paint Marker Scribble Calligraphy for Instant Personality
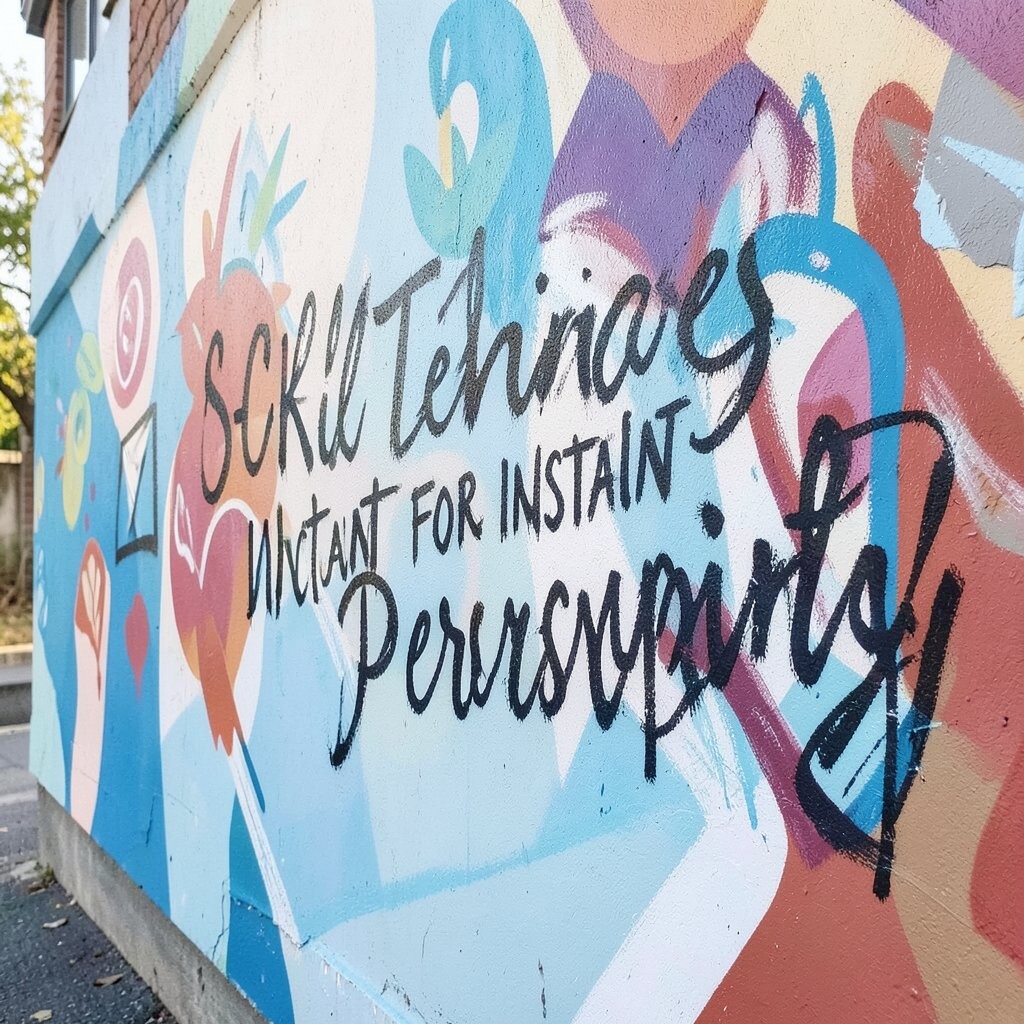
Pick a short phrase or a single word that matters to you, like “home,” “breathe,” or a favorite name. Sketch the letters very lightly with pencil, then go over them with thick paint markers or a small brush.
Now surround the letters with scribbles, dots, or mini doodles that match your theme. This method is forgiving since artistic imperfections look part of the style. The benefit is speed, because lettering can be done in one session. For personalization, choose your family’s favorite colors or align the doodles with hobbies like music, skateboarding, or gardening.
Markers are convenient, but cost can add up, so use them for accents and rely on paint for the bigger areas. Keep a few extra marker tips on hand, especially if your wall is large. This trend feels lively in many homes because it blends mural art with everyday personal expression.
Press lightly at first, then add stronger strokes once you feel confident.
12. Stacked Paper Cut-Outs for a 3D Look Without Real 3D Materials
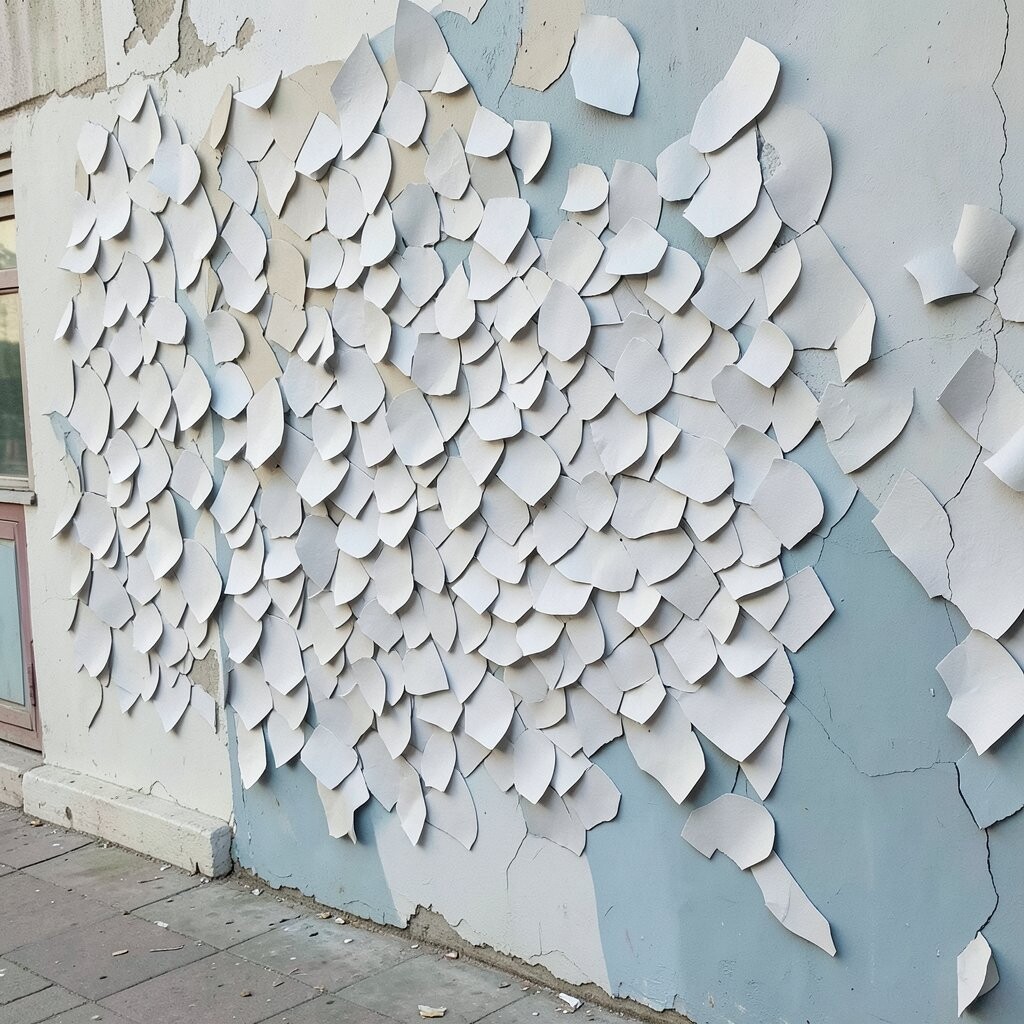
Create a layered effect by painting around cut-out shapes that you move as you work. For example, paint a background color, remove a paper leaf shape, and then paint a different color behind it.
Repeat this with several layers, changing colors each time to mimic depth. The wall feels dimensional because the negative spaces shift and overlap. This technique offers uniqueness without complicated tools. It’s also practical because you can reuse the same templates across different sections of the wall.
For personalization, cut symbols that match your story, like a star for a new baby, a fish for a family love of fishing, or a music note for a musician. For cost considerations, use cardboard, leftover cardstock, or old cereal boxes for templates. This approach fits current mural trends that favor layered, collage-like visuals seen in modern design studios.
Keep your edges neat by pressing paper cut-outs flat and letting paint dry slightly before removing them.
13. Masked Circle Ripples With Budget Paint Swatches
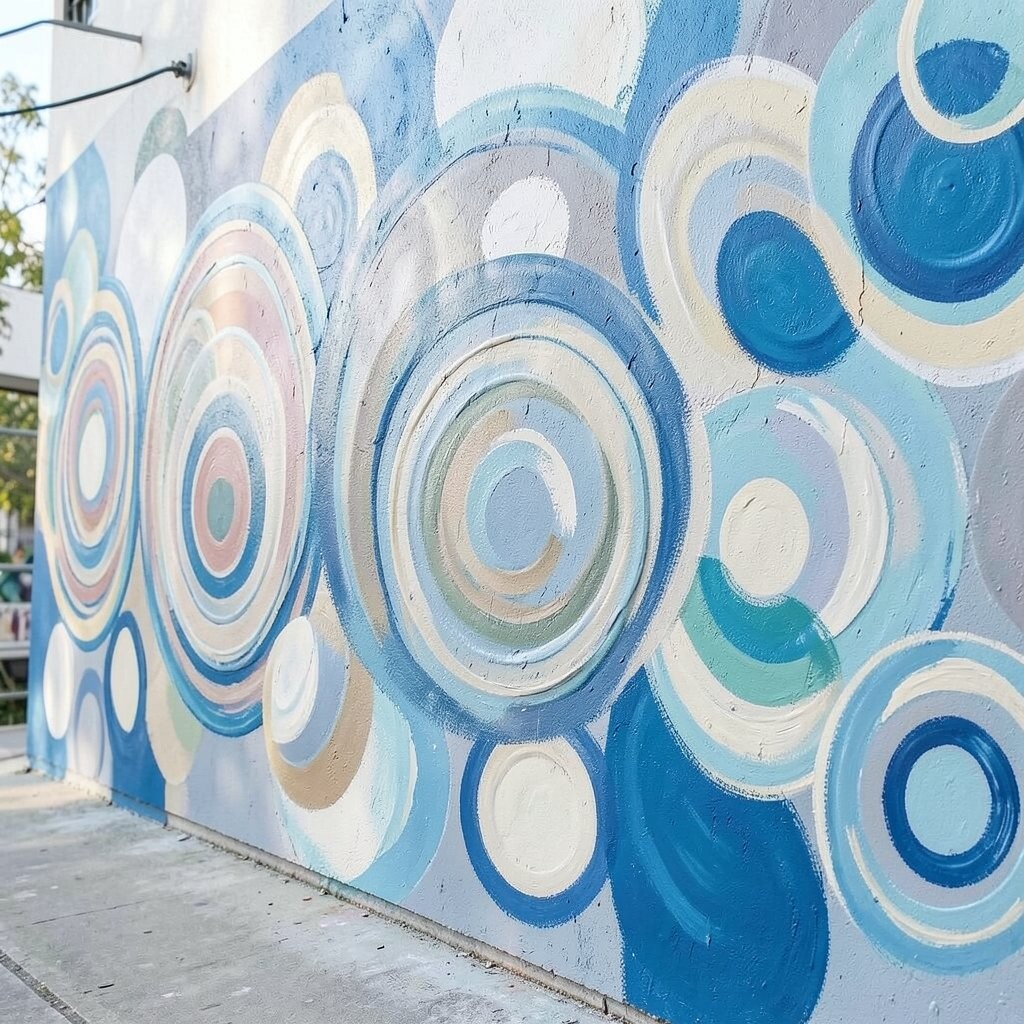
Paint a base color, then use cheap painter’s tape to form concentric circles. Add inner rings with slightly different shades so it feels like ripples in water.
Use paint swatches from home stores as your palette if you want low-cost color matching. This helps you keep the color story consistent across the wall. When you peel the tape, the circle lines look sharp and satisfying, like a design printed on fabric. For benefits, this is easy to scale because circle spacing becomes your guide for the whole mural.
To personalize, choose circles of different sizes and break one ring with a different color for an unexpected pop. Keep the mural modern by using a limited neutral palette with one bright accent, like teal, lime, or bright yellow. This style is trending because it creates calm, mesmerizing motion on walls without looking busy.
14. “One-Evening” Gradient Backdrop With Brush and Ruler Guides

Choose two or three colors and plan a simple gradient direction using a ruler line. Paint the lightest color first and work down or across, keeping your strokes steady.
Use a wide brush and make overlapping strokes so the paint stays smooth. If you’re worried about blending, use a clean dry brush to soften where colors meet while the paint is still wet. This gives you a smooth backdrop that makes any artwork or furniture look better. For uniqueness, add a subtle pattern on top, like light waves or small repeating triangles using painter’s tape.
Keep cost in mind by purchasing a small sample set and testing colors on cardboard. Gradient murals are currently popular because they match modern minimal interiors and also work in bold settings. Personalize by using room-friendly hues, such as warm beige and muted blush for cozy spaces or crisp blue and charcoal for a fresh look.
Clean up fast with water-based supplies if you can, and protect the floor with a drop cloth so you can enjoy the process.