Fabric wall panels can make a room feel instantly softer and more finished. But a few common slipups can turn that cozy look into a frustrating mess.
Choosing the right approach matters, especially when you want clean lines, solid mounting, and a style that feels uniquely yours.
1. Ignoring Wall Conditions Before You Start
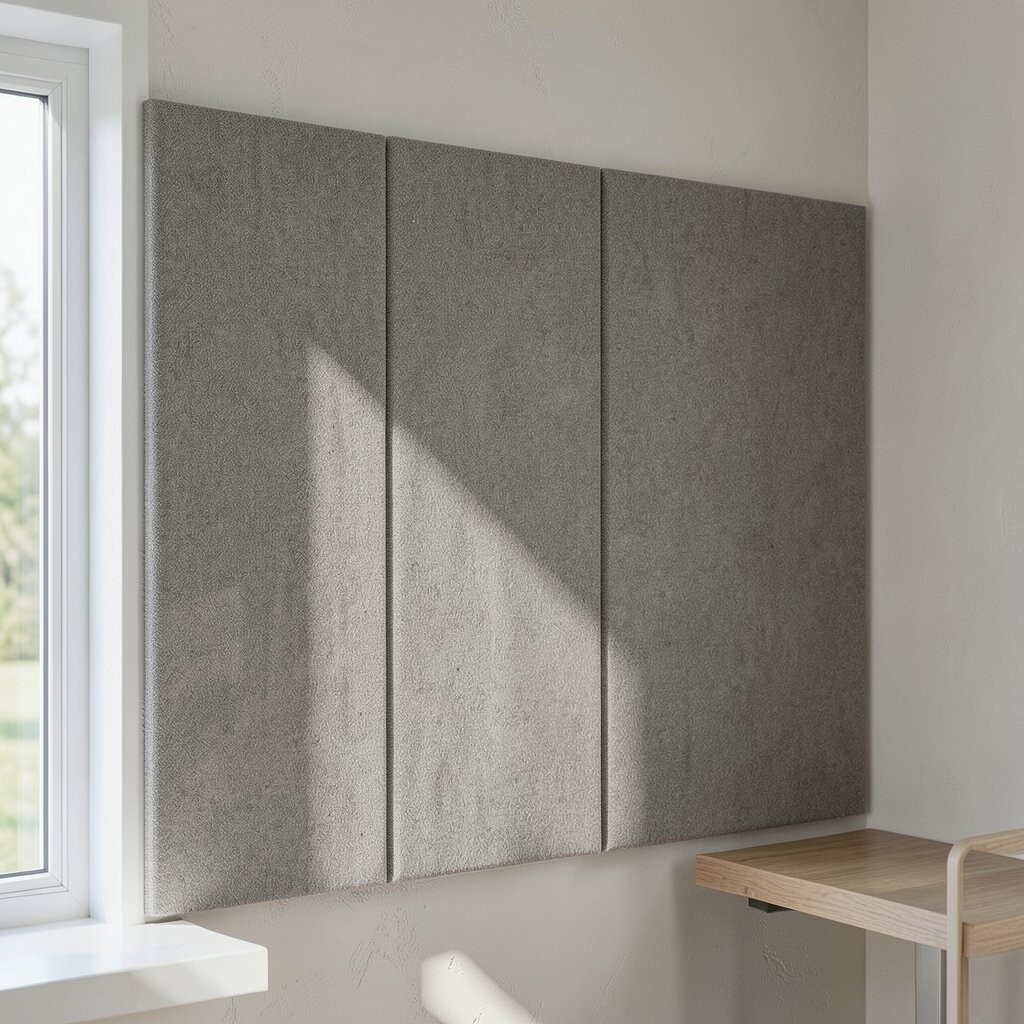
Before you hang a single panel, look closely at your wall like you’re spotting details in a favorite photo. Uneven drywall, loose paint, dents, or old patches can show up as gaps or bumps once the fabric is up.
Spend time checking for flatness with your hand and with a straight edge if you have one. If the surface feels dusty or flaky, wipe it down and fix trouble spots first so the mounting system can hold confidently.
2. Skipping the Measurements and Layout Dry Run
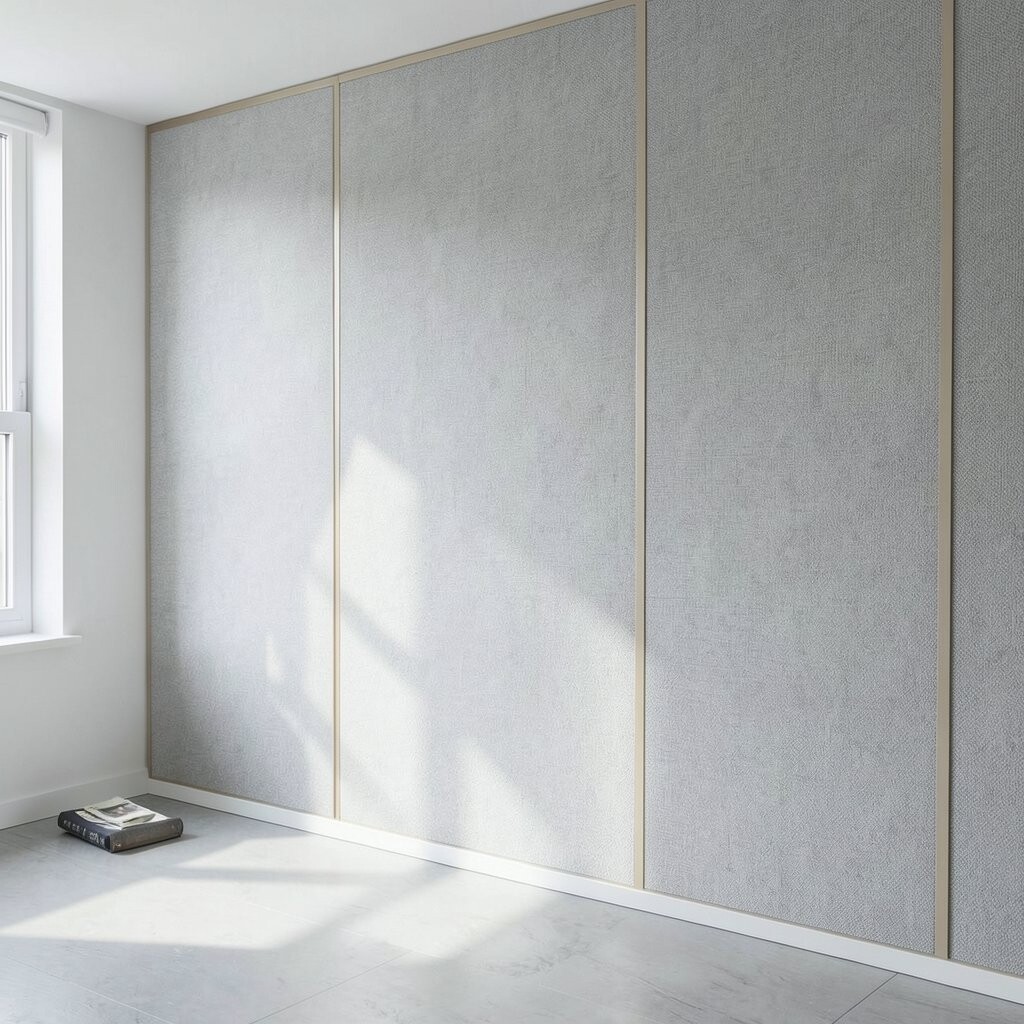
Fabric panels look best when the spacing feels intentional, not accidental. Skipping a layout dry run often leads to crooked seams, awkward panel sizes, or doors and vents that get ignored until it’s too late.
Use a measuring tape and mark reference lines on the wall so every row stays aligned. Then test the arrangement on the floor or against the wall with temporary tape to see how it will look from different angles.
Planning the layout also helps you decide where pattern changes should land and how to balance color across the wall for a more polished finish.
3. Mounting Without Matching the Panel Weight and Backing
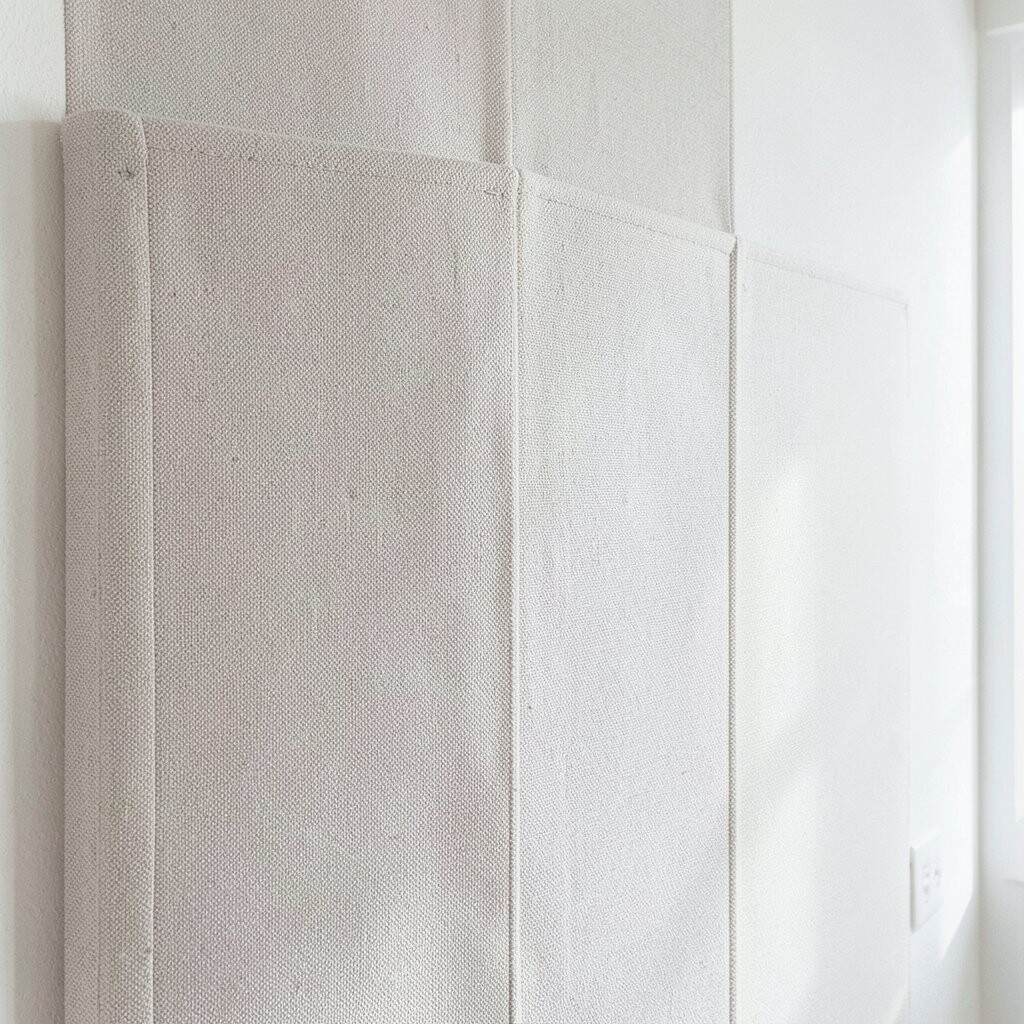
Not all fabric panels weigh the same, and not all backings behave the same. If you mount a heavier panel with hardware meant for something lighter, the results can sag or pull away over time.
Check what your panels are made to use, including the mounting method and any recommended attachments. Many systems work best when you match the fasteners to the backing type, whether it’s fabric stretch, acoustic backing, or a rigid frame.
When you choose the right mounting support, you get that smooth, premium look and the comfort benefits that make fabric walls special.
It can also help with sound absorption, so rooms feel calmer and less echoey without needing bulky upgrades.
4. Choosing the Wrong Placement for Natural Light and Privacy
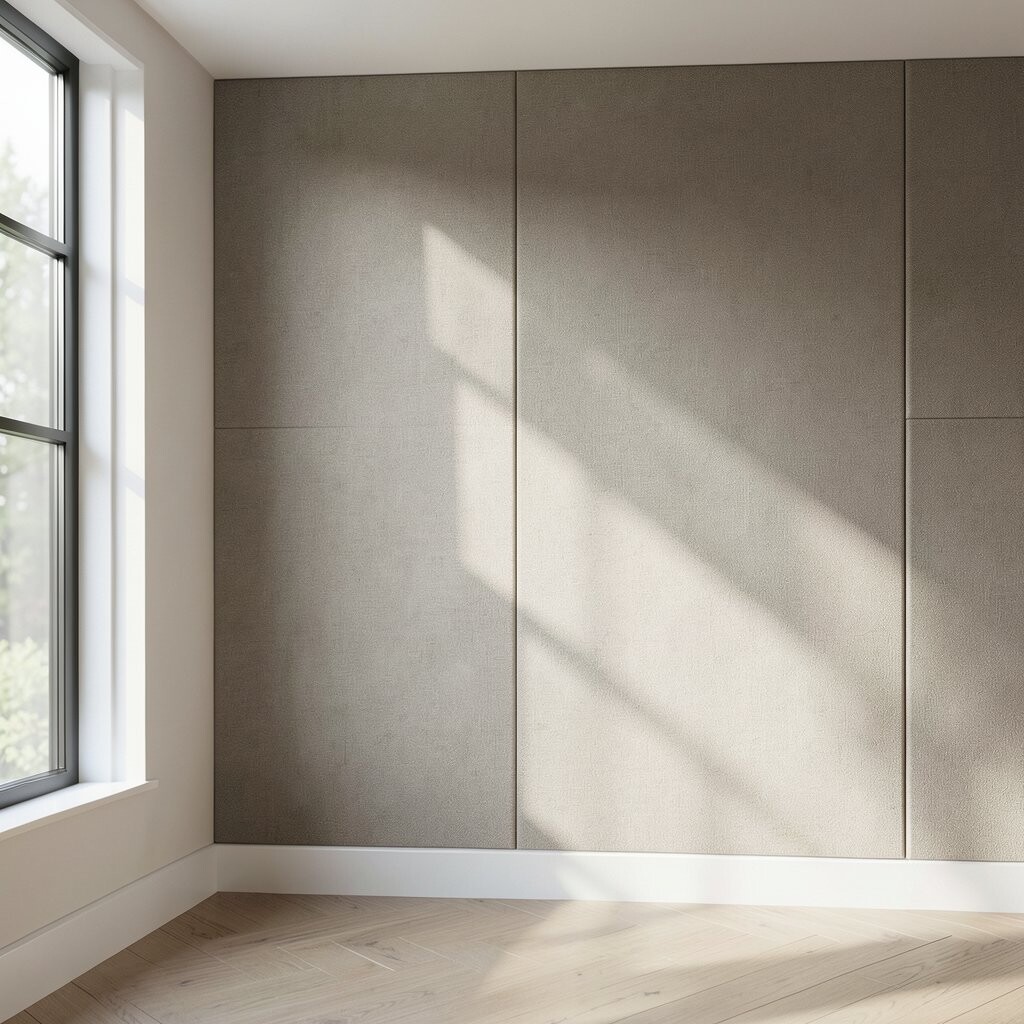
Where you place fabric panels changes how they feel during the day. Bright sunlight can fade some colors, and a panel placed in the wrong spot might not give you the privacy or softness you hoped for.
Notice where windows, lamps, and reflections land, then decide whether you want the fabric to soften glare or to create a warm backdrop for daily living. If your wall gets strong sun, pick a color that’s less likely to fade and consider lining up the design so it still looks great from both inside and outside the room.
5. Rushing the Alignment of Seams and Edges
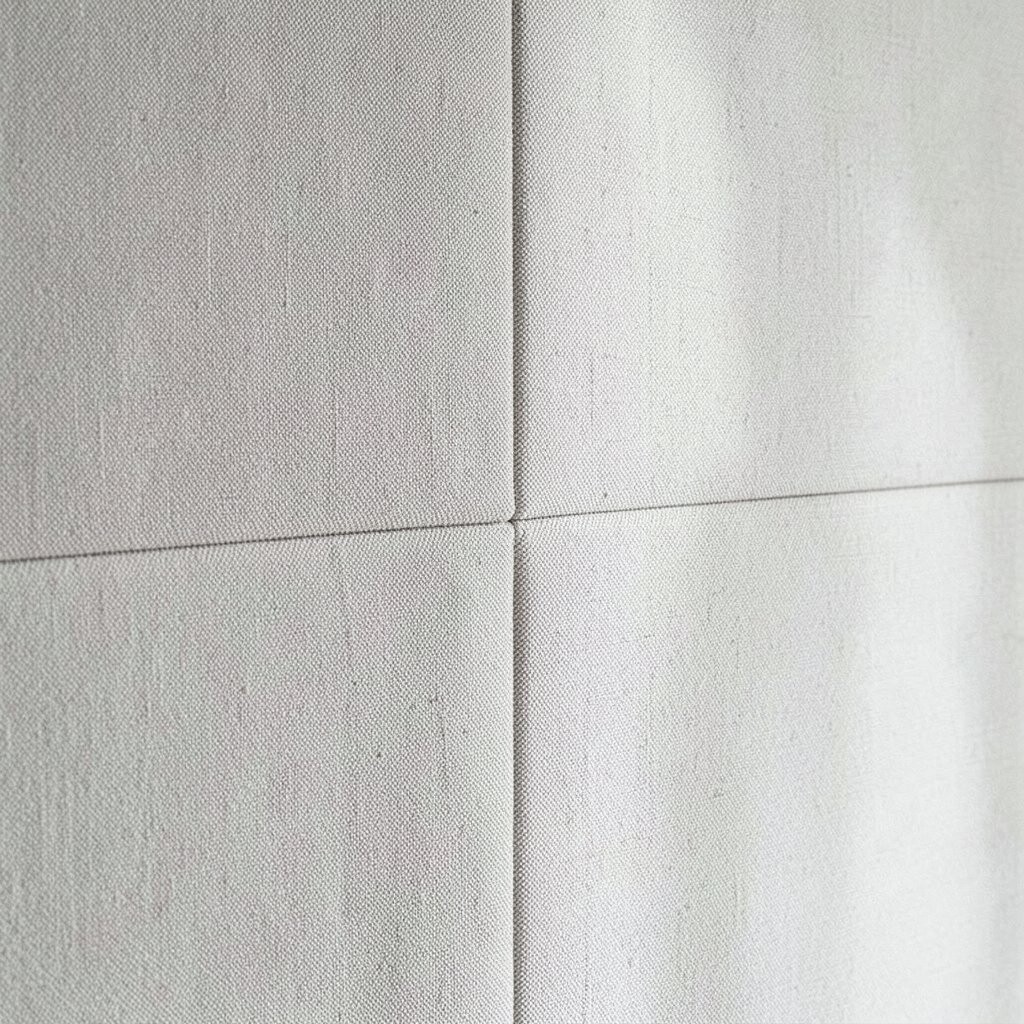
Fabric panels can be forgiving, but seams still matter because your eyes will find them. If edges don’t line up, the wall can look uneven even when the mounting is strong.
Work slowly and keep checking alignment as you go, especially at corners and near outlets. A quick trick is to use spacers or painter’s tape guides so every panel sits at the same distance.
When alignment is consistent, the wall looks custom-made, and the texture looks intentional instead of patchy.
6. Overlooking Stud Locations and Wall Anchors
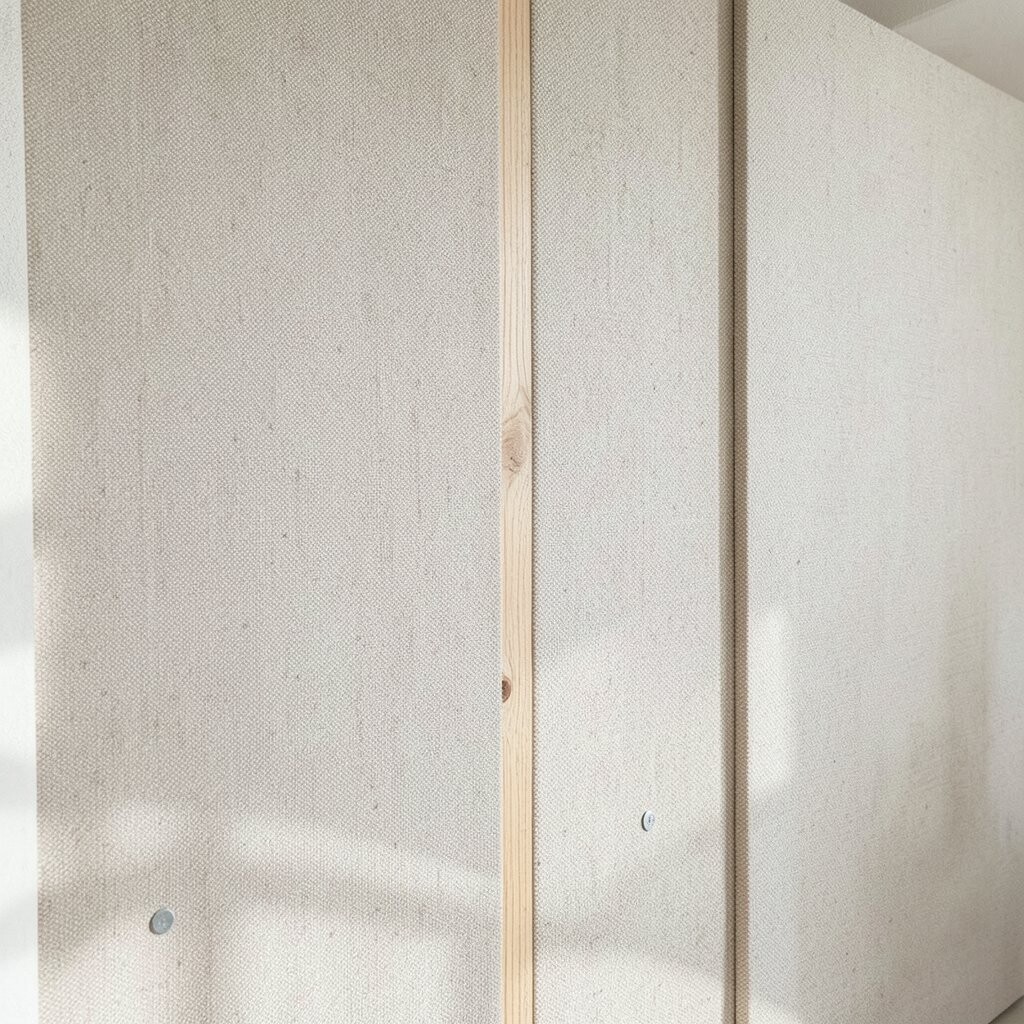
Strong mounting isn’t just about using hardware, it’s about using the right support in the right place. If you skip stud checks and rely only on drywall alone, panels can loosen, especially if someone leans on them.
Locate studs with a stud finder, then plan your mounting points so the load is spread where it’s strongest. When you truly need to mount away from studs, choose wall anchors made for your wall type and expected weight.
7. Using the Wrong Adhesive, Tape, or Fastening Method
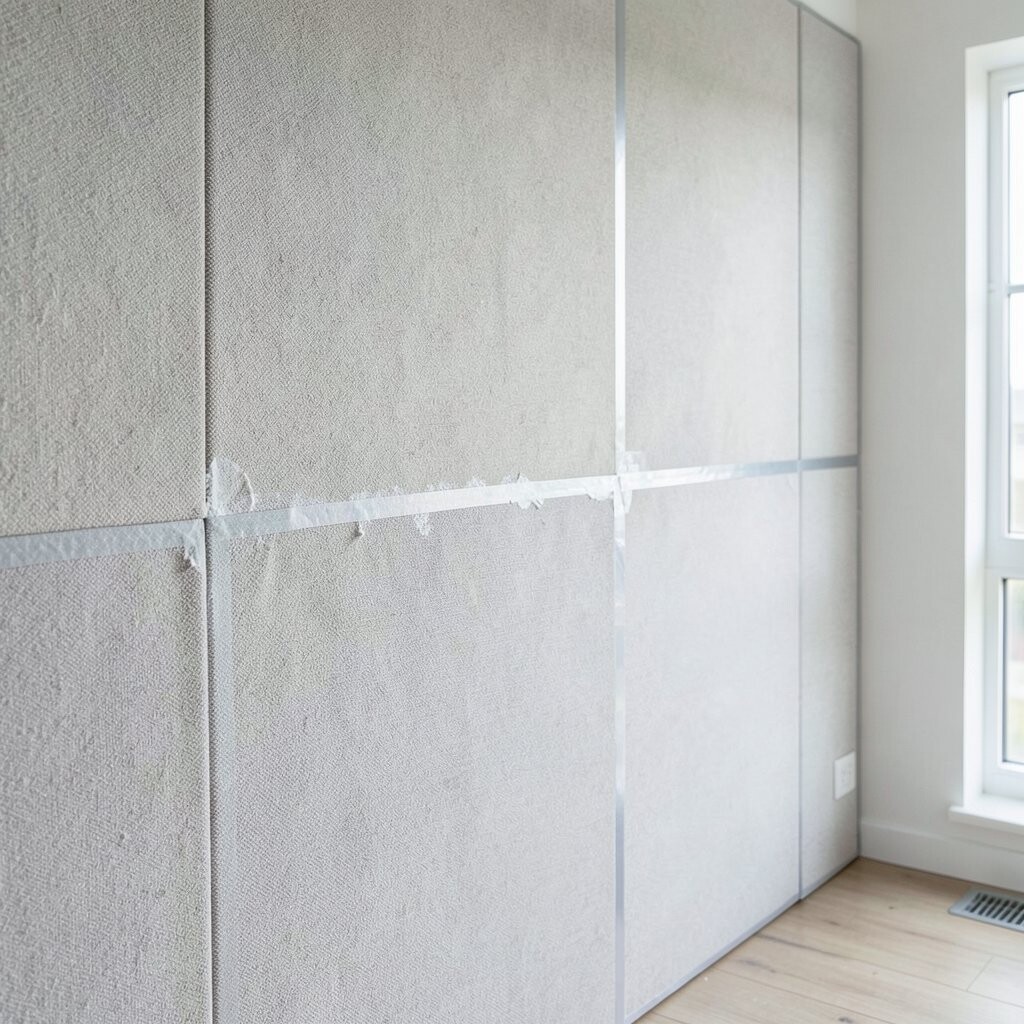
Fabric panels can be installed with different systems, but not every adhesive or tape is a good partner for fabric. Some products can leave residue, turn tacky, or fail when humidity changes.
Match the method to the panel’s instructions and to the surface finish, then test a small spot if you’re unsure. For example, a clean, primed wall often works better than a wall with glossy paint that doesn’t bond well.
When you use the right fastening method, you get a neat appearance and peace of mind that your panels will stay put.
8. Forgetting Ventilation, Heat Sources, and Electrical Details
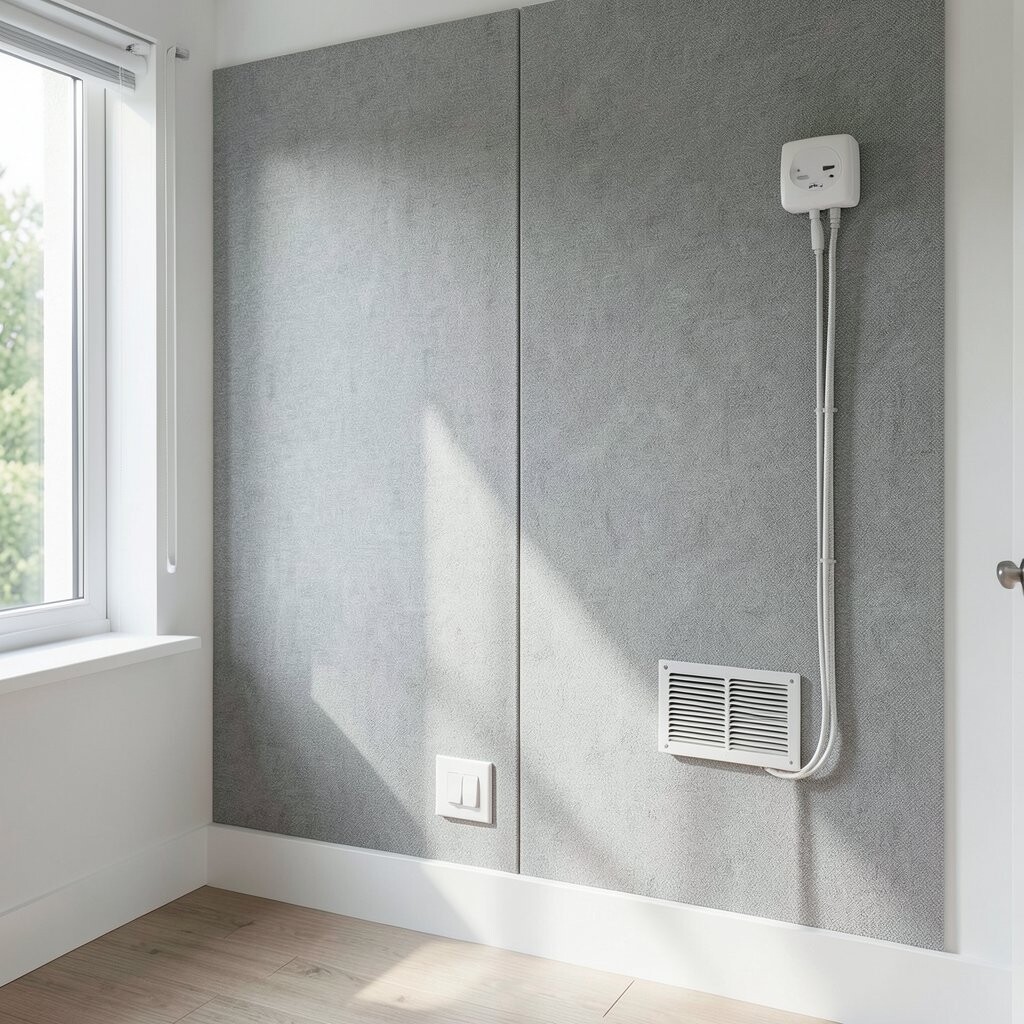
Hiding cables and outlets is part of the fun, but it’s also where mistakes happen. If a panel sits too close to a heat source or blocks airflow, you can create issues that show up later.
Plan around vents, light switches, and outlets early so you can cut or route clean openings. Keeping safe spacing and cable slack helps the panels look smooth while still being practical for everyday use.
Thoughtful electrical placement also makes the wall feel designed, not hacked together.
9. Cutting Fabric Incorrectly and Creating Frayed Edges
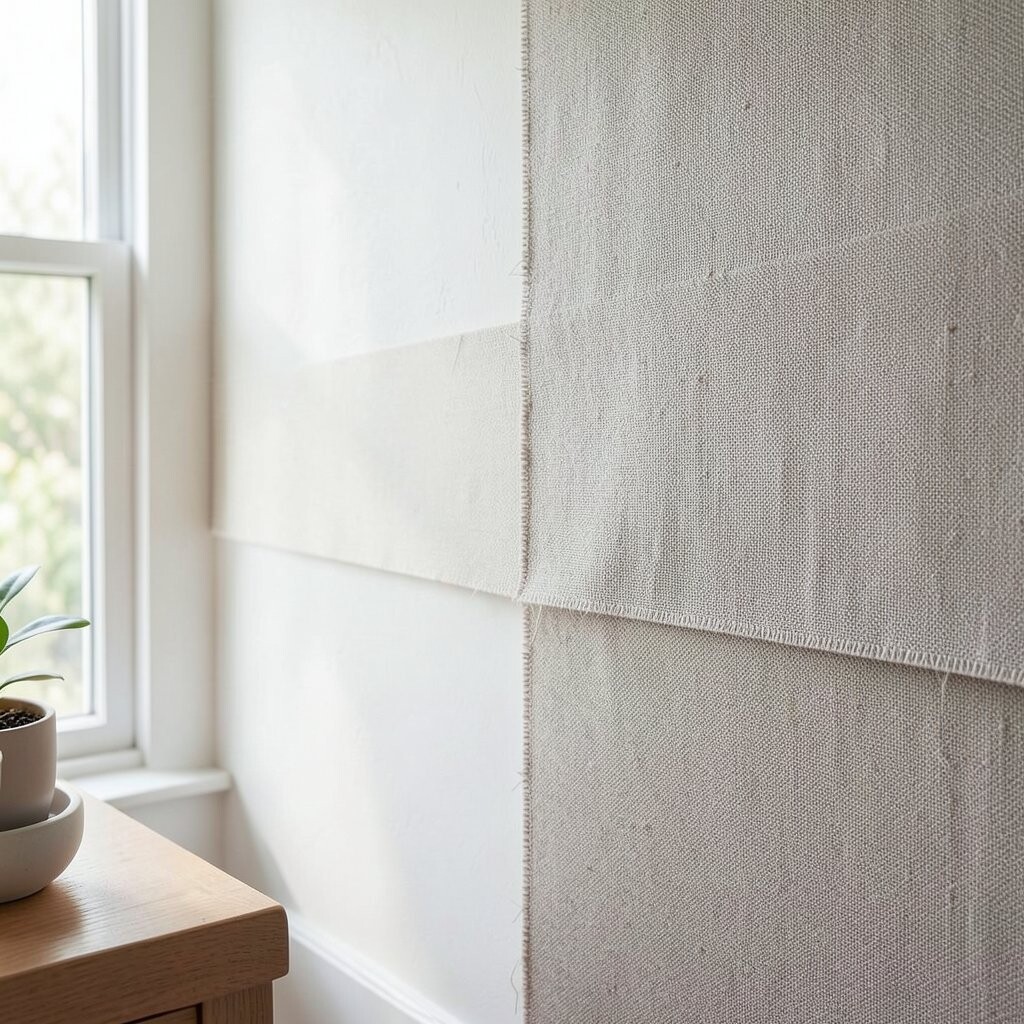
Cutting fabric panels takes patience because the edges are what you’ll see up close. If you rush the cut, you may end up with fraying, uneven lines, or a messy opening around outlets.
Use a sharp blade and take your time, then protect edges if your panel system calls for it. Measuring twice and marking lightly helps you follow the fabric grain and keeps cuts straight.
Clean edges make the installation feel high-end, which is a big part of the fabric panel’s unique appeal.
That tidy finish is also where sound-dampening benefits can feel more consistent, since the panel sits as intended.
10. Ignoring Spacing for Expansion, Humidity, and Seasonal Changes
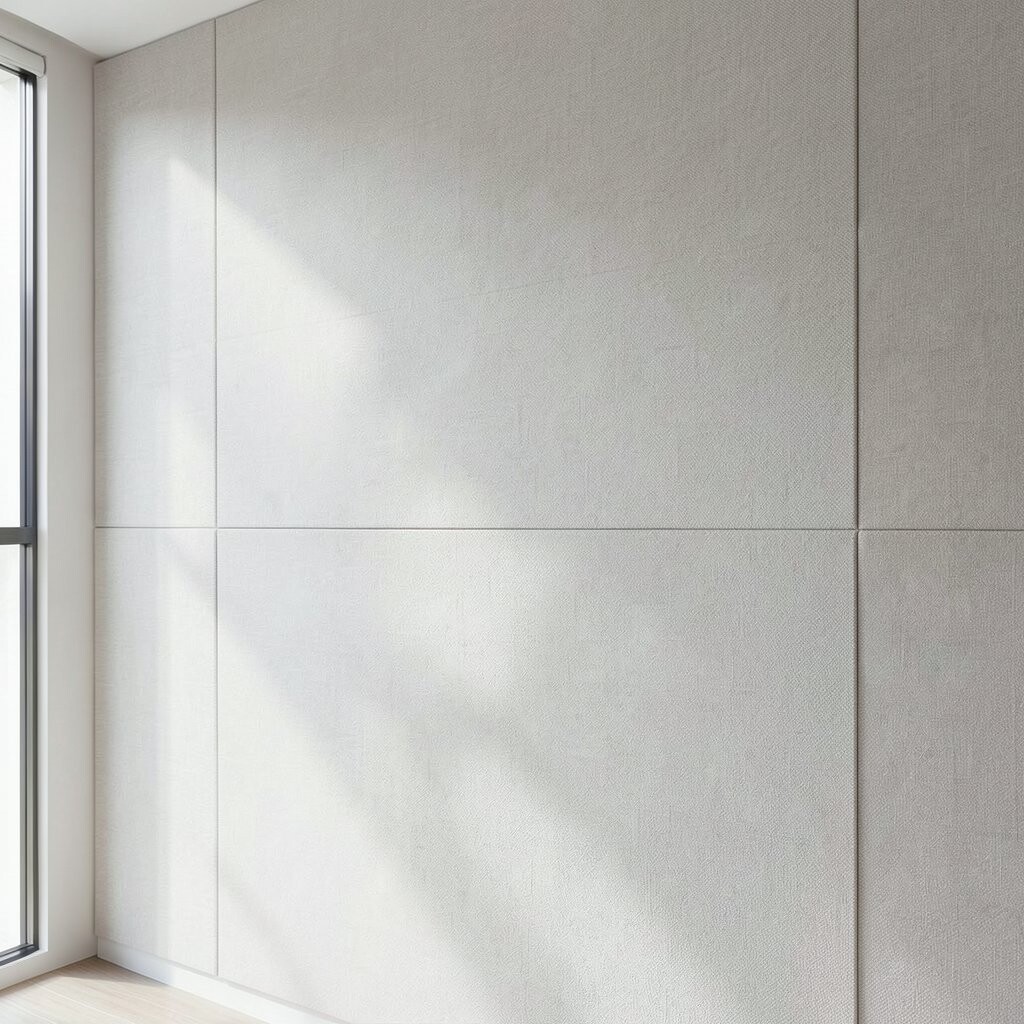
Fabric and backing materials can react to room conditions, even if they look stable. A wall installed too tightly can shift when humidity changes, leading to wrinkling or slight separation.
Give the system the room it needs by following any spacing guidance that comes with your panels. Keeping the installation within the recommended temperature and humidity range helps the wall settle naturally.
11. Choosing a Style That Doesn’t Match the Room’s Mood
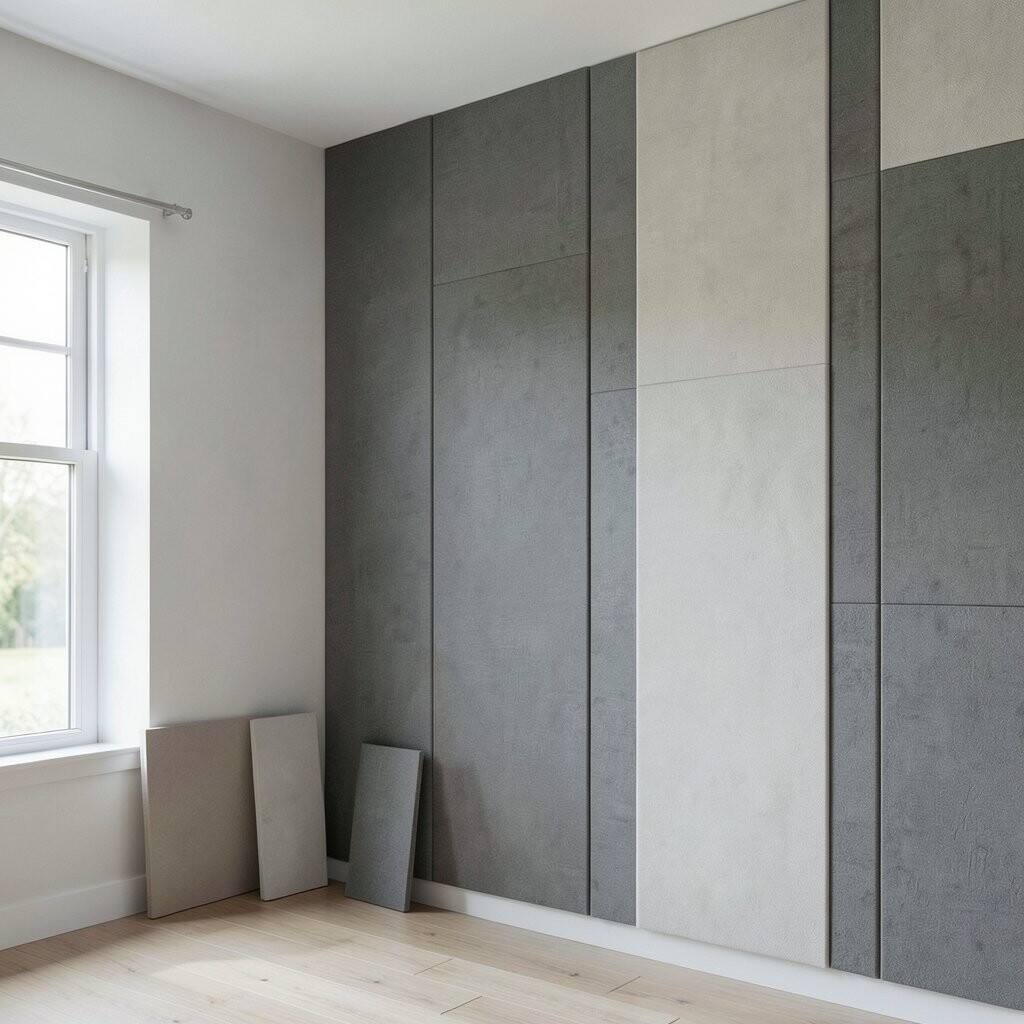
Fabric panels look gorgeous, but the wrong texture or color can fight the room instead of helping it. A cool gray may feel harsh in a cozy space, while a bold pattern can overwhelm a small room if it’s not balanced.
Think about the vibe you want, like calm for a bedroom or energy for a home office. Pair fabric tones with your existing materials, such as wood, metal, or stone, so the wall feels cohesive rather than random.
Personalizing is where the magic happens, like mixing panel sizes for rhythm or choosing a subtle gradient for a modern look.
12. Underestimating the Time Needed for a Clean, Professional Finish
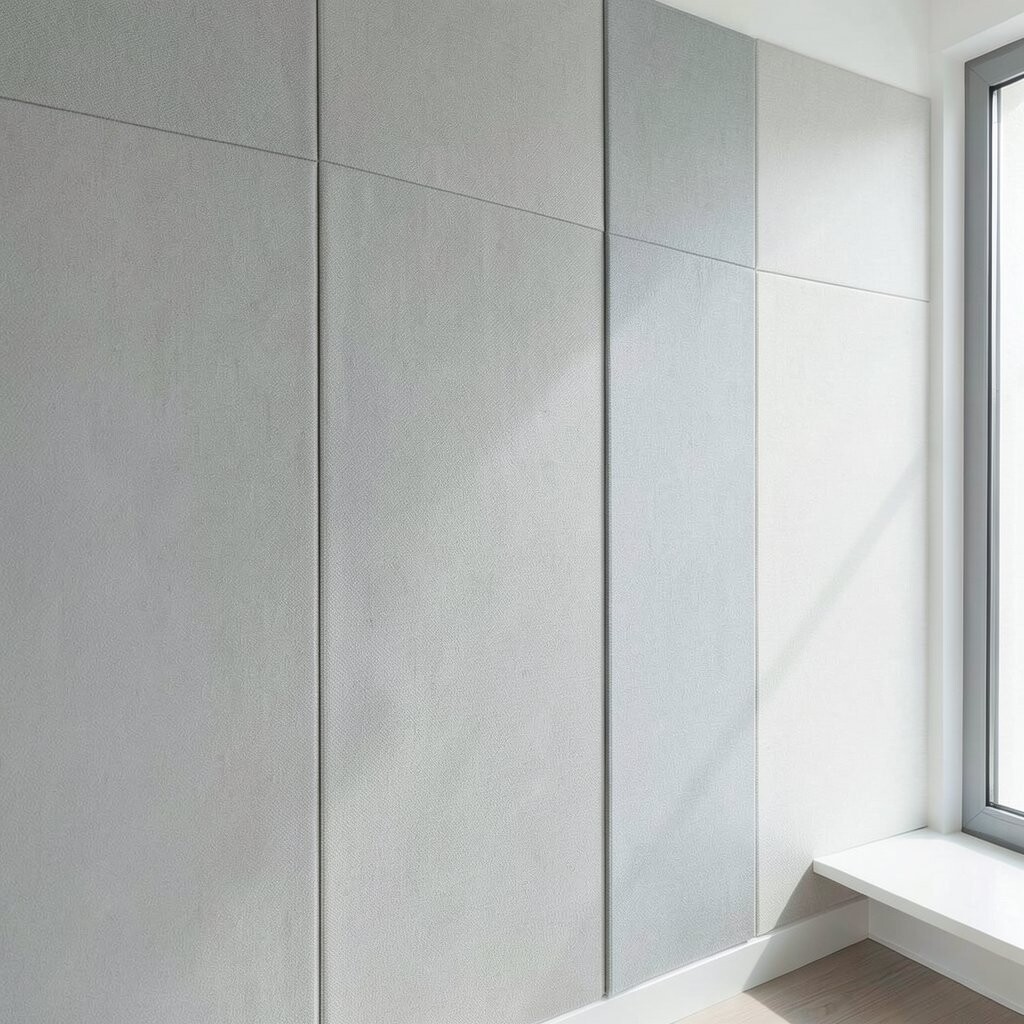
Installing fabric panels can be faster than you expect, but only if you’re ready for careful alignment and secure mounting. Rushing usually leads to rework, scratches, crooked seams, or panels that need to be removed and rehung.
Plan your schedule so you can work in steady chunks and let adhesives cure if your method requires it. Taking a few extra minutes to check spacing, wipe away dust, and ensure hardware is hidden makes the finished wall look truly custom.
13. Skipping Budget Planning and Buying the Wrong Amount
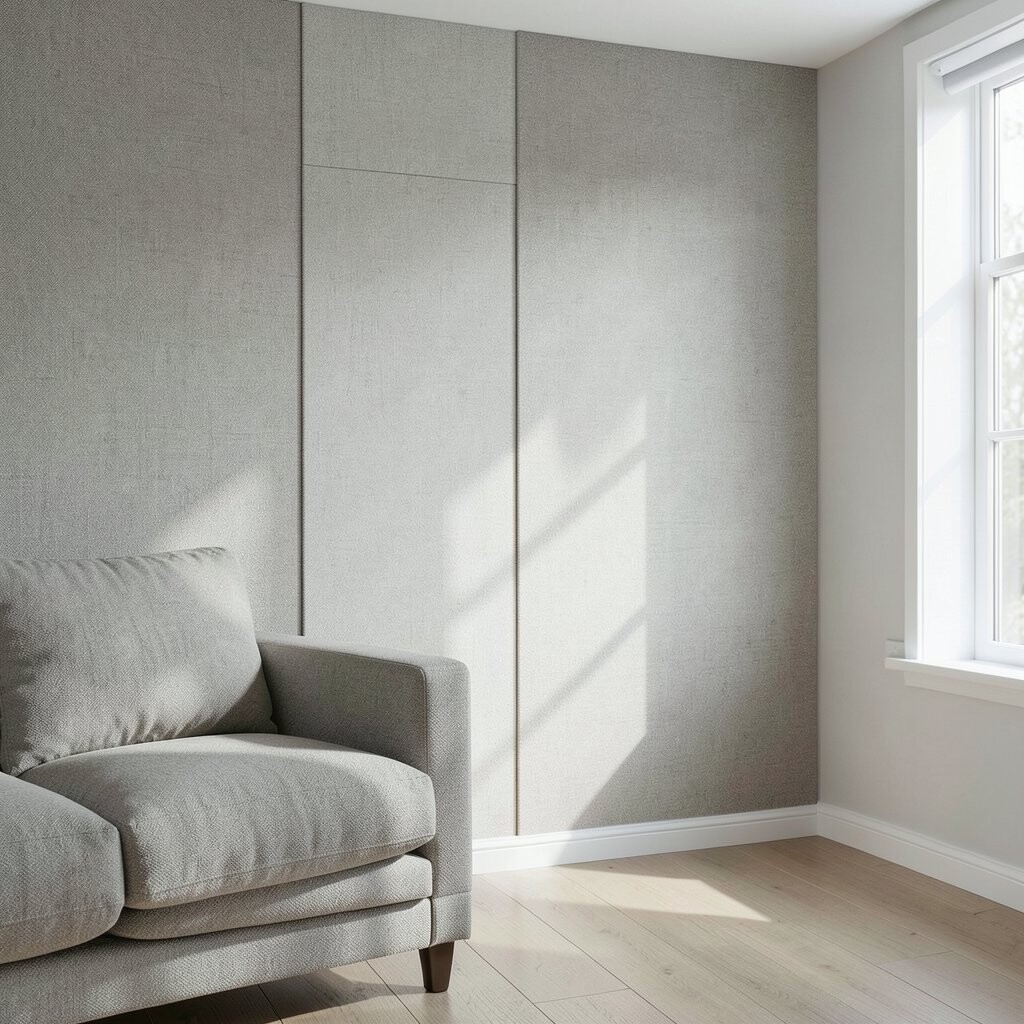
Cost surprises are common when you don’t plan for extra materials and alignment needs. Ordering exactly what you think you need can leave you short if a panel has to be cut for a corner or if you want spares for future repairs.
Factor in mounting hardware, adhesive supplies, tools, and any edge finishing that’s needed for a polished look. It’s also smart to compare price points by looking at panel coverage per package, not only the sticker price.
Current trends often mix fabric panels with other wall treatments like wood slats or framed artwork, and that layering can change how much material you need. If you’re aiming for a designer look, plan for that mix so the total cost stays under control while the result feels uniquely yours.