The right wall decor can change how your studio feels the moment you walk in. Soft layers add warmth, movement, and personality to everyday work.
Layered fabric designs are also practical because they hide small imperfections and help your space look finished without major renovations. With a few fabrics and smart arranging, you can make a gallery wall that feels cozy and uniquely yours.
1. Oversized Tied-Back Wall Panels
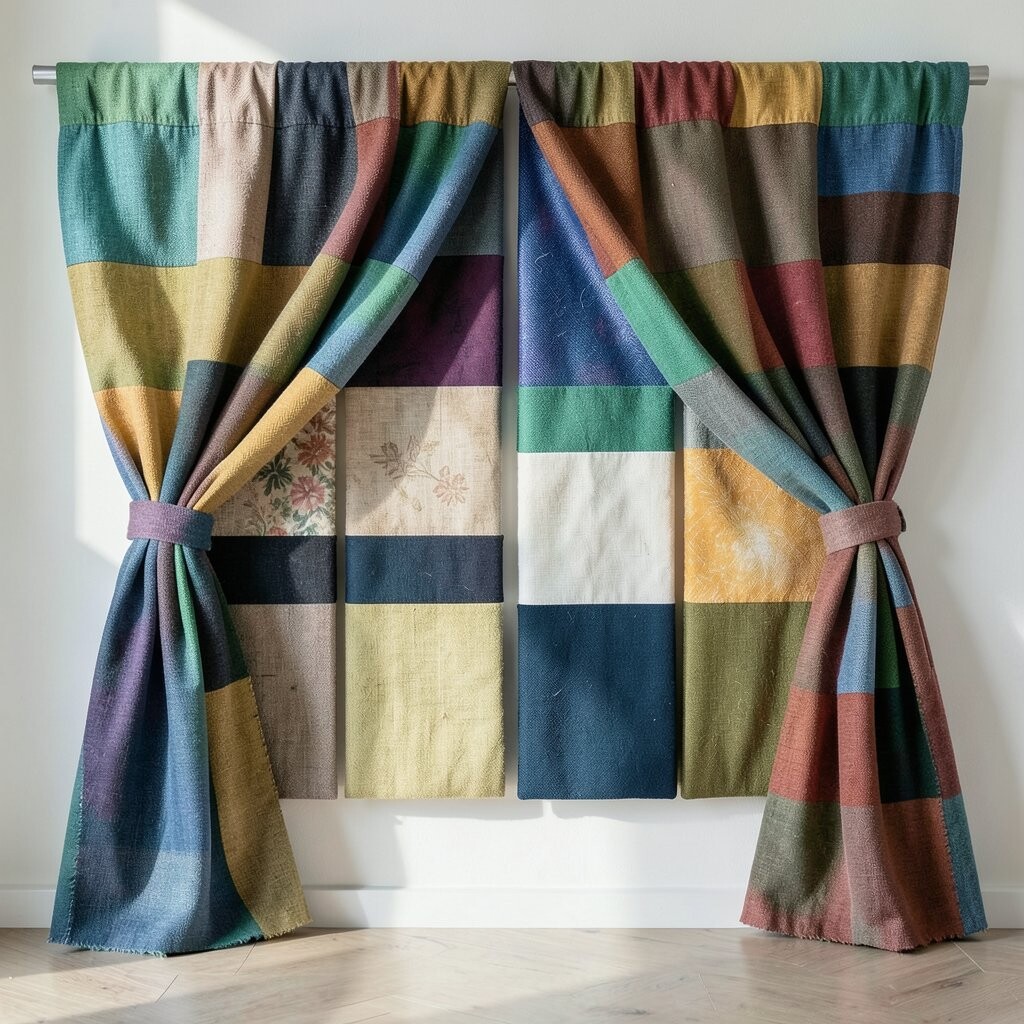
Hang two wide fabric panels in overlapping layers, then tie them back with coordinating cords. The look feels airy, like curtains for your creative space, and it instantly brightens darker corners.
Choose one solid base fabric and one patterned accent so the layers read clearly from across the room. A simple rod or tension system makes it easy to switch colors seasonally, and you can adjust the tie positions when you want a new vibe. If you use lightweight cotton or linen blends, the drape stays soft and forgiving, which helps the wall feel welcoming.
2. Color-Blocked Fabric Quilt Squares
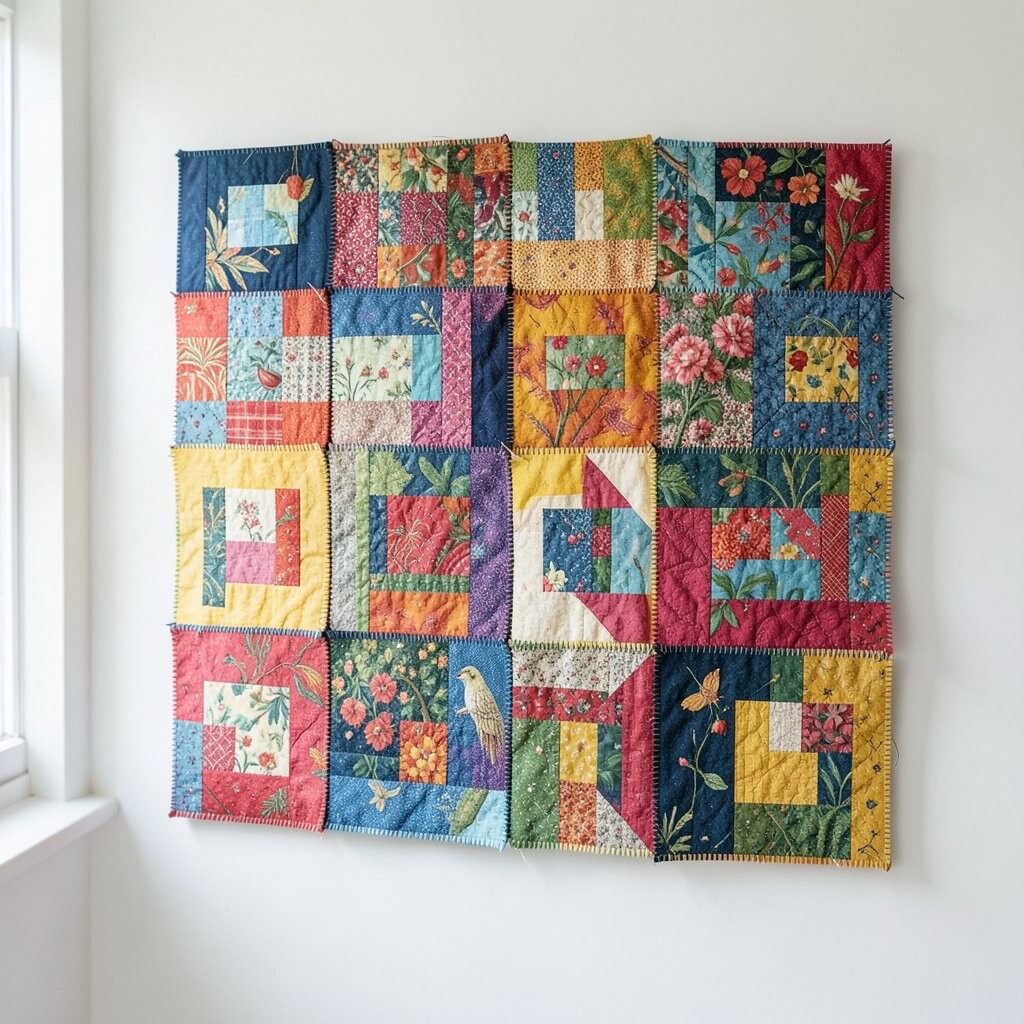
Arrange fabric squares like a modern quilt, but stack them so edges peek out instead of lying perfectly flat. Bright blocks create a playful rhythm that feels energetic without being loud.
Use a mix of high-contrast tones like teal with warm coral, then add a few muted squares to keep everything balanced. When you layer, the slight height differences add depth, making the wall look more expensive than it is. For best results, press your fabric flat before mounting and leave a tiny border so the seams look tidy.
To keep costs down, cut squares from old bedsheets, craft store remnants, or thrifted pillowcases. Stitching is optional if you prefer iron-on adhesive, but a few careful stitches can make the edges last longer. This style also matches current trends toward bold color and handmade textures that feel grounded and human.
3. Framed Fabric Loops And Infinity Strips
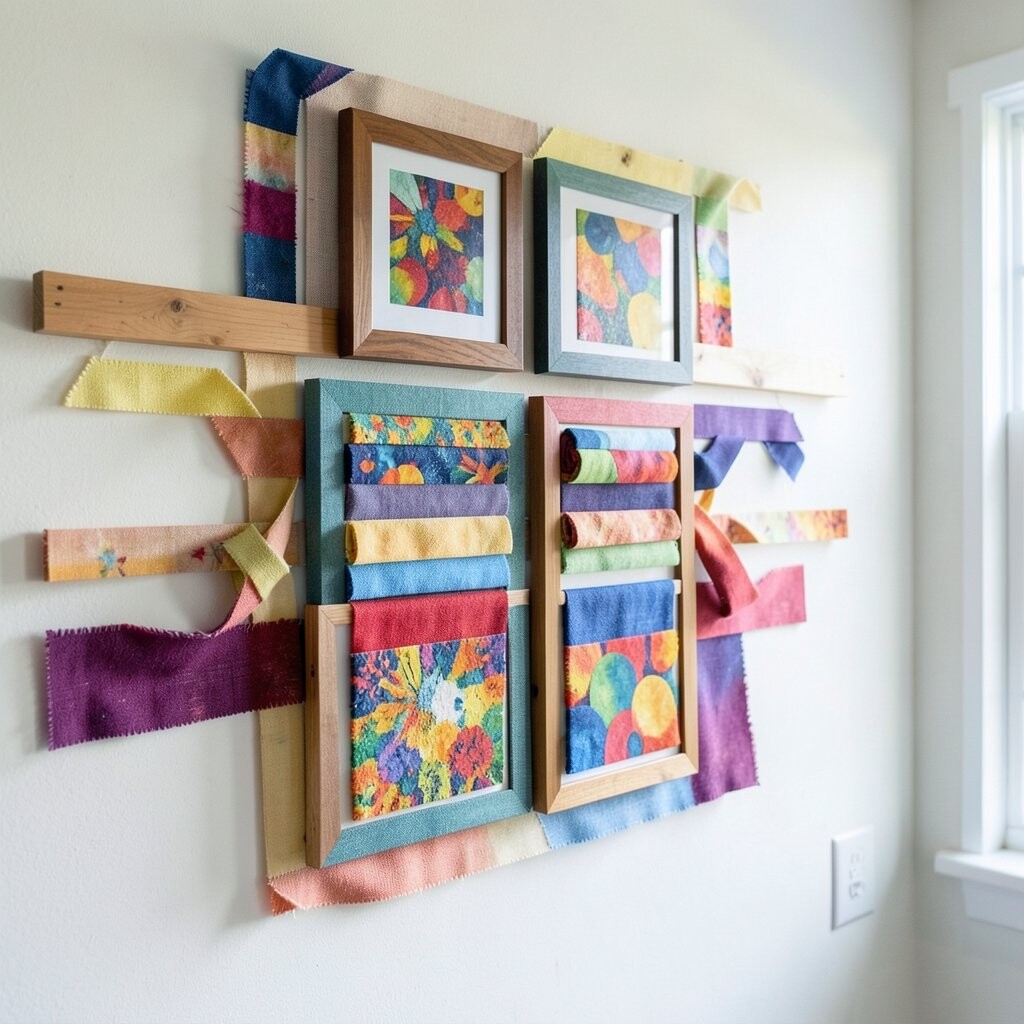
Stretch fabric into long loops and wrap them into gentle, looping arcs on a frame. When the strands overlap, they create a dreamy, woven-like texture that catches light as you move.
Pick a few strip widths so some loops look bold and others look delicate, which makes the composition feel layered. For a practical setup, use a sturdy canvas frame or embroidery hoop backing, then attach strips with staples or strong fabric glue. This approach is unique because it blends wall art with a light sculpture effect, even when the piece stays flat.
Try using fabric with subtle sheen like satin-cotton blends, because the highlights make the overlaps pop. If you want a calmer studio, keep the palette to two or three tones and add one accent strip in a bright color. Small thrift finds can work well here, since long strips can be cut from scarves or long dress panels.
4. Denim And Lace Patchwork Border
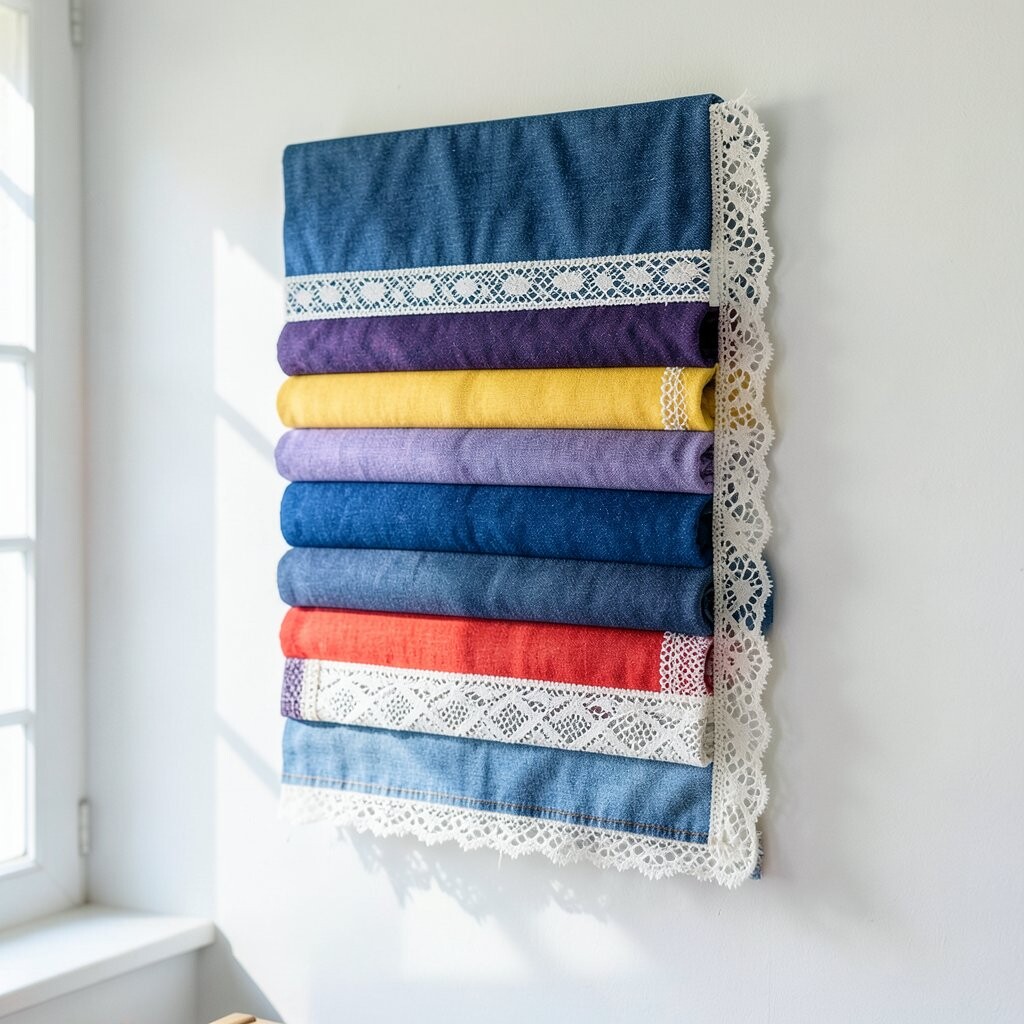
Create a stacked border along the top or side of your wall using denim scraps and lace panels. The contrast between sturdy denim and soft lace makes your studio feel both grounded and sweet.
Layer lace over denim like a decorative trim, then add a few embroidered details for extra texture. If you want practicality, this border helps you cover minor wall marks and gives your workspace a clean, intentional finish. Secure strips with fabric glue for a quick start, then reinforce any spots that get bumped during busy days.
5. Fabric Typography With Soft Letters
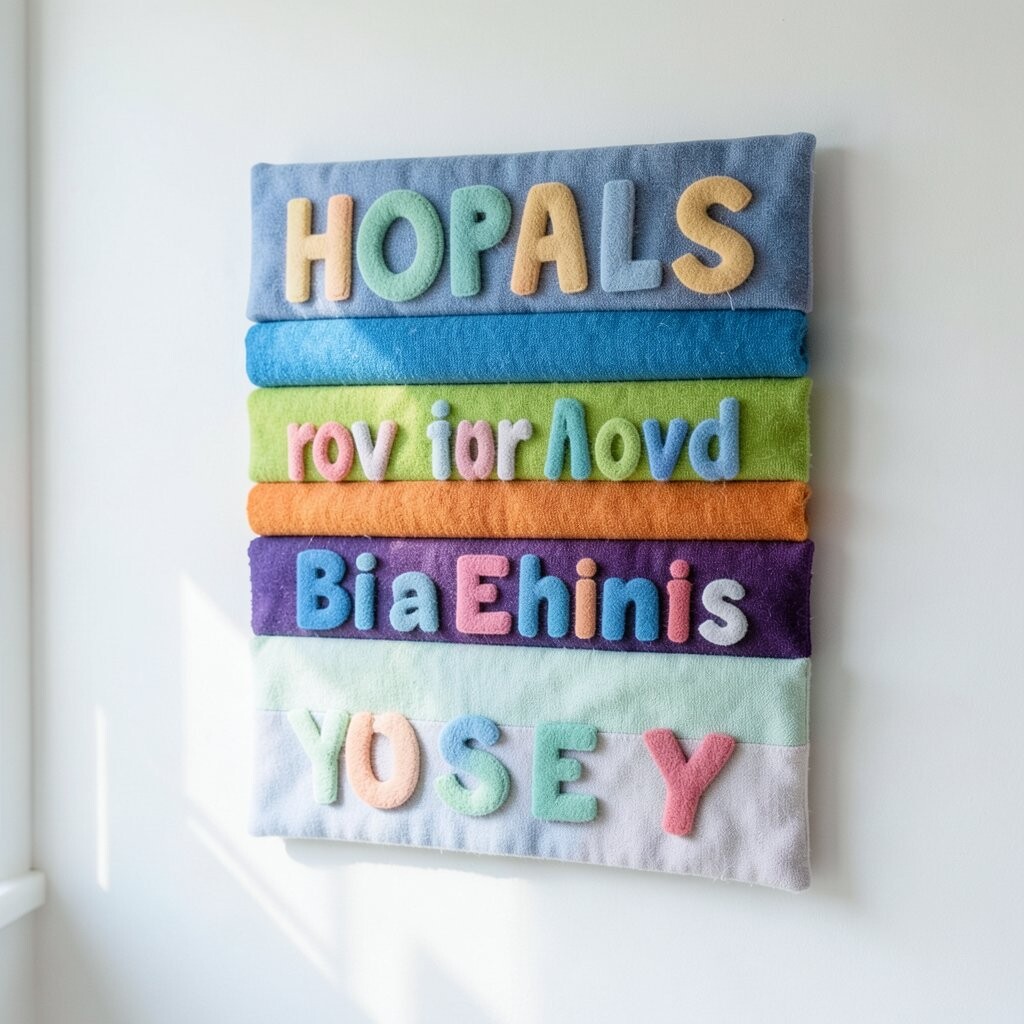
Cut fabric shapes into simple letter forms and overlap them like stacked papers, but with cloth movement. The result looks warm and friendly, and it turns a plain wall into a motivating focal point.
Choose a phrase that fits your studio purpose, such as a short motto for focus or a reminder of your creative values. Keep the layers within a limited color range so the text remains easy to read from a distance. A great trick is to add a slightly darker backing fabric behind each letter so the edges look crisp.
To keep the cost reasonable, use felt sheets, fabric remnants, or fabric scraps from sewing projects you no longer use. This style feels current because makers love personal statements, and the fabric softness makes the message feel less harsh than printed decor. When you mount the letters, leave a small gap between layers for a shadow effect that adds depth.
6. Tassel Fringe Layer Backdrops
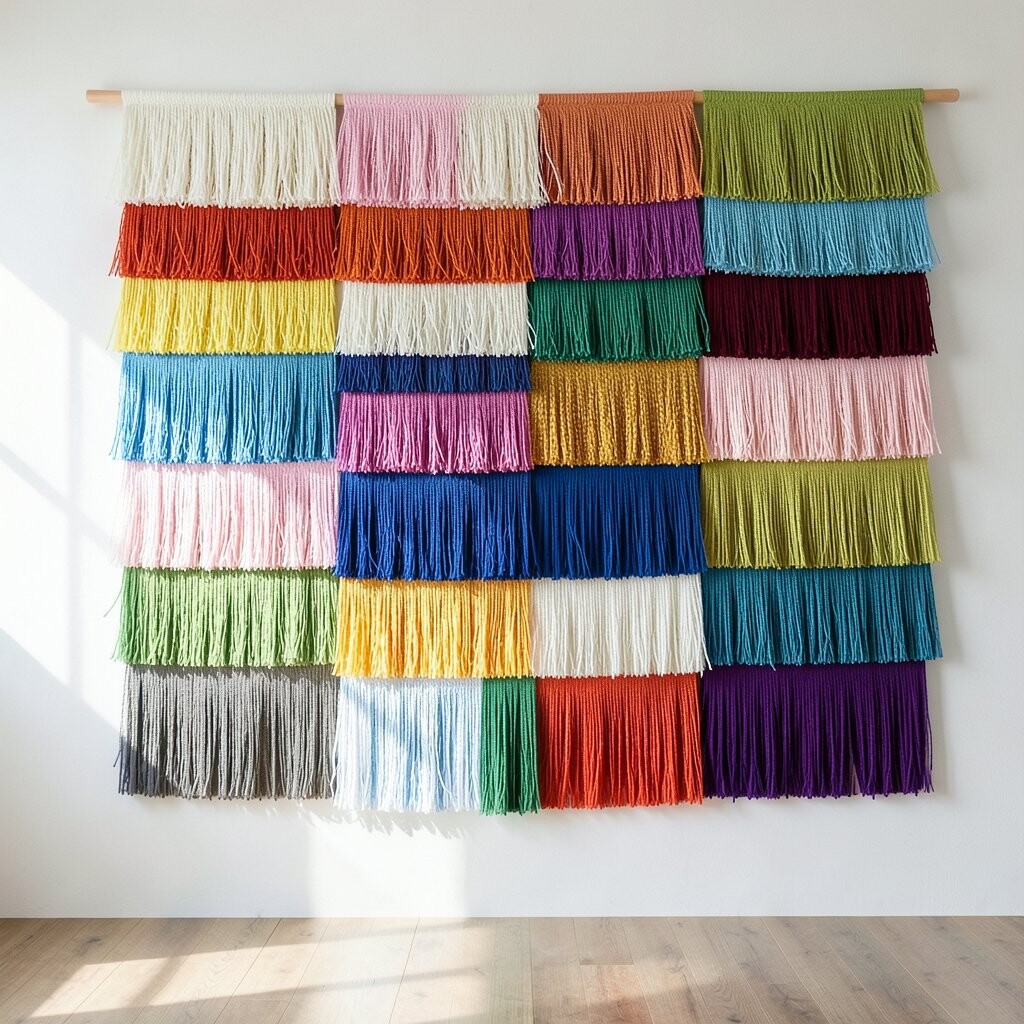
Start with a solid fabric panel, then attach fringe or tassels on top in one or two staggered layers. The visual effect is playful and lively, like your wall is softly “sparkling” every time air moves.
Mix tassel lengths so some strands reach farther forward while others stay short, which adds a sense of depth. If you’re decorating a craft corner, this backdrop can also help absorb some sound, making the area feel calmer. For placement, hang it behind a desk or creative station so you see the texture while you work.
7. Layered Botanical Fabric Stems
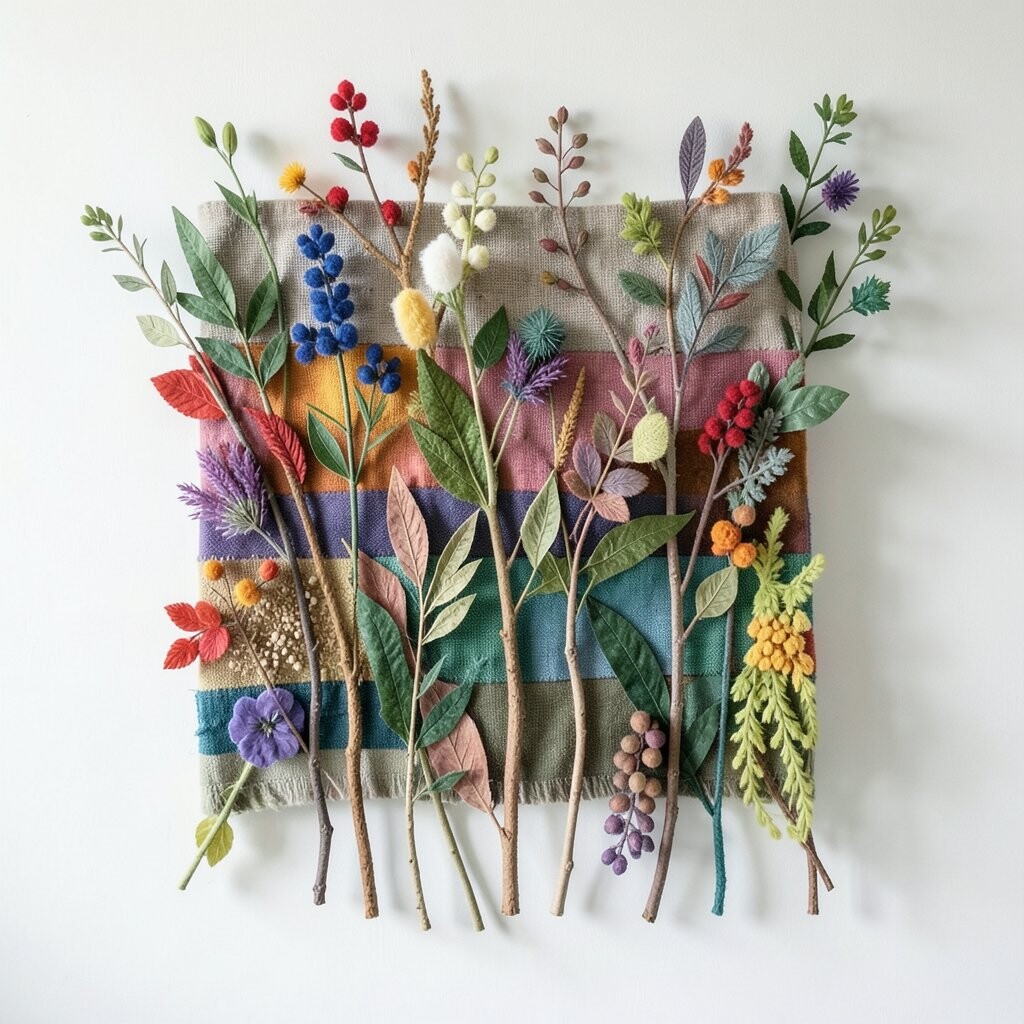
Use green and earthy fabrics to create layered stems and leaf shapes, then overlap them like a garden collage. Even a simple arrangement can make your studio feel brighter because nature tones add instant life.
Cut leaf shapes from different fabrics, such as textured cotton, felt, or even lightweight burlap, then stack them so the leaves show depth. This design is unique because it looks organic, with uneven edges that feel hand-done and real. For practical durability, choose fabrics that won’t fray too easily or finish raw edges with a quick stitch or fabric trim.
If you want a budget-friendly path, raid your fabric stash for scraps in greens, creams, and warm browns. Add a few fabric flowers in small bursts of color to bring a focal point to the whole scene. Current trends favor nature-inspired decor, and layered botanical motifs keep that look fresh and craft-forward.
8. Soft Geometric Arches In Stacked Fabric
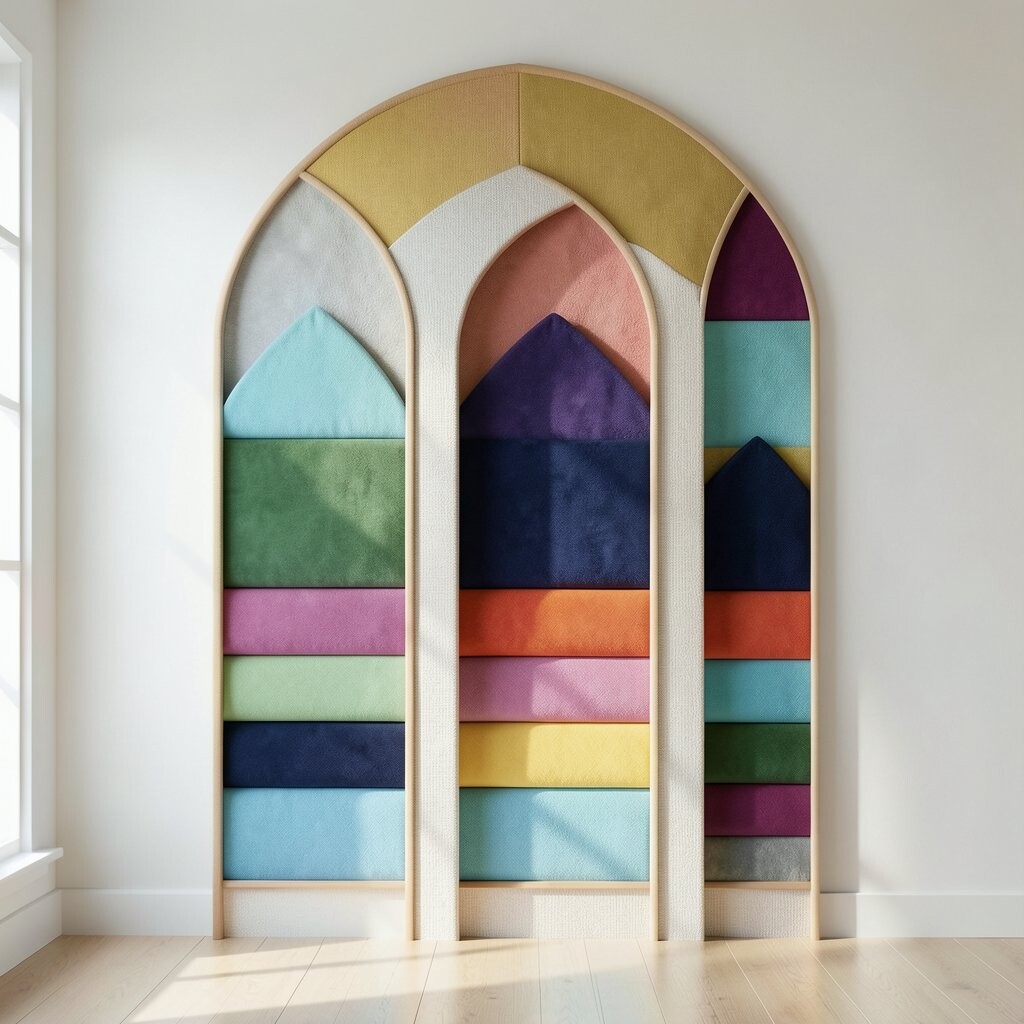
Layer three to five fabric arch shapes that curve across the wall like gentle waves. The stacking gives the arches a floating effect that looks modern and bright.
Pick a color gradient, such as pale yellow to warm orange, so the arcs naturally feel sunny. Keep the fabric textures similar so the design looks cohesive, or mix textures carefully with one main texture and one accent. For a practical tip, use paper templates for consistent arch shapes, then cut around the templates for clean edges.
9. Stitched Fabric Stars With Hidden Padding
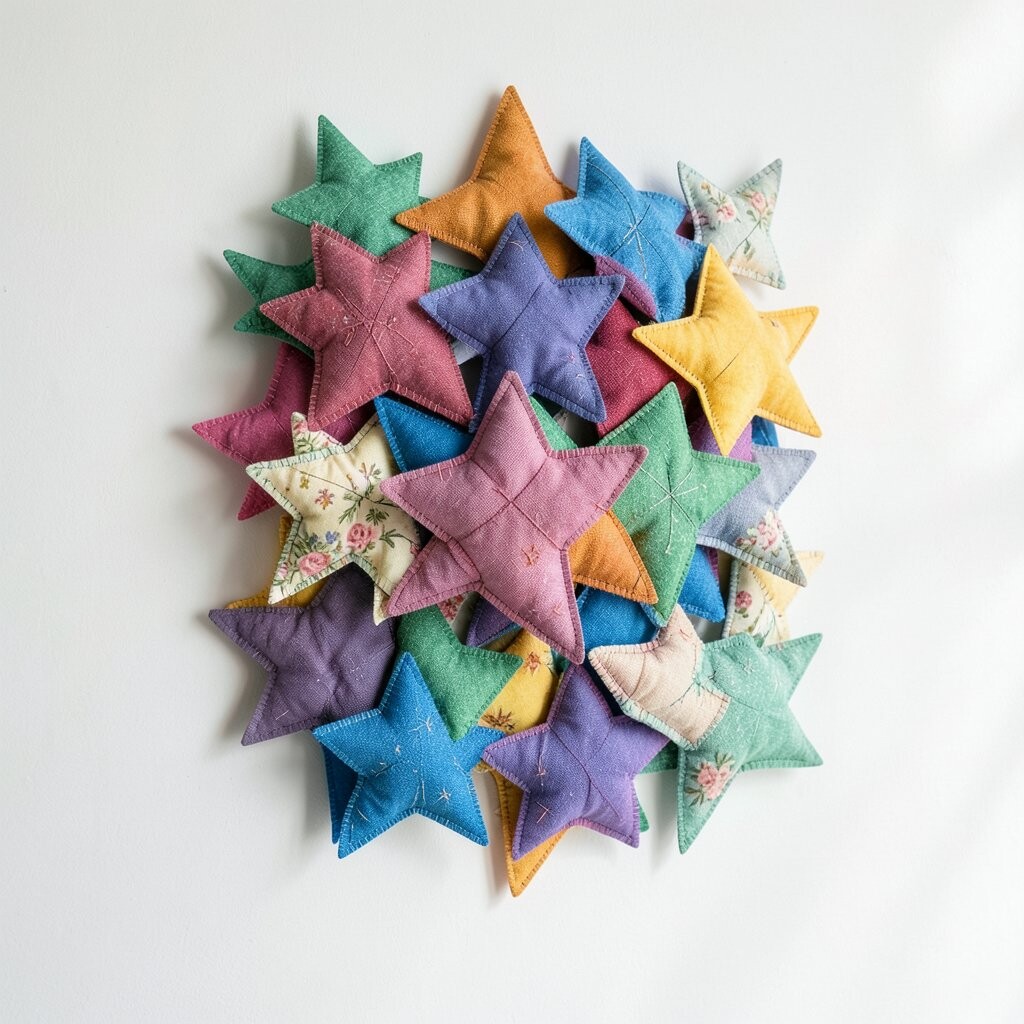
Make star shapes from fabric and layer them over a thin padded backing for a plush look. The stars feel cozy and dimensional, and they add a cheerful vibe to any studio wall.
Use layered fabrics so the edges show at different depths, like a tiny stage set for each star. Add a simple fastening at the back, such as a sleeve for a rod, so the stars hang straight and don’t warp. This piece is unique because the padding creates a soft shadow that makes the stars look even more layered.
If you love low cost, old flannel, thrifted blankets, and remnant quilting fabric work beautifully. Choose one bold color like navy with warm gold accents for a striking look without needing many supplies. This design also fits current trends toward tactile, handmade decor that looks good in photos and feels good in person.
10. Wall Hanging With Layered Ribbons And Knots
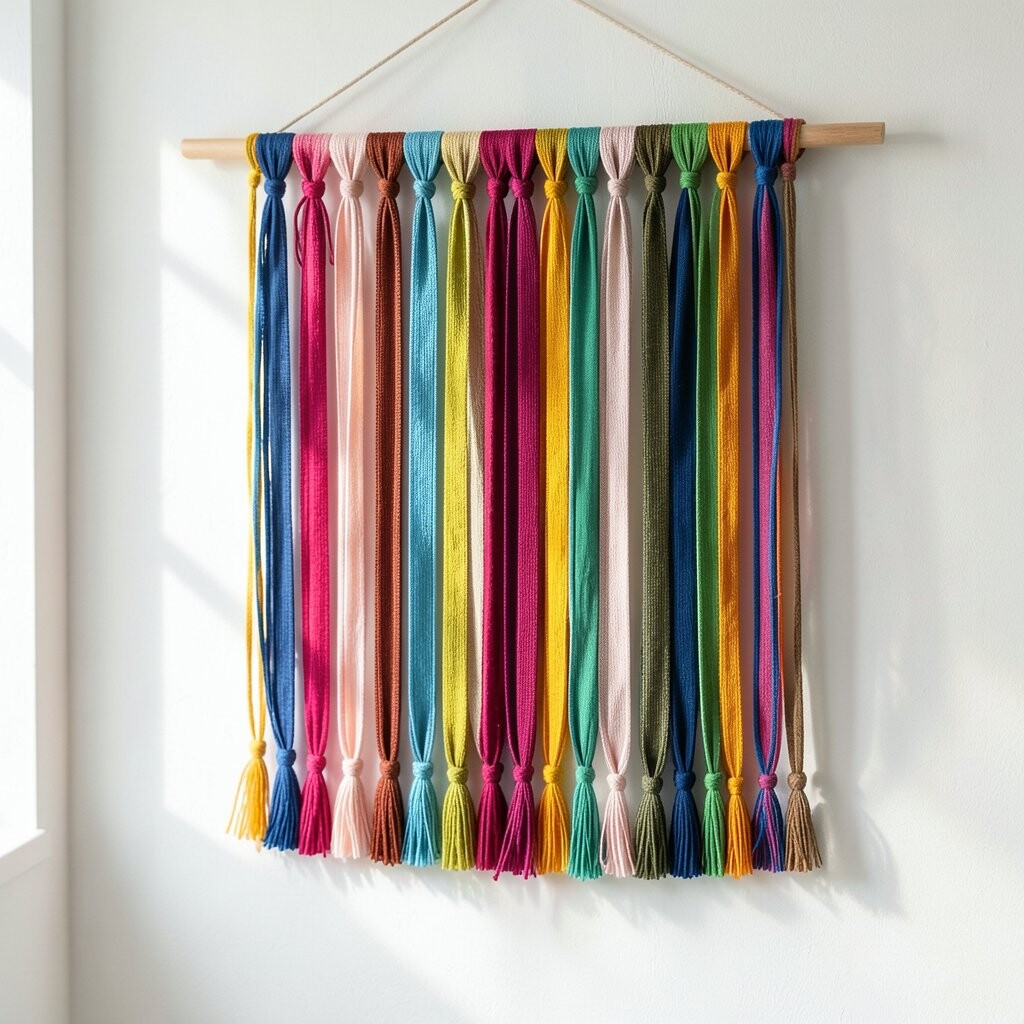
Hang layered ribbon strips in vertical lines, then tie a few in knots to break up the pattern. The movement and texture make the wall feel lighter, like the fabric is breathing.
Choose ribbons in different widths, then overlap them slightly so you get a layered look from every angle. A sturdy curtain rod or a set of small hooks can hold the top while keeping the strips easy to adjust. For personalization, tie knots at different heights to match your own layout, and add one special color strand that becomes your “signature.”
11. Mixed Fabric Rose Wall Medallions
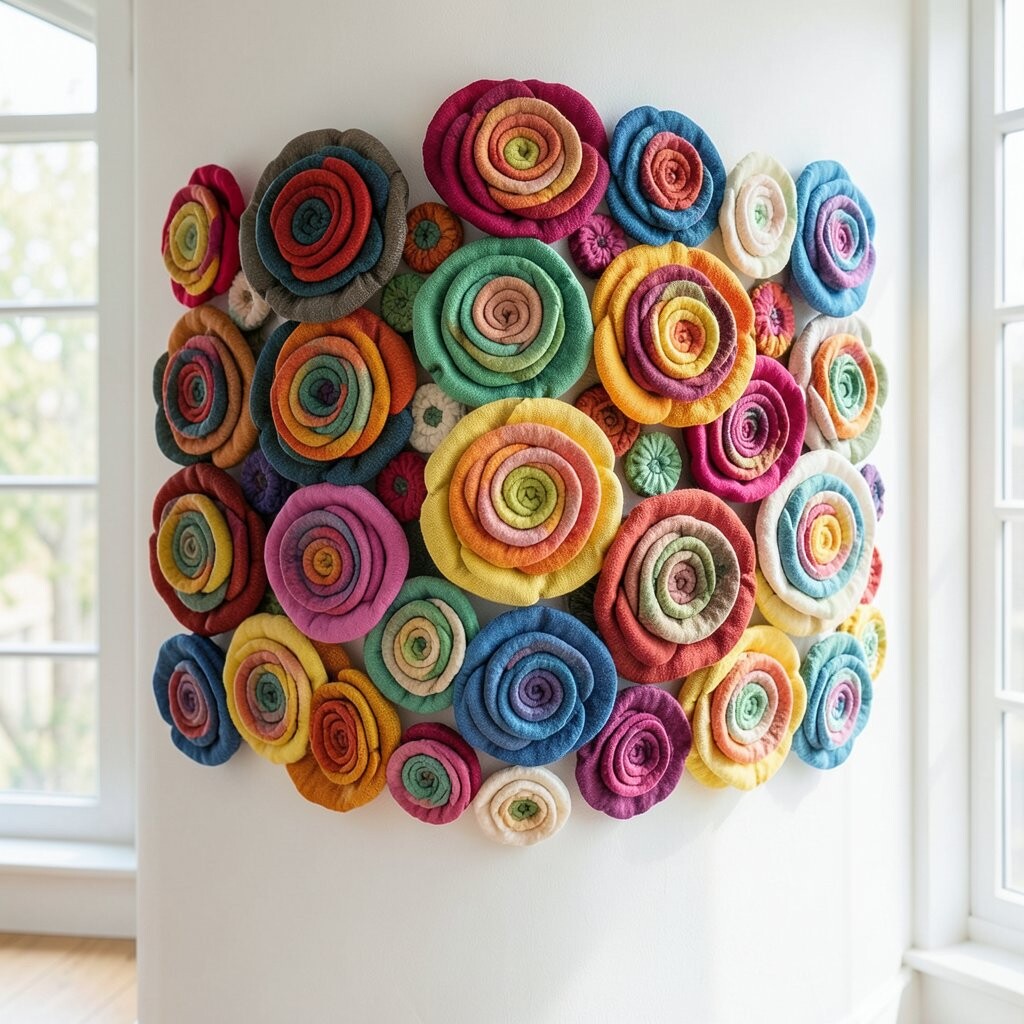
Create layered rosette medallions using strips of fabric wrapped into small flower shapes. When you cluster these medallions, the wall becomes a soft bouquet that feels warm and artistic.
Layer different fabrics for each rosette, such as sheer organza over cotton, so the petals look like they have depth. This is a great practical choice if you want a decorative wall that still hides small wall flaws because the medallion cluster covers uneven areas. For a unique touch, add a few medallions in monochrome and sprinkle in one bright accent cluster.
To manage cost, use scrap fabric for petals and reserve more expensive fabric for just a few focal rosettes. Keep the backing fabric simple so the rosettes remain the star. If you like current trends, this style fits perfectly with the ongoing love for handmade floral textures and soft, romantic studio corners.
12. Fabric Collage With Transparent Overlay Textures
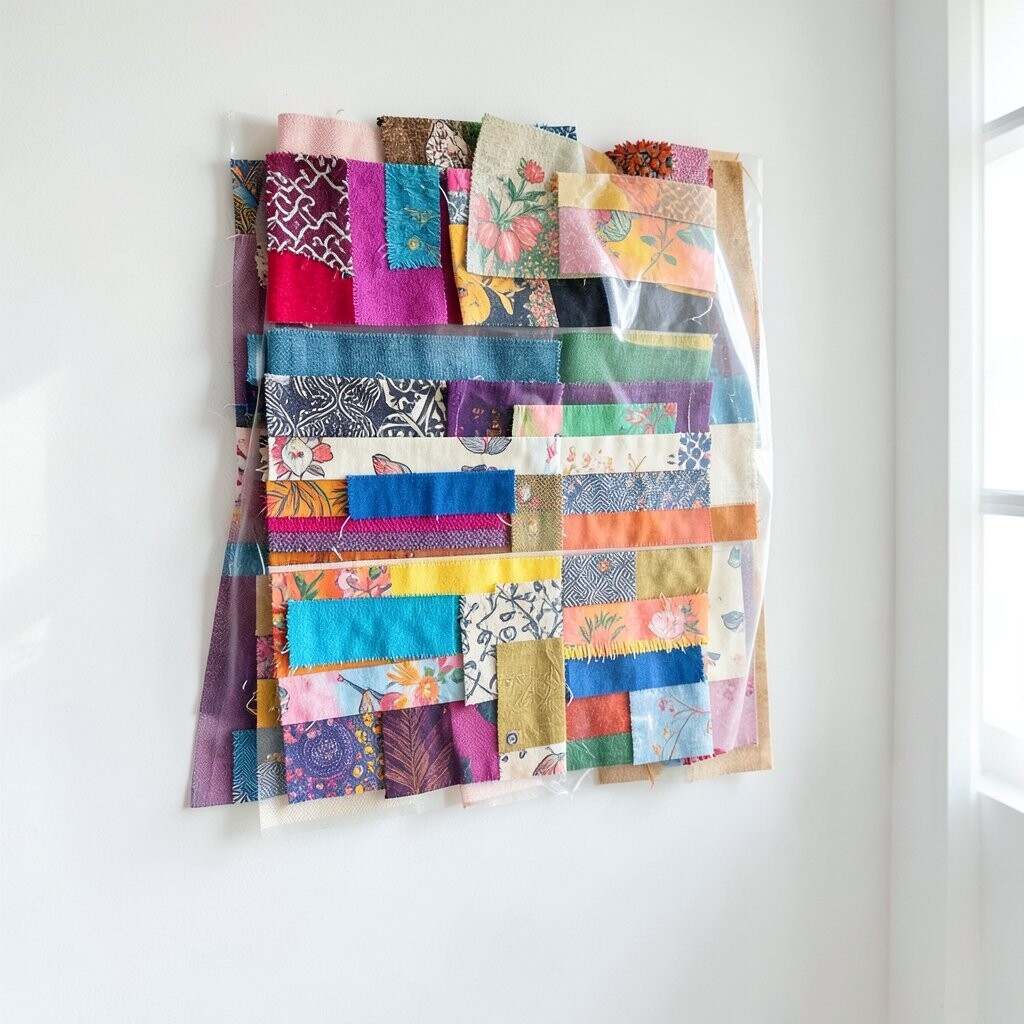
Make a collage from patches and then add a translucent overlay layer that catches light. The pieces beneath show through gently, creating a dreamy layered look without heavy bulk.
Choose a light base fabric like muslin or a thin cotton, then add a semi-sheer layer on top using organza, voile, or lightweight mesh. This gives you a brightening effect because the wall art doesn’t look opaque and heavy. For practical tips, secure edges with careful stitching or fabric tape so the transparent layer stays smooth and doesn’t curl.
13. Stacked Felt Blocks With Floating Shadow Lines
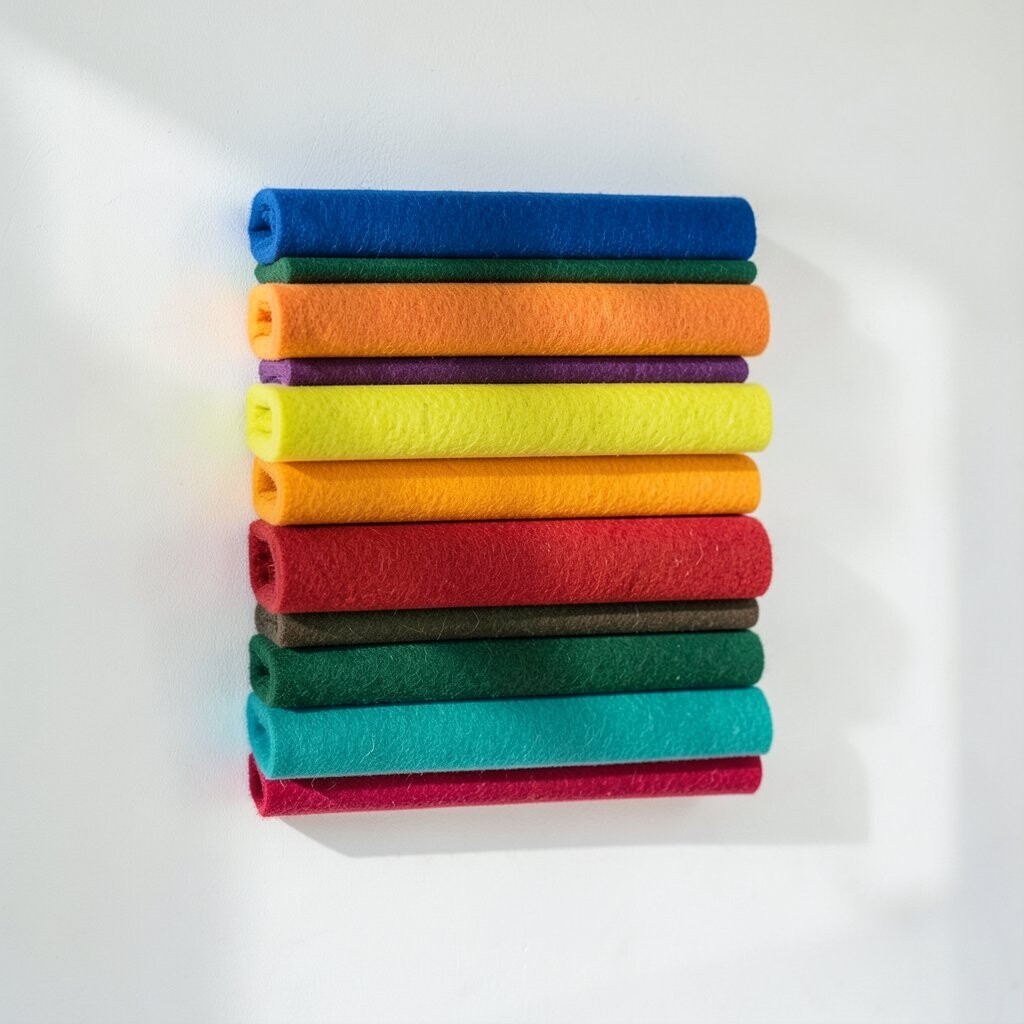
Cut felt into simple block shapes and stack them with small gaps using spacer tape. The raised layers create shadow lines that make the wall art look crisp and bright.
Use a limited palette of warm neutrals plus one bold color, like paprika red or bright teal, to keep the design tidy. This style is unique because the gaps matter, and the shadow becomes part of the artwork. If you want a clean process, measure and mark positions first, then apply each layer carefully so the edges line up nicely.
Felt can be affordable and easy to cut, making it a budget-friendly choice for beginners. It also pairs well with current trends that favor modern shapes and bold negative space. Personalize by adding a tiny symbol, like a star or a mini square, that represents your studio theme or your favorite craft.
14. Fabric Texture Gallery With Layered Samples
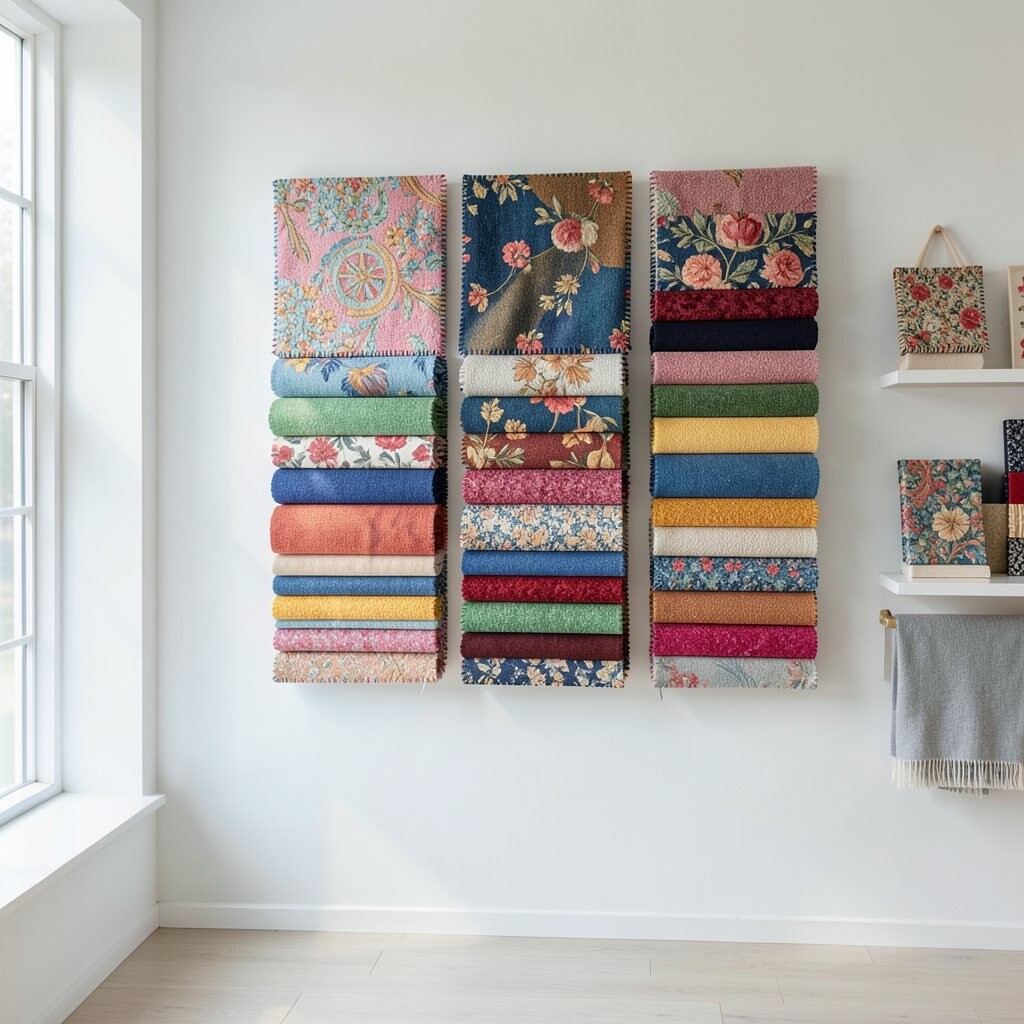
Turn leftover fabric swatches into a structured gallery wall, layering some pieces over others for extra depth. The result is both functional and pretty, because it keeps your studio looking organized while celebrating your materials.
Mount swatches on a backing panel using neat spacing, then vary the overlaps slightly so the wall looks curated rather than flat. Add a few thicker fabrics like upholstery remnants and a few lighter ones like cotton sheers so the textures show variety. This approach feels unique because the artwork is truly your own fabric history, and each swatch becomes a memory of a past project.
For cost considerations, use scraps and offcuts, and trim any frayed edges for a polished look. This is also practical if you want something easy to update, since you can swap swatches as your tastes change. Current makers love “process” aesthetics, and a layered sample gallery fits right into that creative trend.
15. Boho Macrame Meets Fabric Backing
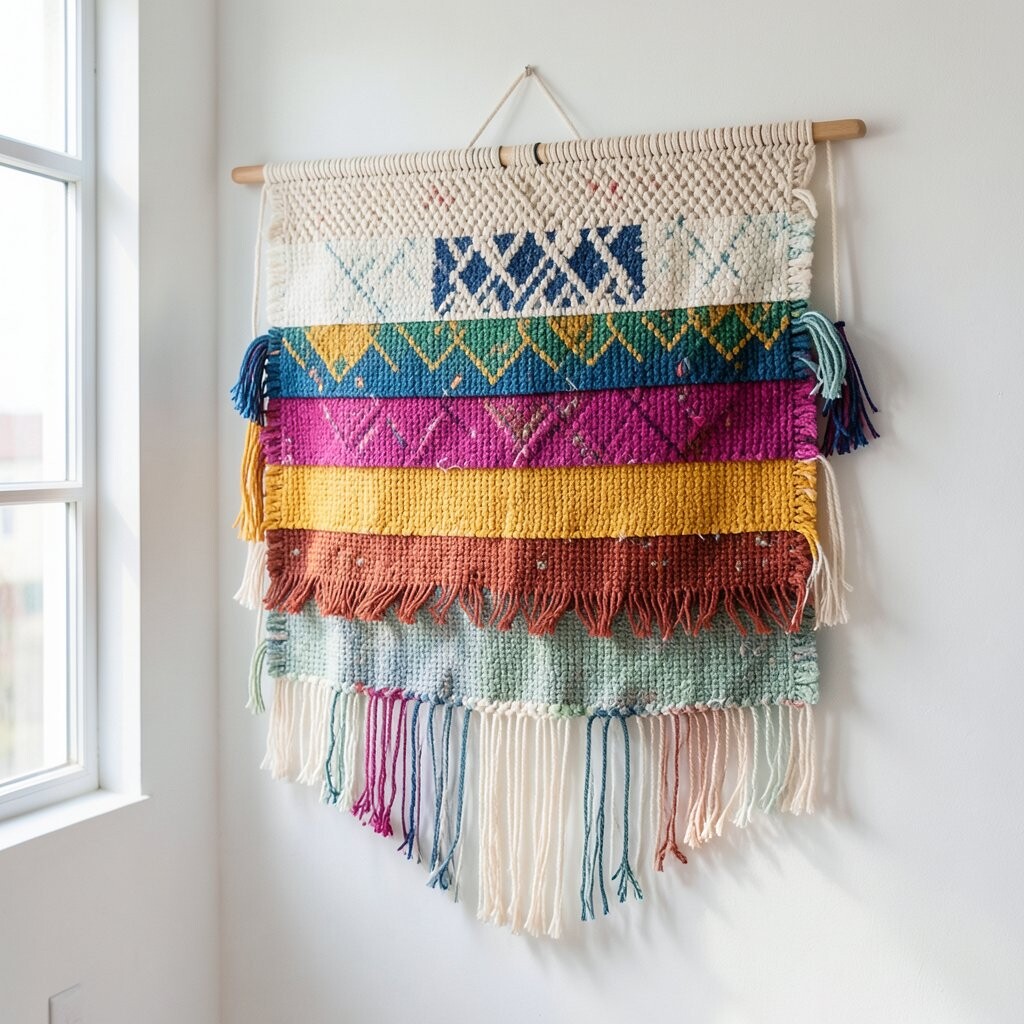
Combine macrame knots with a soft fabric backing layer, then hang the whole piece as a layered wall feature. The mix of rope texture and fabric softness makes the wall feel bright and stylish without being stiff.
Pick a fabric backing in a warm tone like cream or sand so the knots stand out clearly. When you add subtle fabric overlays behind the macrame, you get extra depth and a more blended look that feels cozy. For a practical tip, secure the fabric backing with a tight wrap around a wooden board so everything stays flat over time.
16. Layered Patch Map Style Wall Layout
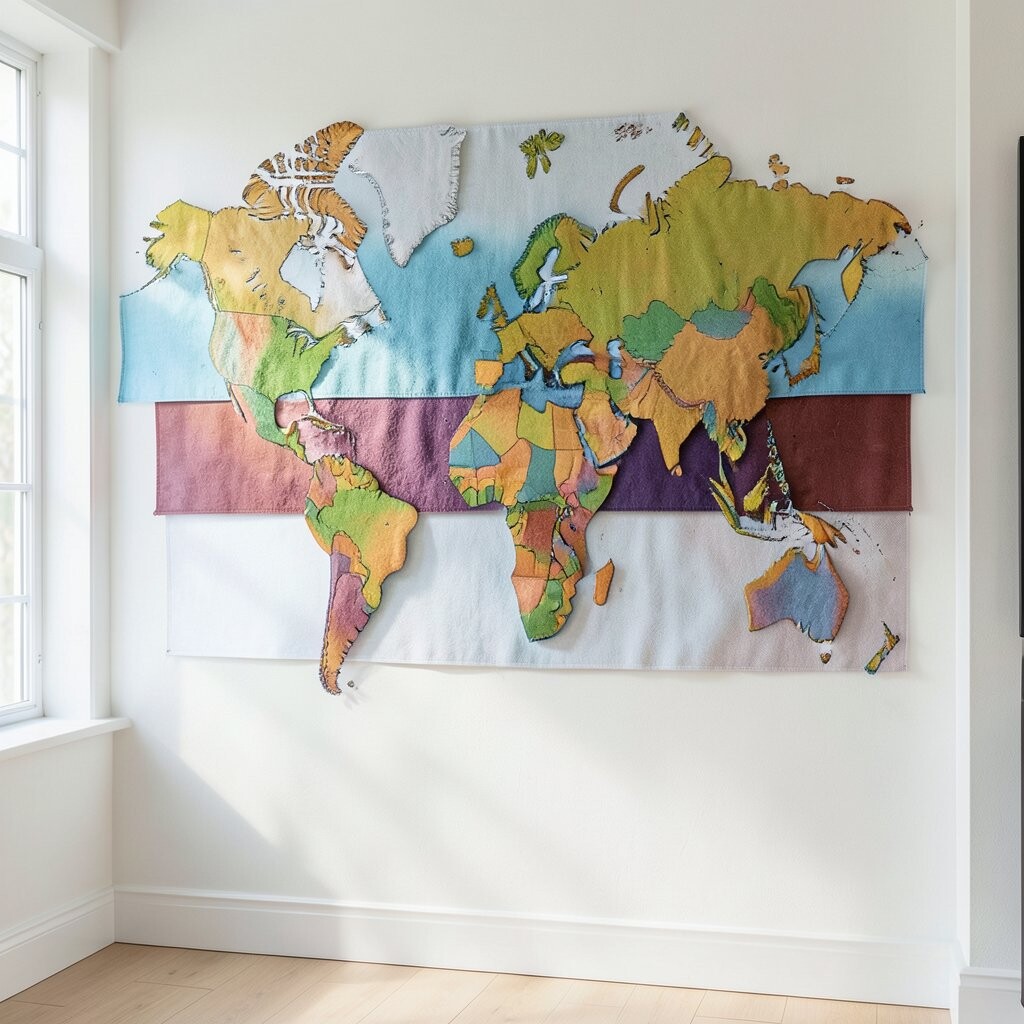
Create a fabric map-like layout by cutting irregular shapes and arranging them like connected lands. Layer the pieces so they overlap at different angles, which gives the wall a lively, journey-inspired energy.
Choose one main color for the “land” and add contrasting “water” sections using a blue or teal fabric, then stitch or glue small borders to define paths. This design is unique because it feels playful and personal, like your studio has its own imaginary world. Keep it practical by using fabrics that withstand handling, since the irregular shapes may get brushed while you move around your space.
To manage cost, use scrap fabrics in similar weights, and don’t worry if the pieces aren’t perfect since the map theme invites variety. Personalize by adding tiny fabric landmarks like a small stitched star, a circle for a “town,” or a strip that becomes a “river.” This style also matches current trend energy, where handmade textures and storytelling decor blend together for a warm, creative look.