The walls you stare at every day can feel calmer and brighter with the right decor. Dried flowers add color, texture, and charm that keeps on living long after a bouquet fades.
Whether you love soft pastels or bold botanicals, a dried-flower wall can be your personal mood boost. They also bring a cozy, handmade feel that store-bought art can’t always match.
1. Make a Soft Rainbow Arch
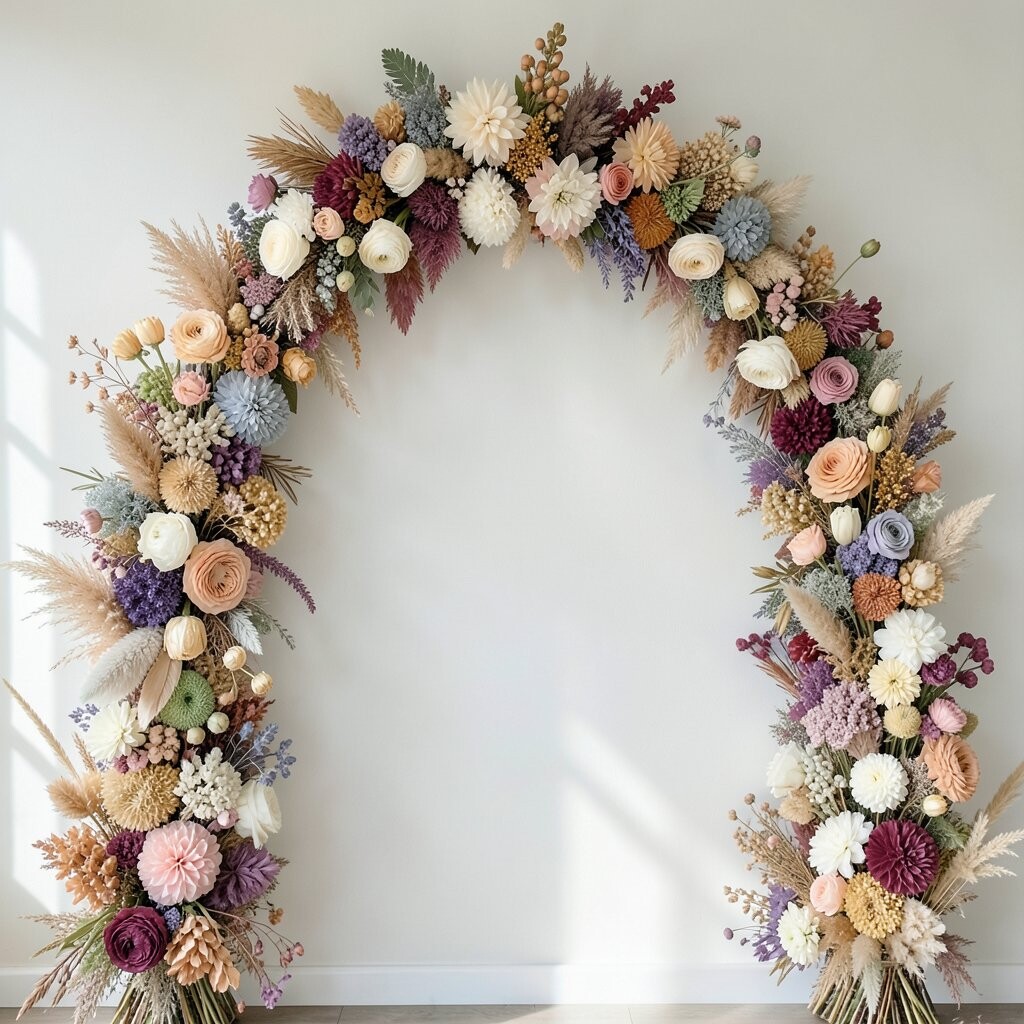
Choose dried blooms in gentle shades and arrange them in an arch shape across a long frame or stretched canvas. Start with larger flowers at the center, then sweep outward with smaller petals for a smooth curve.
This look brightens your space because the colors guide the eye in a friendly arc. You can keep it practical by using a simple shadow box, wire mesh, or a backing board so everything stays in place. For personalization, tilt the arch slightly off-center to match the line of your furniture, and swap in your favorite tones from a seasonal palette.
2. Create a Gallery of Tiny Bud Clusters
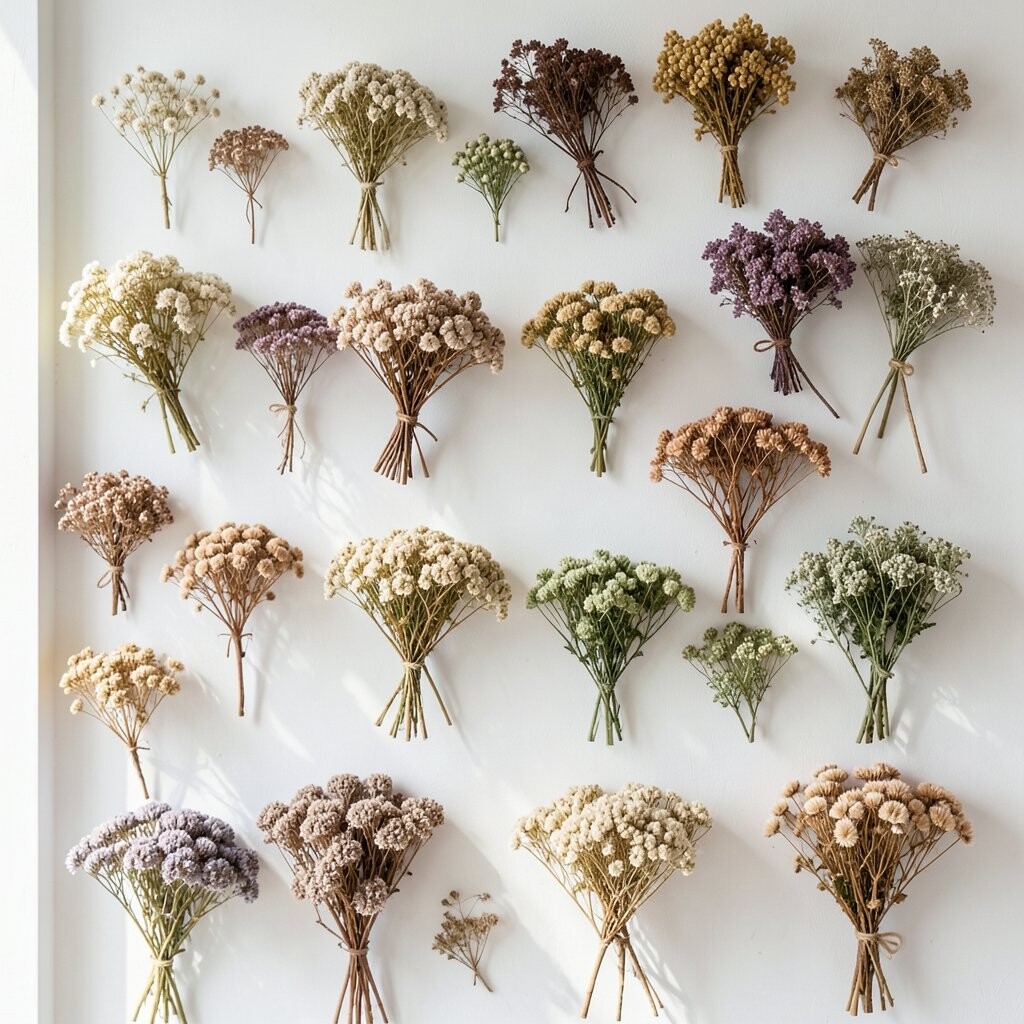
Gather small dried sprays and pressings, then group them into multiple clusters that feel like miniature bouquets. Use a grid layout on a cork board or thin wood panel so each cluster has its own little stage.
These clusters give your wall a lively rhythm, especially in hallways or near a reading nook. They’re unique because the texture varies from bud to bud, and no two clusters will look exactly alike. To keep it easy, attach flowers with a mix of clear craft glue and a few hidden pins, then seal the surface with a matte protective spray to reduce shedding.
If you want current style, lean into airy spacing and lots of negative space, which is popular in modern decor right now. For cost, you can use leftover stems from different dried bundles and cut them down to fit, turning a small stash into a big visual. Personalize by adding one meaningful cluster that matches a special event, like wedding colors or a favorite birthday hue.
3. Frame a Single Statement Flower
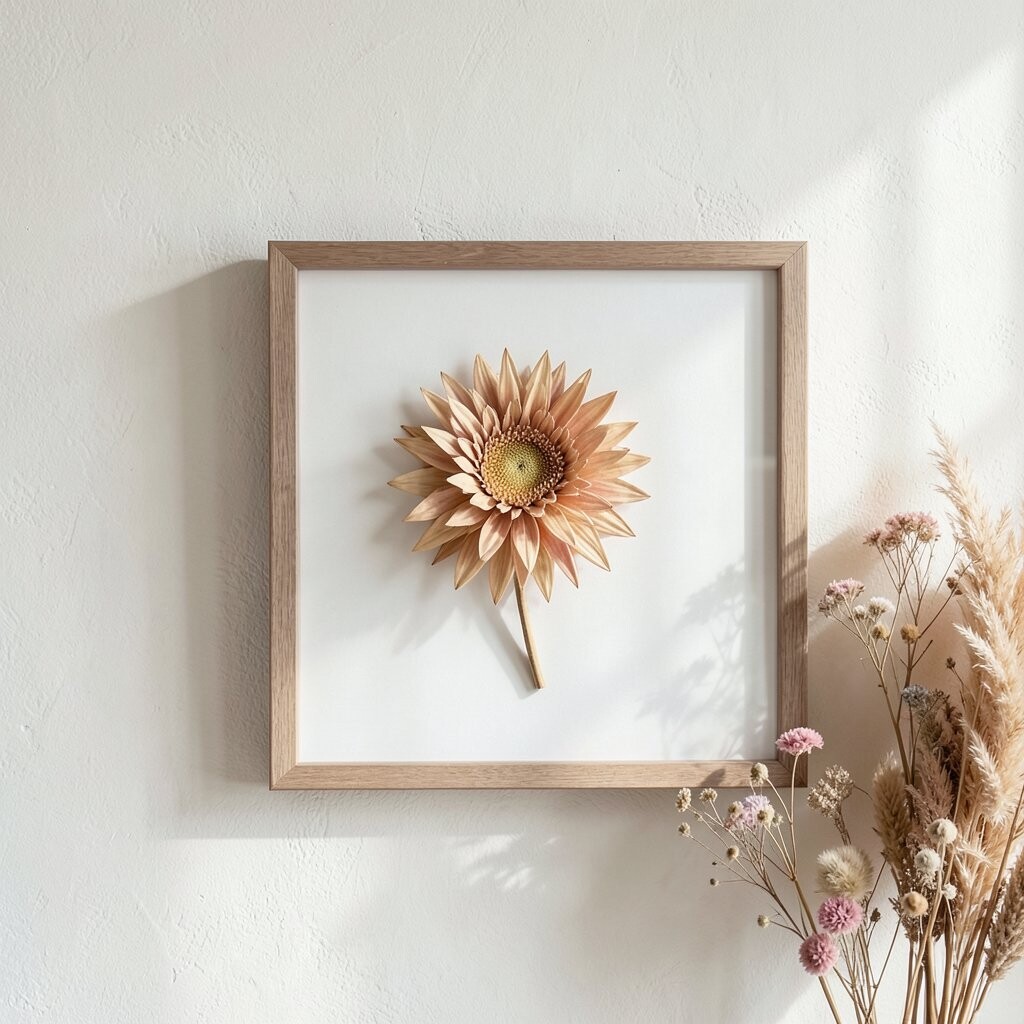
Pick one standout bloom, like a dried rosebud, palm-like frond, or hydrangea puff, and mount it inside a glass or acrylic frame. Let it sit slightly raised on foam squares so it looks dimensional, not flat.
This idea brightens a room because a single bold subject feels confident and clean. It is also easier to maintain since there’s less arranging and fewer loose pieces to worry about. For practical results, use a deep frame so stems don’t get squished, and consider mounting the flower on acid-free paper to help it last.
You can personalize by choosing a flower size that matches the scale of your wall, such as a larger frame over a sofa or a smaller one near a desk. Cost-wise, one statement piece can be cheaper than building a full collage, especially if you buy only a few stems. A trend you’ll see often is minimal botanical art, which pairs beautifully with neutral walls and modern furniture.
To keep the look bright, place the frame where natural light hits gently, and avoid direct harsh sun that can fade color over time. If you like a softer vibe, add a light-toned background card behind the flower so the petals pop without feeling busy.
4. Build a Boho Wreath on the Wall
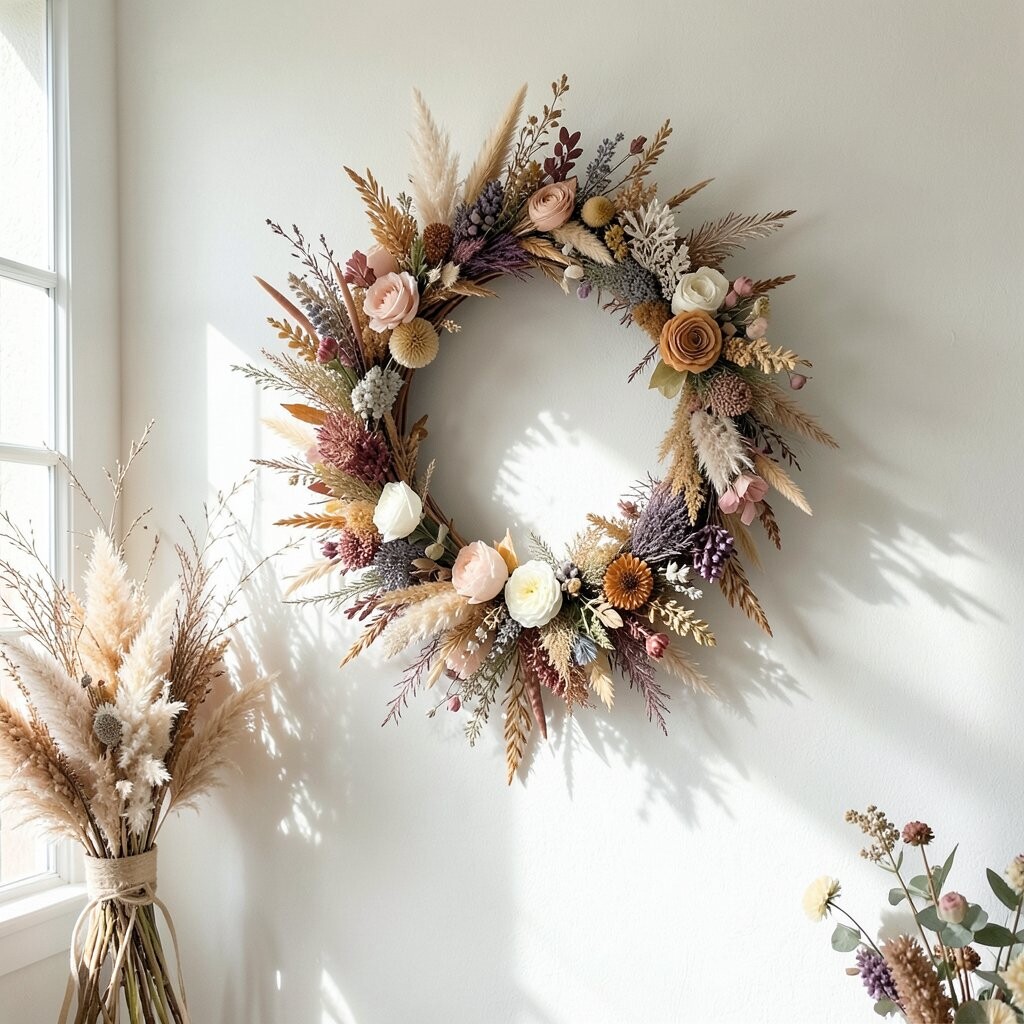
Form a wreath using dried eucalyptus, lavender sprigs, and small seed heads, then hang it at eye level. You can wrap a simple foam or wire ring with stems first, then tuck in extra pieces for fullness.
This adds a warm, welcoming feel and makes your wall look styled even when you’re not adding anything else. It’s unique because the wreath will have a natural shape that changes slightly as it dries and settles. For practical tips, secure loose stems with floral wire and keep the wreath light so hooks don’t strain.
5. Arrange Pressed Flowers in a Sunlit Layout
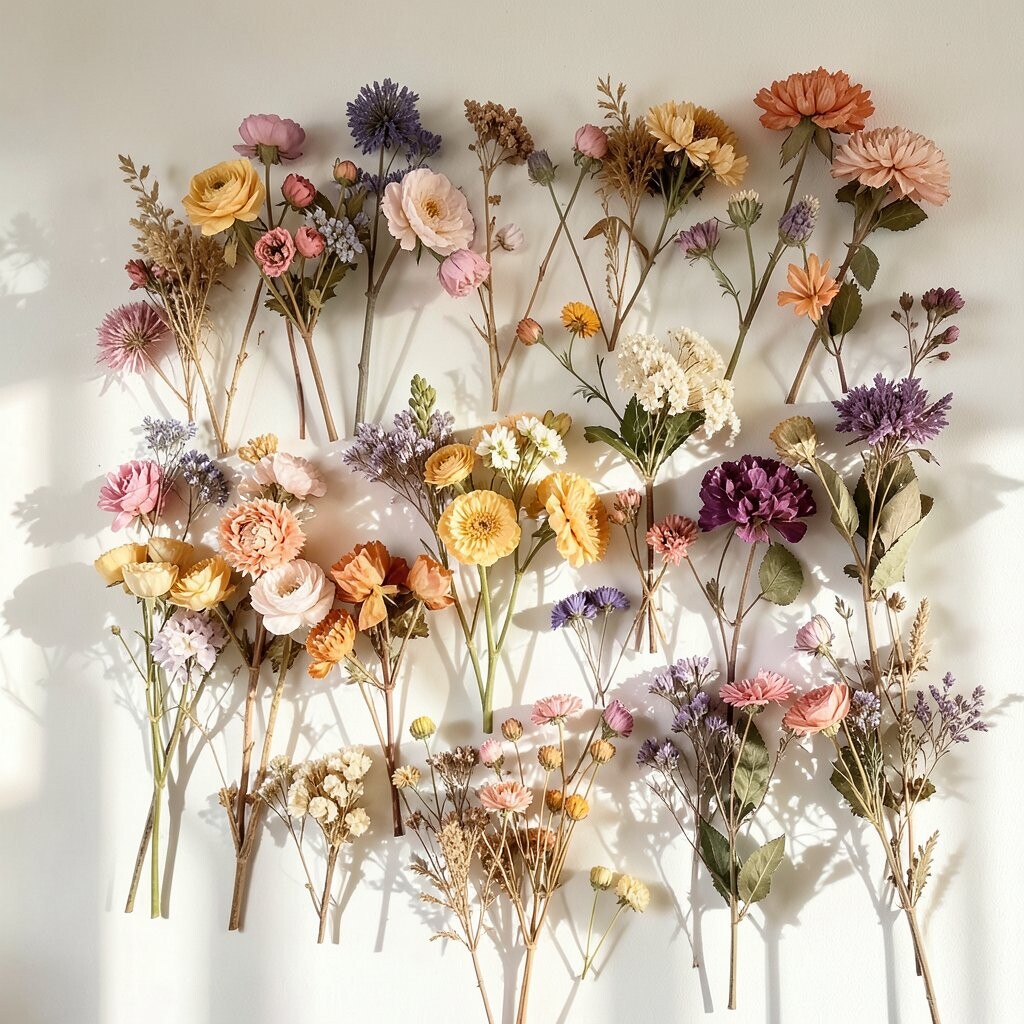
Press thin botanicals like daisies, fern fronds, or delicate petals, then arrange them on a backing board like a tiny window garden. Choose a layout that mimics sunlight rays, with denser pieces near the center and lighter spreads outward.
This bright wall art feels crisp and gentle because pressed flowers look flat, clean, and airy. It also lets you preserve delicate colors that might crumble when left as full stems. To make it practical, frame behind UV-protective glass and use acid-free backing to reduce yellowing over time.
You can personalize by swapping the color theme to match your room, such as warm creams for a cozy living room or cool greens for a calmer bedroom mood. For cost considerations, pressing your own flowers from seasonal bouquets can save money, especially if you start with store stems that you already own. A current trend is botanical minimalism, and pressed layouts fit right into that look.
6. Hang a Ladder of Dried Stems
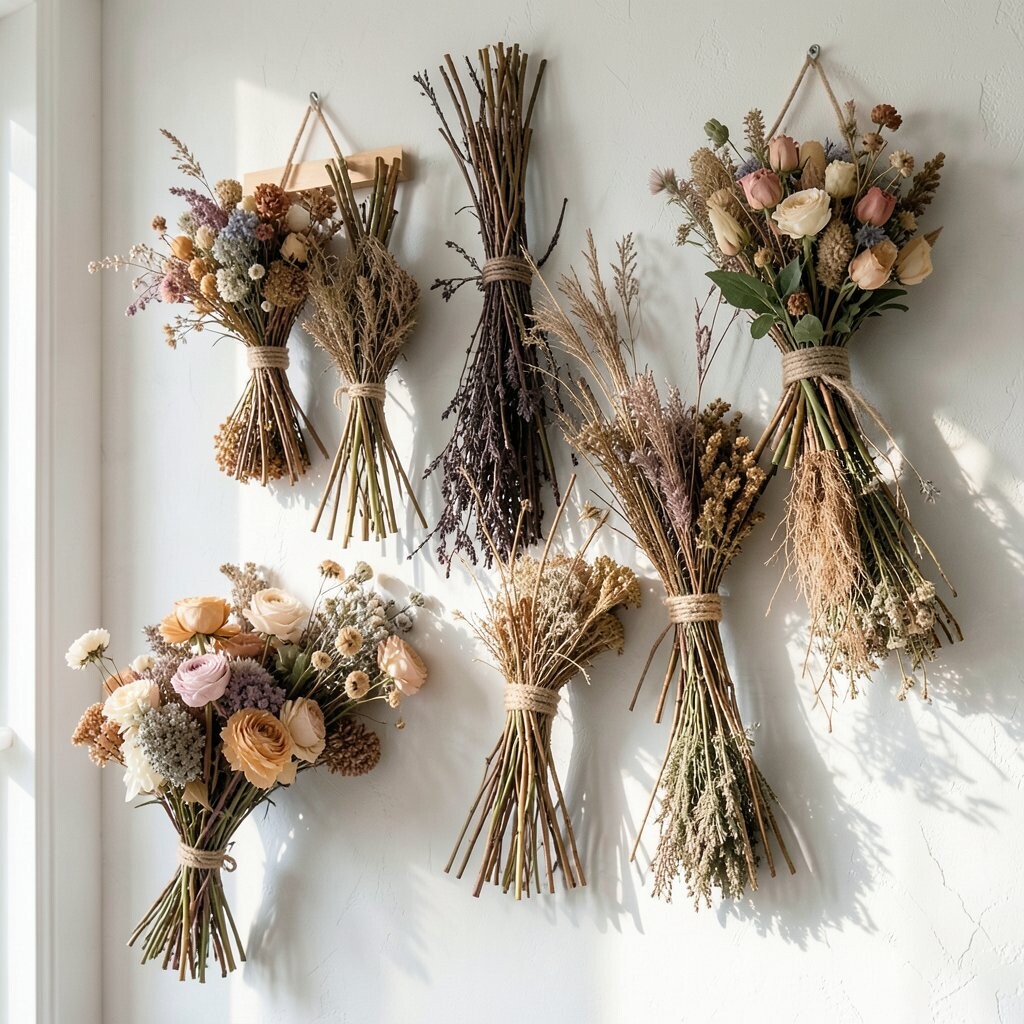
Use a small wall ladder, decorative ladder shelf, or even a repurposed wooden rack to hold dried stems in small bud vases. Place stems in varied heights so the wall has movement without needing a complicated design.
This idea brightens your space by creating layers that catch light at different angles. It’s also unique because the wall becomes functional, letting you swap seasonal stems when you want a fresh feel. Keep it practical by choosing lightweight vessels and securing the ladder so it feels steady.
For personalization, match the vase colors to your room palette, like white and blush ceramics for a soft look. Cost-wise, you can start with one shelf segment and fill it gradually, which is easier than buying all decor at once. A popular style right now is natural height variation, where decor rises and falls instead of lining up flat.
7. Make a Dried Flower Curtain Moment
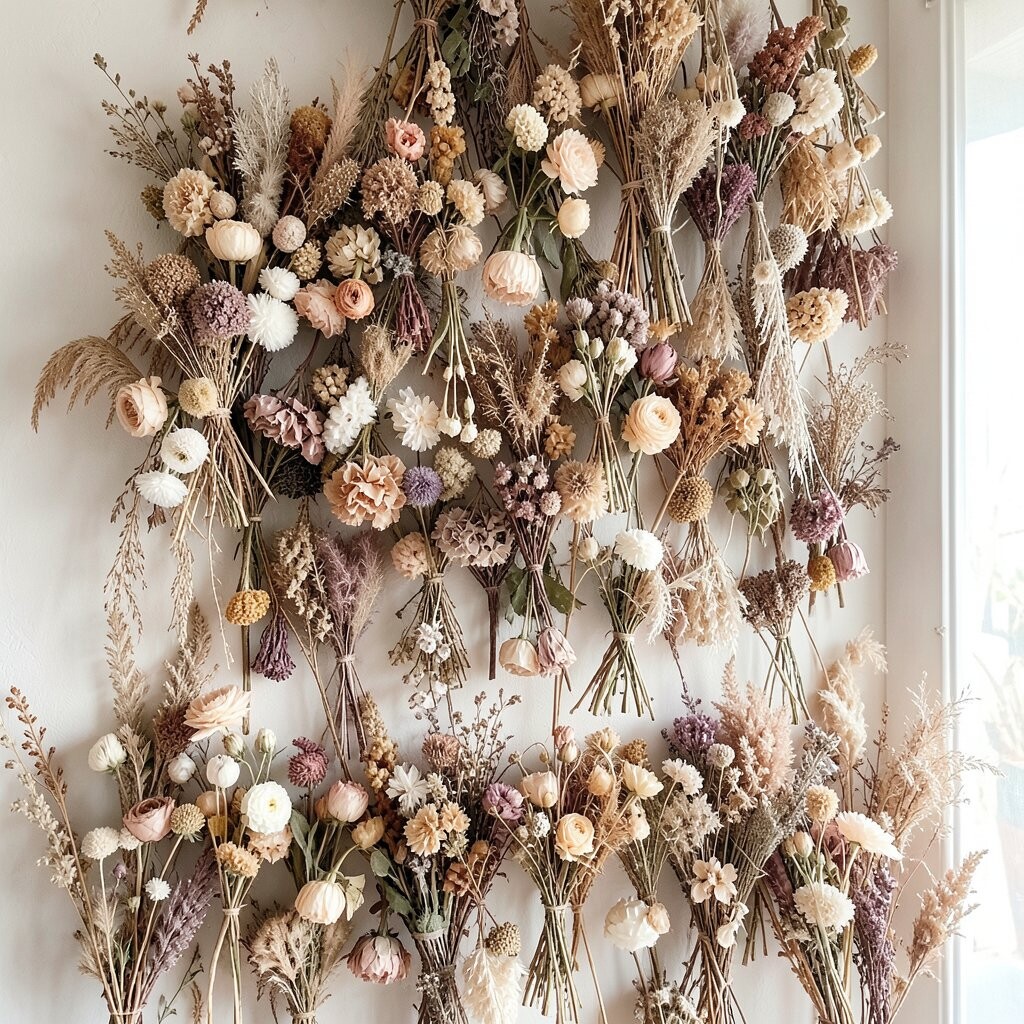
Create a soft curtain effect by stringing dried blooms onto thin twine and hanging them from a top rod or macramé board. Use lightweight pieces like strawflowers, baby’s breath-like fillers, and small seed clusters so they don’t pull down the string.
This turns your wall into a gentle backdrop that feels bright, playful, and full of texture. It’s unique because the movement of the garland makes the flowers look alive even without airflow. For practical tips, tie the knots tight, and leave small gaps so the decor breathes instead of clumping.
If you want personalization, add a few flowers in your accent color, such as deep burgundy or sunny gold, to connect the wall to your furniture. Cost considerations can be friendly since garlands use small pieces rather than full bundles of pricey blooms. This look also fits current trend themes of organic motion and cozy layering, especially in bedrooms and entryways.
To keep the color from fading, keep the curtain away from direct sun beams that hit all day long. If you live in a dry climate, a light protective spray and careful handling can reduce dust buildup.
8. Create a Floral Halo with Twinkle Lights
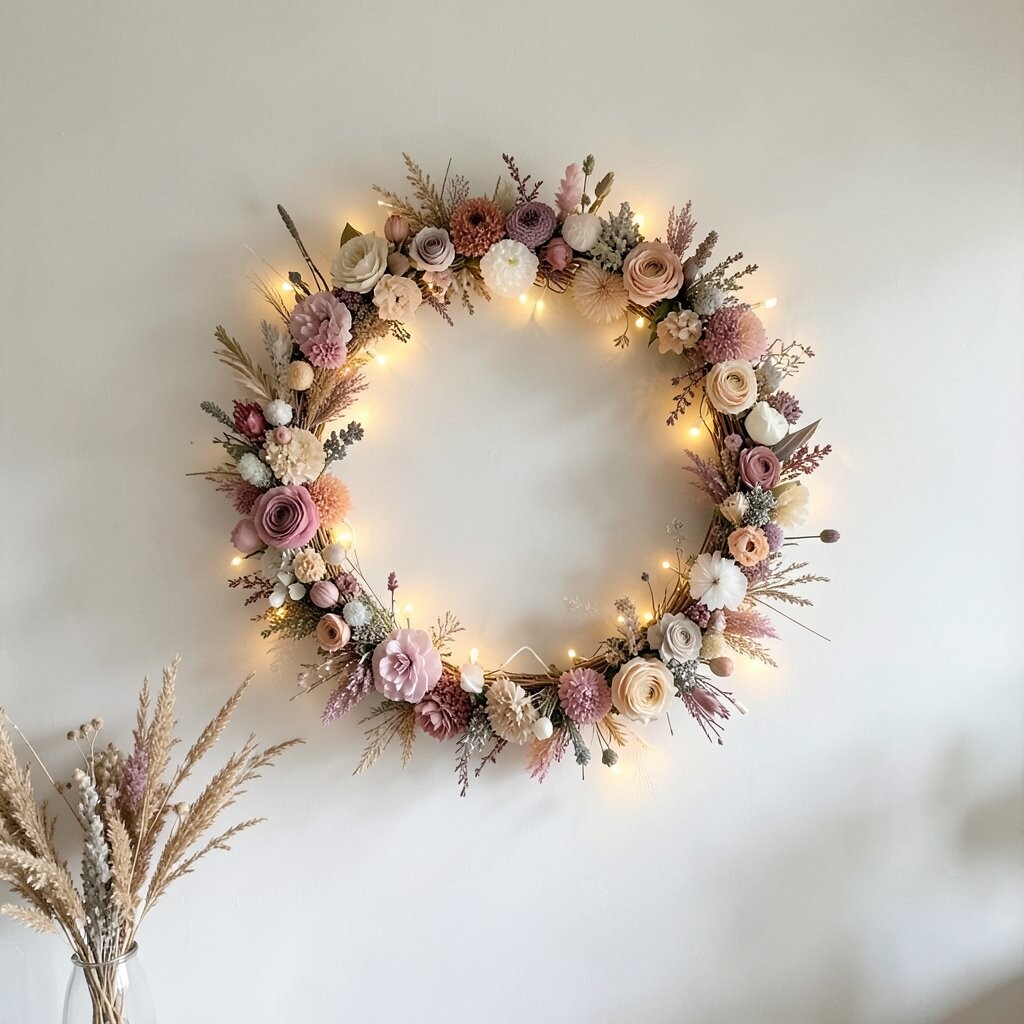
Wrap fairy lights around a circle wreath base, then add dried flowers in small clusters around the edges. Choose blooms that won’t block the light too much, like thin grasses, small blossoms, and airy fillers.
This is a bright idea because the warm glow makes petals look richer and more inviting. It’s unique because the wall art feels like decor at night as much as it does during the day. For practical tips, test the light string first, then secure it to the base using zip ties or floral wire so nothing shifts.
Personalize by changing the light color to match your room, such as warm white for cozy vibes or a gentle soft gold for a romantic feel. Cost-wise, you can use battery lights to avoid outlet changes, and dried flowers can be layered gradually over time. This style is trending because people love “soft light” decor that makes evenings feel calm and special.
9. Make a Botanical Timeline Wall
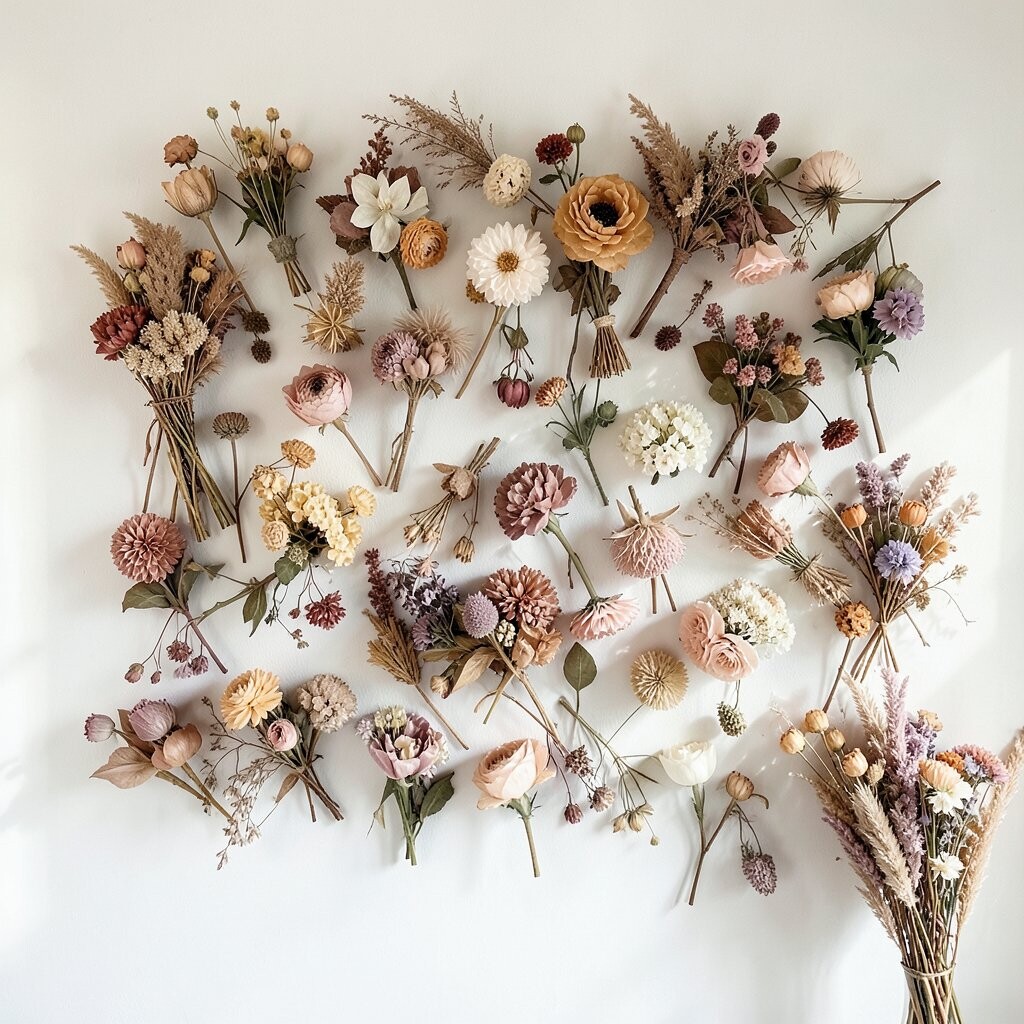
Arrange dried flowers like a timeline across a long strip of wood, starting with lighter tones at one end and moving to deeper shades. Add thin markers using paint or small labels on the backing, so the colors feel intentional.
This idea brightens your space because it turns flowers into a story rather than just scattered art. It’s unique because your timeline reflects your own memories, like favorite seasons, travel moments, or yearly milestones. For practical tips, choose a straight backing board and measure lightly before gluing, so the line stays neat.
You can personalize by matching each “date” section to a room event, such as spring colors near a window and fall tones near a cozy corner. Cost considerations are manageable because you can use small portions of blooms for each segment instead of building a full bouquet. A trend you might notice is art that looks curated and meaningful, not random, and timelines do that beautifully.
To keep everything tidy, wipe the backing with a dry cloth before mounting, and seal dried pieces with a matte finish spray. If you want future updates, leave space at the end of the timeline for the next bundle you dry or collect.
10. Pin Dried Flowers to a Fabric Backdrop
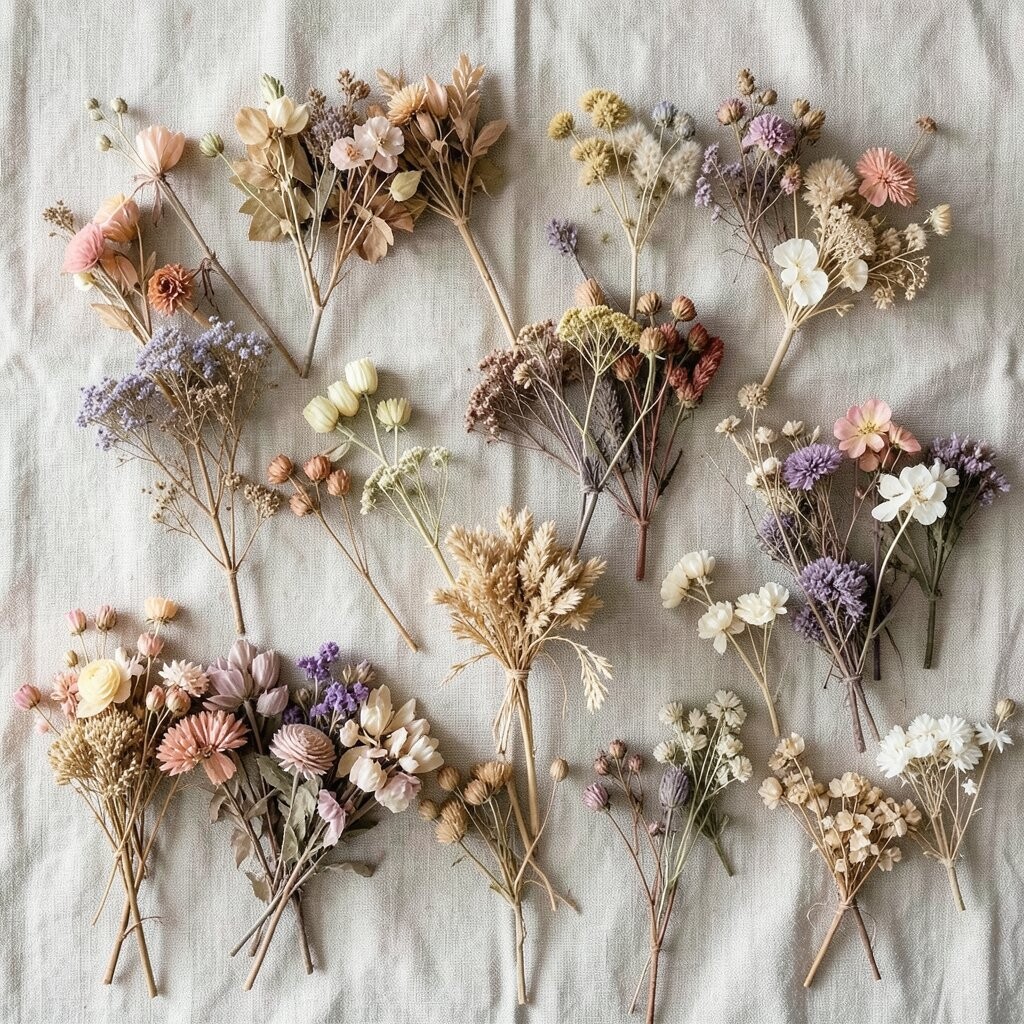
Stretch a piece of linen, burlap, or cotton over a frame, then pin dried flowers and grasses into the fabric like a soft collage. This method is forgiving because you can move pieces around before you commit.
This brightens your space by adding softness and warmth, since fabric backgrounds make colors look richer. It’s unique because the stems sit slightly embedded, giving the wall art a gentle, textured depth. For practical tips, use rust-resistant pins and keep the fabric tight to prevent sagging over time.
Personalize with a fabric pattern that matches your style, such as subtle stripes for modern rooms or plain neutral cloth for a boho feel. Cost-wise, a basic fabric remnant and a simple frame can be very budget-friendly compared to large framed prints. Current trends often favor mixed textures, and fabric plus botanical pieces is a perfect match.
11. Stack Shadow Boxes with Changing Seasons
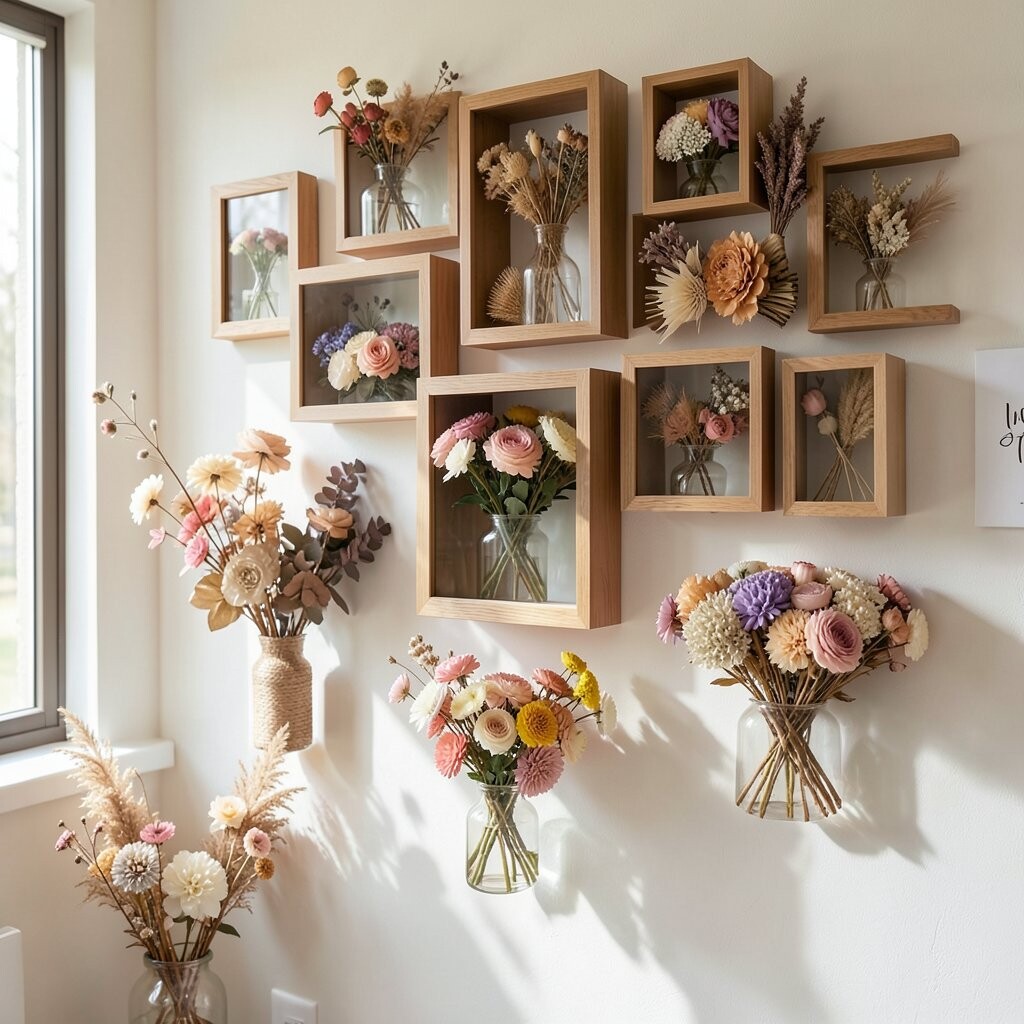
Use several small shadow boxes on the wall, each one featuring a different dried floral set. Create a seasonal rhythm, like spring blooms, summer grasses, fall seed heads, and winter evergreen textures.
This brightens your space because the wall art feels fresh throughout the year instead of stuck in one moment. It’s unique because each box tells a mini story, and the overall arrangement looks like a curated display. For practical tips, label the inside of each box lightly on the backing so swapping later is simple and stress-free.
You can personalize by keeping one constant element across all boxes, such as dried eucalyptus, while changing the rest. Cost considerations are smart here since you can build one box at a time, using affordable filler stems to fill gaps. A current trend is modular decor, and rotating shadow boxes fit right into that idea.
To keep the colors stable, store replacements carefully and avoid humid rooms where dried petals can clump. When you hang the boxes, use level marks so the display looks calm and balanced.
12. Make a Monochrome Dried Flower Wall
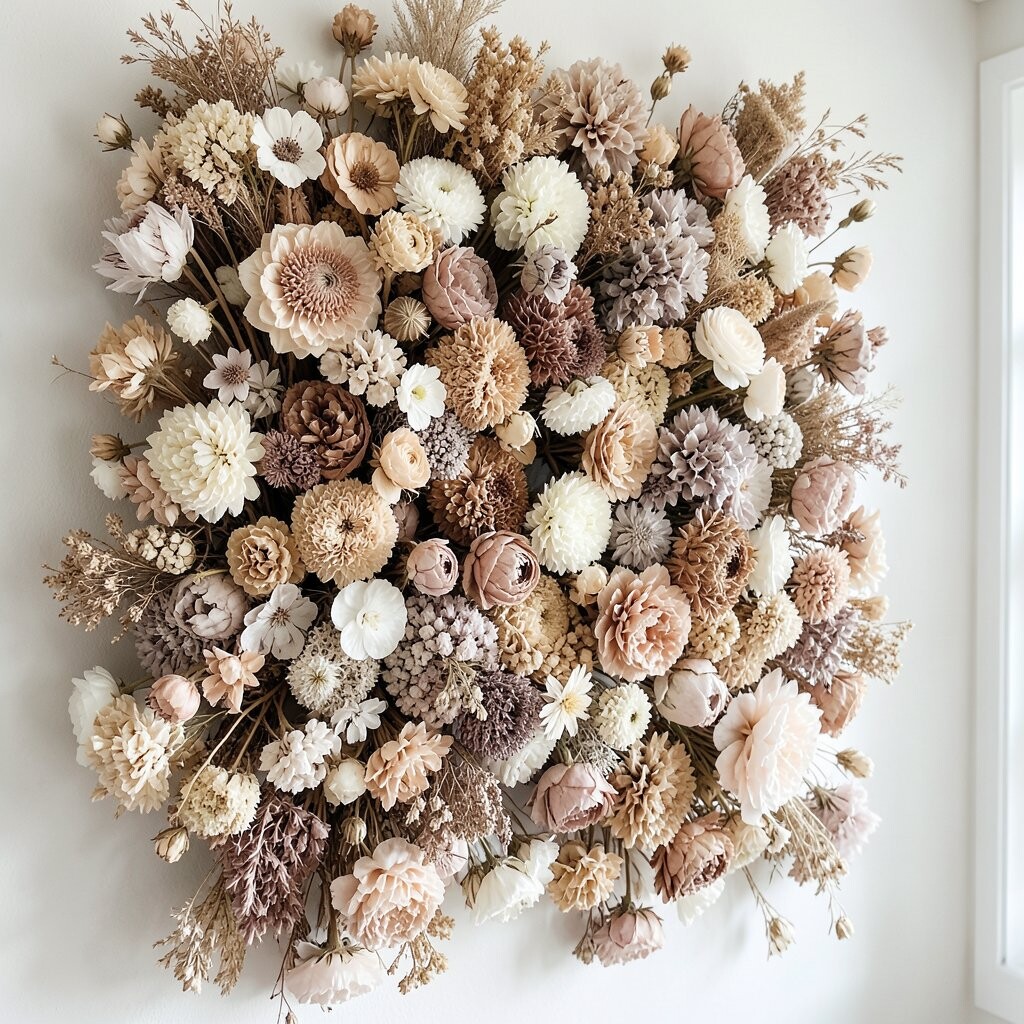
Choose one color family, like all ivory, all blush, or all deep charcoal, and build a wall collage around that tone. Keep textures varied by mixing blooms that look different even when the color stays the same.
This creates a bright, elegant effect because monochrome styling makes your wall look intentional and clean. It’s unique since it relies on texture, not mixed colors, so it feels modern and artistic. For practical tips, gather flowers with different shapes, like round hydrangeas, airy grasses, and spiky seed pods, so the wall still has depth.
Personalize by selecting a shade that matches your room’s undertone, such as warm cream for golden lighting or cool gray for brighter white walls. Cost considerations can be lower because you can shop for one type of bundle at a time instead of collecting many different colors. This style stays popular because modern interiors often prefer calm palettes that let furniture and lighting take center stage.
If you want extra brightness, place the wall art across from a light source or near mirrors, since reflections amplify the tone. A matte protective spray can also help reduce color wear and keep everything looking crisp.
13. Add Dried Flowers to a Woven Wall Hanging
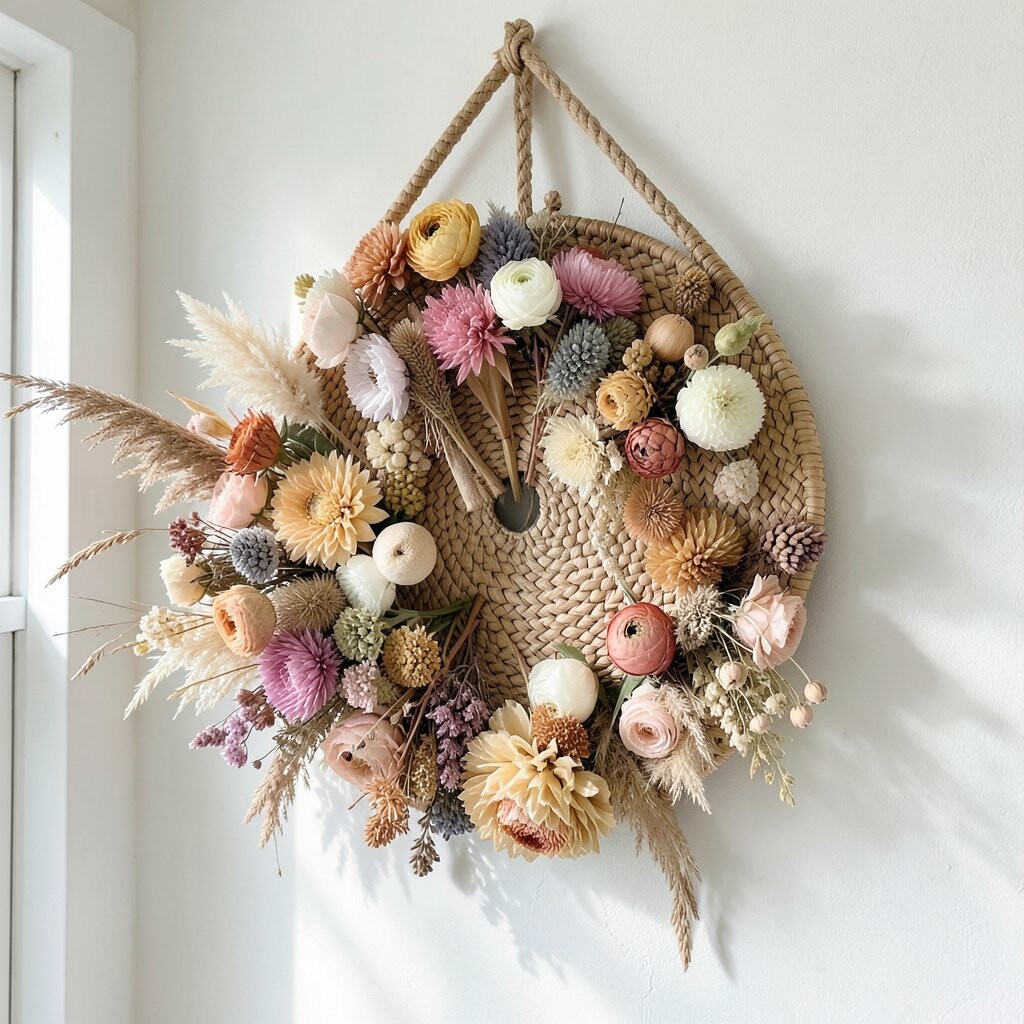
Attach dried flowers to a woven wall hanging like macramé, raffia, or a simple fiber backdrop. Use small ties or glue dots so the blooms sit along the fibers without pulling them down.
This brightens your space by blending softness, texture, and botanical beauty in one cozy piece. It’s unique because the fibers make the flowers look integrated, not just pasted onto a flat surface. For practical tips, keep heavier blooms lower and lighter sprigs higher so gravity doesn’t cause drooping.
Personalize by picking flowers that match your weave colors, like cream petals for beige fibers or sage greens for natural rope. Cost considerations are often friendly because you can thrift a plain woven piece and then add dried stems you already have. Current trends favor texture-forward decor, and this combination fits perfectly with modern boho styling.
To maintain it, avoid wet cleaning and instead use a soft brush to lift dust. If a bloom loosens, re-tie it quickly so the hanging keeps looking fresh.
14. Design a Floating Flower Shelf Wall
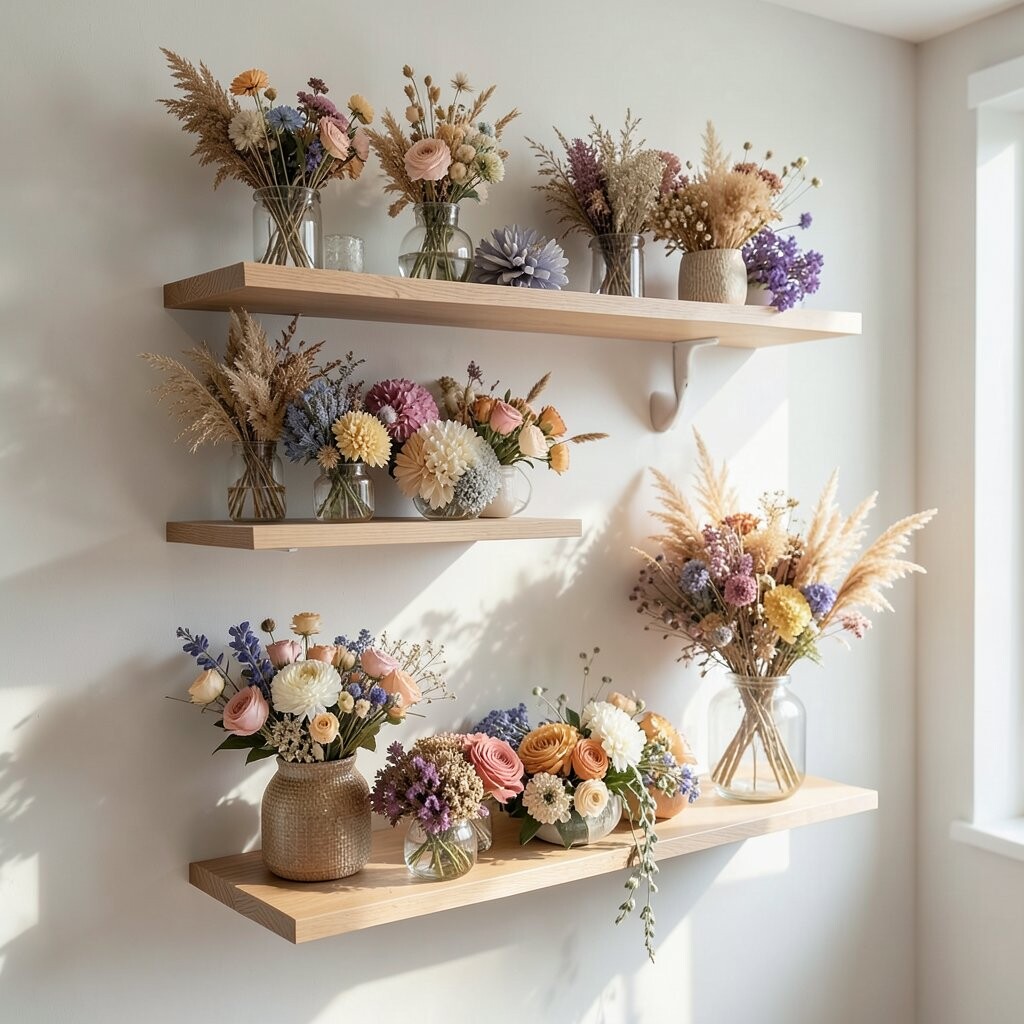
Install a few floating shelves, then style them with dried flowers in small clusters, books, and minimal decor. Alternate shelf heights so the dried flowers look like they’re rising and resting across the wall.
This brightens your space by turning vertical wall space into an eye-catching display with practical function. It’s unique because your flowers aren’t all in one plane, and that layered styling feels curated and modern. For practical tips, anchor shelves securely, use small holders like glass bud cups, and keep stems trimmed so they don’t crowd the walkway.
You can personalize by matching shelf colors to your room trim, such as warm wood shelves with earthy stems or sleek black shelves with light flowers. Cost considerations can be spread out since you can begin with one shelf and add more pieces later. A trend you’ll see often is styled shelf decor, where botanicals mix with books and ceramics for a lived-in look.
To keep the display tidy, choose a few “hero” blooms and repeat them across shelves for a cohesive rhythm. If you like seasonal changes, plan shelf layouts that let you swap dried bundles without starting over.