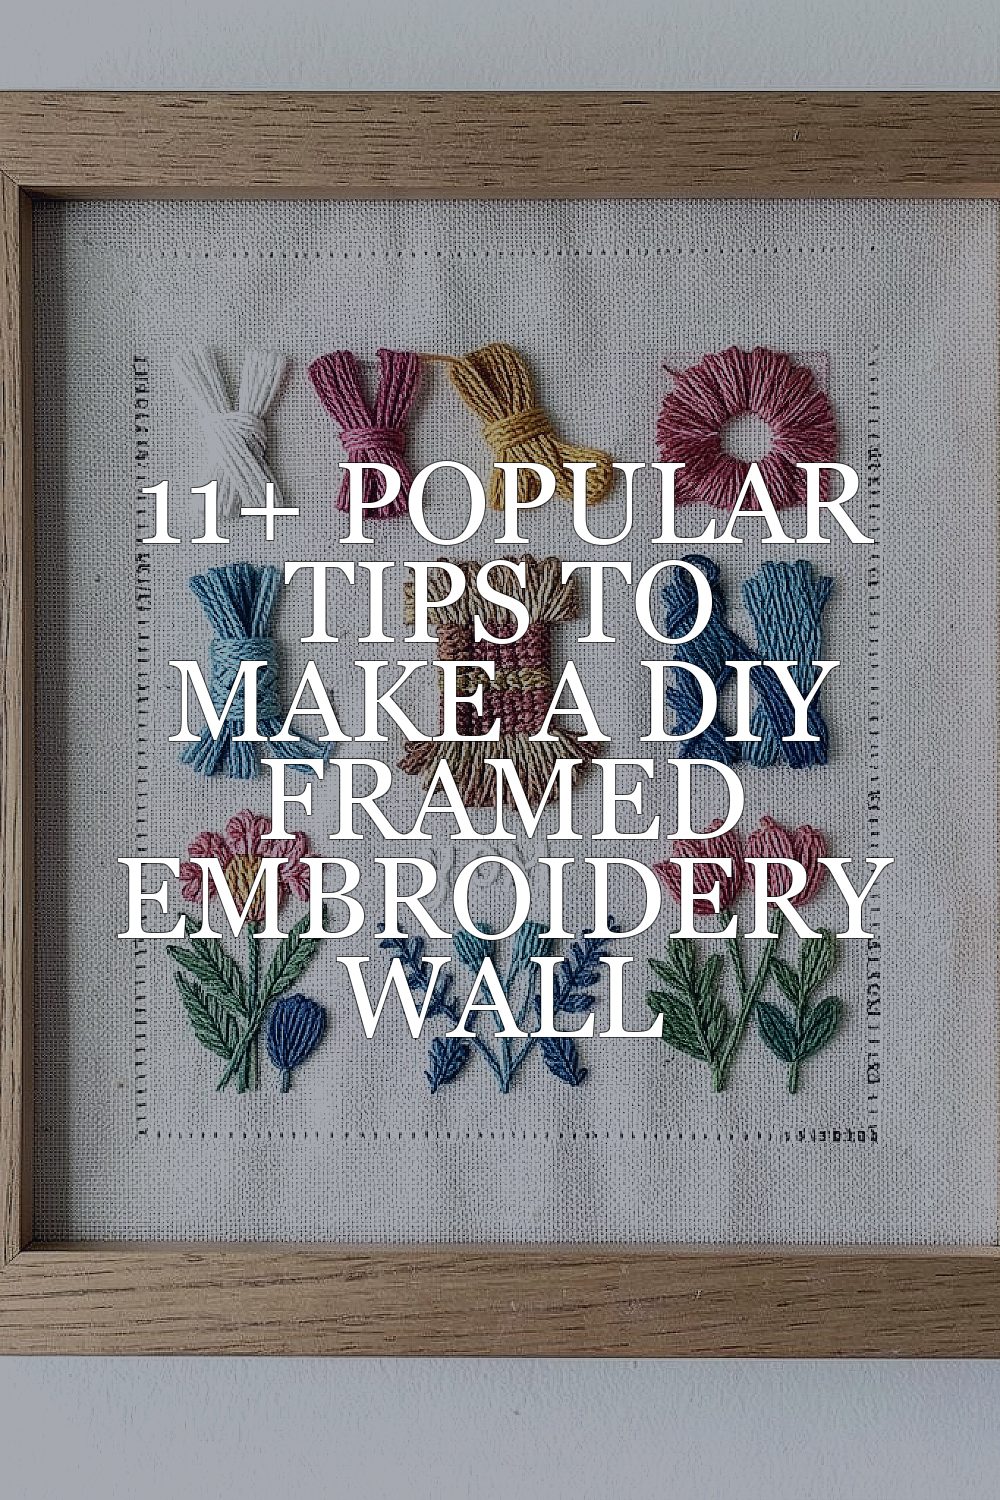
Embroidery has a way of making any room feel warmer. Framing your stitches turns a simple craft into wall art you’ll actually notice.
1. Pick a Theme That Matches Your Space
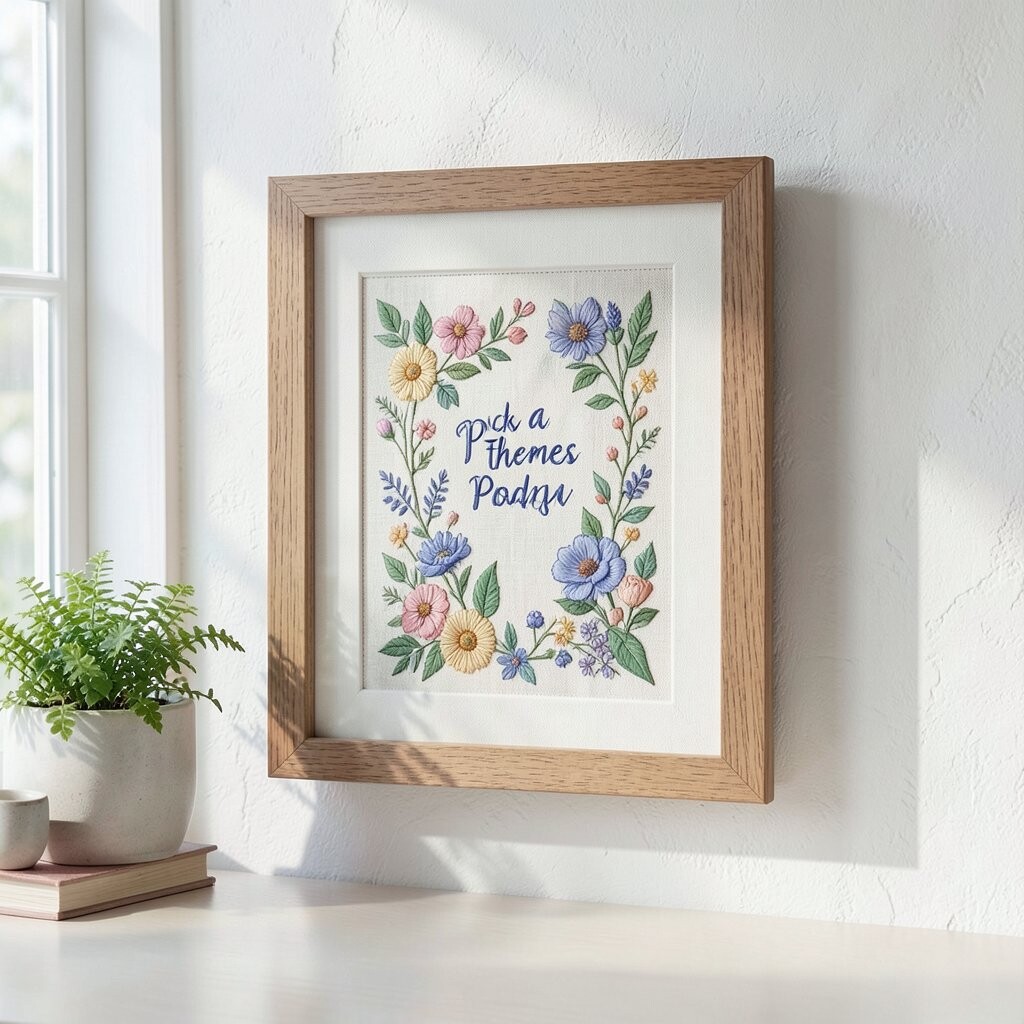
Start by looking at your room’s colors and textures. Choose a theme that naturally fits, like soft florals for a bedroom or bold motifs for a hallway.
When you pick a theme, your wall looks planned instead of random. You can repeat a shape, stitch style, or color range across different pieces. This makes your finished embroidery feel like a set, not a pile of frames.
2. Choose Fabric and Thread Like You Mean It
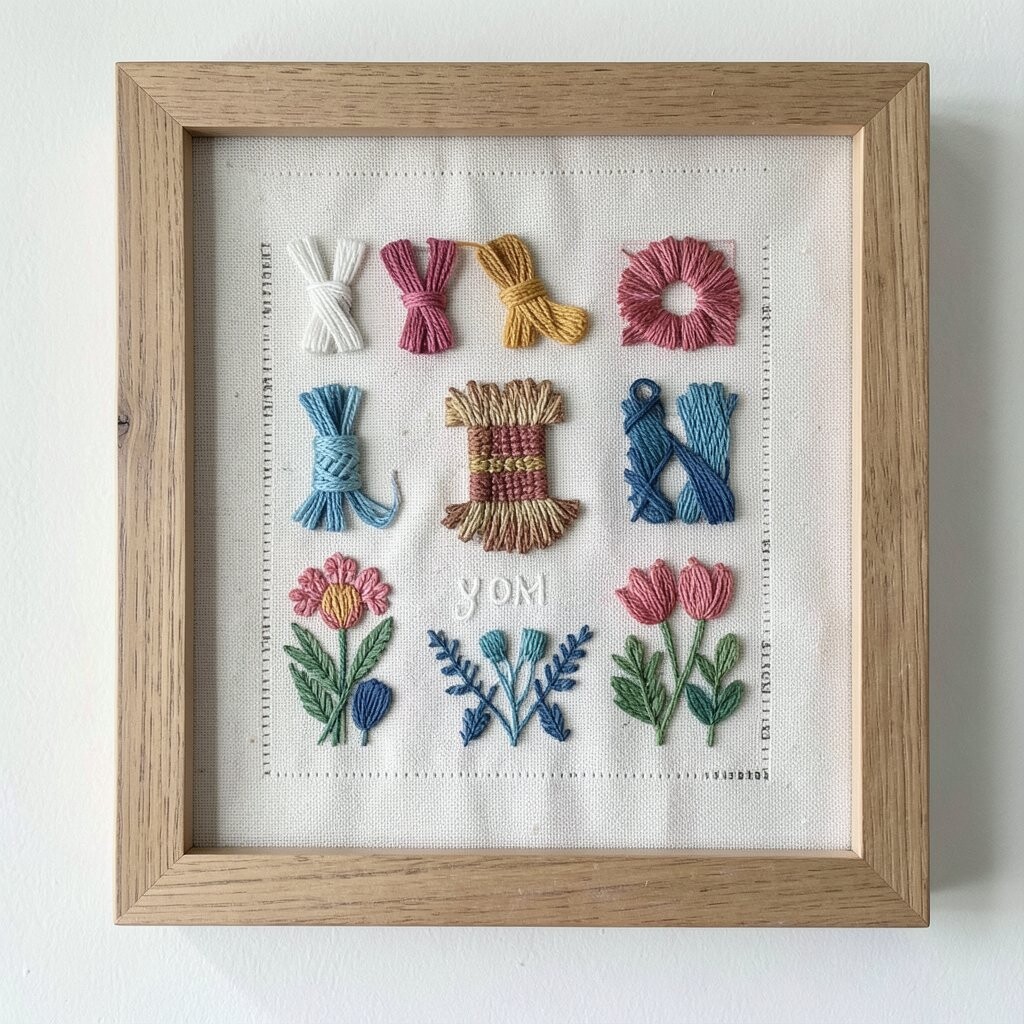
Strong embroidery starts with the right fabric base and thread you enjoy using. Linen, cotton, and even sturdy blends can work, but each one changes how the stitches sit.
If you want a clean, smooth look, use tightly woven fabric and threads that glide well. For a cozy, handmade feel, a slightly textured fabric makes stitches look fuller.
Pay attention to thread thickness and sheen, too, because that affects how the art catches light. Matching matte and shiny threads across pieces can look modern and intentional. If your goal is a curated wall, consistency helps a lot.
3. Plan Your Layout Before You Cut Anything
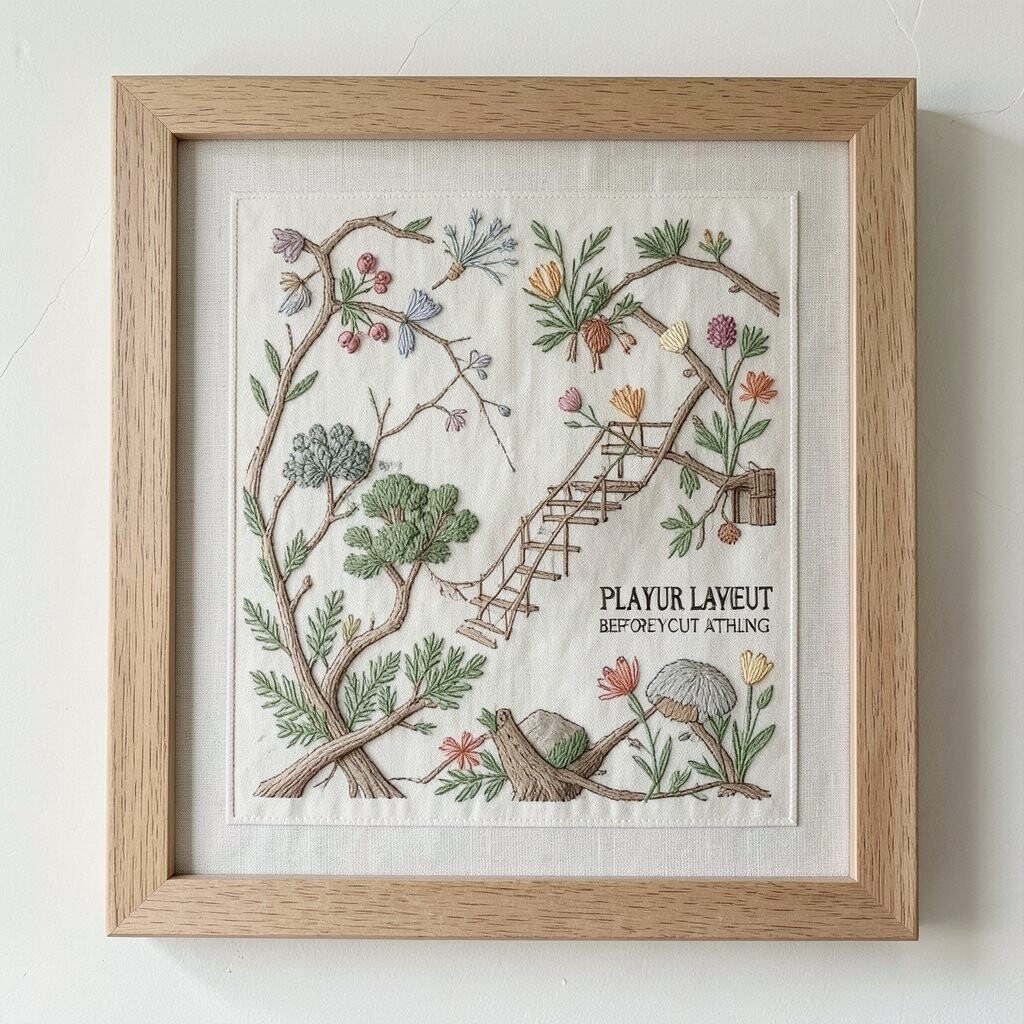
Before you buy frames or start cutting mats, lay your design out on the floor. Move pieces around until the spacing feels right to your eyes.
A popular trend right now is mixing sizes but keeping a steady border width. You can also play with alignment, like lining up the top edges so the wall feels neat. Planning first saves money because you won’t end up with mismatched gaps.
Try a layout that follows the wall shape, like a gentle arc over a console table. If you like symmetry, arrange similar pieces in mirrored spots. If you like a relaxed vibe, stagger frames while keeping the same background color behind each embroidery.
4. Use a Simple Frame Style for a Polished Look
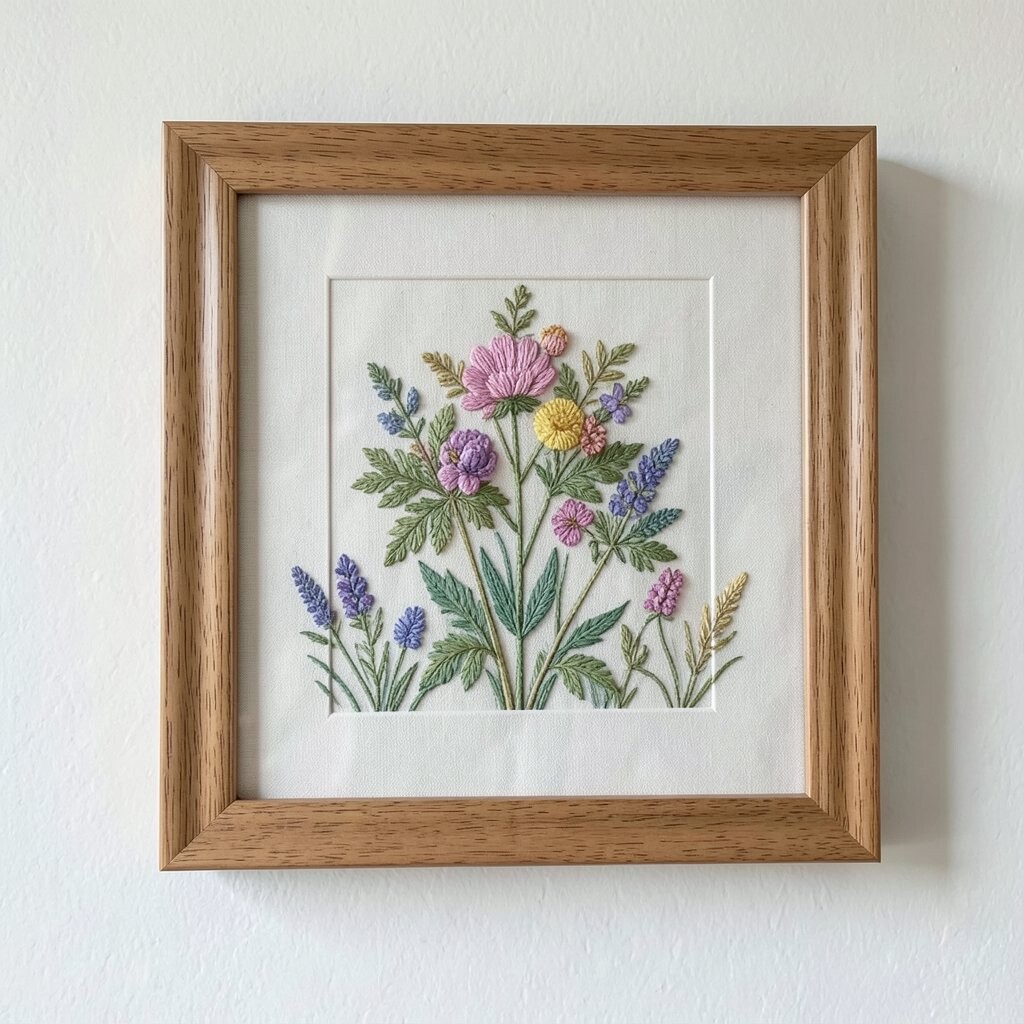
Choose a frame style that doesn’t fight the embroidery. Think about wood tones, slim black frames, or soft painted colors that echo your room.
When the frame is simple, your stitches become the main focus. That also keeps your DIY wall from looking cluttered, even if you use multiple designs.
5. Add Matting to Make Colors Pop
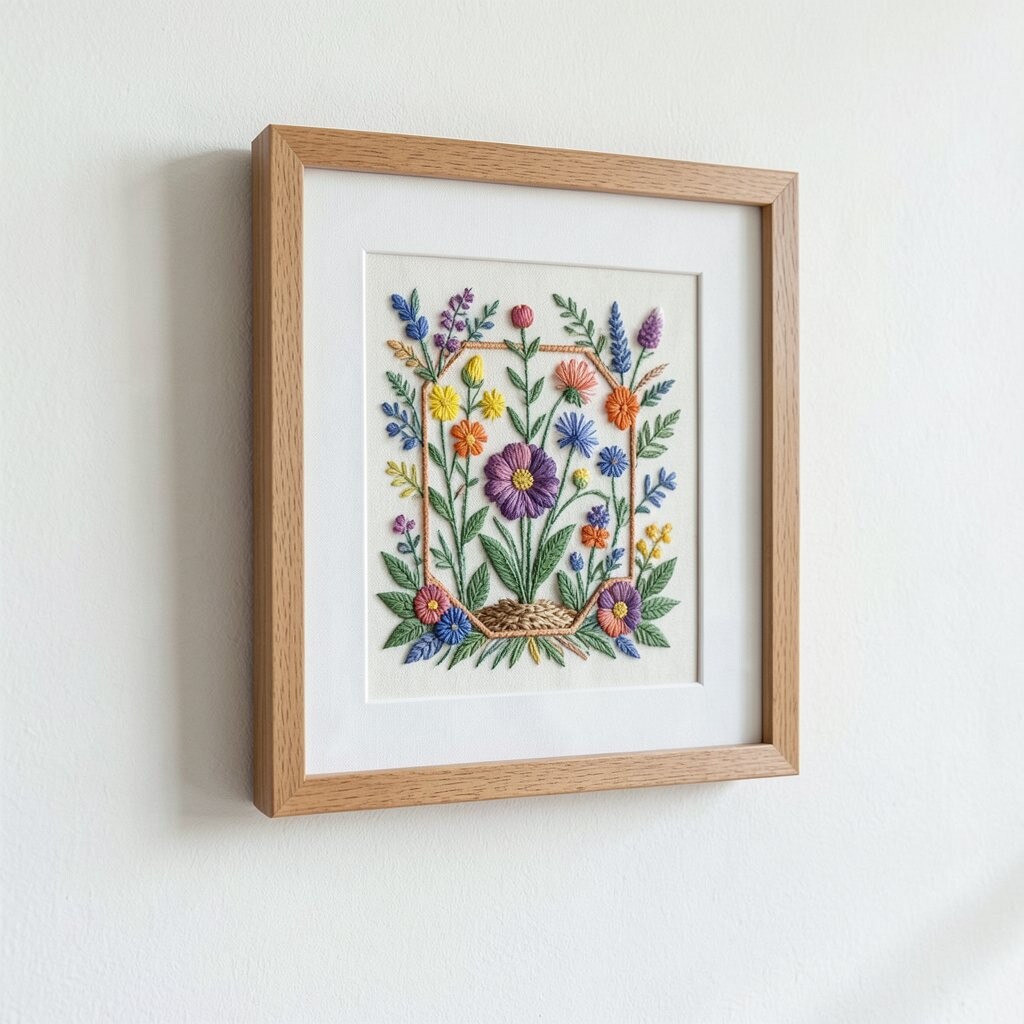
Matting is one of the easiest ways to make embroidery look more professional. A good mat creates breathing space and helps the fabric background look brighter.
Choose a mat color that supports your thread colors, like warm cream for golden tones or cool gray for blues. Even a thin mat can add depth and make the stitches stand out.
If you love a gallery look, go with a white or off-white mat for a crisp contrast. If your goal is cozy, try a slightly darker mat to soften the edges. This small change can make every piece feel more intentional.
6. Stretch and Mount Your Textile Carefully
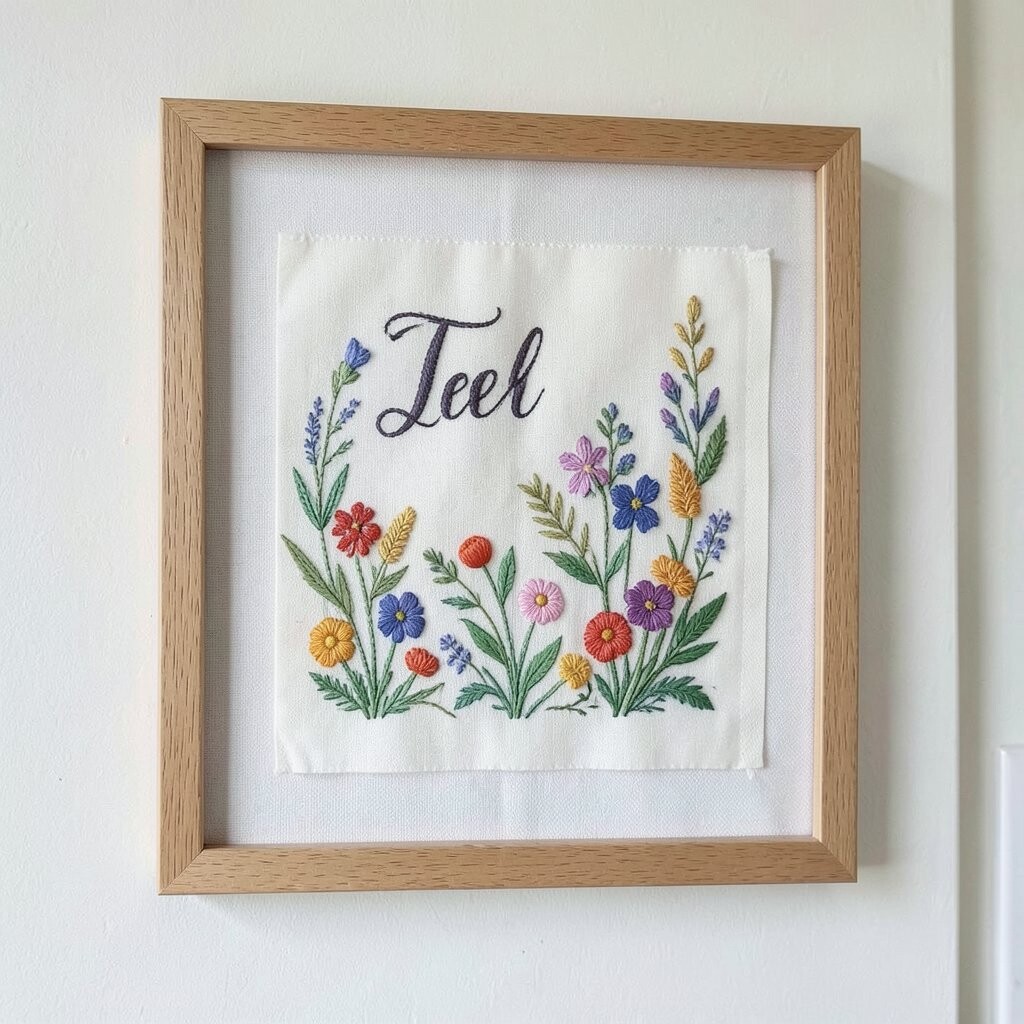
Neat framing starts with a tidy, flat piece of embroidery. Give your finished textile a gentle press, then secure it so it stays smooth behind the glass.
Use even tension when mounting so you don’t warp the fabric. If you see ripples, adjust while the textile is still manageable.
Clean mounting also protects your work over time, especially if the room gets sun. A well-mounted embroidery holds its shape and looks sharper from every angle. You’ll feel proud when you hang it and nothing puckers.
7. Pick Glass or Acrylic Based on Your Lifestyle
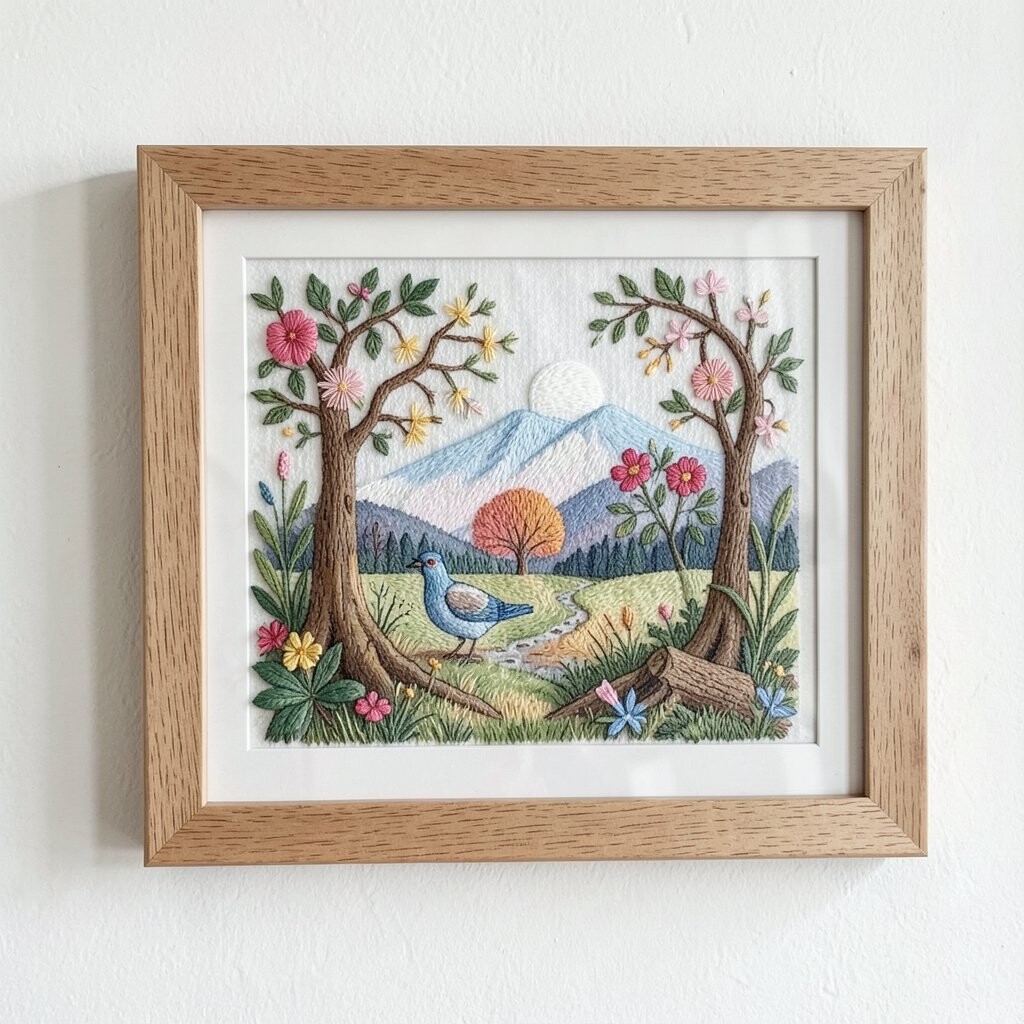
The right cover can change how your wall looks every day. Glass gives a classic clarity, while acrylic can be lighter and less breakable.
If you have kids, pets, or busy hallways, acrylic may feel safer. If your embroidery sits in a bright spot, consider glare because some surfaces reflect more than others.
Try to balance clarity with comfort, so the embroidery stays easy to enjoy. Low-glare options can help your stitches look rich instead of washed out. Either way, a protective cover keeps dust away and makes cleaning simple.
8. Use Consistent Spacing for a Clean Gallery Feel
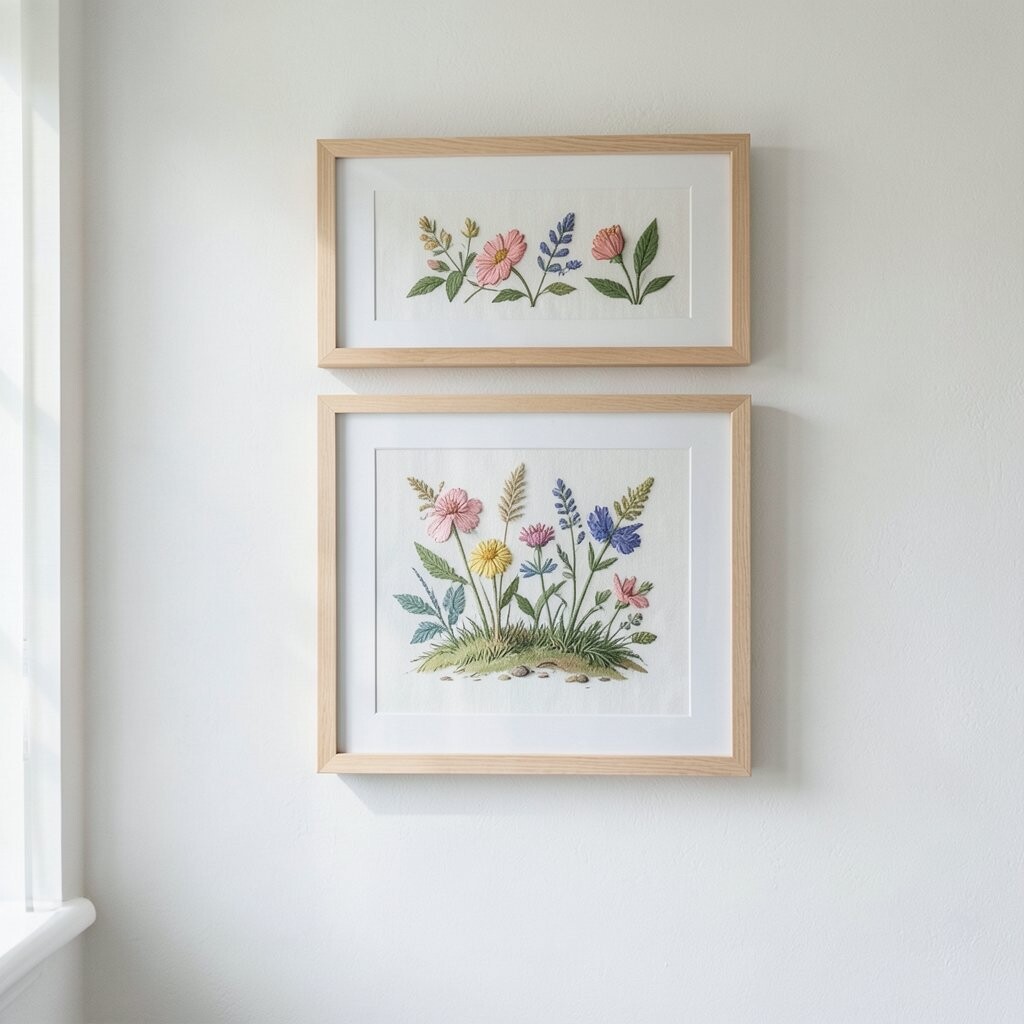
Spacing is what makes a DIY wall look like it came from a store display. Measure distances between frames so the gaps stay even or follow a simple repeating pattern.
Even spacing can make mixed embroidery sets look cohesive. When your borders align, your eye moves smoothly from one piece to the next.
9. Coordinate Backing Paper and Color Through the Mat Window
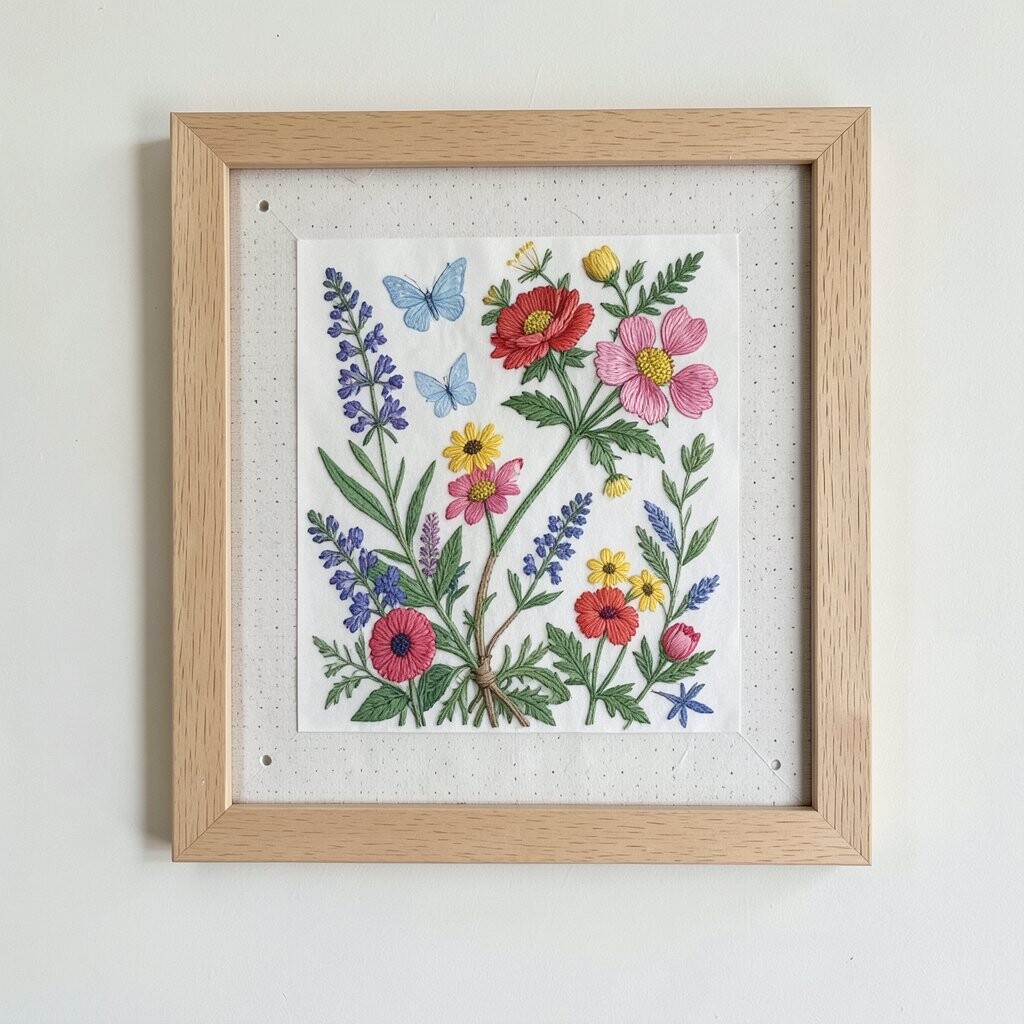
What you place behind the embroidery matters more than people expect. A plain backing can make your colors look richer, while a busy backing can distract from the stitches.
Choose a backing color that complements the fabric and threads. Soft neutrals like ivory and light tan often look timeless and let the embroidery shine.
If you want a modern twist, try a subtle accent backing that matches a thread color. It can add quiet depth without stealing attention from the design. This trick also helps unify pieces that use different fabric shades.
10. Add Personal Touches Like Labels, Dates, or Small Details
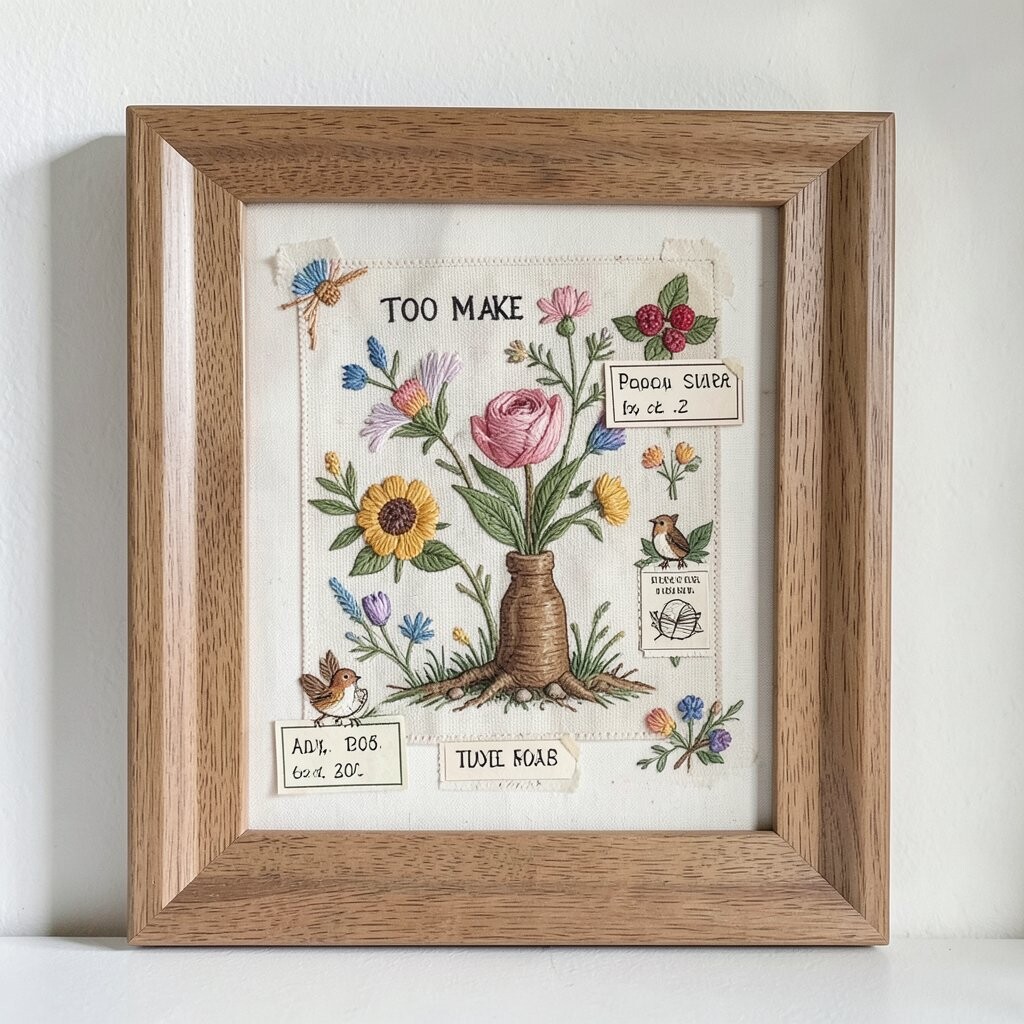
Make the wall yours by adding little signs of memory. You can include a small note on the backing, a date from when you stitched, or even a tiny symbol that means something to you.
These details bring charm and give your finished embroidery more story. They also make the wall feel special if you want to gift it or share it with family.
Try including a short thread color list for each piece, written neatly on sturdy paper. When you use the same method later, you’ll know exactly what worked. Small personal touches can turn décor into a keepsake.
11. Keep Costs in Check With Smart Shopping and Alternatives
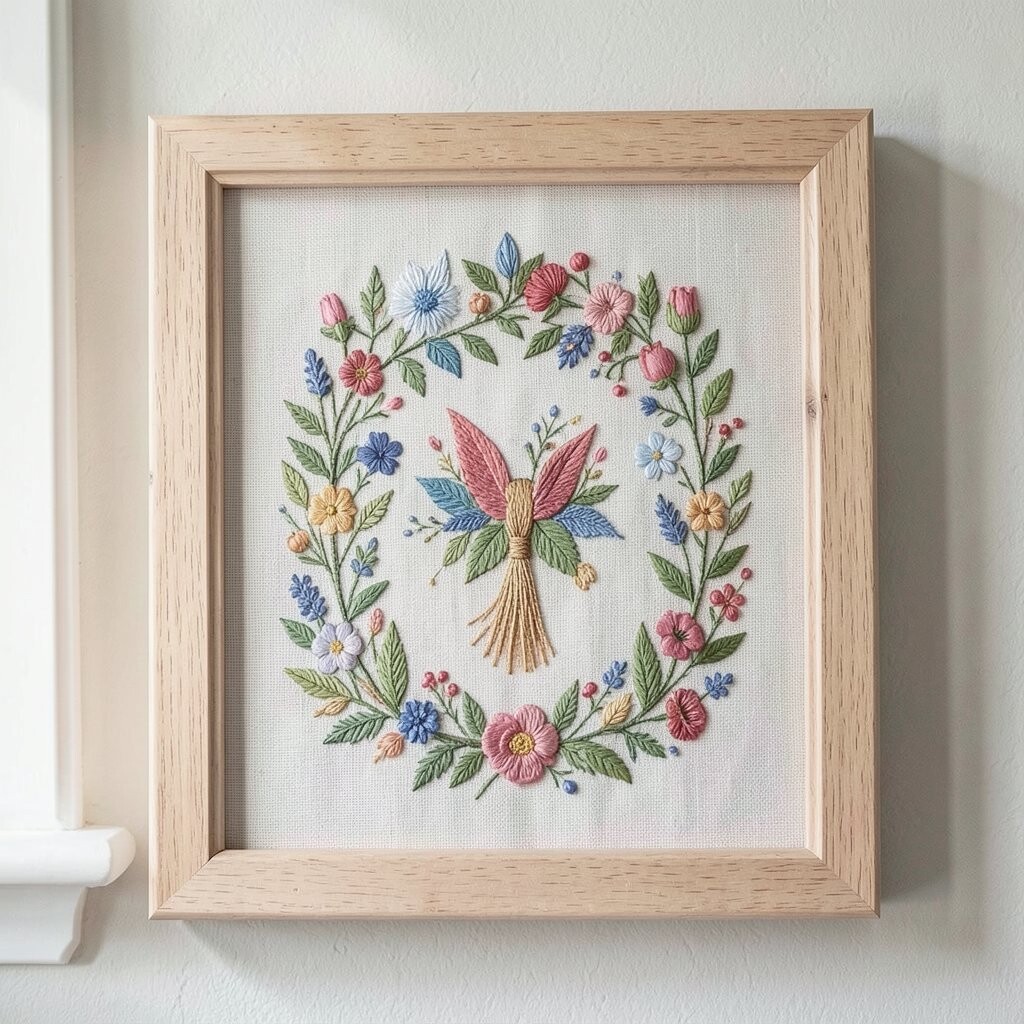
Framing can feel pricey, but you can manage costs without lowering quality. Shop for frames on sale, check thrift stores for solid shapes, and compare prices at craft stores.
Another budget-friendly approach is using fewer custom items and repeating what you already like. When you standardize frame sizes and mat colors, you buy fewer weird extras and spend less overall.
You can also use acrylic sheets cut to size or simpler backing materials to reduce expenses. If you’re working with a tight budget, prioritize frames for the pieces you love most. That way, your money goes where your eyes land first.
12. Match Today’s Trends With Your Own Stitch Style
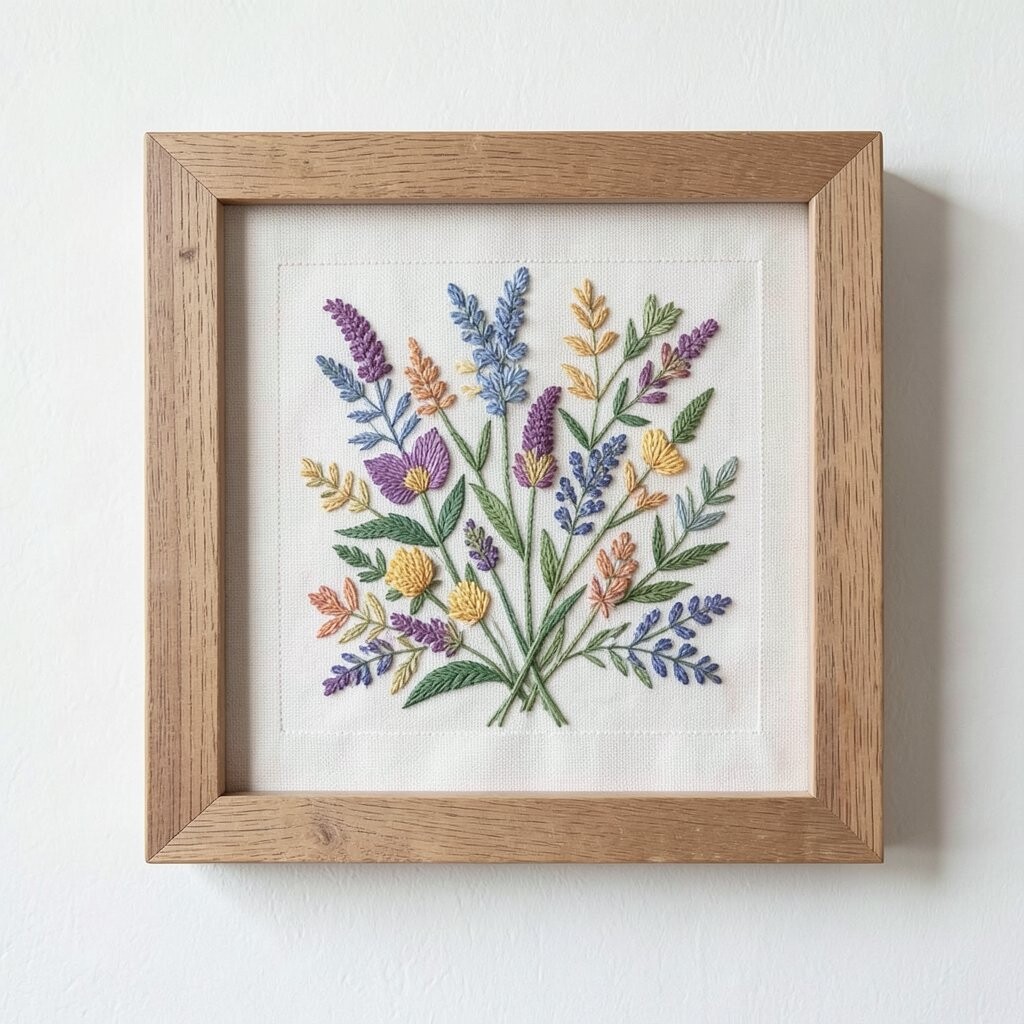
Current trends often blend calm neutrals with bolder thread accents, and that works beautifully for embroidery walls. You can keep the frames simple while adding interest through stitch texture and thread color.
Consider grouping pieces by color family, like warm reds with golden thread or cool greens with muted blues. This matches the trending idea of cohesive palettes while staying true to your personal taste.
You can also mix embroidery styles, such as combining traditional floral motifs with simple line-work designs. The uniqueness shows in the variety, but the wall stays organized with your layout and frame choices. Your final result will feel fresh, handmade, and very you.