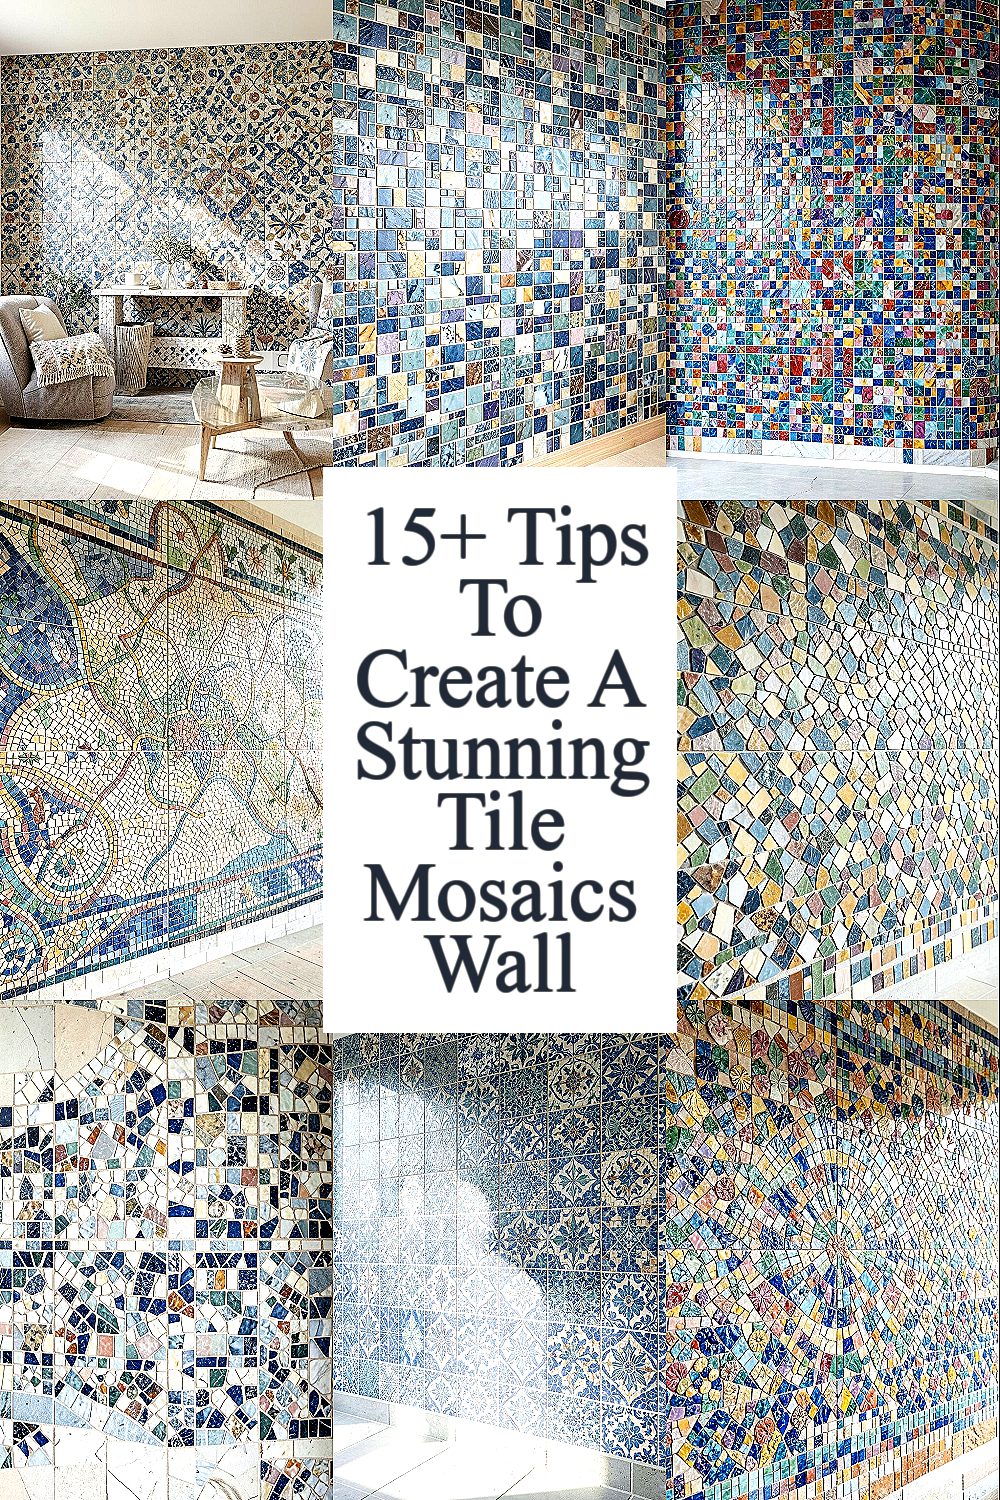
A tile mosaics wall can make any room feel hand-crafted and bright. When you plan the details, even simple materials can look truly special.
1. Pick a Theme That Matches Your Home
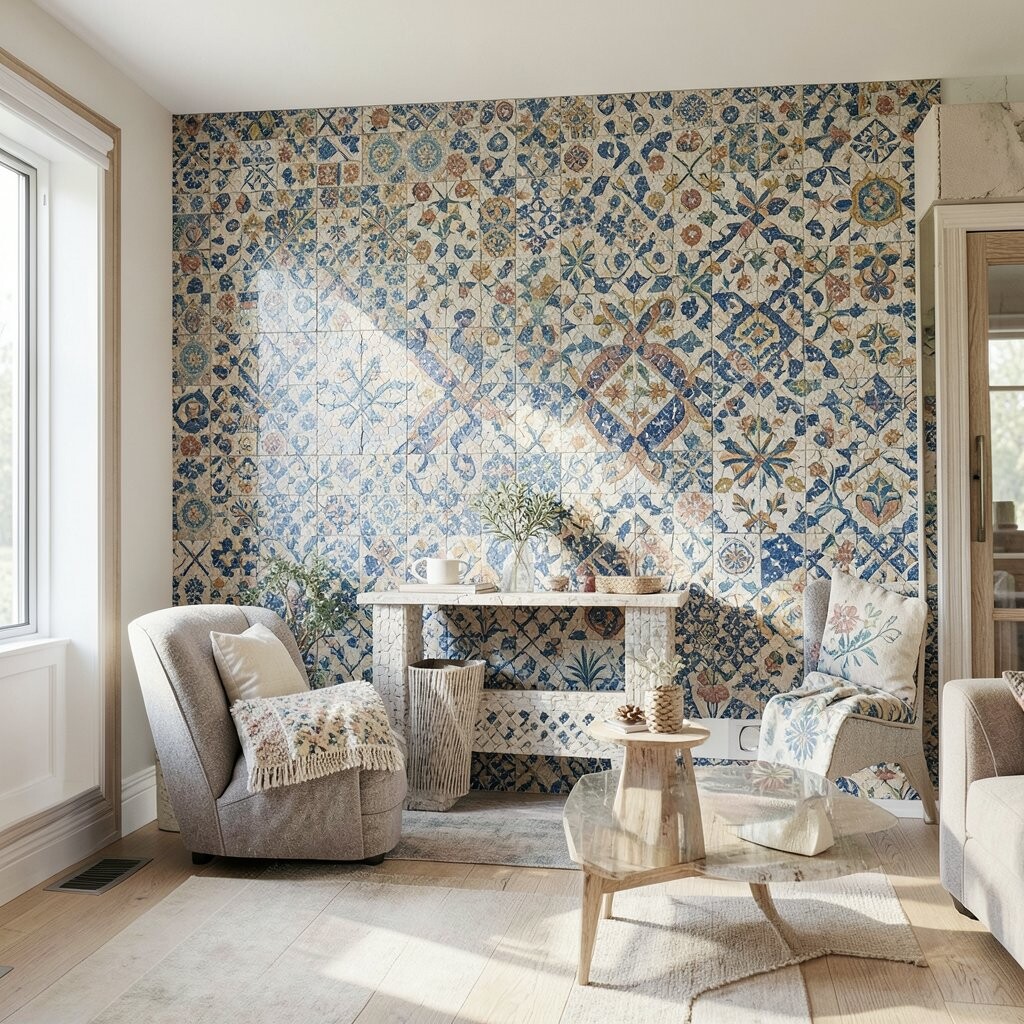
Start by picturing how the wall will look in your space on a calm day and a busy day. If your room feels warm and cozy, think earthy colors and gentle shapes that feel inviting.
When you choose a theme, your choices line up like a good story. A coastal theme can use blues and sandy neutrals, while a modern theme might lean toward clean grids and fewer colors. That matching feeling is one of the biggest benefits because the wall looks intentional from far away and from close up.
2. Choose Tiles You Can Actually Live With

Go for tiles that fit how the wall will be used, not just how they look in a store. For example, glossy tiles can be beautiful, but they can show fingerprints and smudges more easily than matte finishes.
Mixing finishes can still look amazing, as long as you do it on purpose. A practical way to stay comfortable is to balance shiny surfaces with softer, less reflective tiles for a calmer overall glow.
Pay attention to durability and cleaning effort, especially if the wall sits near a kitchen or entry. When you select wisely, the wall keeps its charm with less fuss, and that gives you more time to enjoy it.
3. Build a Color Palette Before You Buy Anything
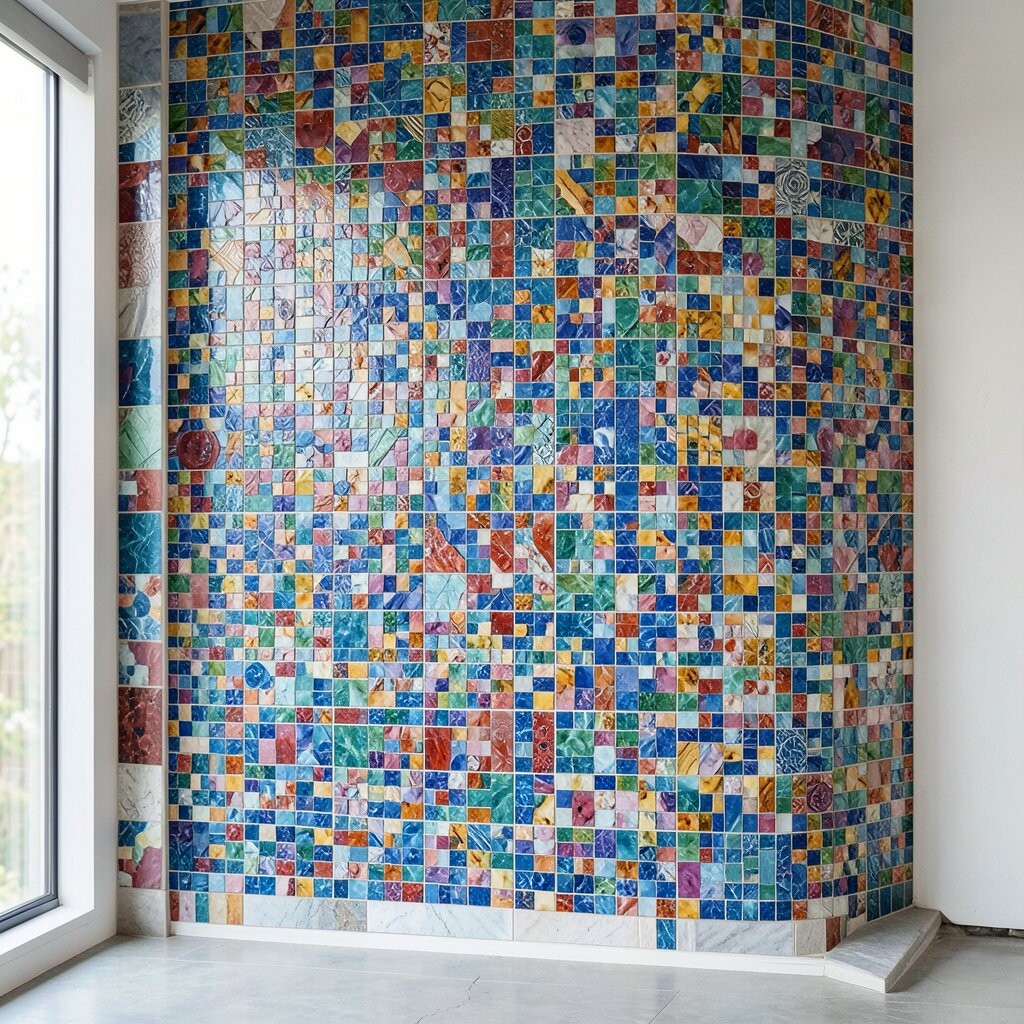
Choose a palette first, then shop with those colors in mind. Even if you love lots of shades, picking a main color, a supporting color, and a small accent helps your design look cohesive.
Try limiting your accents so they pop instead of competing. You can still be playful, using tiny bursts of bright tile like confetti across a mostly steady background.
Color planning supports your budget because you avoid buying extra tiles you later regret. It also helps you get the “wow” look faster since you are not guessing as you go.
Look at current trends too, like warm stone tones, soft terracotta, and muted jewel colors that feel modern without looking loud. Those palettes pair well with many decor styles and can make your wall feel fresh for years.
4. Sketch Your Layout Like a Map
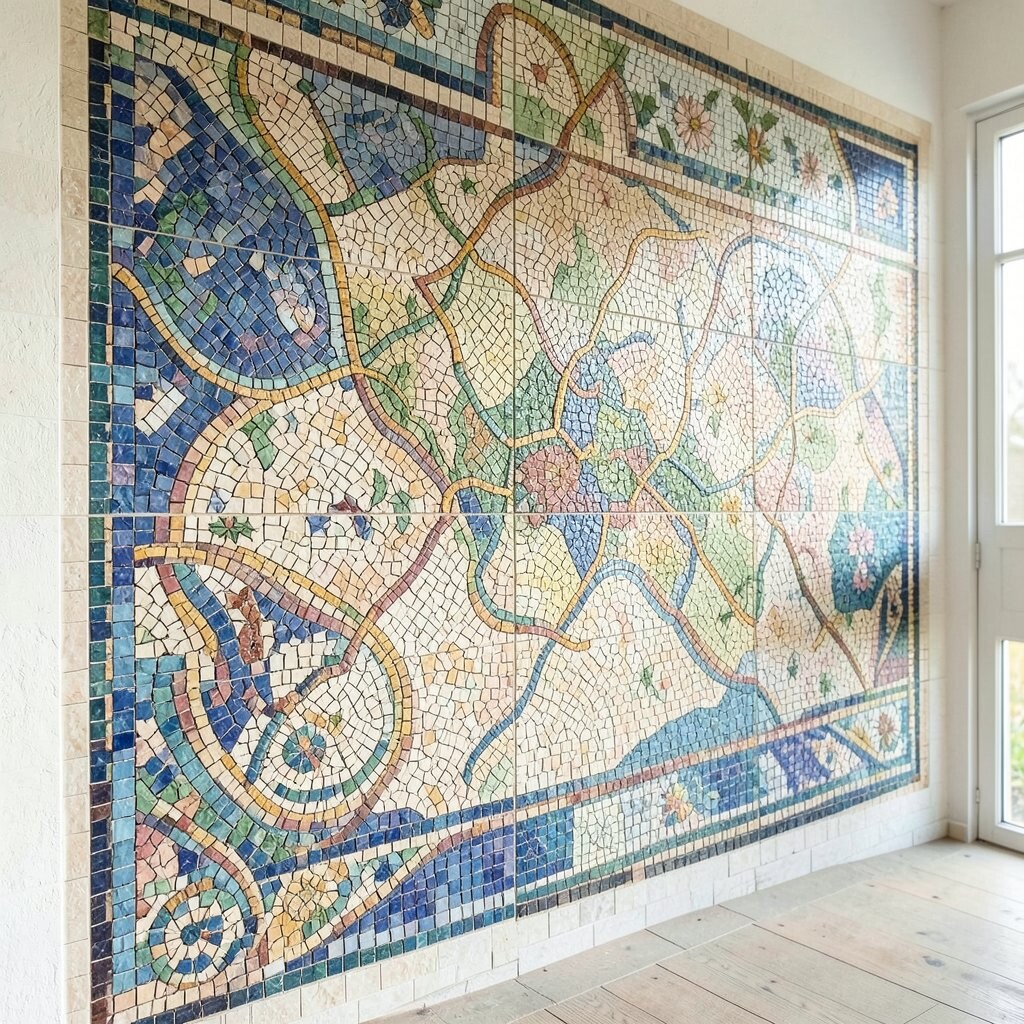
Before cutting tiles, draw a rough layout on paper or use a simple digital sketch. Mark where you want movement, like a flowing curve, a sunburst, or a central focal shape.
It is easier to adjust your plan on paper than to rearrange cut pieces later. Your layout becomes a practical guide that reduces waste, keeps symmetry under control, and saves time.
If you want personalization, add a small element that means something to you, like a favorite color combination or a shape that echoes a hobby. Even a tiny corner detail can make the whole wall feel like yours.
5. Start With a Neutral Base for Strong Contrast

A neutral base gives your accents a place to shine, and it makes the final look feel more polished. Cream, light gray, or warm beige can act like a friendly canvas behind more expressive pieces.
When contrast is clear, the wall reads beautifully from different distances. This is a great benefit for busy homes because the wall stays visually neat instead of chaotic.
For cost considerations, neutral tiles are often easier to find in many sizes and finishes, so you can match them across your project. Plus, if you need to replace a piece later, the base colors are simpler to re-balance.
6. Mix Tile Shapes With Purpose, Not Randomness
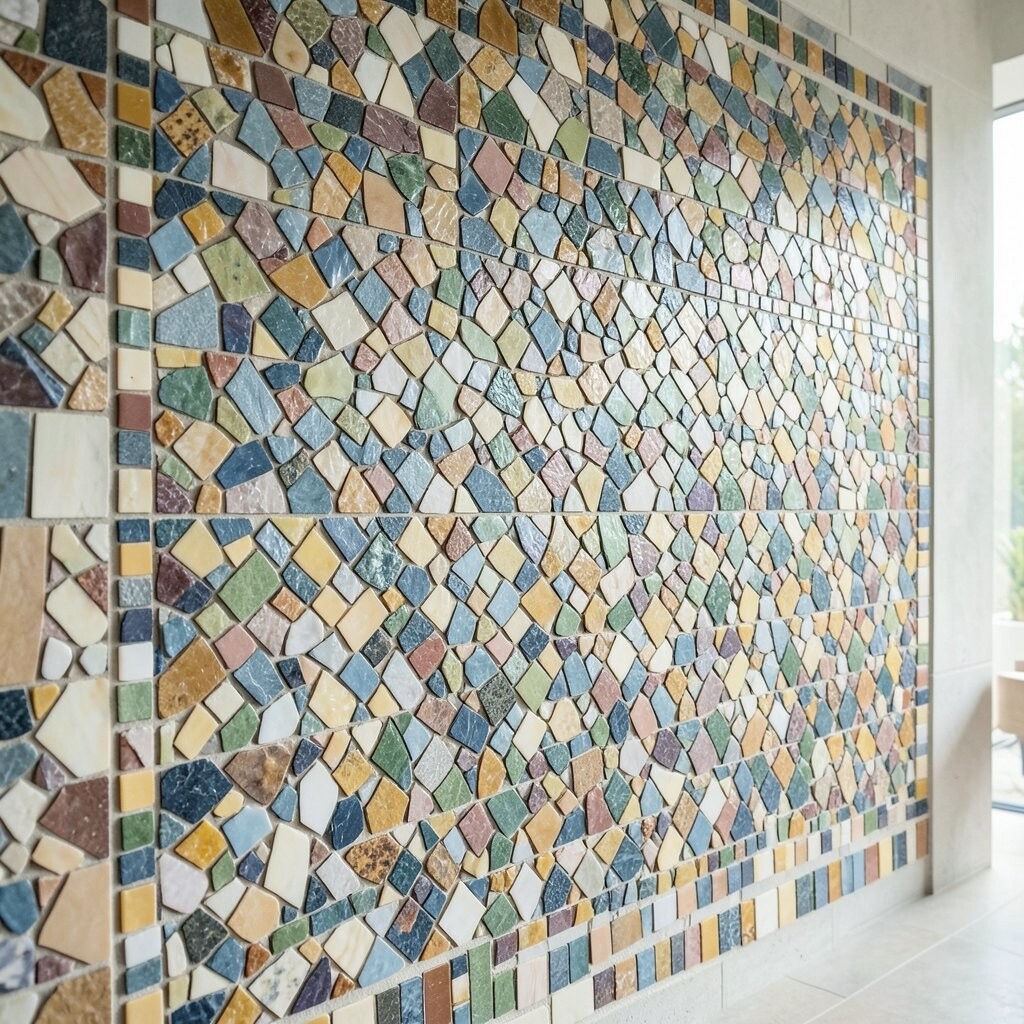
Staying intentional with shape is what turns a scattered wall into a designed wall. Use a few main shapes, like small squares and a couple of larger rectangles, then repeat them in patterns.
Rounded shapes can soften the look, while sharp angles can feel crisp and modern. A practical tip is to keep one shape dominant and let the other shapes act like accents.
This approach creates uniqueness because your wall has rhythm. It also helps you estimate materials more accurately since consistent shapes are easier to count and arrange.
7. Plan the Grout Lines for the Look You Want
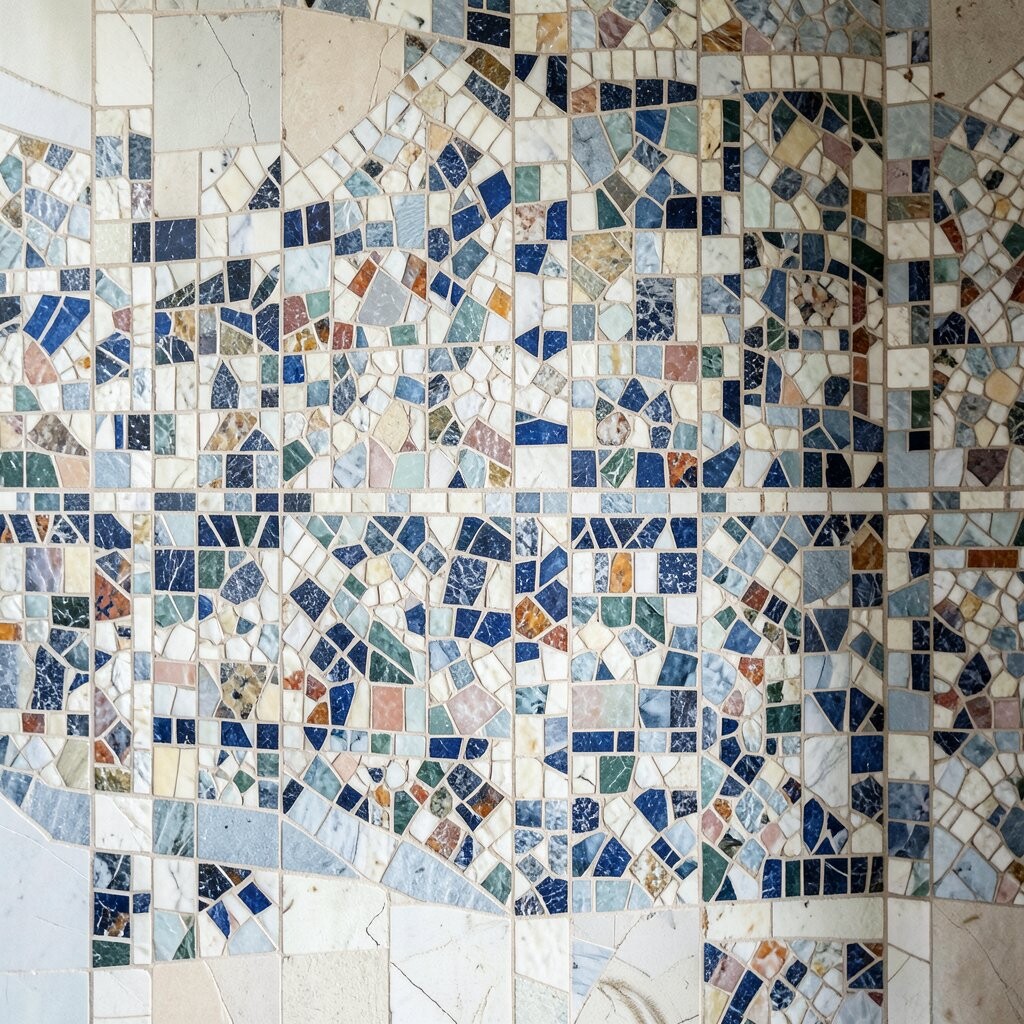
Grout lines are part of the design, not just the finishing step. Narrow lines can feel sleek and clean, while wider lines add a handcrafted, rustic vibe.
Choose a grout color that supports your palette, like a warm gray that blends with stone tones or a darker grout that makes each tile pop. The right grout choice boosts contrast and makes your mosaic look sharper.
For a practical tip, do a quick layout test with a few tiles spaced exactly how you plan to grout. That simple trial helps you catch issues before you commit.
8. Use a Template for Repeating Patterns
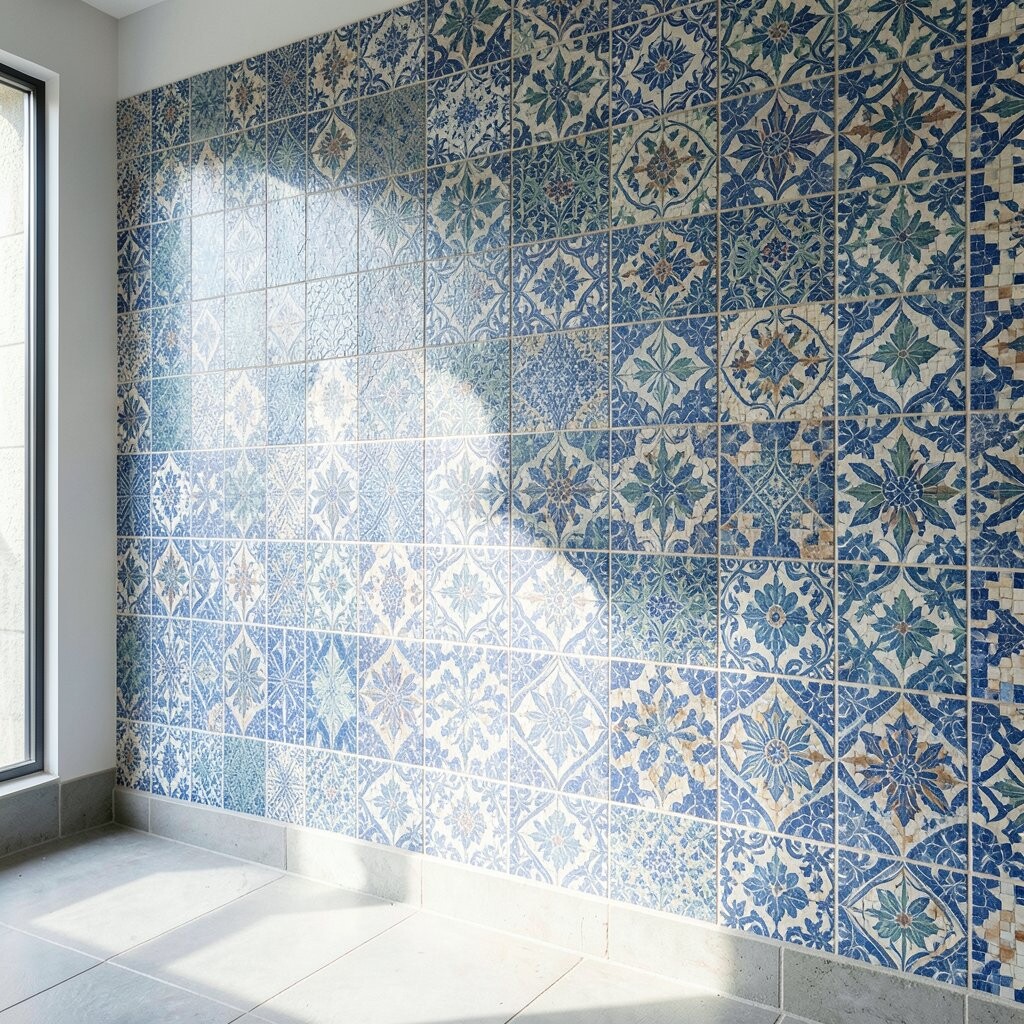
If you want a pattern that repeats, create a template that you can reuse. It can be as simple as marking a grid on cardboard or using painter’s tape on your wall for alignment.
Templates make your work steadier, especially if you are mixing shapes or working with many small pieces. This benefit matters because consistent spacing makes the final wall feel more professional.
To personalize your design, vary the template slightly in one area, like adding a curved wave or a different tile density near the center. That kind of small change keeps the pattern from feeling too perfect and too plain.
Templates also help with cost since you buy the right amount of tile for the repeat sections. Less trial-and-error means fewer extra pieces and less regret.
9. Make a Focal Point That Draws the Eye
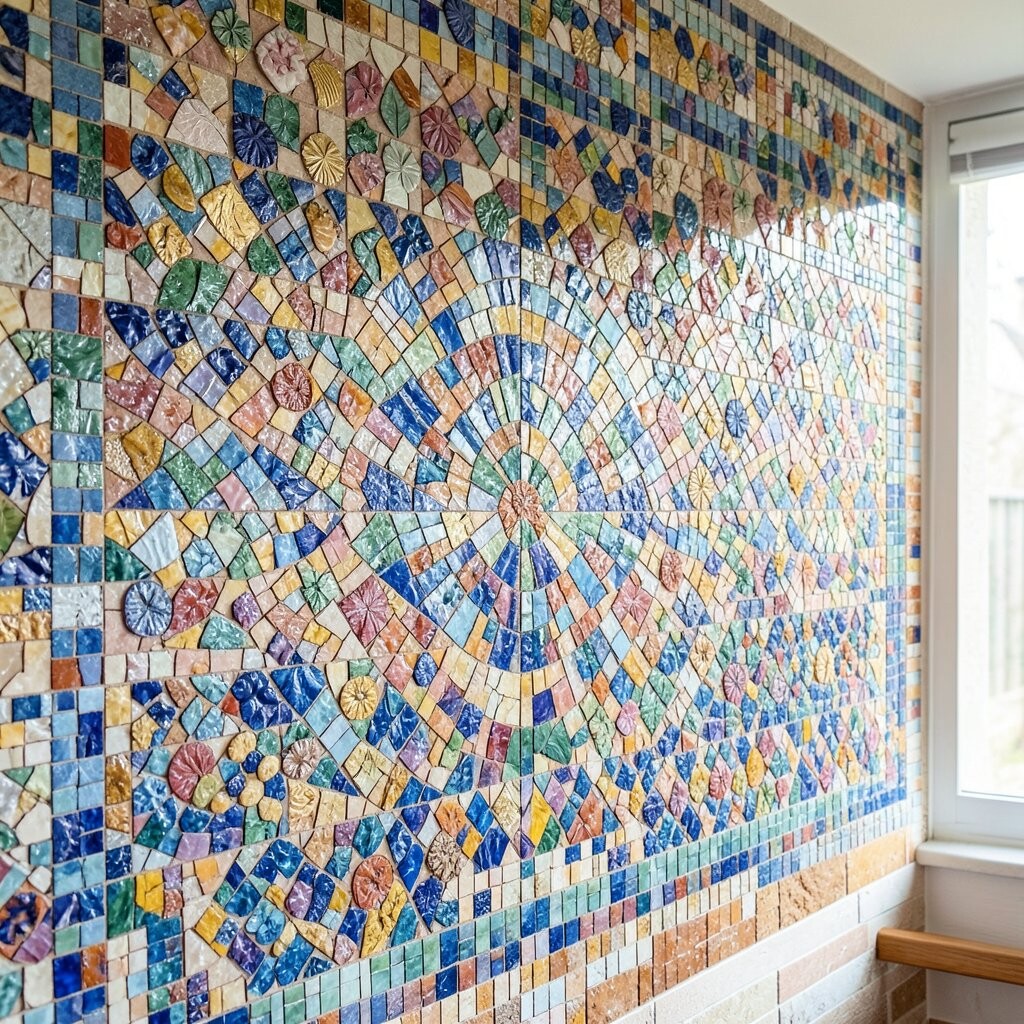
Your wall will look more stunning when you guide the viewer to a center. Pick a focal shape like a circle, a rectangle, or a geometric star, then build the rest of the mosaic around it.
Use bolder colors or a denser tile cluster near the center, while letting the edges breathe with simpler patterns. This creates uniqueness because it feels like a piece of art, not just a surface.
A practical way to plan is to place your focal tiles first and step back often. When you adjust early, you avoid the frustration of realizing halfway through that your center is off.
10. Choose the Right Backer and Surface Prep

A mosaic wall looks best when the surface is solid and smooth. Before you place any tile, check the wall for bumps and patch anything that feels uneven under your hand.
Using the right backer helps the tiles stick and keeps them from shifting over time. Good prep is one of the biggest benefits because it protects your work from loose pieces and uneven grout.
If the wall is in a high-moisture area, pay extra attention to moisture-resistant materials. Even a small improvement in surface prep can make your finished wall last much longer.
11. Cut Tiles Safely and Plan for Waste
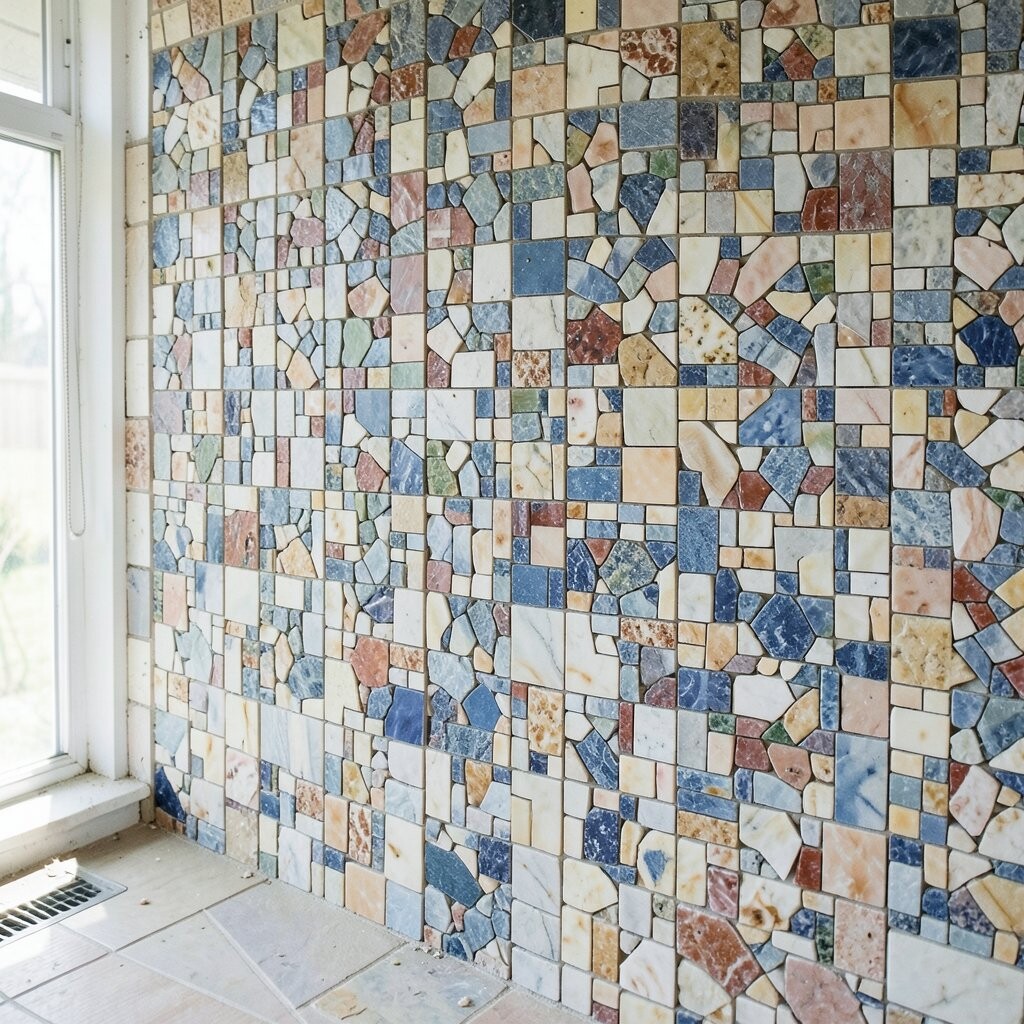
Cutting is where skill meets patience, so set up good lighting and a safe workspace. Measure twice, mark clearly, and cut slowly so edges stay neat.
Expect some waste, especially with intricate shapes or small tile mosaics. Planning for a little extra keeps your project from stalling when you run short.
For a budget-friendly approach, save offcuts and use them for small fills at the edges. Offcuts are perfect for personalization too, letting your wall include tiny surprises that look intentional.
Current trends often include fine detail work, and those designs usually require careful cutting. When you respect the process, the details feel crisp instead of rushed.
12. Dry-Lay Your Design Before Gluing
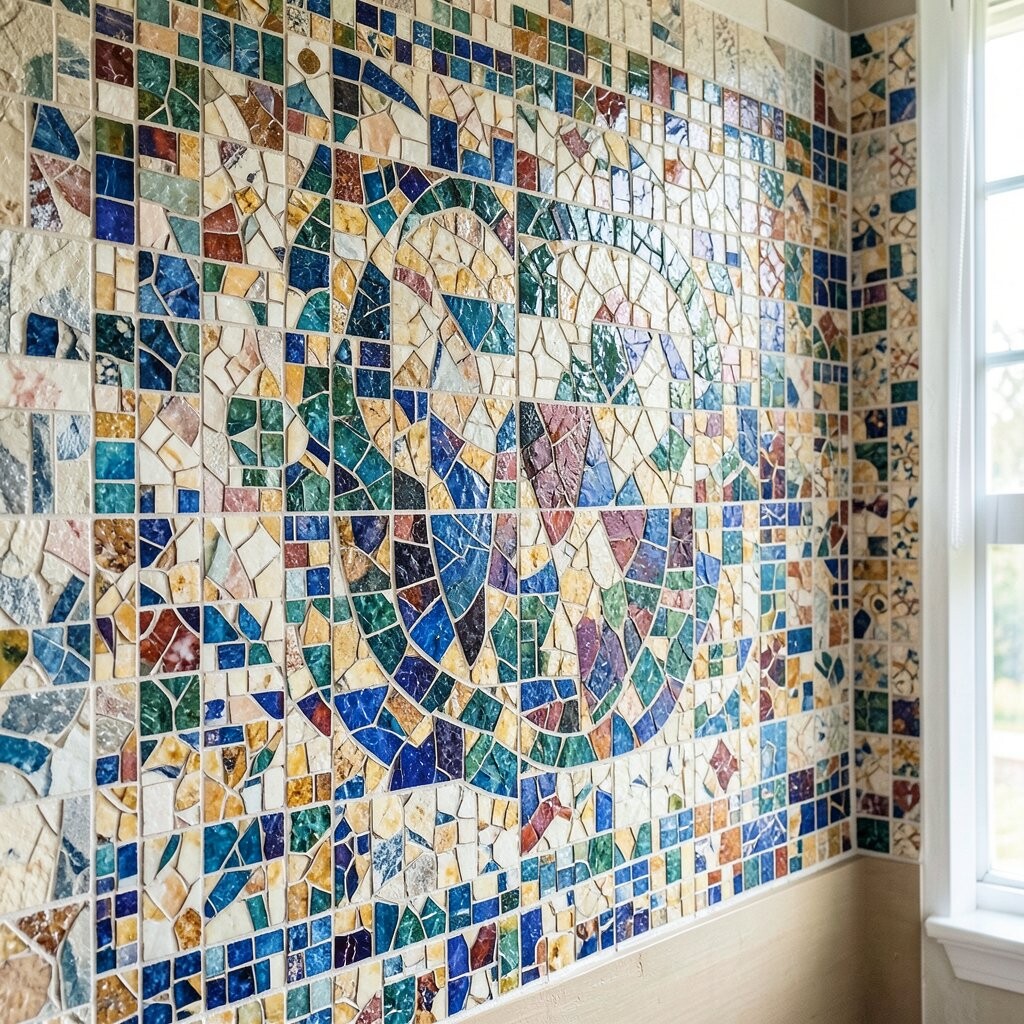
Dry-laying means placing tiles without adhesive so you can see how everything looks in real life. It is an easy step that prevents surprises once glue goes on.
Pay attention to how colors blend and how patterns flow when you stand back. The benefit is that you can tweak spacing and swap a tile color now, not after it is stuck.
If you are mixing different sizes, dry-laying helps you avoid accidental lumps or gaps. It also makes your personalization feel more confident because you are trusting your own eye instead of a plan on paper.
13. Secure Pieces With Even Adhesive Coverage
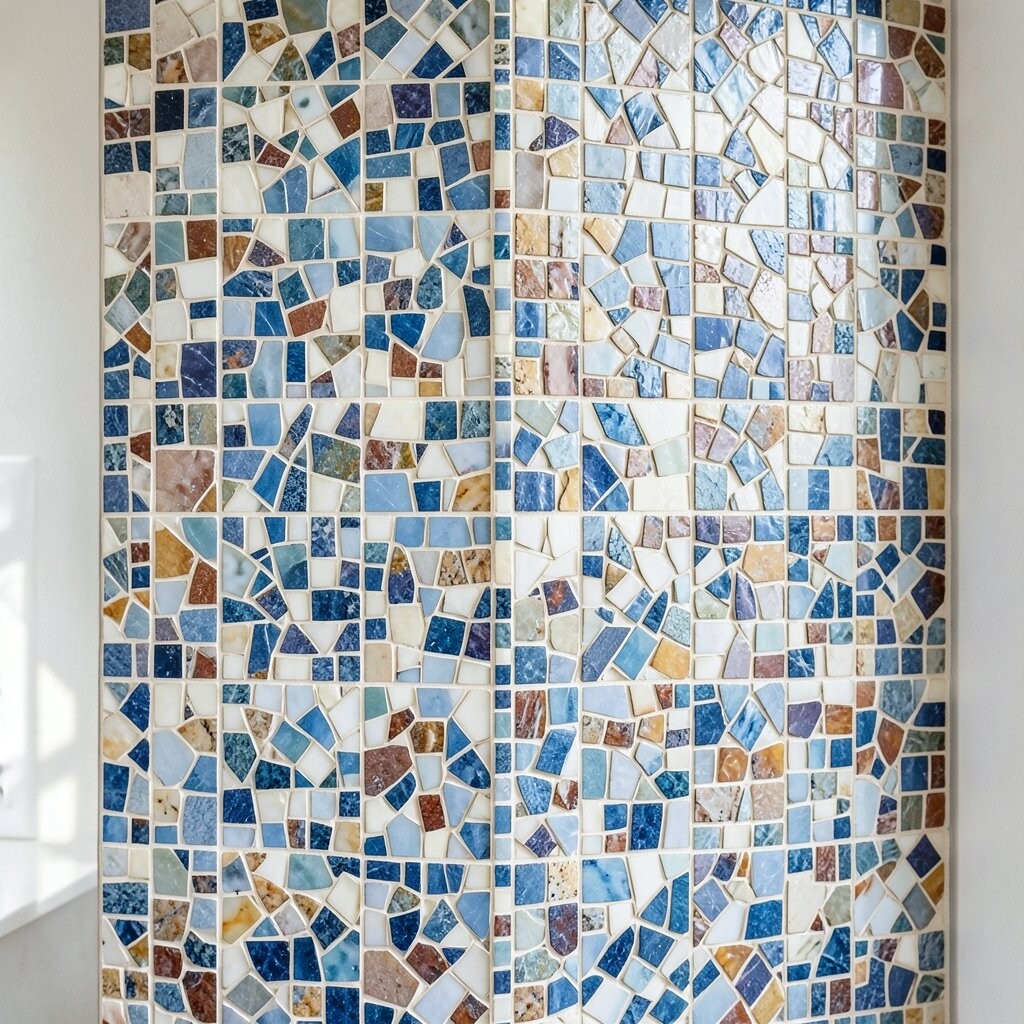
When you apply adhesive, spread it evenly so tiles sit at the same height. Uneven coverage can cause tiles to rise at the edges and make the wall look wavy.
Use the right notch size for your tile type, then work in small sections. This practical method helps you keep control and prevents adhesive from drying before you place tiles.
Keep checking your alignment as you go, especially along the edges and around the focal area. Consistent placement is a huge benefit because it makes your mosaic look crisp and calm instead of messy.
14. Apply Grout Carefully for a Clean, Crafted Finish
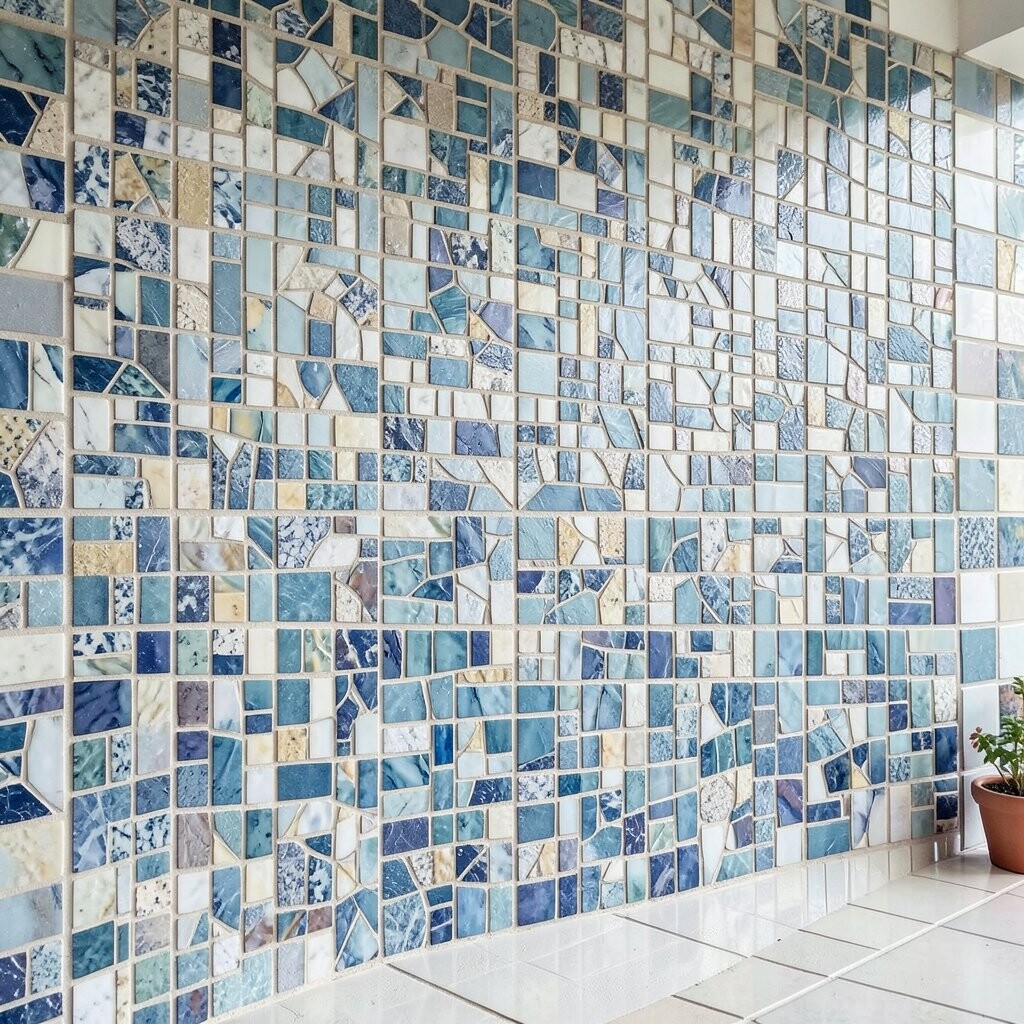
After tiles are set, grout brings everything together and reveals the final design. Mix grout to a smooth consistency and avoid making it too runny or too thick.
Spread grout with a float, then wipe gently so you do not pull grout out of the lines. This is a practical step that directly impacts how polished the wall feels.
Let grout cure properly, then clean the haze once it has set. When you do it patiently, you get a sharper contrast and a more professional look.
15. Seal and Protect the Wall Based on Tile and Location
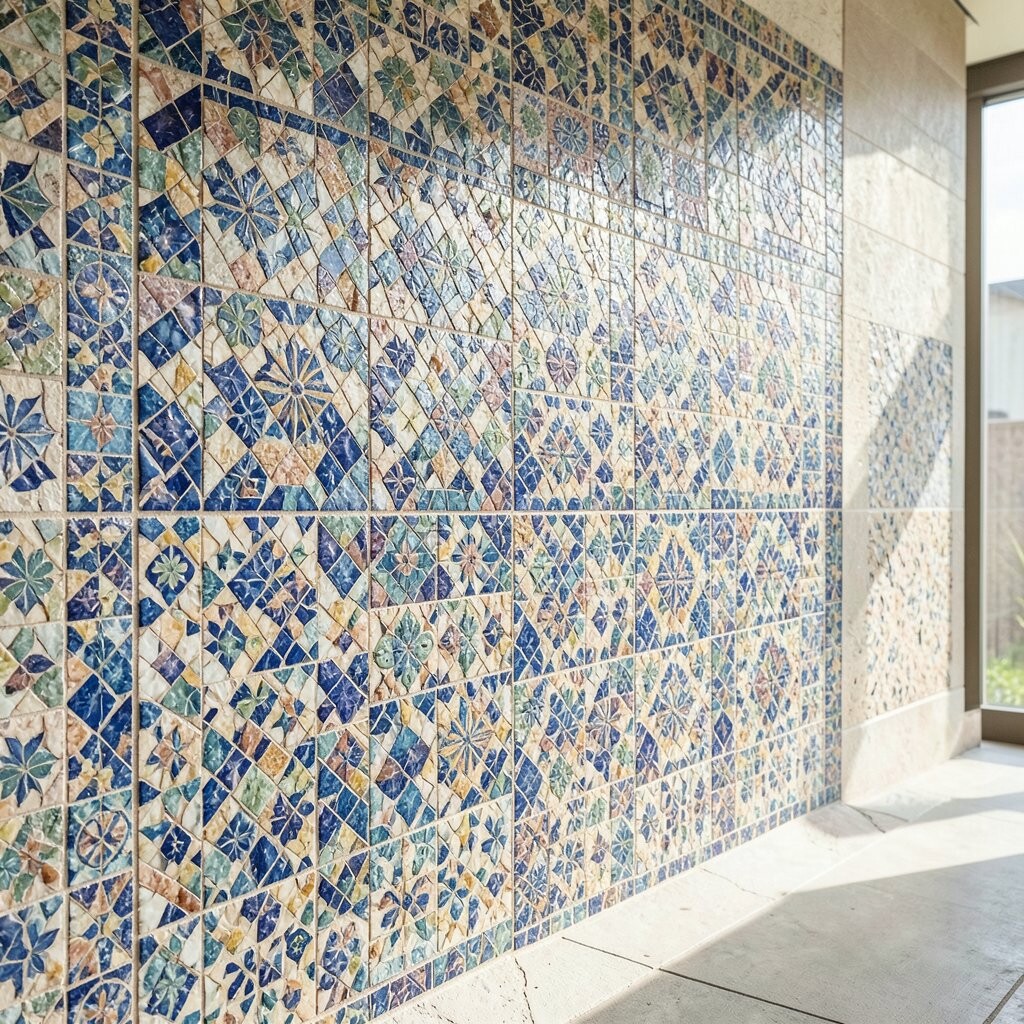
Not all tiles need the same protection, so choose sealing based on your tile type and where the wall will live. Natural stone often benefits from sealing, while some glazed tiles may need less.
Sealing helps the wall resist stains and makes cleaning easier, which is a real benefit for everyday life. It also helps preserve color depth so the wall continues to look vibrant.
If your mosaic sits in a spot with splashes or humidity, prioritize protection and follow the product directions closely. That care keeps your investment looking new and reduces long-term maintenance.
16. Style the Surroundings to Make the Mosaic Feel Like Art
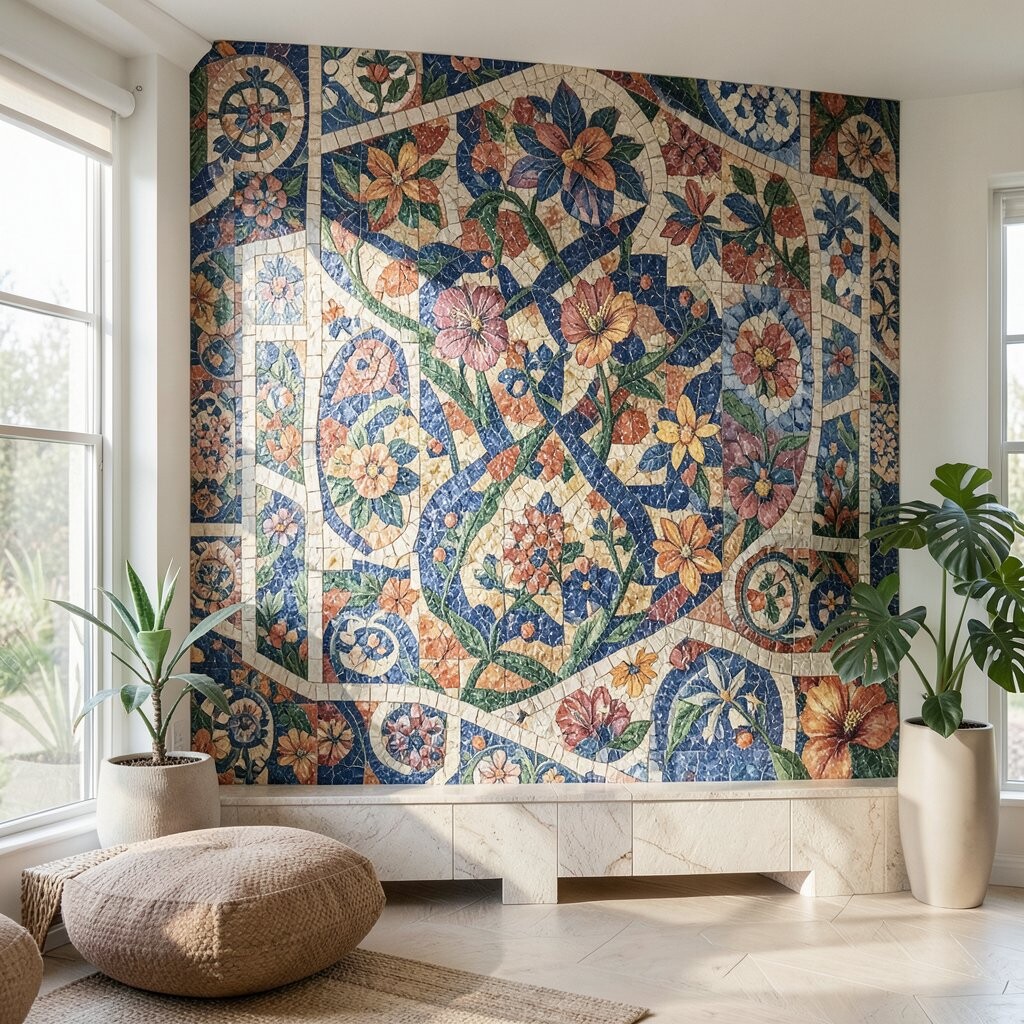
A tile mosaic wall looks even more stunning when the surrounding decor supports it. Choose lighting that highlights texture, like warm bulbs that make the tiles glow instead of flattening the colors.
Think about nearby elements too, such as frames, shelving, or a contrasting paint color that does not fight the mosaic. The benefit is that your wall becomes a focal point, not a background blur.
Personalize the display with small details like a matching tray on a ledge or a plant in a simple pot. Cost-conscious styling is totally possible because a few affordable additions can make the entire wall feel curated.
Keep current trends in mind, like mixing warm metals with neutral tones and adding soft textiles for balance. Those small styling choices can make your mosaic look modern, cozy, and confidently finished.