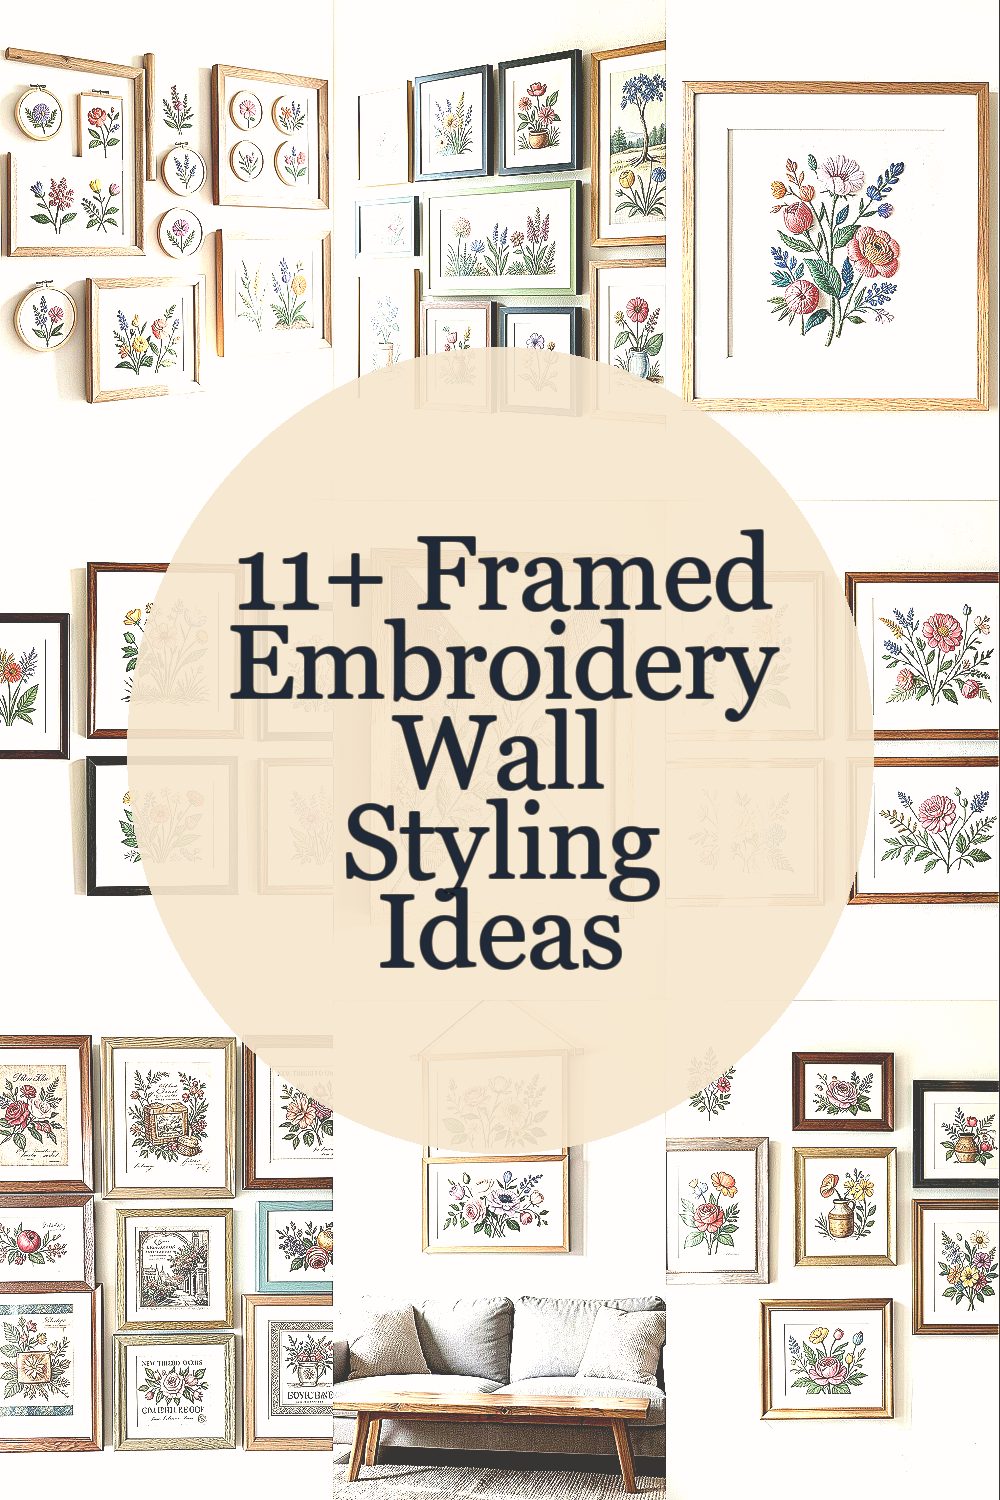
A wall of framed embroidery can make a room feel warmer in seconds. It brings color, texture, and a little handmade charm to everyday life.
Whether your style is cozy, modern, or somewhere in between, these ideas can help you arrange frames that look just right.
1. Mix Small Hoop Pieces With Full-Size Frames
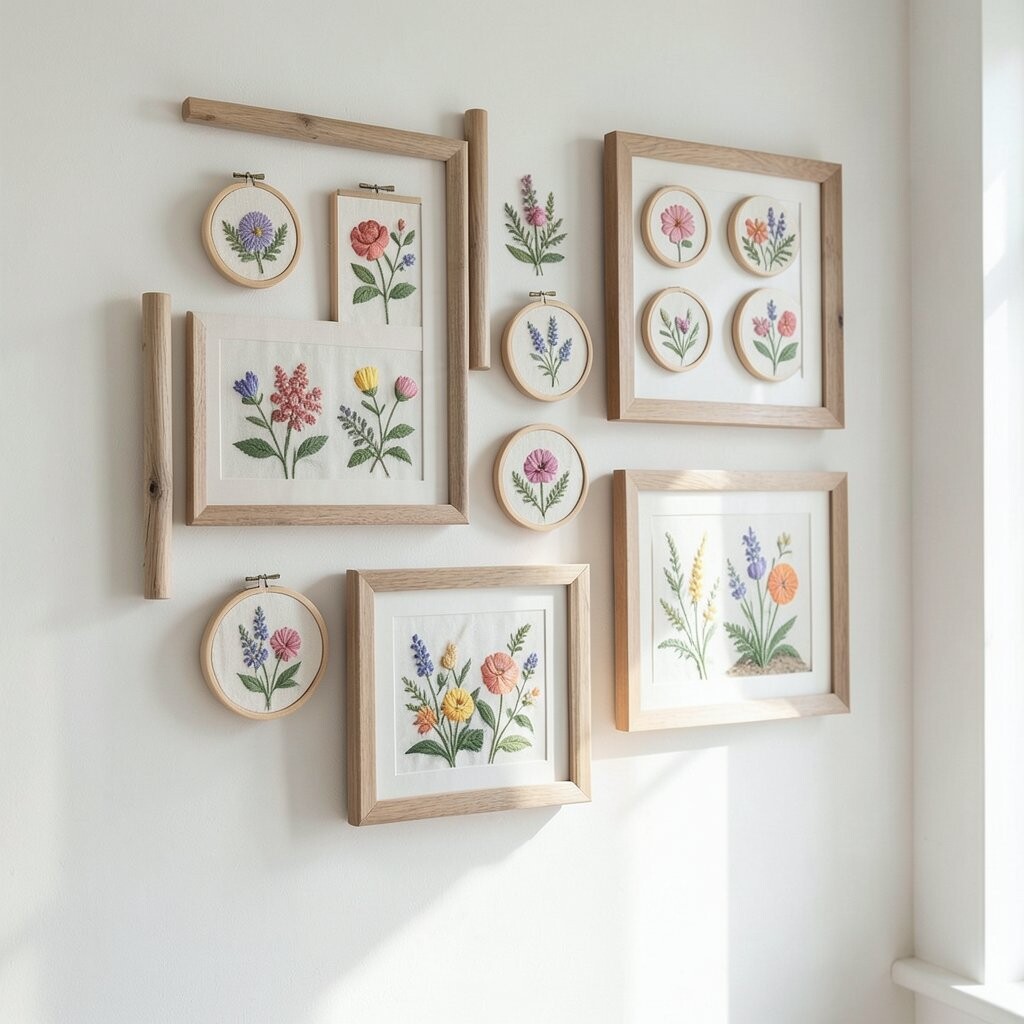
Start by pairing tiny hoop-style embroidery with one or two larger framed pieces. You’ll see a soft rhythm when the sizes vary instead of matching too perfectly.
Place the hoops higher and the larger frames slightly lower, so the layout feels lively. Aim for a shared color thread across pieces, like warm reds or cool blues, to help everything look connected. Keep the spacing light so your wall feels bright rather than crowded.
2. Create a Color-Blocked Gallery With Thread-Friendly Tones
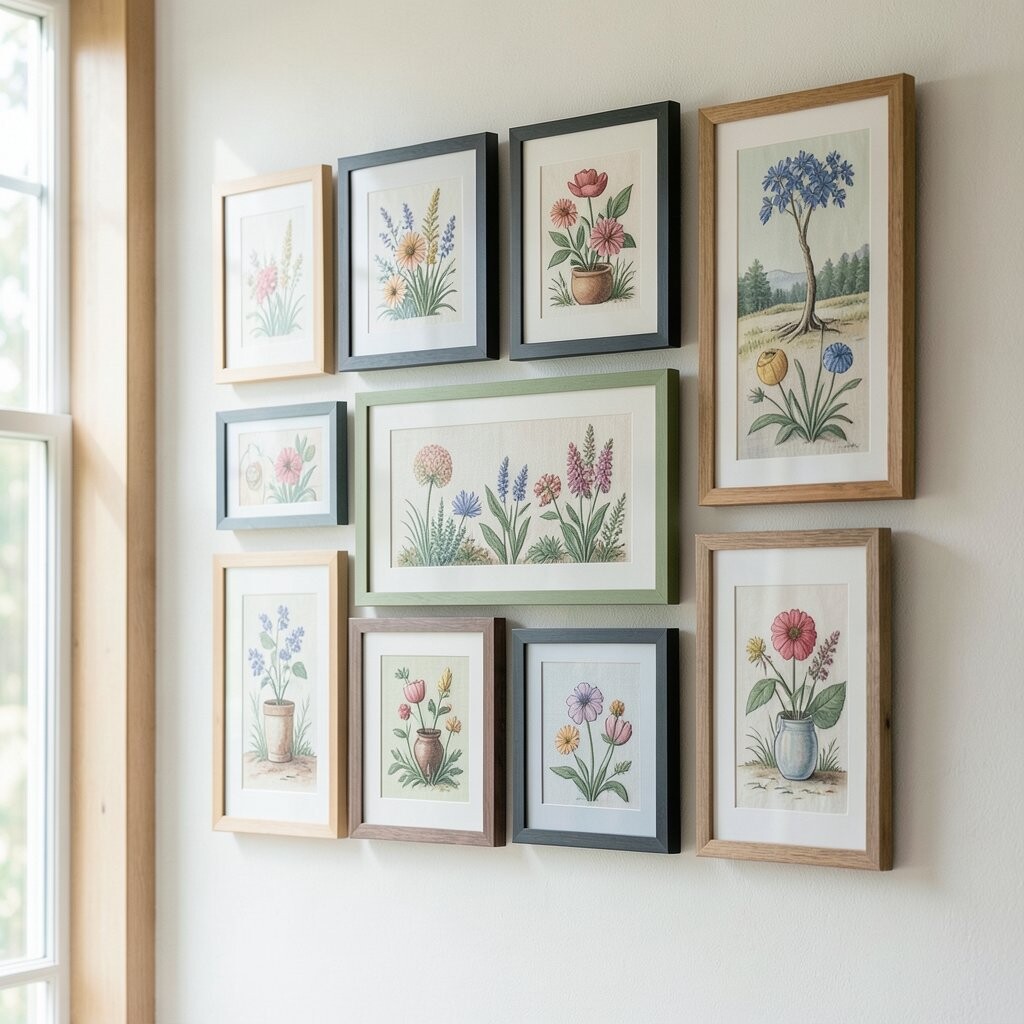
Pick a clear color theme, then group embroidery frames by color like you’re making a friendly rainbow. You can use muted tones for calm rooms or bold shades for a playful look.
Try arranging three frames in a row with similar thread colors, then switch to a second set that echoes the next color. This approach looks intentional and makes it easier to shop for matching pieces without overthinking.
Choose frames in a single wood tone or a consistent matte finish so the color blocks stay the star. If you want extra brightness, use frames with lighter mats and off-white backing.
3. Use a “Center-Point” Layout Around a Single Statement Piece
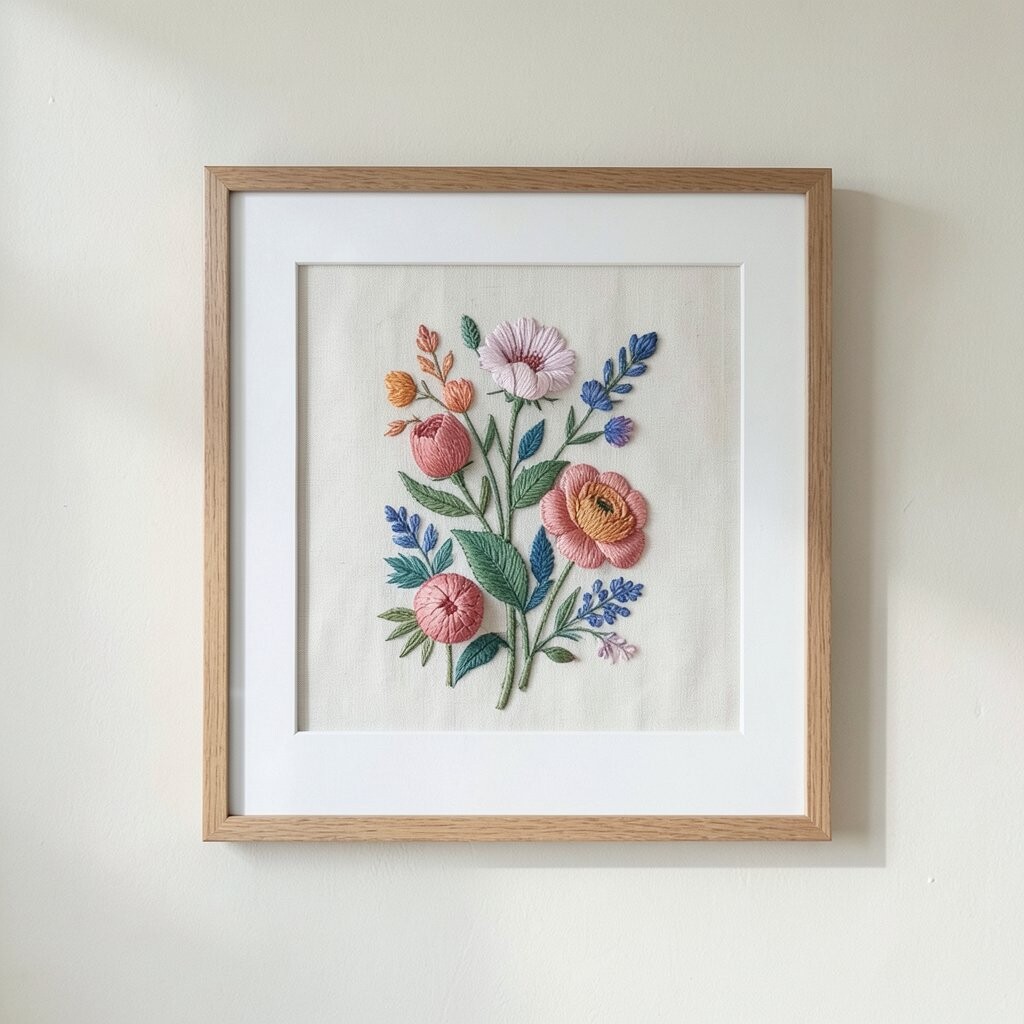
Choose one embroidery frame you truly love and treat it as the anchor. The rest of the frames can be smaller, simpler, or even more colorful, as long as they support that main focal point.
Center the anchor at eye level, then build outward in a balanced pattern that feels like a gentle spread. Leave enough space around each frame so the details can show clearly.
For personalization, match the statement piece to something in your room like a pillow color, curtain shade, or a plant leaf tone. If you’re worried about cost, look for sales or mix one high-quality framed piece with a few affordable prints that still have a stitched look.
4. Frame Each Piece With a Mat for Instant Clean Contrast
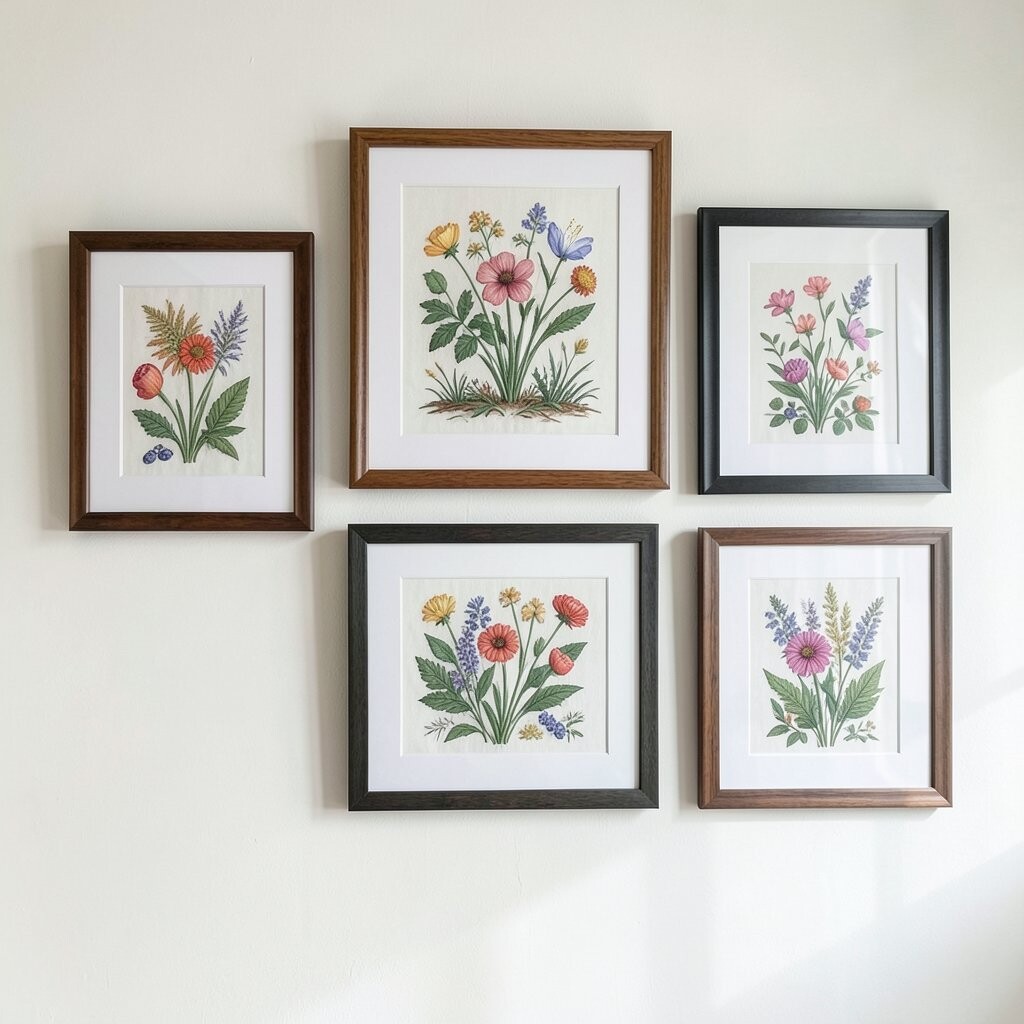
A mat can make embroidery look crisp and give your wall a polished feel. It creates breathing room between the art and the frame, so the stitching stands out even more.
Choose a mat color that supports your threads, such as cream for warm colors or cool gray for blues. Use thinner frames for a lighter feel and wider mats if you want a modern, airy look.
5. Style One Wall in a Diagonal “Stair-Step” Pattern
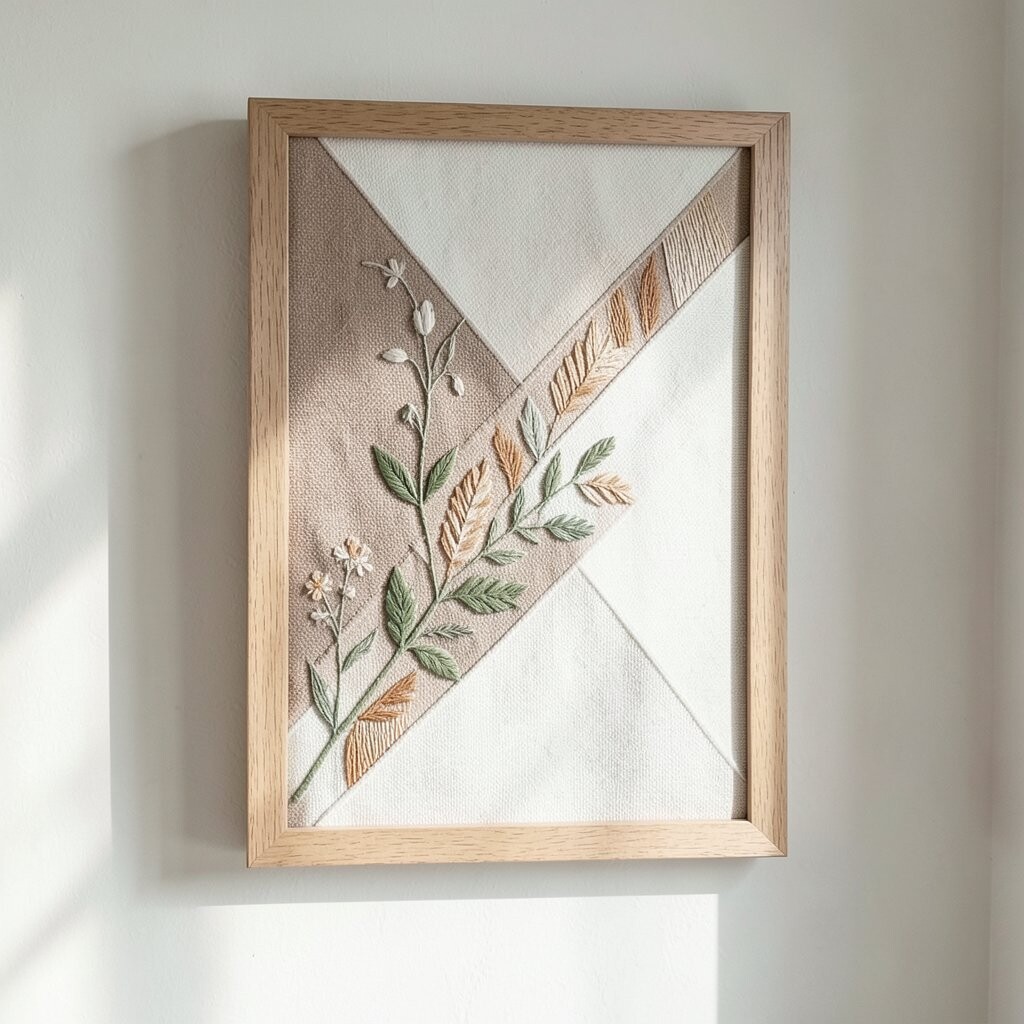
A diagonal layout can feel energetic without being chaotic. When frames step across the wall like a staircase, the eye moves naturally and the room looks more dynamic.
Start with one frame near the left side, then place the next slightly lower, continuing the gentle slope. Keep the frames consistent in width so the diagonal lines look smooth and tidy.
For practical results, measure the vertical gap between frames and use painter’s tape to outline each spot before hanging. This also helps you avoid holes in the wall if you change your mind mid-project.
6. Pair Embroidery With Mirrors for Light and Depth
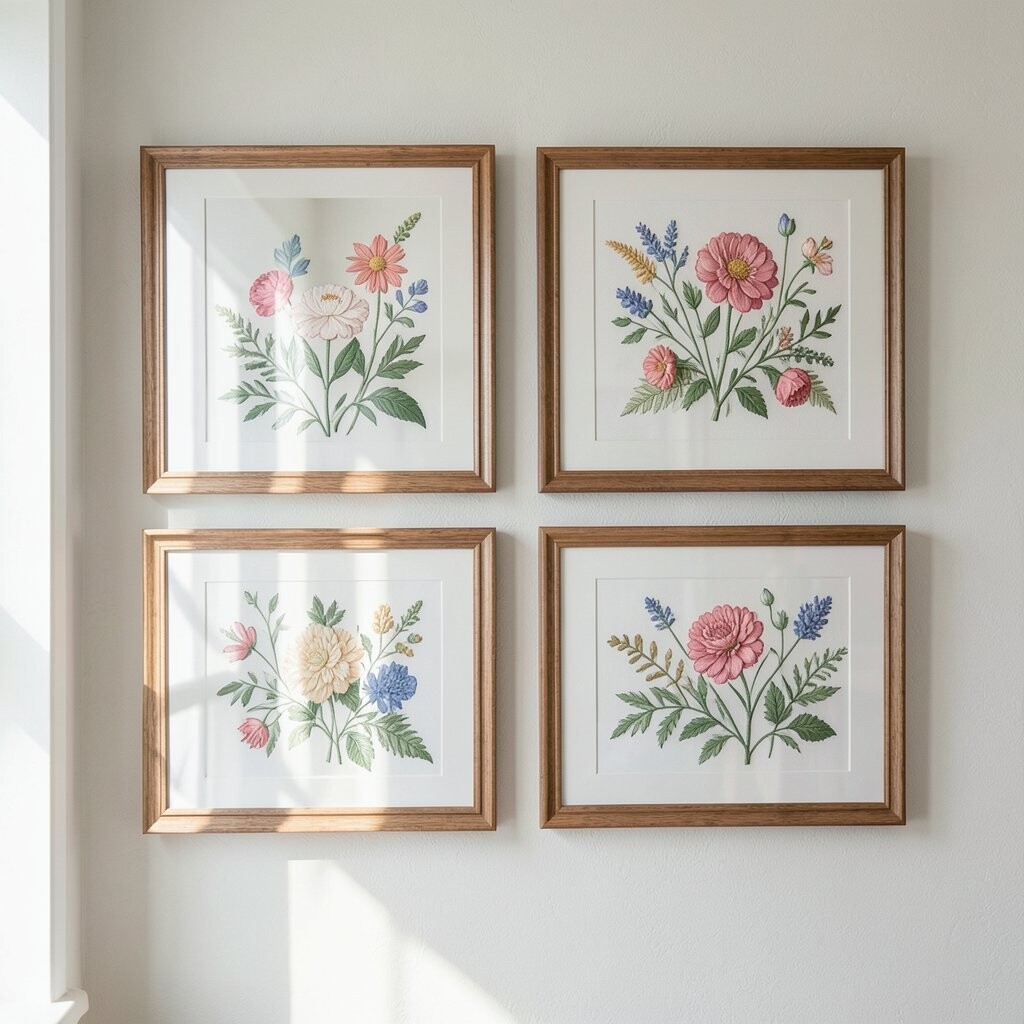
Bring in a mirror so the embroidery reflects light and makes the space feel bigger. A round mirror, for example, can soften the look of rectangular frames.
Try placing embroidery frames on one side of the mirror and a small cluster on the other side. The mirror adds shine, and it helps the colors in your thread look more vivid.
Choose a mirror with a thin frame if your embroidery already has ornate borders. This combo looks especially good in entryways and hallways where lighting matters.
7. Blend Vintage Textile Prints With New Thread Colors
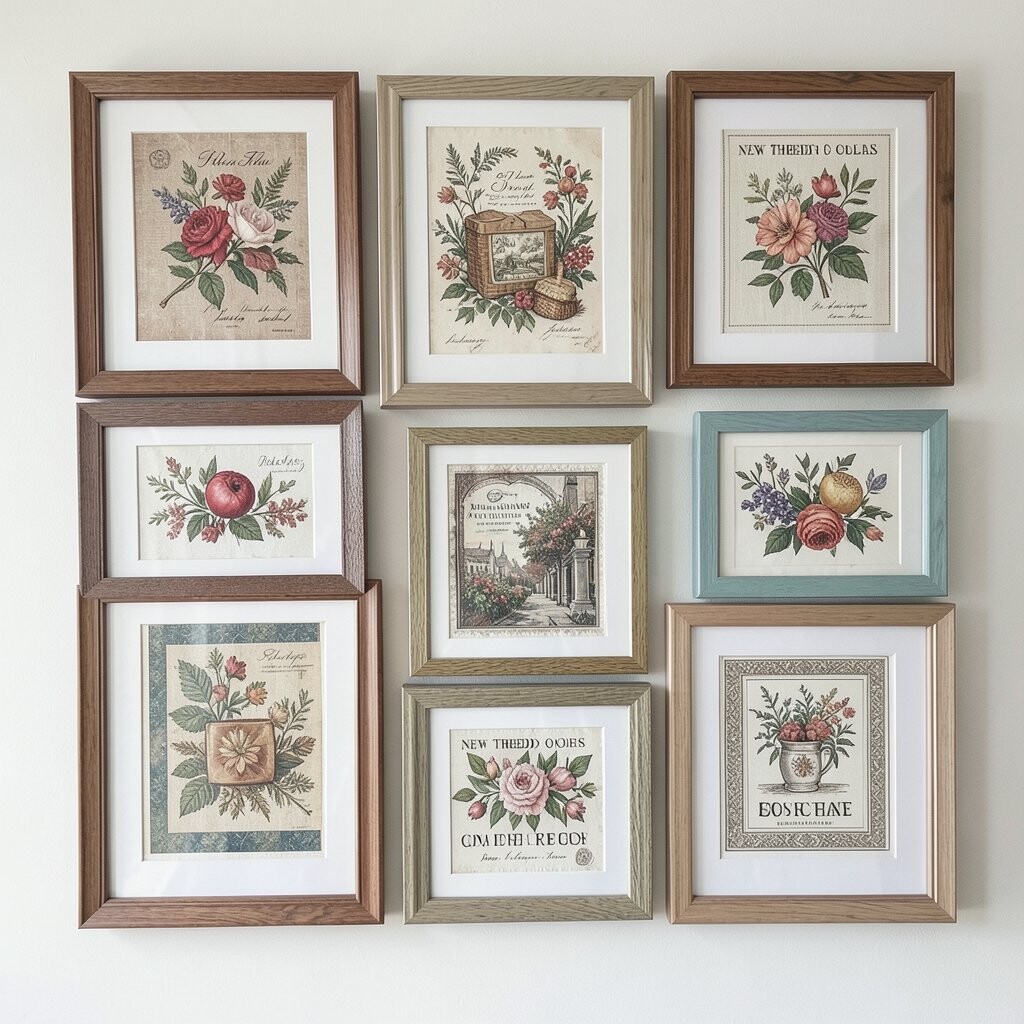
Vintage embroidery has its own story, and pairing it with fresh modern tones can look exciting. You can keep the old pieces for character while using a new palette to prevent the wall from feeling dated.
Look for vintage frames with slightly worn edges, then balance them with sleek frames in a lighter finish. If you’re personalizing, repeat a theme like florals, birds, or tiny motifs across both old and new pieces.
This style also helps with cost, because you can shop thrift stores for vintage prints and then add a few newer frames that match your room. The result looks curated, not expensive, and that’s a great feeling.
8. Hang a “Frame Ladder” Above a Sofa or Bench
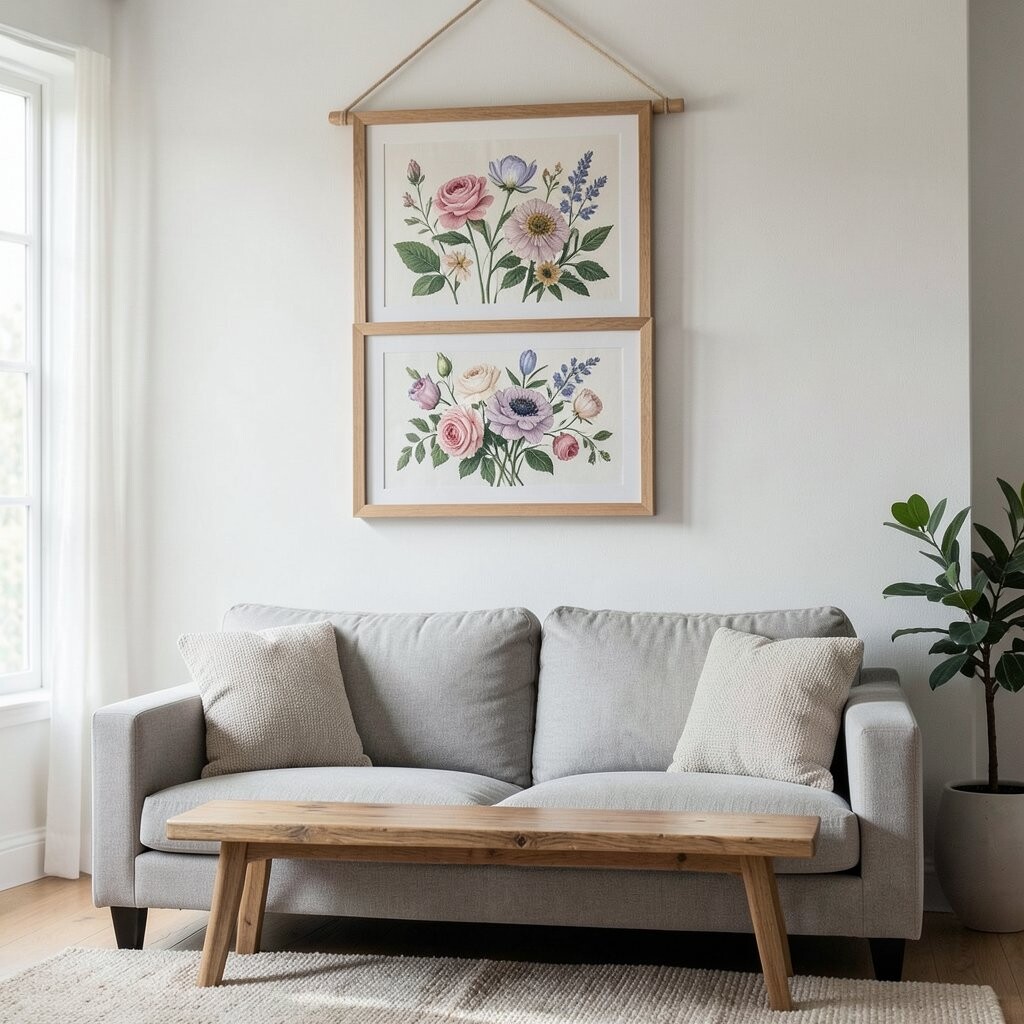
A frame ladder is a smart way to fill wall space without making it feel heavy. By stacking frames in a staggered, upward climb, you add structure that feels modern.
Keep two frames closer together near the bottom and then space them slightly farther as you move up. This creates a gentle upward pull that also draws attention to your furniture below.
If you want a bright pop, include at least one embroidery piece with vivid thread colors like sunny yellow or bright teal. Choose a consistent frame color throughout so the ladder looks neat, even with mixed subjects.
9. Use Matching Frame Styles but Different Needlework Subjects
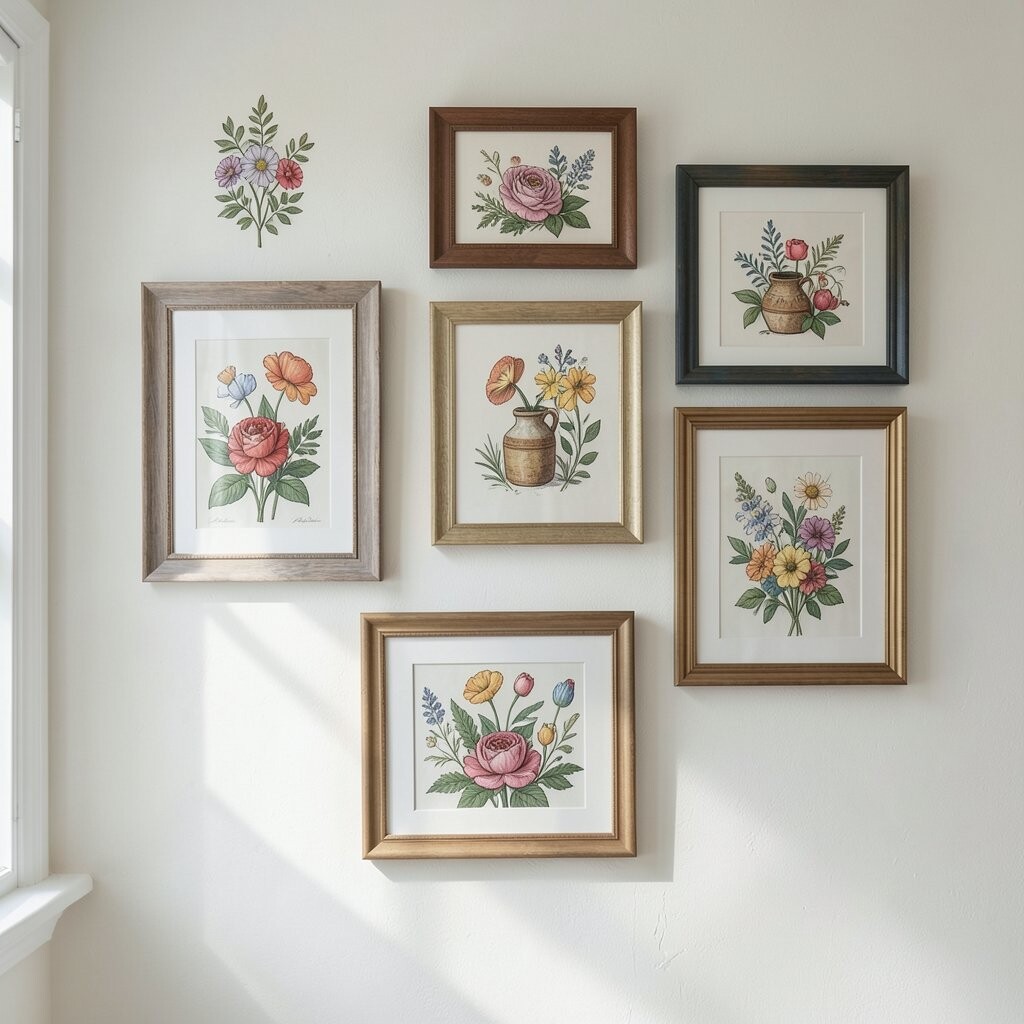
Matching frame styles can make a wall look instantly cohesive, even when the embroidery designs differ. Think of it like giving your room a uniform outfit while letting each embroidery piece tell a different story.
Use the same frame finish across the whole set, such as natural wood or matte black. Then mix subject matter like flowers, fruit, landscapes, or tiny quotes stitched in tasteful script.
10. Create Seasonal Swaps With Lightweight Hooks
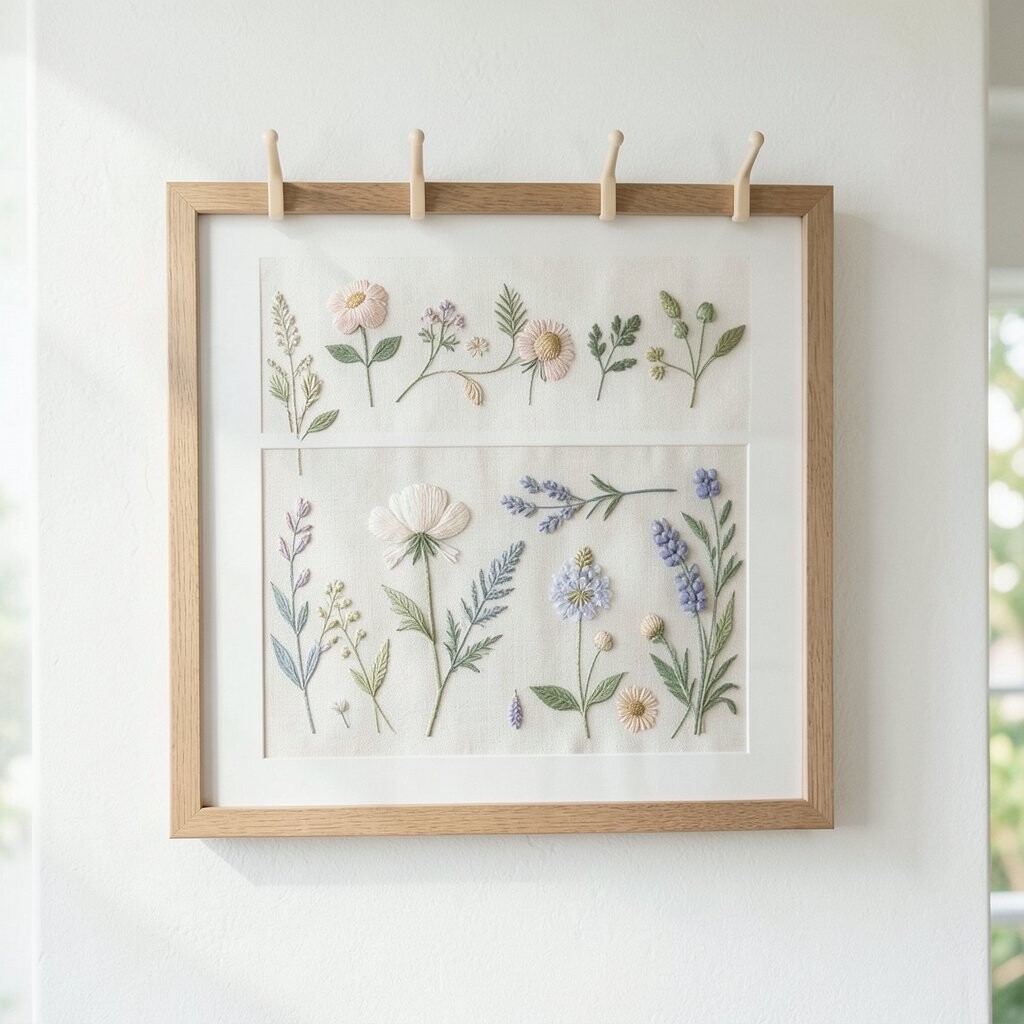
You can keep your embroidery wall feeling fresh by using lightweight hooks that allow easy changes. This gives you the fun of switching decor without a long project every time.
Group your frames into small sets, like spring florals, summer colors, and cozy winter motifs, then swap them out on the same hanging spots. For practical ease, use adhesive wall-friendly anchors rated for your frame weight.
This kind of styling is trending because it keeps homes looking current without buying everything at once. If cost matters, rotating what you already own feels like a big update for very little money.
11. Style a Narrow Hall With Vertical Embroidery Strips
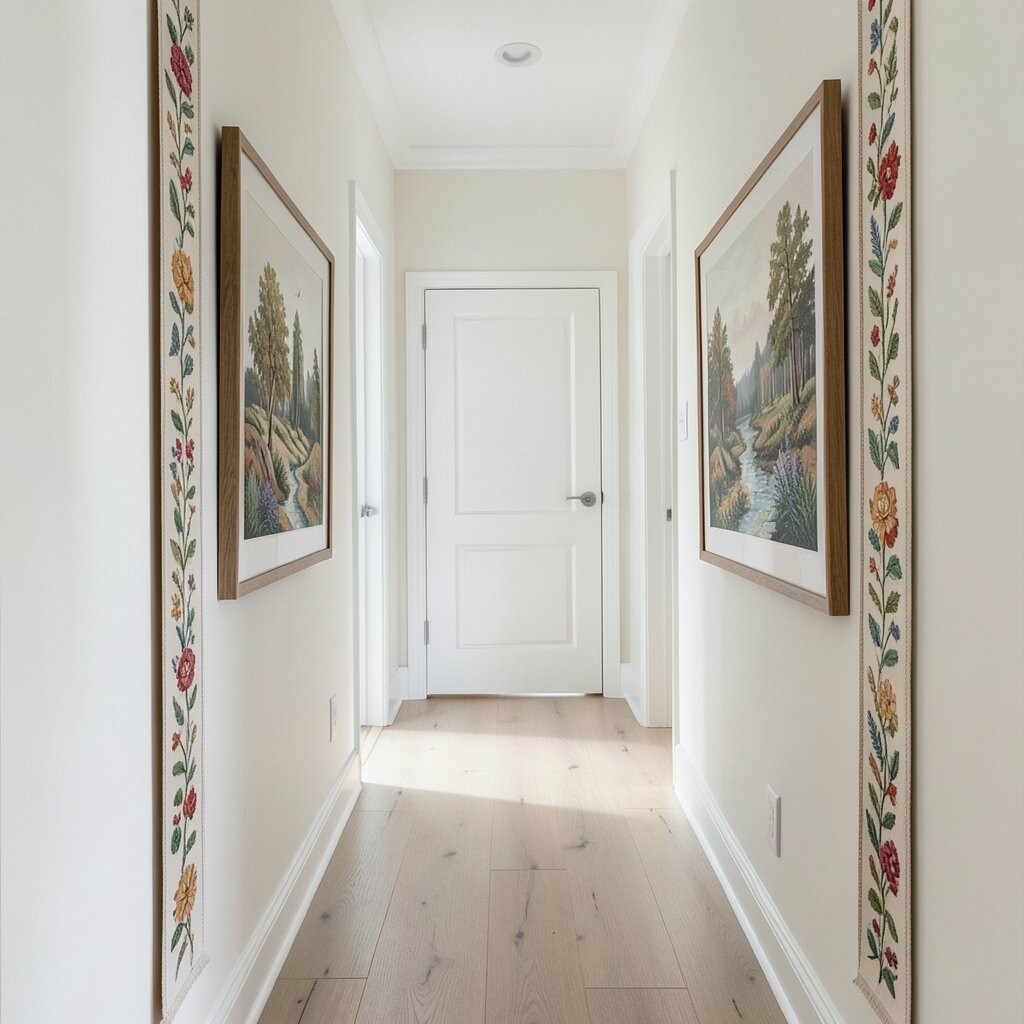
In a narrow hallway, vertical arrangement helps the space feel taller and brighter. Instead of spreading frames wide, group them in a column so the wall looks clean and intentional.
Choose embroidery pieces with similar height or use mats to standardize their look. You can also include one slightly longer piece at the top to create a gentle focal point.
To personalize, pick motifs that match your lifestyle like seaside stitches for a beach-loving home or tiny stars for a family that loves bedtime stories. If the hallway is dim, aim for lighter frame finishes and keep glass clean so reflections add brightness.
12. Pair Embroidery Frames With Sconces or Fairy Lights for Soft Glow
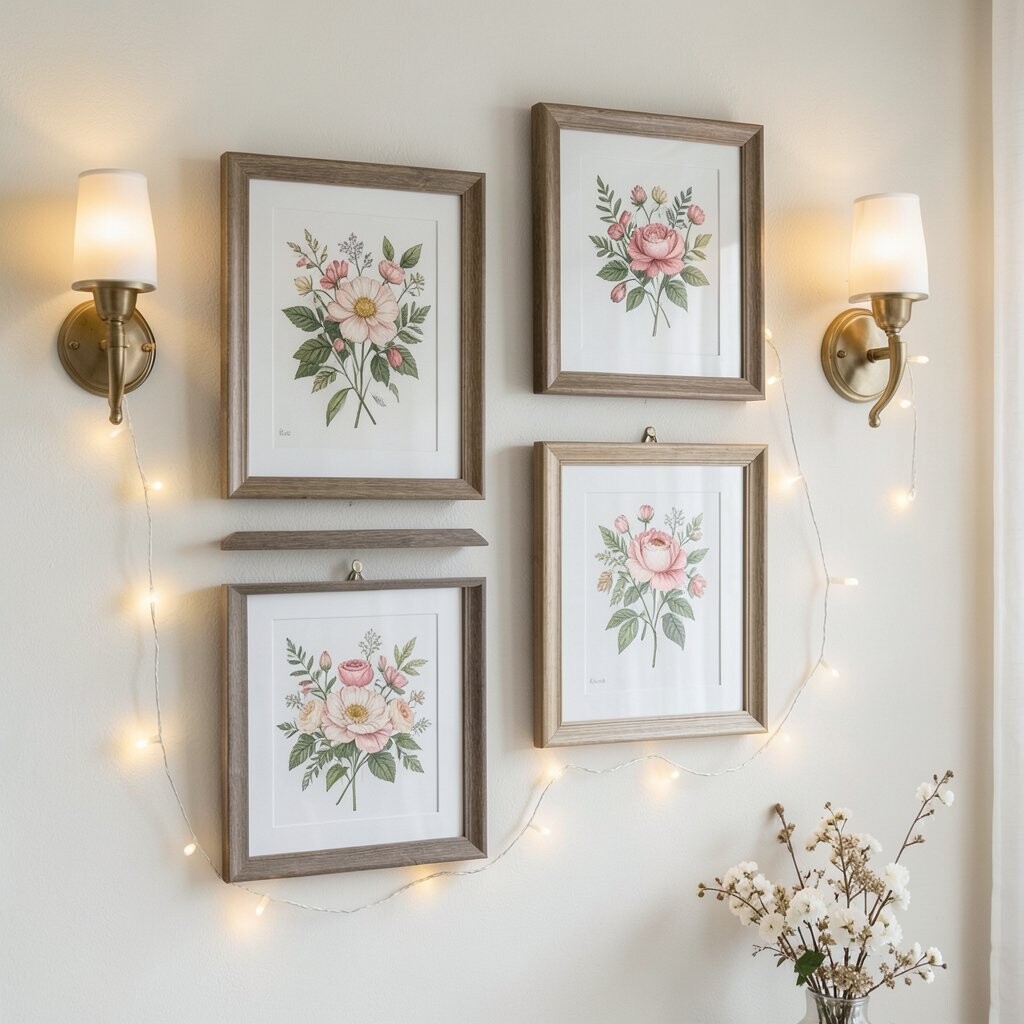
Adding gentle light makes embroidery feel more magical, especially at night. When you place sconces or fairy lights near your frames, the stitching catches the glow and looks extra textured.
Try warm white lights for a cozy vibe, or slightly cooler light for a crisp modern look. Keep wiring neat by using cord clips along baseboards or hidden channels behind furniture.
For uniqueness, hang one embroidery piece slightly off-level so the glow hits it at a flattering angle. This setup can feel low-cost too, since lighting upgrades often do more for the mood than a full furniture replacement.