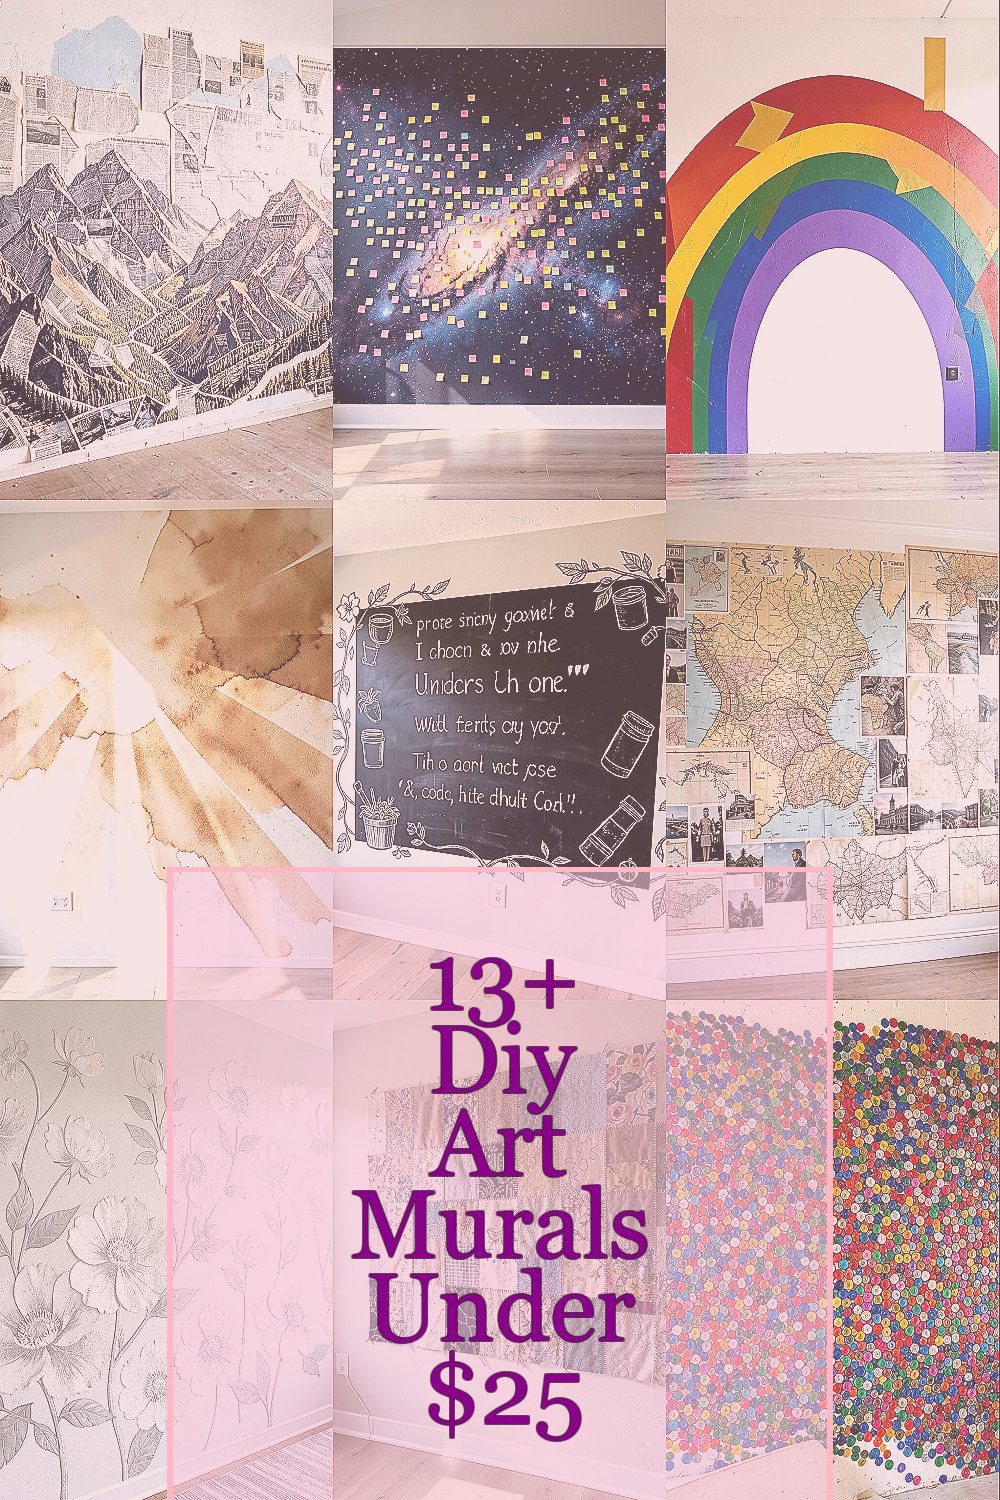
That blank wall staring back at you can feel a little too quiet. A DIY mural can turn it into something you actually want to look at every day.
With smart supplies and simple methods, you can make bold art without spending much money. Pick an idea that fits your style, then make it feel like it belongs to you.
1. Newspaper Collage Mountain Scene

Picture layered torn pages creating soft, rocky hills right on your wall. The black and tan print makes a calm, vintage landscape that looks more expensive than it cost.
Start by sketching a loose mountain shape with a pencil, then tear the newspaper into different sizes for depth. Soak or lightly wet strips with a mix of water and a little glue, then press them into place. Let it dry fully before you add a thin wash of acrylic paint on the peaks to unify the colors.
2. Sticky-Note Pixel Galaxy

Imagine a starry night made from tiny squares that look crisp and modern. The texture of raised edges makes the mural catch light in a fun way as you move around.
Choose a few colors like navy, black, silver, and white, then arrange sticky notes in pixel clusters that form a spiral galaxy. Use a pencil grid very lightly so the spacing stays neat, and press each note firmly so it doesn’t curl.
For realism, leave small gaps for “stars” and later fill them with a dot of white paint or marker. When you want a refresh, you can peel and rearrange without ruining the wall, which makes it great for renters and busy schedules.
3. Tape-Resist Geometric Rainbow

Think of sharp rainbow bands created by clean lines instead of shaky brushwork. The contrast between painted color and wall “negative space” looks bold and gallery-like.
Use painter’s tape to map stripes or triangles, then paint over the taped shapes with a simple acrylic set or leftover craft paint. Remove the tape while the paint is still slightly tacky so edges stay crisp and don’t tear.
To keep it under budget, reuse tape patterns and blend only a few rainbow shades rather than buying many new colors. Personalize it by adding a small symbol in one corner, like a tiny star or your initials, so it feels intentionally yours.
That clean geometric trend is showing up everywhere because it looks modern and works in almost any room. Plus, it’s fast, and you can finish the whole wall in one relaxing session.
4. Coffee-Stain Ombre & Sun Rays

Picture warm brown ombre bands that fade like sunrise on paper, but scaled up to your wall. The soft watercolor look feels cozy, especially in kitchens and reading nooks.
Make a gentle mixture of brewed coffee or tea with water, then paint across the wall in horizontal layers. Build the gradient gradually, letting darker areas dry before adding lighter ones so the transitions look smooth.
After the ombre sets, add sun rays by using a thin brush or even a sponge stamp with brighter yellow paint. If you spill a little, don’t panic, because accidental speckles can look like natural texture.
5. Chalkboard Quote With Hand-Drawn Icons

Imagine a dark panel on your wall where your favorite words feel like part of the room. Hand-drawn icons around the message make it playful and personal.
Use chalkboard paint on a rectangle or freeform shape, then sketch a quote in pencil once it cures. Surround it with small drawings like hearts, leaves, or tiny doodle flowers, and erase and refine until it feels right.
For personalization, choose a quote that matches your vibe, like a bedtime mantra or a creative reminder. This style stays trendy because it blends function and art, letting you change the message as often as you want.
You can keep costs low by using small containers of paint and finishing with basic chalk. It also helps you practice lettering, so the mural improves your skills while it decorates your space.
6. Old Maps Travel Collage Highlights

Picture geography cut into shapes that form a mural map skyline or a world-themed wave. The aged paper gives instant character without needing fancy painting.
Cut old maps into strips and squares, then layer them to create a sunburst, city skyline, or flowing coastline. Seal everything with a thin coat of glue mixed with water so the pieces don’t peel.
Use a couple of accent colors like seafoam green and warm coral by brushing them lightly over some map areas. This keeps the collage from looking flat while still keeping the whole look cohesive.
If you want a quick budget upgrade, print a few extra route lines from your own digital maps and cut them into thin bands. The result feels unique because it ties to your actual travel memories or places you love to imagine.
7. Sponge-Stamped Texture Florals

Imagine a wall covered in soft floral dots, created with a sponge instead of a detailed brush. The repeating pattern feels airy and modern, like fabric prints made large.
Pick a flower stencil or draw simple petal shapes, then dab paint using a slightly textured sponge for a gentle look. Work from the top down so you can control spacing and avoid smudges.
To save money, use one main paint color plus a lighter shade or white to make layered petals. Sponge techniques are popular right now because they hide small mistakes and create that trendy “handmade” vibe.
Personalize the mural by scaling one flower larger near a corner so it feels intentional, like a focal bloom. This also makes it easier to stop when you reach your comfort level, since patterns look great even if they’re not perfect.
8. Fabric Scraps Patchwork Wall Art

Picture a mural that looks like a quilt, with fabric swatches forming blocks of color and shape. The wall becomes cozy, warm, and full of tactile charm.
Cut fabric scraps into rectangles and squares, then arrange them like a patchwork mosaic across your wall. Use fabric glue or a glue stick method on a backing sheet, or mount pieces directly if your wall can handle it.
For a cleaner look, outline some blocks with thin marker lines or painted borders so the shapes pop. You can include meaningful scraps like old shirts, scarves, or even thrifted fabric that matches your room palette.
To keep the cost low, focus on a limited color family, because fewer colors means fewer purchases. This idea is especially unique because every wall becomes one-of-a-kind based on what you can find and save.
9. Recycled Bottle Cap Color Mosaic

Imagine a bright mosaic where every small circle catches light like tiny mirrors. The pattern looks playful and bold, especially when you vary the colors in neat rows.
Lay out the cap colors on the floor first, then press each cap onto the wall using strong adhesive. If the wall is textured, lightly sand or test a small area so the caps stick evenly.
Use a simple design like a sun, a heart, or a rainbow arc to avoid complicated measuring. For personalization, arrange your favorite sports colors or use birthstone hues.
Since bottle caps can be free, this can stay under budget with the main cost being adhesive. The mural also fits a current trend of upcycled decor that looks fun and planet-friendly.
10. Spray Paint Stencil Splash City

Picture a city skyline built from stencil shapes with splashes of paint around it. It feels energetic and street-art inspired without needing professional gear.
Make a stencil using cardboard or thick paper, then spray lightly around the edges so the shape looks crisp. Add drips or splashes using a brush flick or a watered-down paint for more control.
Choose two or three colors max to keep costs down and avoid buying a whole rainbow of cans. If you can’t spray, use sponge and brush methods to mimic the stencil look while staying safer indoors.
Personalize the mural by swapping the skyline for something you love, like a tree line, a mountain silhouette, or a tiny house cluster. This style stays popular because it looks dramatic and modern, even on a small budget.
11. Washi Tape Storyboard Scene

Imagine a mural that looks like a mini comic strip made from colorful tape. The layered strips create a clear story vibe that’s fun to read with your eyes.
Sketch a simple scene on the wall with pencil, like a cat sitting on a windowsill or a bike ride through hills. Then outline characters and key shapes using washi tape, filling areas with smaller pieces for texture.
Washi tape is easy to work with, and it peels off without harsh damage for many wall types. To keep it budget-friendly, use a few repeated colors and create variety using tape widths rather than new shades every time.
Make it feel unique by adding tiny “panel frames” around each part of the scene. This idea also fits current decor trends because tapes add graphic style with a handmade touch.
12. Vinyl Record Label Music Waves

Picture swirling lines made from circular cutouts that look like sound waves. The theme instantly feels musical, bold, and conversation-starting.
Cut circle shapes from old record sleeves, sheet music, or printed label images, then arrange them in wave patterns across your wall. Glue them down in a layered way so some circles sit slightly higher and create shadow depth.
Add a few painted dots for “beats,” then lightly outline some swirls with a marker for clarity. Personalize it by using labels from albums you love or colors that match your room.
This mural idea is unique because it uses shape rhythm instead of detailed painting, so even simple designs look impressive. With a little creativity and recycled paper, the cost stays very low while the impact stays huge.
13. Hand-Painted Gradient Balloon Wall

Imagine a lineup of balloon shapes floating across your wall like a birthday banner that never fades. The soft gradient shading makes them look rounded and bright.
Sketch balloon outlines with pencil, then paint each one with a gentle gradient by blending two colors while still wet. Use a sponge or a flat brush to smooth the blend so the balloons look like they’re glowing.
Keep the supplies simple by using a small set of acrylic colors and reusing the same brush for multiple balloons. For extra charm, add thin strings that end in small stars or confetti dots.
Personalize the balloon colors based on your decor, like calming pastels for bedrooms or bold brights for playrooms. This idea works well with current trend styles that favor cheerful shapes and soft color transitions.
As you paint, step back often to check spacing, because murals feel best when the shapes breathe. Your wall will look lively without clutter, and you’ll feel proud every time someone notices it.
14. Fabric Paint Stenciled Animal Friends

Picture friendly animal silhouettes repeating across your wall, each one slightly different in pose. The pattern feels playful, not messy, and it works great in kids’ rooms or home offices.
Choose a simple animal stencil like fox, cat, or owl, then secure it with painter’s tape. Dab or brush fabric paint or wall-safe acrylic into the stencil openings, then lift carefully for clean edges.
To keep the cost low, repeat one stencil across the wall and use just a few colors, like cream, gray, and a warm accent. You can also mix a tiny bit of paint with white to make multiple shades without buying extra jars.
Personalize the mural by giving each animal a tiny detail, like a different tail curl, a dot eye color, or a small leaf accessory. This keeps the whole design from feeling copied and helps it feel like your own story.
Animal stencils are still popular because they look cute and orderly while leaving room for your creativity. Once you’re done, the wall becomes a cozy backdrop that makes the space feel lived-in and welcoming.