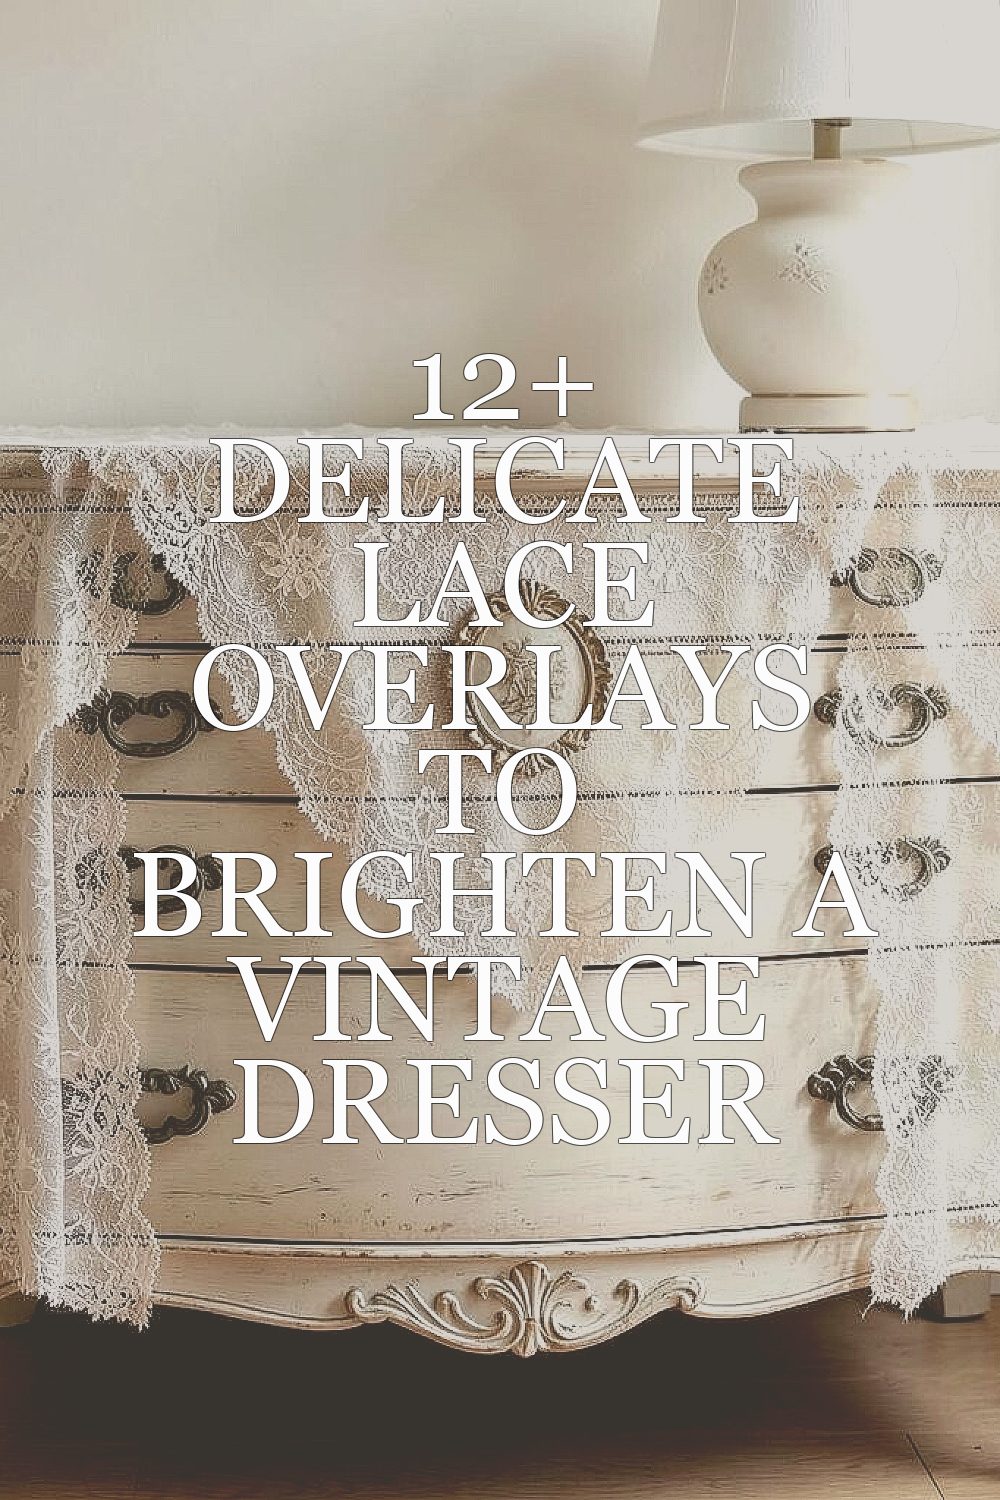
That dresser has stories in its wood and dents in its history. A lace overlay can turn those small reminders into something bright and lovely.
When you layer lace with care, the whole piece starts to glow in a new way. You get vintage charm with a softer, more polished look that still feels personal.
1. Scalloped Edge Lace on the Center Panel
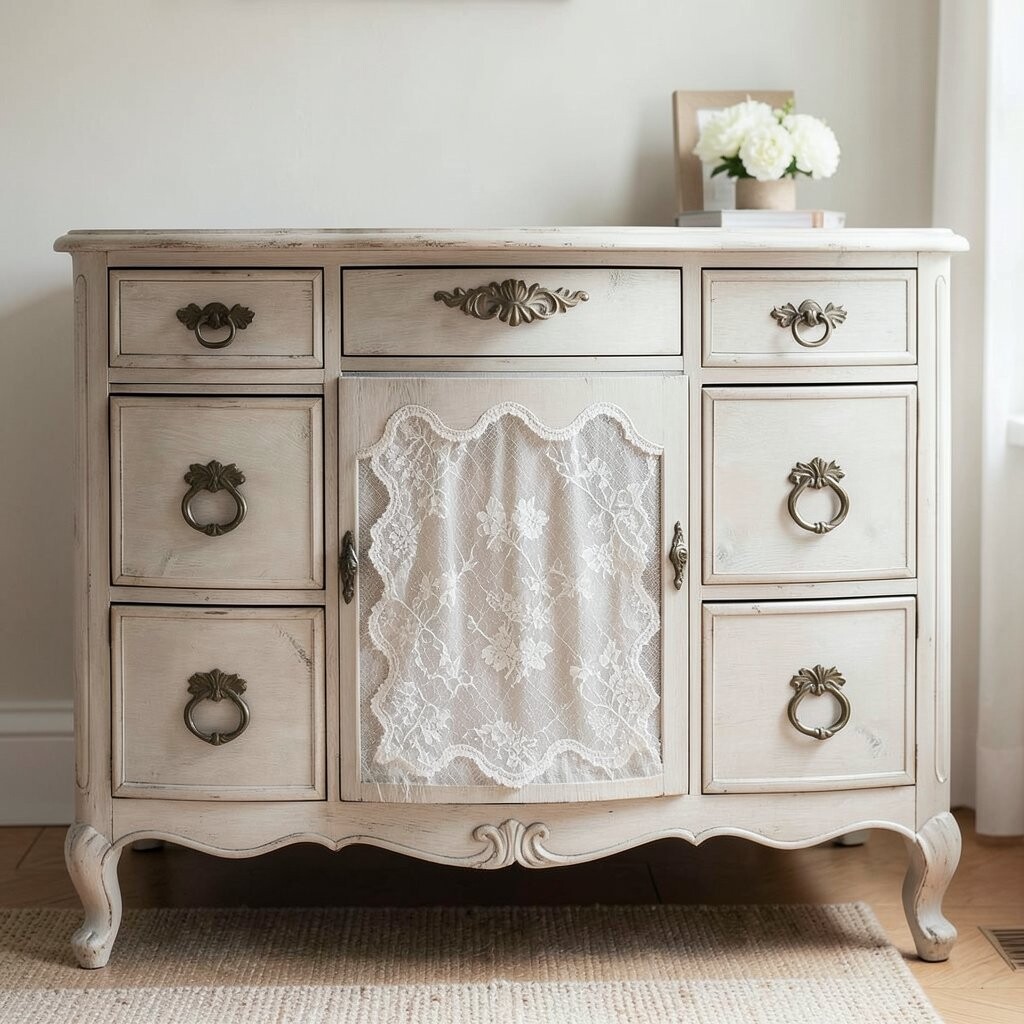
A scalloped lace overlay on the main drawer front looks like it was sewn by hand and then kept safe for years. The curved edge catches light, so the center panel becomes the visual “heart” of the dresser.
To get the best fit, measure the panel area and leave a small allowance so the lace can relax without stretching. Use a thin fabric adhesive or gel medium so the lace stays flat and doesn’t buckle when the dresser moves. A quick wipe with a dry cloth after it dries keeps dust from settling into the pattern.
For personalization, choose a lace that matches your room’s mood, like soft ivory for a warm look or ecru for a more neutral feel. This option is also budget-friendly because you can use a lace trim that covers only the center while keeping the rest simple. A practical bonus is that scalloped shapes hide minor unevenness in older wood or worn paint.
2. Romantic Rose Lace Across Drawer Faces

Rose lace drawn across each drawer face feels like vintage wallpaper you can touch. The repeating flowers make the dresser look more detailed, even when the original hardware is plain.
For practical results, overlap seams carefully and smooth the lace from the center outward. If the drawers have different widths, cut each piece separately so the roses line up with the drawer fronts in a pleasing way. Seal the lace with a clear topcoat made for furniture so it resists everyday dust.
Pick a lace with a tighter pattern if your dresser is small, since dense designs read more clearly at a glance. Many crafters love this look because it makes a dresser feel romantic without needing heavy paint. If you want a cost-conscious approach, shop for lace remnants or pre-cut yardage, then use strategic trimming where needed.
3. Diamond Net Lace for a Light, Airy Feel

Diamond net lace creates a gentle grid that makes a vintage dresser seem lighter and more open. When sunlight hits the tiny openings, you’ll see a soft shimmer that feels airy rather than busy.
This style works great for furniture that already has a slightly worn finish, because the pattern visually softens harsh spots. Stretch the net only a little as you place it, then secure it with careful, thin glue so the grid stays even. You can also apply it over a tinted base coat for extra depth, like a muted blush or cool gray.
If you love modern touches but still want vintage soul, pair this lace with simple knobs in brushed brass or matte black. Many people are leaning into “sheer layering” right now, where lace works like a filter over old paint. For cost, choose wider net lace so you cover more surface area per purchase, which helps keep spending under control.
To personalize, vary the opacity by adding a slightly thicker glue only in certain sections. That way, some areas look more translucent while others feel richer and more textured.
4. Vintage Doily Overlay With a Center Medallion
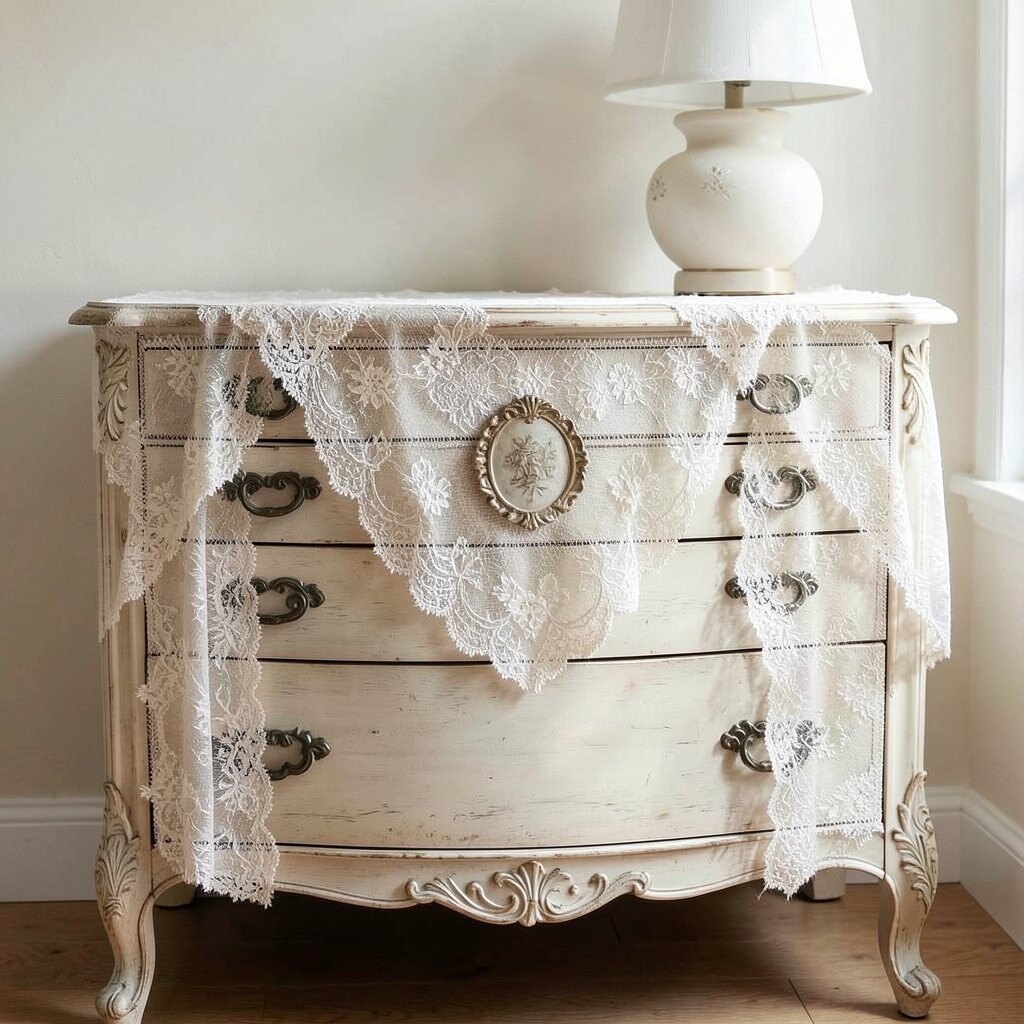
A doily overlay brings instant nostalgia because it looks like something saved from a family table. Place it on the top drawer or just the center of the dresser front for a focal point that feels thoughtful and warm.
Choose a doily with a sturdy edge so it doesn’t sag over time. When attaching it, use small amounts of glue around the outer ring first, then gently secure the middle. A light sanding after sealing can help the surface feel smoother when you run your hand across it.
If your dresser has ornate carvings, this style frames them beautifully without covering every detail. A practical tip is to match the doily size to the drawer face, so the design looks balanced and not swallowed by the wood. You’ll also want to seal the lace well, especially in areas that get touched often.
For personalization, add a tiny stained-glass style paint accent in the doily’s center, then keep everything else calm. This approach stays budget-friendly because doilies can be reused, resized, or layered with a single accent layer. Current trends favor cozy, textured surfaces, and doily-style lace fits right into that comfy look.
5. Layered Ruffle Lace for a Soft, Fashion-Ready Edge

Ruffle lace makes a dresser feel dressed up, like it’s ready for a tea party every day. The wavy trim adds movement and a gentle, handmade vibe.
Attach ruffle lace along the top edge, around the drawer openings, or as a border that wraps the whole dresser front. To prevent gaps, pin or tape the lace lightly while the adhesive sets, then remove tools once everything holds steady. Keep the ruffles even by measuring the length you need before cutting.
This option is unique because it blends lace with texture in a way that feels both vintage and playful. It’s also practical for hiding small chips, since ruffles cover uneven paint lines and worn varnish. If you’re cost-conscious, look for wide trim on sale and use it strategically only where you want the most visual impact.
Personalize by mixing colors, such as cream lace with a soft gray base or white lace over a pale mint tone. Many people are using “layered edging” right now, and it’s an easy way to make an old dresser look styled without repainting everything.
6. Appliqué Lace Motifs Placed Like Jewelry

Instead of covering the whole face, small lace appliqués placed like jewelry can look surprisingly elegant. You can cluster them near the corners, frame the center, or scatter them softly across the drawer fronts.
This method is especially great if your dresser has lettering, a carved crest, or special wood grain you want to keep visible. Glue each motif carefully and let the pieces sit flat, then add a clear seal over the top so they stay protected. Use a fine brush to tuck adhesive under the edges where lace lifts.
Personalization is where this idea shines, because you can choose motifs that match your style, like butterflies, roses, or ornate scroll shapes. Many crafters like this approach because it feels custom even when you use fewer materials. For cost, appliqués can be sourced in small bundles, and you only pay for the details you actually use.
7. Tucked Lace Corners for a Subtle “Secret” Detail

Tucked lace corners look delicate and a little mysterious, like you found a hidden detail when you pulled open a drawer. The lace peeks from the edges, giving a soft frame without taking over the whole surface.
For best results, cut lace into corner sections and secure the back edges first, then press the front gently into place. A thin layer of clear gel helps it bond without creating bulky ridges. If you’re working on older paint, clean the surface well and dry it completely before starting.
This style feels unique because it highlights the shape of the furniture rather than covering it fully. It’s also practical if you’re worried about durability, since the lace sits in low-wear zones near the corners. If you like trends that lean minimal, tucked lace is a great match for that gentle, refined look.
Personalize by tinting the base behind the lace, such as a warm beige or light rose, so the peek-through looks richer. You’ll likely spend less than full overlays because you’re using only small sections at a time.
8. Wide Lace Bands Between Drawers and Panels

Wide lace bands can turn a plain dresser into something that looks designed, not patched. When you place lace between drawers, the dresser gains rhythm and visual structure.
Measure the spacing carefully and keep the bands straight so the pattern doesn’t drift. Use a ruler and light pencil marks as guides, then apply adhesive evenly and lay the lace with patience. After it cures, seal it with a furniture-safe clear coat to keep the lace from snagging.
This overlay feels versatile because it works on both simple and ornate dressers. It also hides aging marks between panels, which is helpful if the dresser has old dents or mismatched paint. In terms of current trends, bold banding is back because it reads clean at a glance and gives a tailored look.
For cost considerations, look for lace fabric sold by the yard and cut multiple bands from one purchase. Personalize the thickness of each band to match your taste, whether you want a dramatic statement or a gentle accent.
9. Sheer Lace Overlay Over Chalky Paint for Soft Contrast

Sheer lace over chalky paint looks dreamy because the lace becomes like a soft filter on top of color. The dresser still shows its vintage character, but the surface feels calmer and more refined.
Start by choosing a chalky base in a shade you love, like dove gray, pale butter, or muted sage. When the paint is fully dry, smooth the lace onto the surface and press lightly as you apply adhesive. A matte topcoat helps prevent glare, making the lace look timeless rather than glossy.
This option is unique because the lace doesn’t just decorate, it subtly changes how the color appears in different light. It’s practical because you can hide scuffs under the lace while keeping the base visible. Many people are leaning toward soft “antique wash” effects right now, and sheer overlays create that vibe without complicated techniques.
To personalize, experiment with lace direction, such as rotating the pattern so it aligns with drawer seams. If you want a cost-friendly approach, use narrower lace and overlap it slightly where seams won’t be noticeable.
10. Lace and Ribbon Border for a Cozy, Cottage Look

Lace plus ribbon border gives your dresser a warm, cottage feel that looks welcoming in any room. The ribbon adds color and structure, while the lace keeps everything soft and old-fashioned.
Choose ribbon in a tone that matches your paint or hardware, then attach it first so the lace can sit neatly on top. Secure the ribbon with small adhesive dots along the back, and then lay lace along the edge with even spacing. This layered method is great because it prevents lace from fraying at the visible edge.
It’s beneficial for both durability and beauty, since the ribbon acts like a tidy frame. Personalization is easy too, because you can swap ribbon colors based on seasonal decor, such as dusty pink for spring or deep teal for winter. For cost, buying ribbon rolls is often more economical than buying wide lace, and you use lace only where it shows most.
Current trends favor handmade-looking charm, and this combo feels like a crafted detail rather than a store-bought finish. A light-touch approach also keeps the dresser from looking too heavy.
11. Lace-Covered Drawer Pull Frames With Empty Center Space

Covering only the drawer pull area with lace gives a focused, tasteful accent. Instead of covering the whole drawer face, you create a frame that draws the eye straight to the hardware.
Cut lace shapes that match the pull area, then attach them around the frame edges so the lace doesn’t interfere with opening and closing. If your dresser has round knobs, use curved lace patches for a tidy look. A seal coat over the lace will help it hold up to fingerprints and everyday use.
This style is unique because it feels like art placed in a specific spot, not a blanket covering. It’s practical for vintage dressers that have good paint in some areas and worn spots in others, letting you target repairs visually. You can also personalize by switching hardware after the lace sets, since matching knobs can make the whole look feel intentional.
For cost considerations, you’ll use much less lace than full overlays, which is great if you’re working with a tight budget. If you want a current-trend feel, pair the lace frames with simple, clean hardware finishes like brushed nickel or warm bronze.
12. Lace Over Stencil Background for an Old-World Pattern

A lace overlay over a stencil background looks like layered history on one surface. You get crisp designs underneath and soft lace on top, so the dresser reads rich and carefully styled.
Apply a stencil first with paint or paste, then let it cure fully before adding lace. Lay the lace so the openings line up with the stencil’s most important shapes, like vines or medallions. Use glue sparingly and work in sections so the lace doesn’t shift while you press it down.
This approach is beneficial because the stencil gives structure, while the lace adds a delicate texture. It’s also highly unique since your stencil choice controls the story of the dresser, whether you go floral, botanical, or geometric. Personalize the color palette by choosing a stencil tone that’s slightly darker than the base, so the layers look dimensional.
As a cost consideration, stencils are usually reusable, meaning one stencil purchase can support multiple projects. If you want to keep spending low, use lace remnants only, since the stencil will already do part of the visual work.
13. Corner-to-Center Lace Panels for a Dramatic Vintage Reveal

Corner-to-center lace panels look dramatic because they guide the eye toward the middle of each drawer face. The design feels like vintage fashion, where details gather at a focal point.
To achieve this look, cut two lace pieces that meet near the center seam and secure the edges first. Make sure the pattern continues smoothly so the join looks intentional rather than accidental. After attaching, seal the lace thoroughly so it stays smooth and protected from everyday touches.
This style is unique because it creates symmetry, even on dressers that have slight age-related irregularities. It’s practical for hiding worn finish areas near corners and edges, where vintage furniture often shows wear first. For personalization, choose lace designs with strong motifs, such as ornate florals or scrollwork, so the center reveal feels special.
Cost considerations are manageable because you can use narrower lace pieces cut to shape, then layer them to meet in the center. Many people are leaning into bold yet delicate “paneling” right now, and this overlay gives that effect without needing heavy paint techniques.