Thread can turn plain space into something that feels alive. With a few simple materials, you can build art that hangs, stands, or glows with texture.
Whether you want cozy wall decor or a gift that looks made just for someone, thread sculptures offer endless ways to play with color, shape, and pattern.
1. Floating String Constellation Canvas
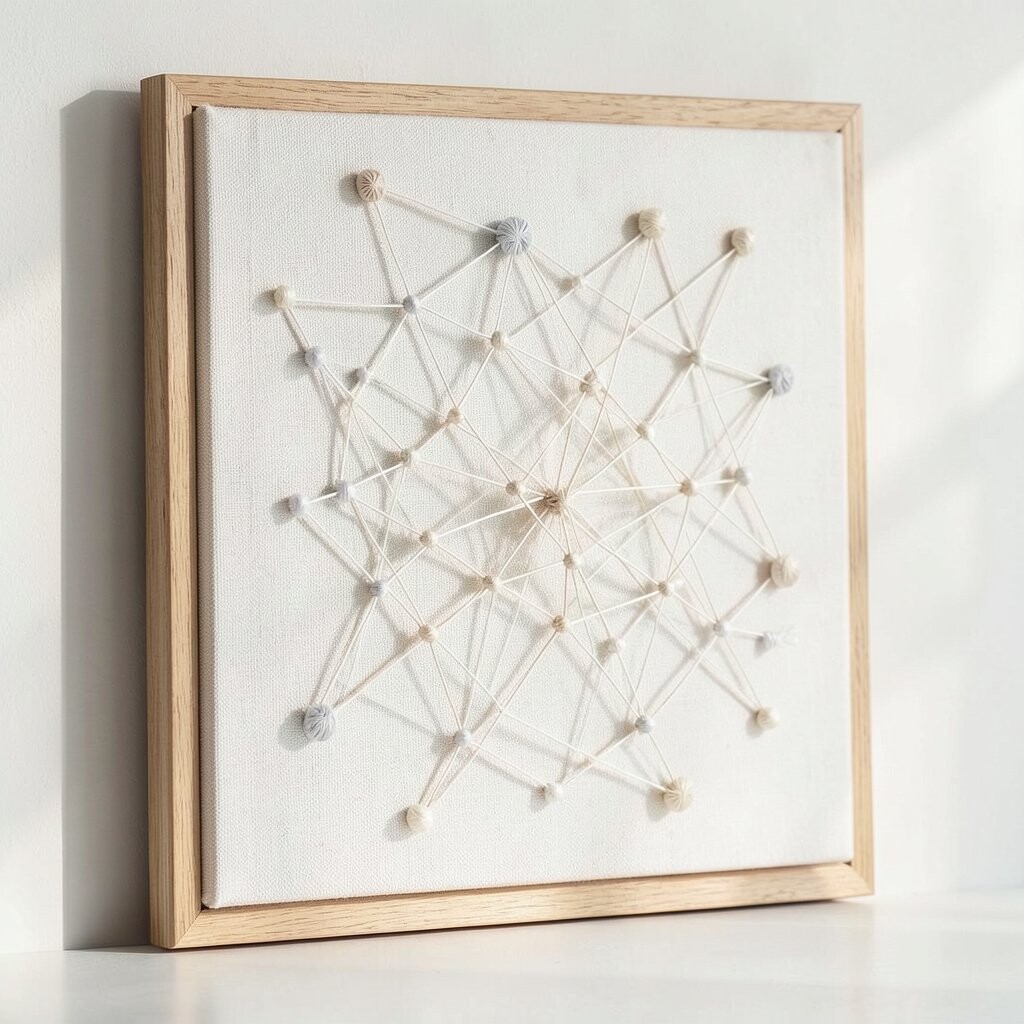
Imagine a small canvas that looks like stars are trapped in midair. You’ll stretch thread in soft arcs, then anchor tiny points so the lines feel weightless.
Start with a sturdy base and choose a color story like midnight blues with silver, or warm sunset shades with gold thread. Sketch a few big curves first, then tie off thread at the corners to keep tension smooth. Use different thicknesses of thread to create depth, because thicker strands read like brighter stars from a distance.
2. Layered Thread Halo Wall Ornament
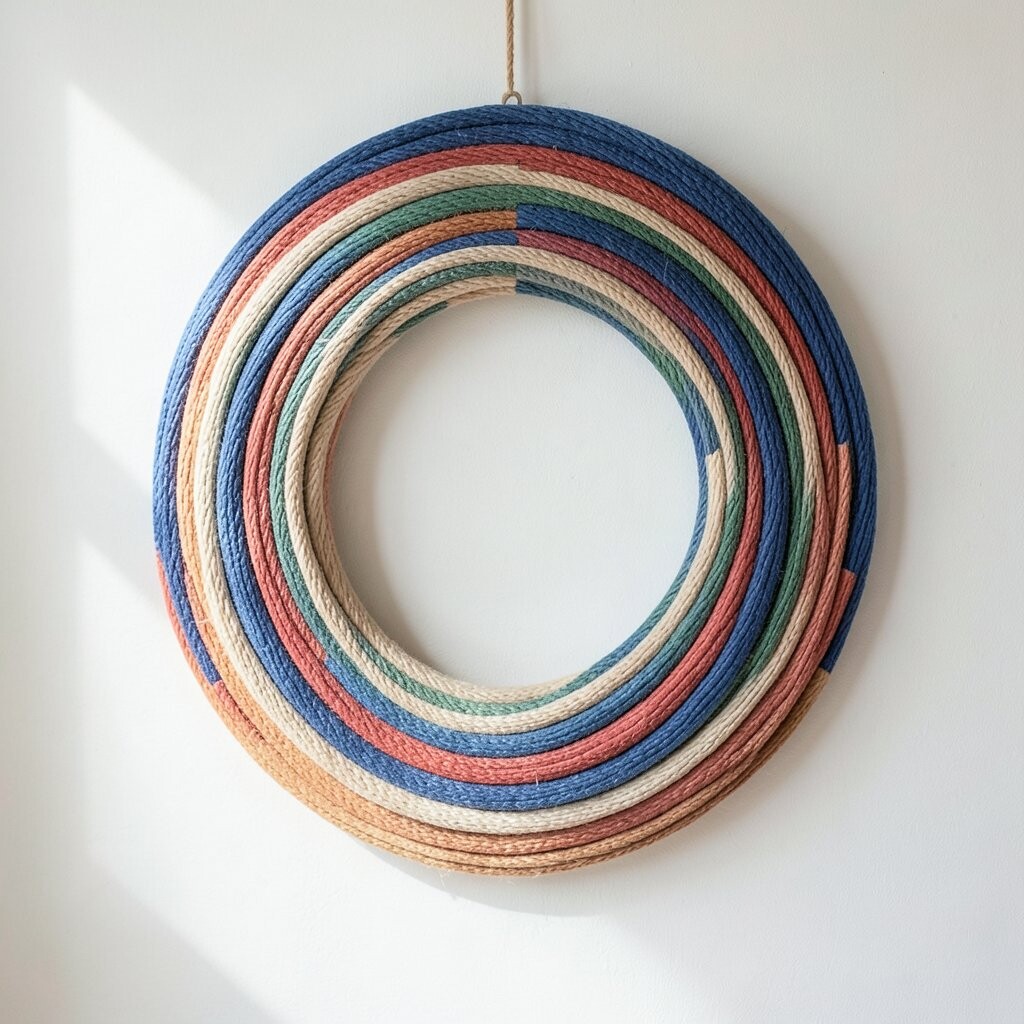
A halo made of thread can look delicate yet bold, like a wreath for your walls. You’ll build rings with spacing that lets light-colored background show through.
Pick one main color and one accent color, such as natural twine with a pop of red-orange. Wrap thread around a round template, then glue the ring gently to a backing board so it stays even. For practical realism, keep the spacing consistent by winding with steady hand pressure and trimming ends neatly.
To personalize it, add small “spark” knots around the top section, matching where a real halo would catch attention. This idea is unique because the negative space becomes part of the design instead of being wasted. If you want it budget-friendly, use leftover embroidery thread or thrifted yarn, and prioritize a clean base so the final look stays polished.
3. Whimsical Thread Feather Dream Catcher
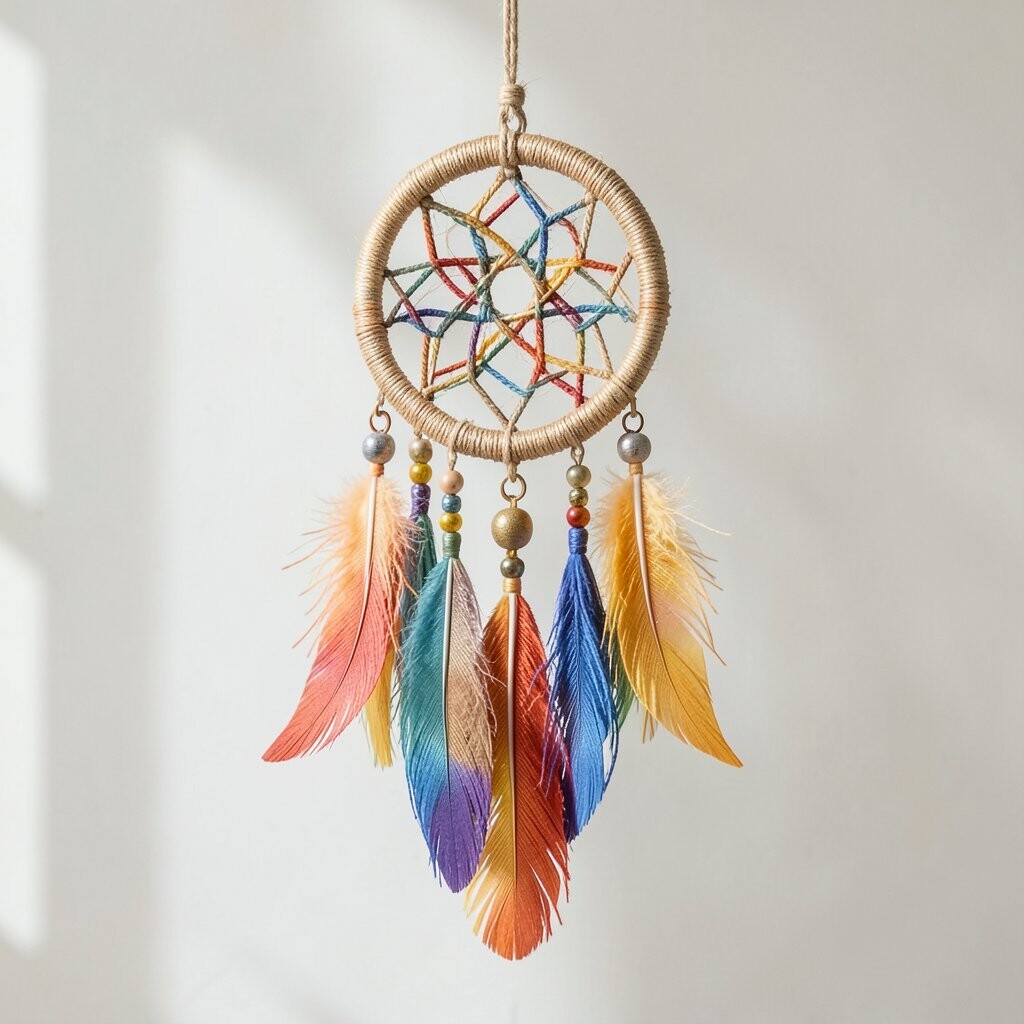
A feather sculpture made from thread can feel light enough to float. You’ll create a spine line, then weave fine strands out like soft barbs.
Choose a backing ring or a simple wood hoop, then wind thread around it as your foundation. Build one feather at a time by tying a long center strand and adding side threads that fan outward. Keep each “barb” spaced a little differently so it looks natural, not factory-made.
For trends right now, airy boho textures are popular, and this fits perfectly with neutral rooms and warm lighting. Personalize the feather by mixing fibers, like cotton thread with a strand of metallic yarn, so some parts shimmer. Budget-wise, you can stretch expensive threads by using them only near the tips, saving the rest for regular craft thread.
To make it feel actionable, plan where you’ll hang it before you tie everything off, since the final weight changes the angle. Finish by tying a few tiny knots at the bottom so the feather looks secure and intentional.
4. Minimalist Thread Typographic Name Sign
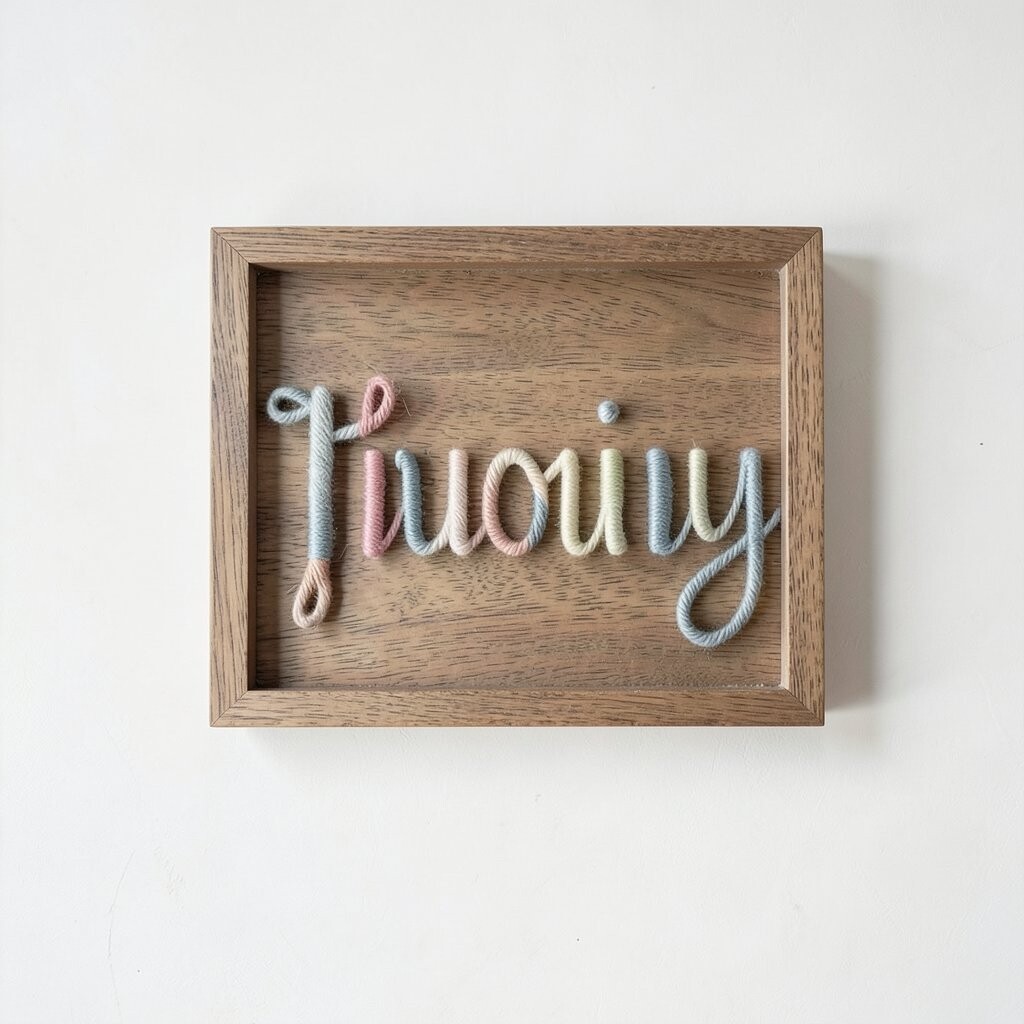
Turn a name into a thread sculpture that looks modern and calm. You’ll outline letters with thread, then fill the inside with rhythmic lines.
Use a printed stencil or trace your lettering, then hammer tiny nails lightly into a board following the outline. Wrap thread in a steady direction for each letter, then switch direction on the next one to make the strokes feel crisp. This approach is beneficial because it looks neat even from far away, which makes it great for shelves and entryways.
Personalization is easy since you can match the thread colors to a person’s favorite palette. If you want a unique vibe, try thin thread for the outline and thicker yarn for the fill, which gives your typography a gentle contrast. For cost considerations, inexpensive nail-and-thread techniques are low-cost, especially if you reuse boards and keep your color choices limited.
Keep current style in mind by choosing simple fonts and leaving some background space visible. When the sign is done, lightly mist it with a fabric-safe spray if your thread needs extra hold, but test on a small corner first.
5. Sunburst Thread Flower with Puffy Center
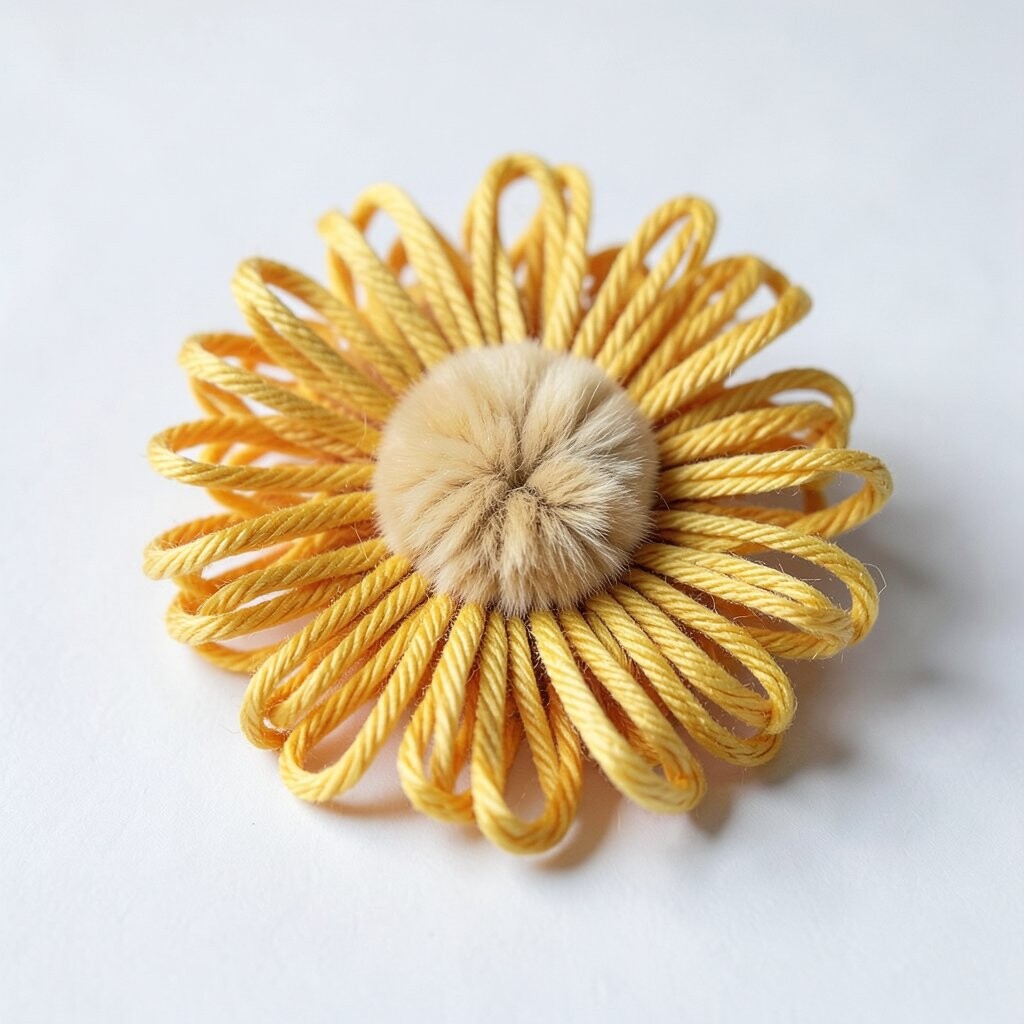
A thread flower can glow with texture, especially when the center is built to look puffy. You’ll make radiating petals with thread lines that fan outward from a round core.
Start by forming a tight circle for the center using coiled thread, then secure it with small knots or glue dots. For the petals, pull thread from the center to the edge in clean, repeating arcs. Use two petal shades, such as soft yellow with a hint of orange, so the flower looks more lifelike.
Uniqueness shows up when you add a small raised loop pattern in the center, like tiny curls that catch the eye. To personalize, pick a flower type mood, such as daisylike simplicity or a more peony-inspired fullness with shorter “petals.” This is also practical because you can size it for coasters, wall art, or a gift card holder by changing the base circle.
6. Geometric Thread Maze Framed Art
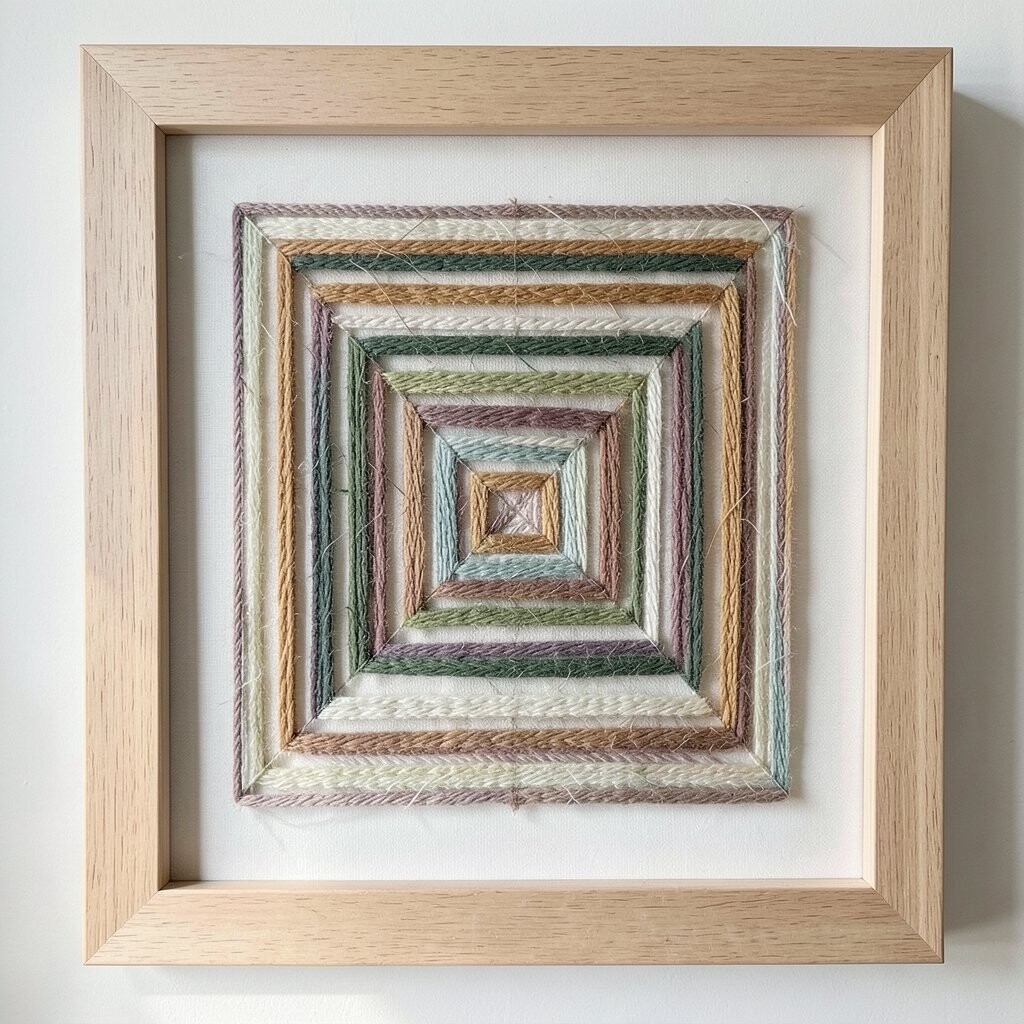
Geometric thread maze art looks like a puzzle you can hang. Tight lines and sharp turns create a modern feel without needing heavy tools.
Use a square or triangle template and plan intersections with pencil marks. Wrap thread between anchor points in a path that repeats but slightly shifts, so it feels playful instead of rigid. A clear benefit of this idea is that it stays tidy, since you control the grid and tension from start to finish.
For current trends, geometric patterns are still popular, especially in modern homes and minimal rooms. Personalize it by selecting a palette such as sage green and cream, or bold black and neon pink for a fun pop. Cost-wise, you can keep spending low by using one affordable thread color for the base, then saving a second color for the “turn” highlights.
7. Threaded Heart Lattice with Shimmer Edges
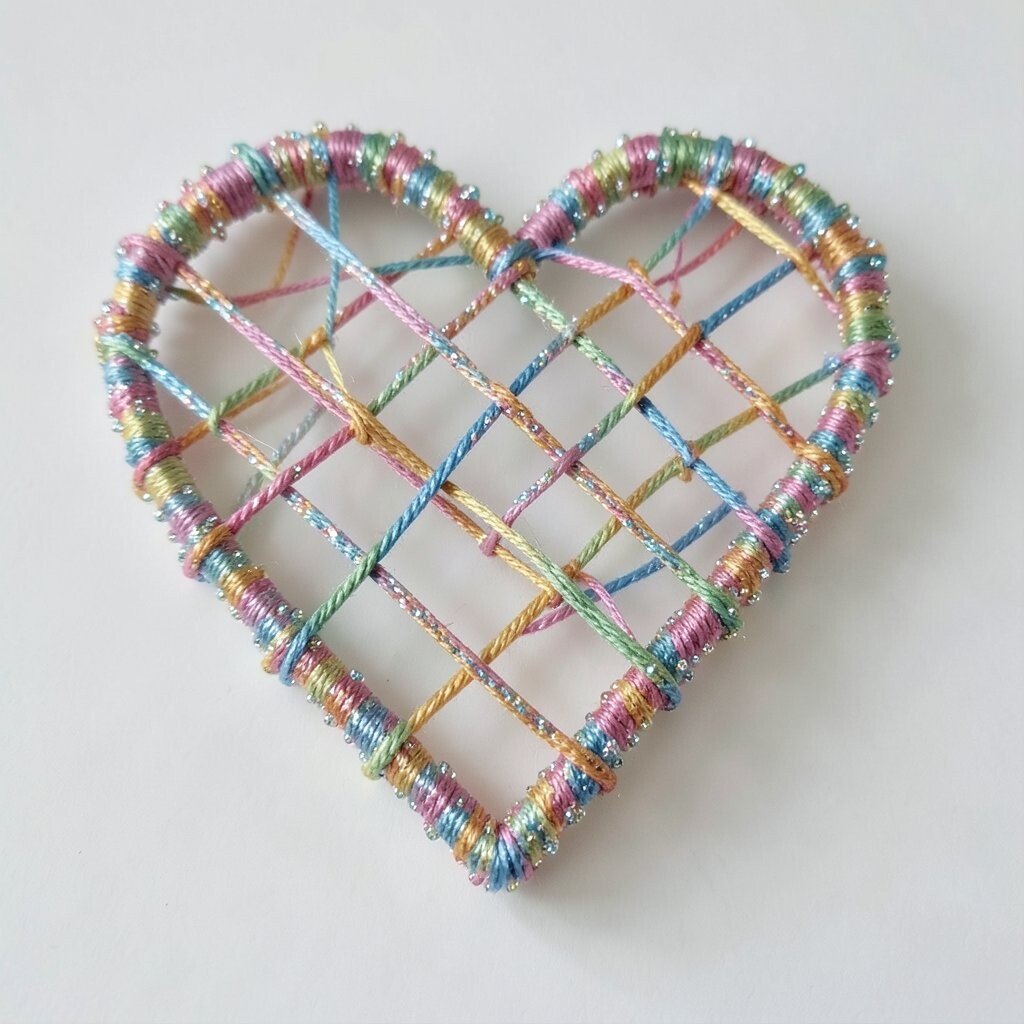
A heart made from threaded lattice can look romantic and also artistic. You’ll weave diagonal strands, letting them cross like a pattern over a warm background.
Draw a heart on cardboard, then place small pins around the edge to form anchor points. Weave thread in one direction across the heart, then switch direction to create the lattice effect. When you pull the strands gently, the woven structure stays smooth and the heart shape remains clear.
To personalize, add a shimmer thread only along the top curve and bottom tip, which makes the heart feel magical without covering everything. This is unique because the heart looks different from each angle, especially when light hits the texture. Practical cost considerations are good here since you can use regular thread for most of the lattice and reserve expensive metallic strands for short sections.
8. Coastal Thread Sailboat on Netting Backdrop
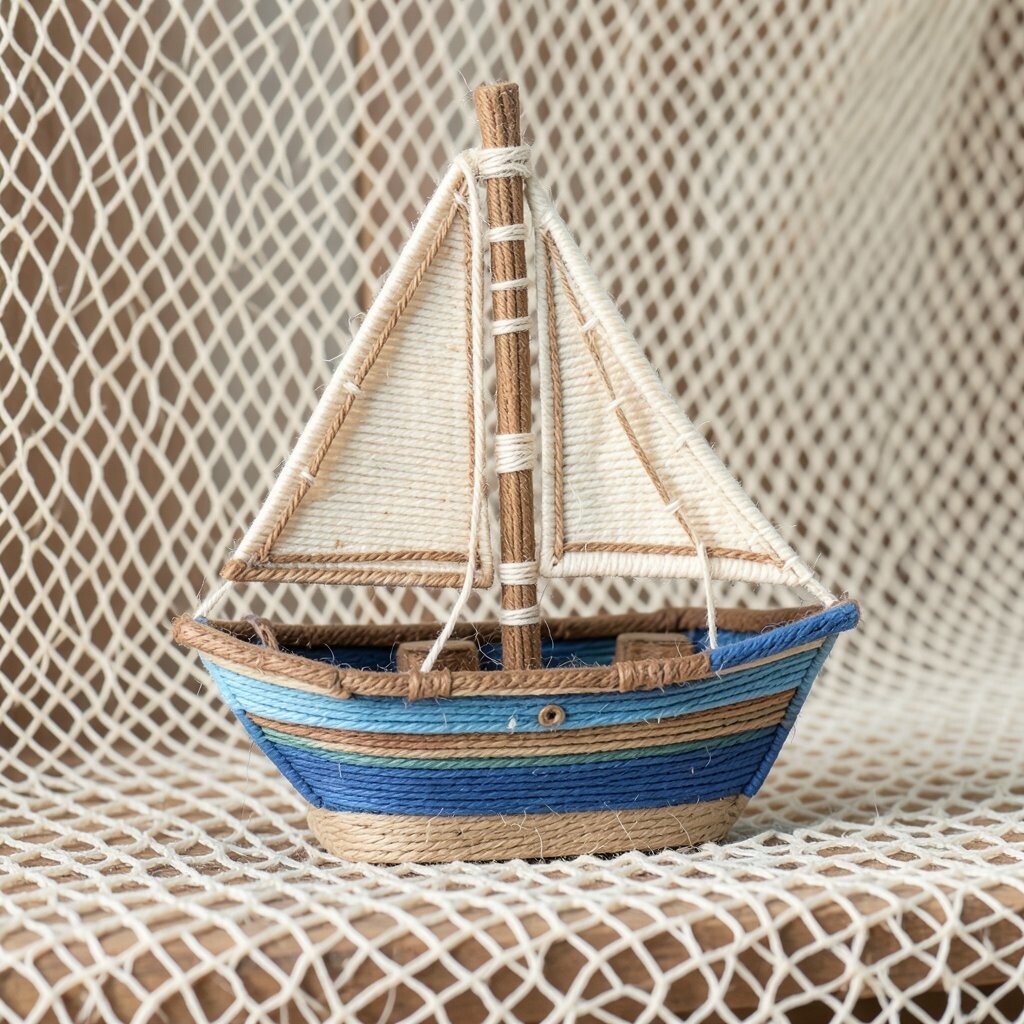
Bring a calm seaside vibe into your home with a sailboat made from thread. You’ll build the boat shape in simple curved lines and add a netting texture behind it.
Start with a background of loosely crisscrossed thread or yarn, like a fishing net, secured on a board. Then create the boat by outlining the hull with a darker thread and filling the sail with lighter strands that curve slightly. This creates a visual contrast that makes the boat pop even when the rest stays airy.
For personalization, thread in tiny dots of color like sea glass, using small knots to mimic bubbles. The uniqueness comes from the “layered distance” effect, where the netting looks like it sits behind the boat. From a cost perspective, you can keep it affordable by using low-cost twine for the net and reserving finer embroidery thread for the sail details.
To keep it practical, plan how you’ll hang or frame it before you start, since the netting can make the piece slightly thicker. Once finished, consider a clear acrylic frame to protect the threads from dust.
9. Mandala Thread Rings with Hand-Knot Texture
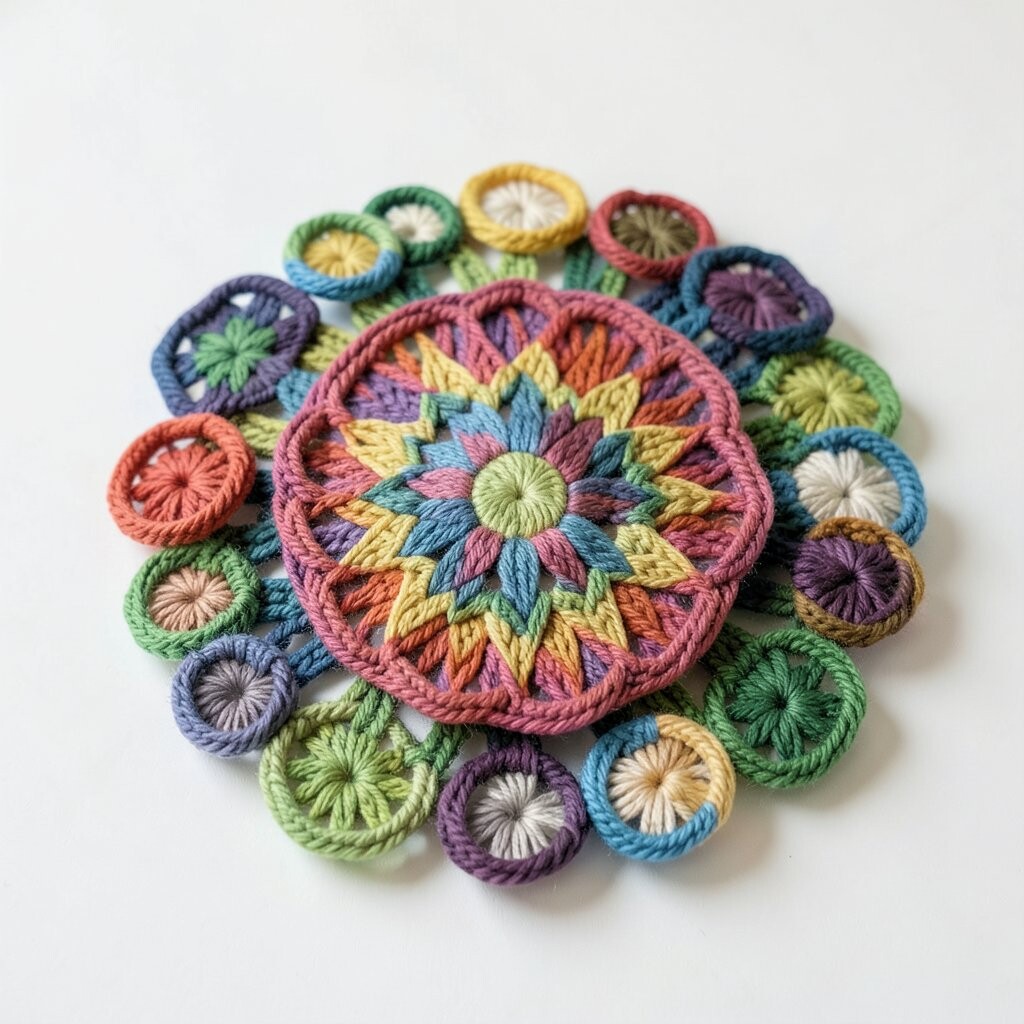
Mandala thread art feels meditative, and the results look impressive on a wall. You’ll stack circular patterns with repeating loops that build toward a centered focal point.
Choose a base board and mark gentle circles, then anchor thread at the outer ring and work inward. Add small hand knots where you want emphasis, because knots create tiny shadows that add depth. A helpful benefit of this approach is that mistakes blend in well, since mandalas are loved for their organic rhythm.
For current trends, lots of people are drawn to earthy, calming textures, so try muted tones like terracotta, olive, and cream. Personalize the mandala by using one symbolic color, like deep blue for “calm” or bright yellow for “joy,” and place it in the center or along one ring. Cost considerations are manageable too, since you can build most rings with affordable yarn and use embroidery thread only for fine line details.
Keep your hands comfortable by taking short pauses, because consistent tension makes the circles look smooth. If you want extra structure, lightly glue only the ends, not every strand, so the piece still feels airy.
10. Butterfly Thread Wings with Watercolor Fade

Butterfly wings made from thread look airy and playful. You’ll create a wing outline, then fill it with threads that gradually change color like a watercolor fade.
Pick a color gradient, such as lavender to pink to pale cream, and secure darker thread lines near the outer edges. Pull lines inward with even spacing to form a delicate membrane effect. The visual description here matters, because thin thread reads like wing veins, especially when you keep the lines slightly curved.
Personalize it by adding a tiny “body” segment in a contrasting color and a few raised knots for sparkle-like spots. This idea is unique because the fade turns the butterfly into a soft light piece rather than a flat decoration. For cost considerations, use leftover yarn strands to build the wider fading sections, then use finer thread for the vein lines so the details stay sharp.
11. Cozy Knit-Style Snowflake Thread Ornament
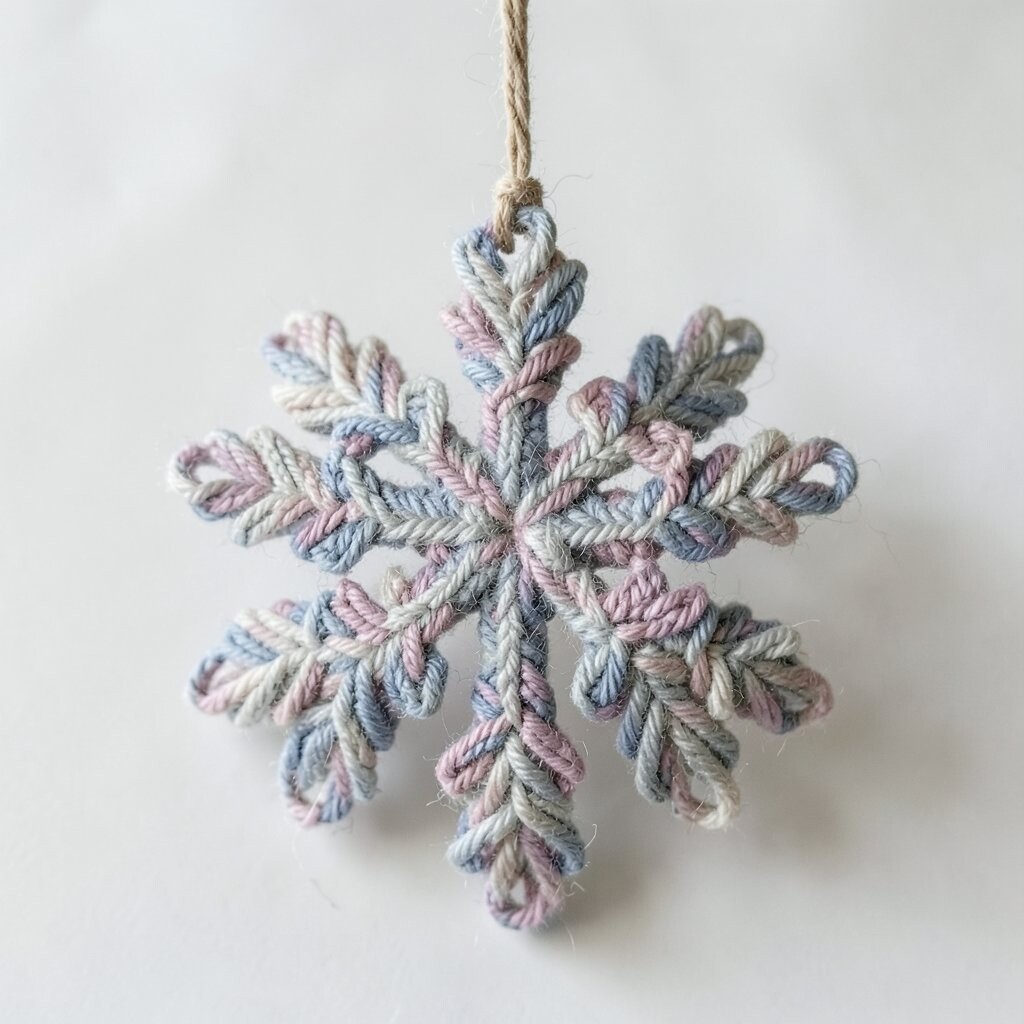
A snowflake ornament made with thread feels warm even during cold months. You’ll form radiating lines and small loops that resemble knitting patterns.
Start with a simple paper template or printed guide, then attach thread to a lightweight base board. Use evenly spaced spokes for the main structure, then add loop clusters at the arms so it looks intricate without being too hard. This is beneficial because it’s easy to make smaller versions for a whole set, which helps if you like matching decorations.
To personalize, choose colors that match your seasonal decor, like icy blue, silver, or deep teal. This is unique because thread loop clusters create a “knit texture” effect that many store-bought ornaments don’t have. Cost-wise, you can keep it low by using cotton crochet thread, which is often inexpensive, and saving specialty sparkly yarn for just one or two accents.
For practical hanging, attach a thin ribbon loop at the top and reinforce the knot area so it doesn’t loosen. If you use glue, apply it sparingly near the anchors so the snowflake stays airy.
12. Nightlight Thread Skyline with Warm Glow Effect
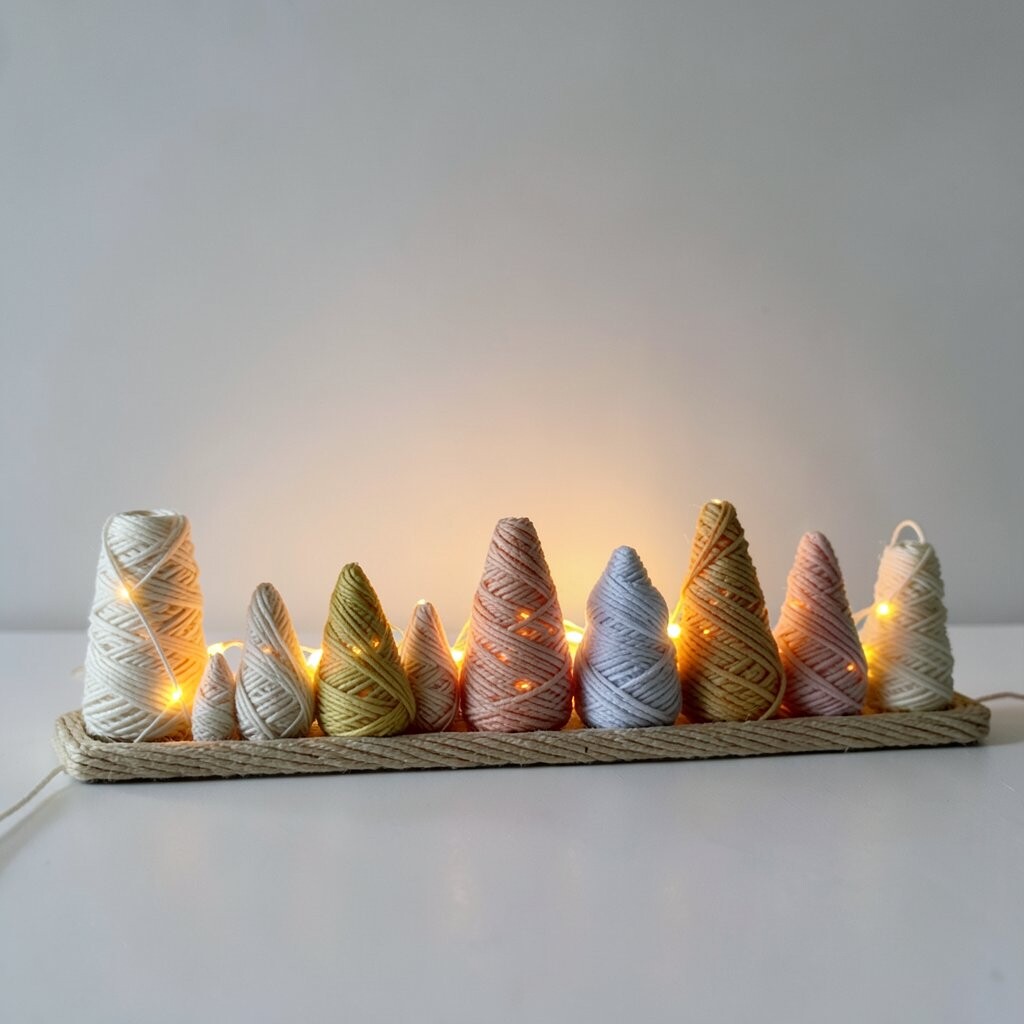
A thread skyline can look like a city lit up at night. You’ll build buildings with stacked thread “windows,” then place the piece near a light source for a cozy glow.
Make a base board and outline simple building shapes with thread, leaving gaps for window areas. Add window squares using contrasting thread colors, and vary heights to create a natural city feel. This offers a big benefit because the design looks more alive when backlit, and it turns a small light into a decorative feature.
Personalize it by choosing a mood, such as dreamy stars behind the skyline or a rainy-night palette with cool grays and soft blues. The uniqueness comes from combining fiber texture with lighting, which creates subtle shadows and depth on the wall. Cost considerations are friendly since you can use affordable thread for the buildings and keep the “wow” effect by relying on a low-energy LED light.
To keep it practical, test the lighting angle before sealing anything permanently, because the shadow shapes can shift. Finish by securing any loose ends so the threads stay crisp and don’t sag over time.