
The walls can feel a little too quiet after a long day at home. A few seashell-inspired touches bring warmth, calm, and a hint of ocean magic.
Below are practical, stylish projects that look great and are fun to make, even if you’re not the “crafty” type.
1. Shadowbox Seashell Scene With Mini Beach Props
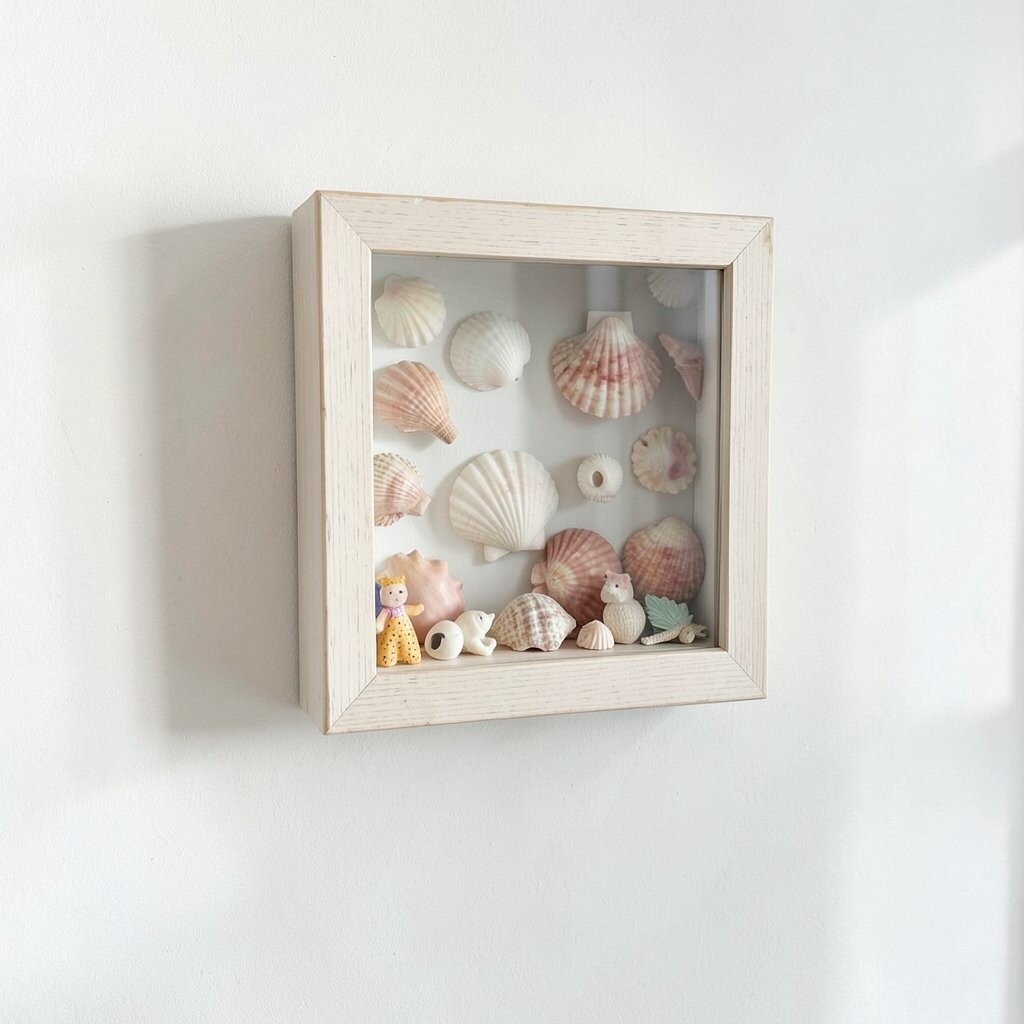
Pick a small shadowbox frame and think of it like a tiny window into a seaside moment. Start by laying out sand-colored paper or linen inside the box so the shells stand out right away.
Arrange your shells in layers, placing larger pieces at the back and smaller ones along the front like a real shoreline. Add a pinch of faux sand in one corner, then tuck in a tiny driftwood sliver or a simple starfish-shaped ornament. Finish by sealing the back and glass so dust stays away, and your wall display stays neat.
2. Driftwood and Shell Garland for a Soft Coastal Line
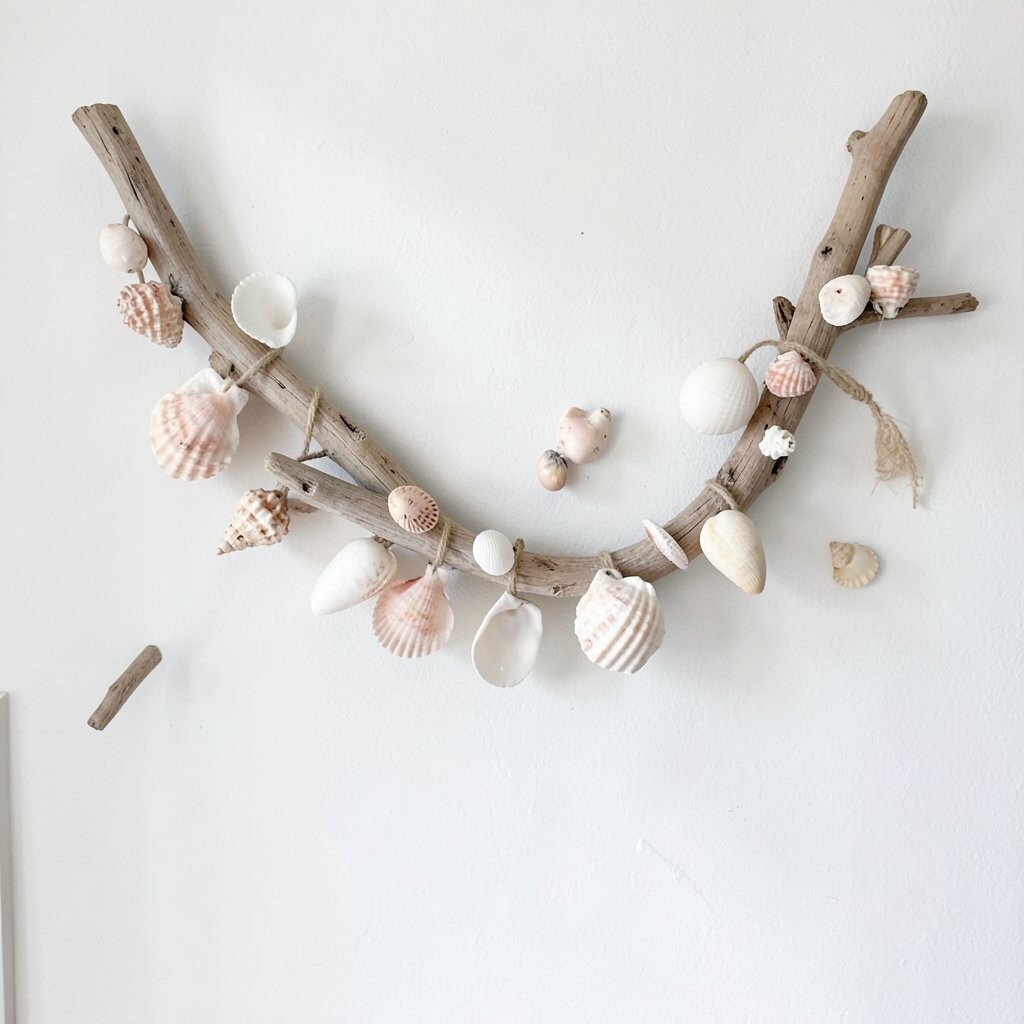
Wrap a light loop of thin twine or jute around driftwood pieces, then attach small shells with hot glue or a strong craft adhesive. Let the garland hang straight across a mantel, hallway wall, or above a doorway for an easy coastal look.
Choose shells with different shapes, like smooth scallops and small spiral shells, so the texture feels rich. To keep it from looking messy, space them evenly and use a few tiny pebbles as filler.
For personalization, paint part of the driftwood a warm cream or leave it natural for a beachy vibe. If you want it to match your decor, pick shells in one color family, like white and sand, or white and pale gray.
3. Seashell Alphabet or Initial Wall Lettering
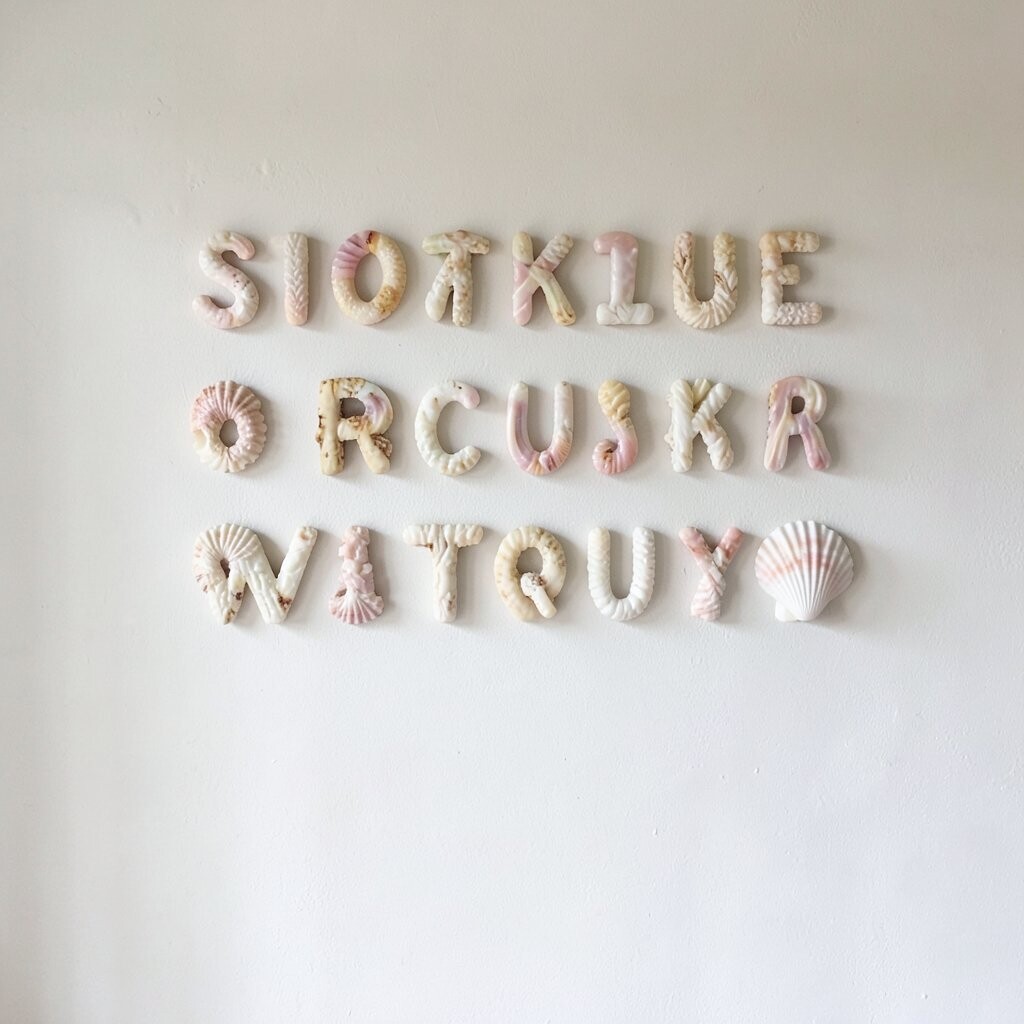
Use a wooden letter or a thick craft-letter cutout and glue shells onto it in a pattern you like. The result looks playful, elegant, and instantly personal because it shows your name or your favorite initial.
Try a gradient style by placing darker shells near the bottom and lighter shells near the top. If you’re working with mixed sizes, keep the biggest shells near the center so the shape stays clear from across the room.
Seal the whole letter with a clear matte spray so the shells look clean and do not get dull. This project is also a budget-friendly way to use the shells you already collected, and it’s trending as people lean into custom wall art rather than generic prints.
For practical hanging, attach a sturdy hook to the back and test the weight before mounting. Consider using a backing board in your wall color so any gaps do not distract from the overall design.
4. Nautical Shell Tile Mosaic for a Statement Patch
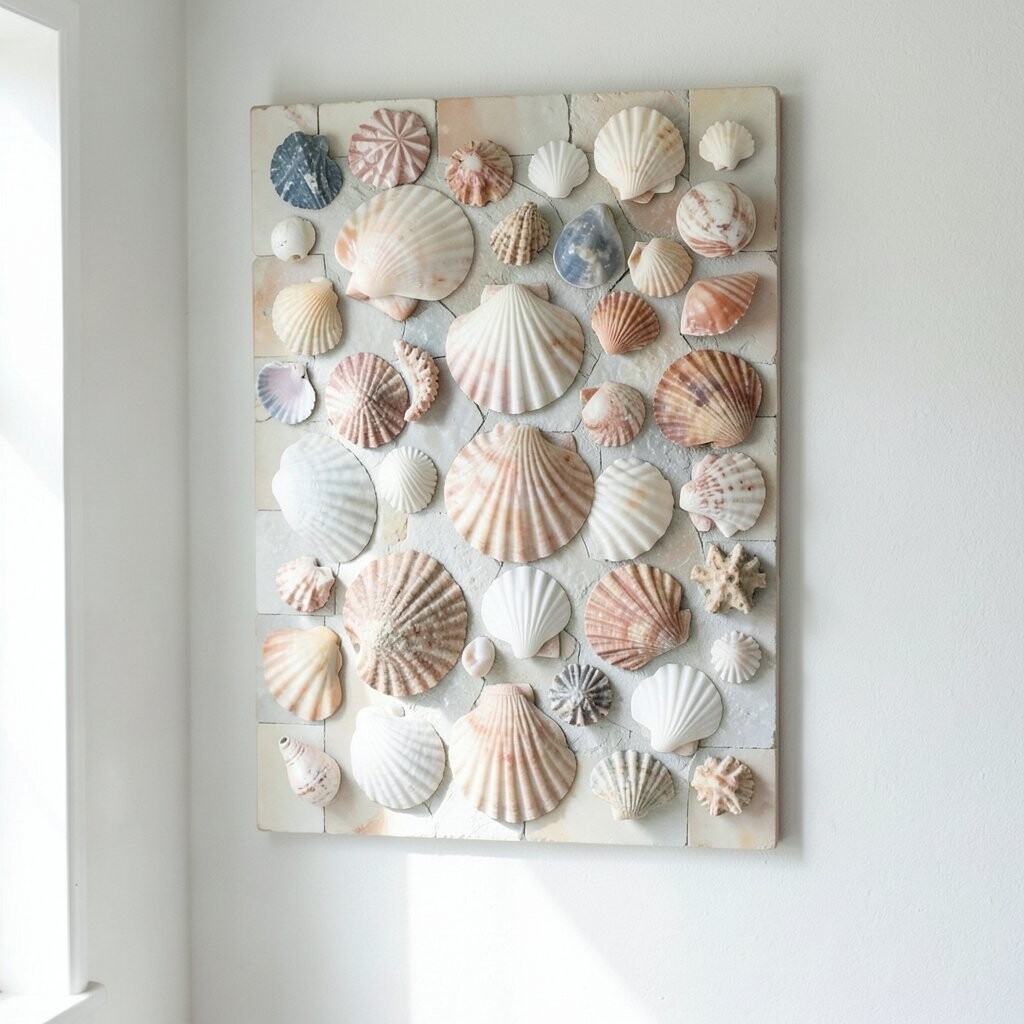
Combine small shell fragments with tile pieces to create a mosaic panel that feels artsy and elevated. You can use a pre-made canvas board or a thin wood panel as your base so assembly stays simple.
Plan your layout first by drawing a rough wave line, then fill sections with shells of similar thickness so they sit flat. Use grout or a tinted adhesive to fill in between pieces for a polished look.
5. Hanging Shell Mobiles for Breezy Wall Movement
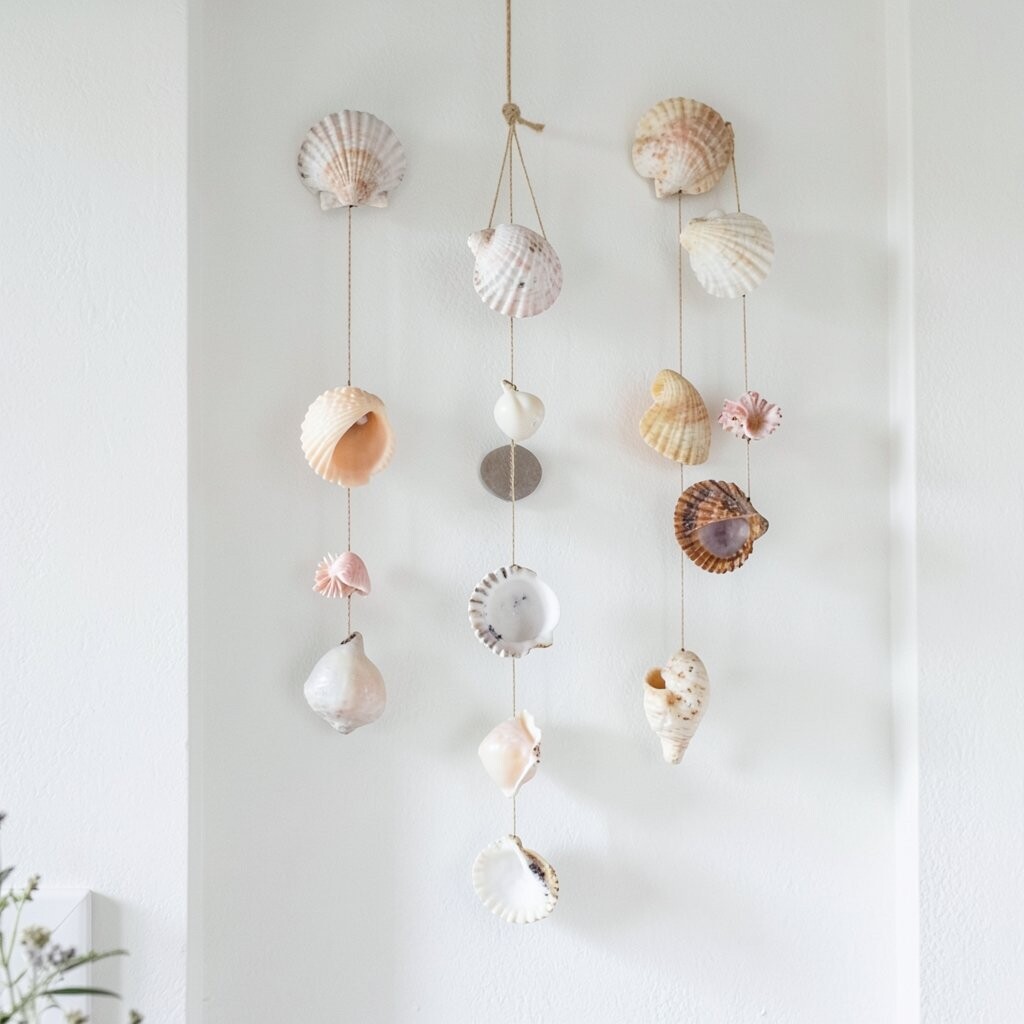
Build a small wooden hoop or branch and hang shells from fishing line at different lengths. Even when there’s no strong breeze, the mobile adds a lively shimmer when air moves through the room.
Choose lightweight shells like small spirals or flat scallop shells, then add a few glass beads to catch the light. For a cleaner look, stick to a limited palette such as ivory, sand, and sea-glass green.
This type of wall decor feels current because it brings motion and texture without taking over the whole wall. To keep it practical, secure the knots tightly and check that the shells won’t swing into light fixtures.
6. Painted Shells in a Grid Frame for Modern Beach Style
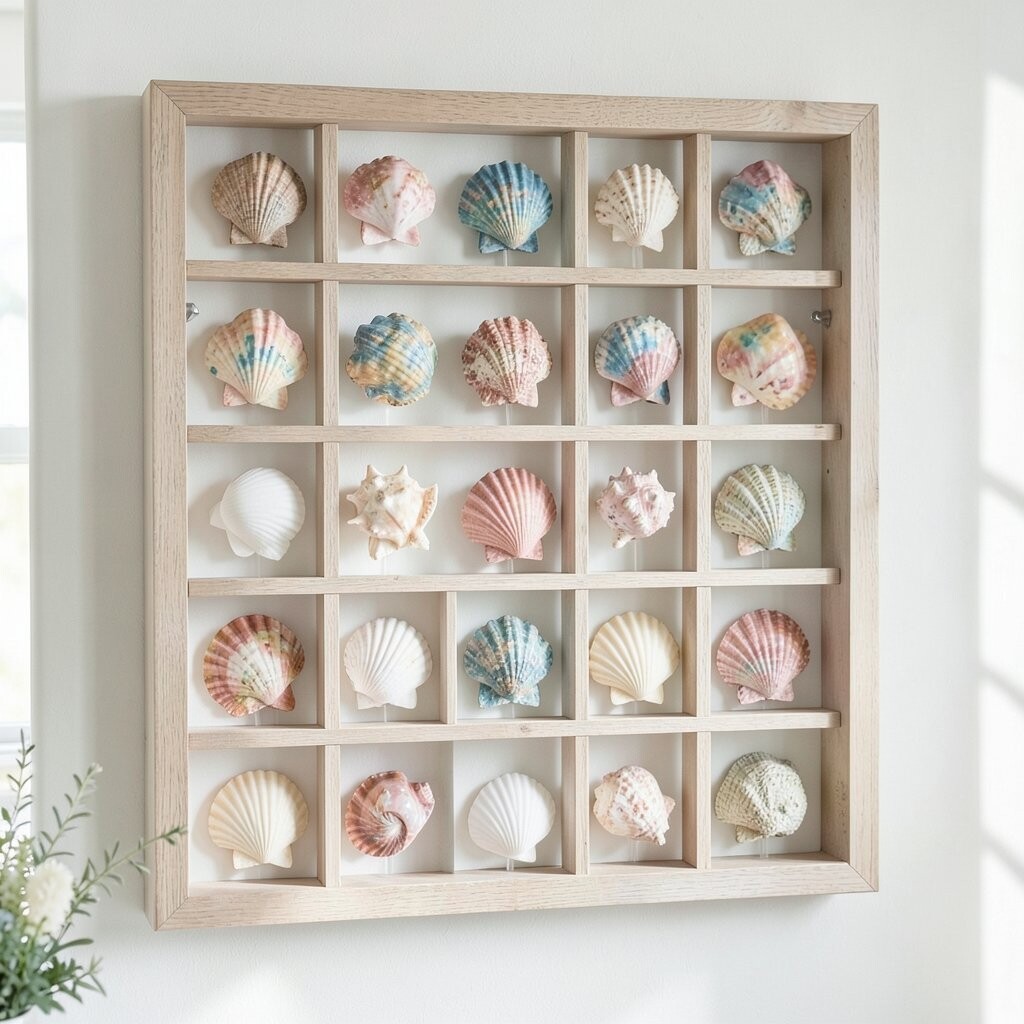
Paint shells in soft tones like blush, seafoam, pale navy, or warm white, then arrange them in a grid pattern on a large frame. This looks modern because the shapes stay consistent while the colors do the storytelling.
Glue shells onto a board with small spacing gaps so each piece reads clearly. If you want a crisp style, use only one shell type or use two types that both have flat backs.
To personalize, match your paint colors to pillows or a rug so everything feels connected. A matte finish helps reduce shine, which is helpful if your room lighting is bright.
7. Seashell Wreath for a Coastal Welcome Wall
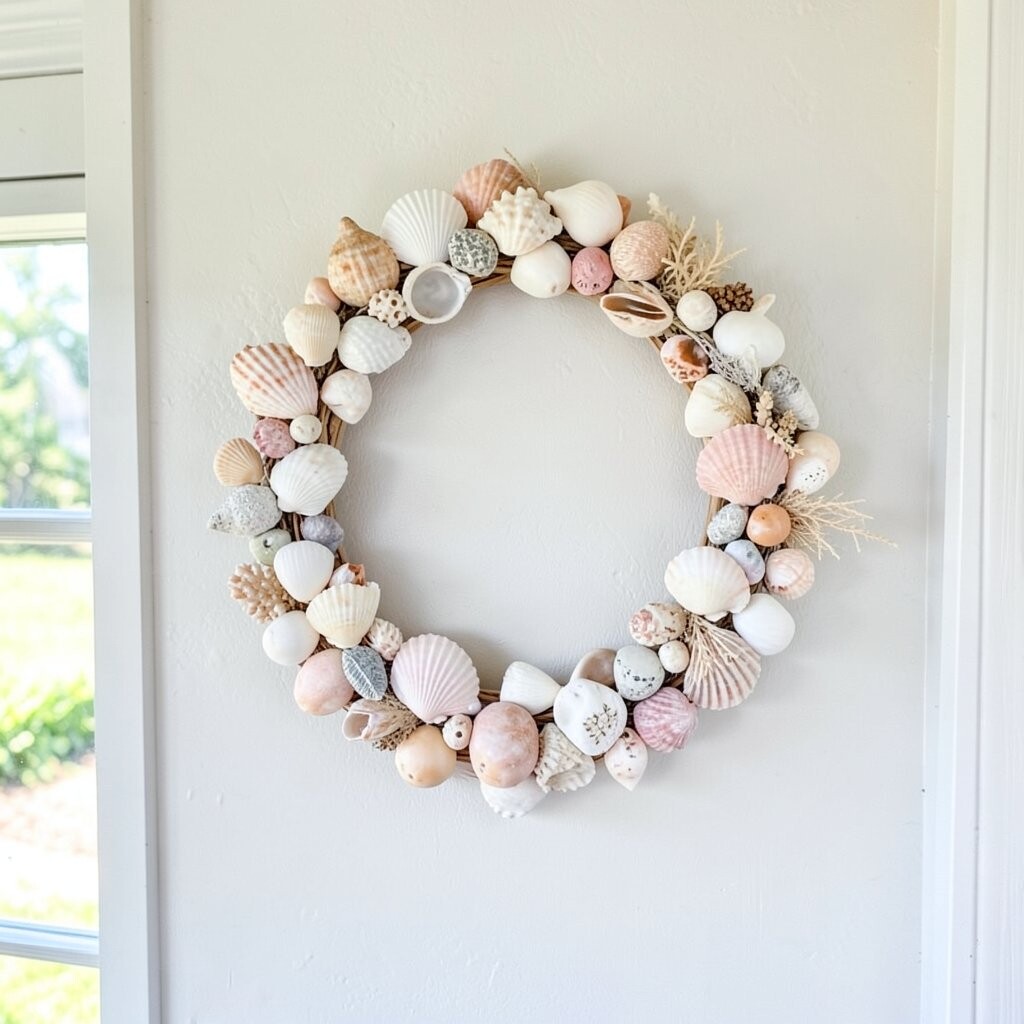
Start with a foam or grapevine wreath and wrap it with jute, then layer shells around the outer edge. The wreath instantly makes a wall look more inviting, especially near an entryway or kitchen space.
Work in sections so you can build a balanced look rather than rushing across the whole wreath. Mix larger shells at the top and bottom with smaller shells around the sides to keep the shape neat.
Add a simple accent like a small ribbon in natural linen or a tiny piece of driftwood for extra character. For cost control, use a few real shells as the “stars” and fill the rest with shell-like craft pieces or thrifted accents.
8. Seashell-Covered Picture Frame With Layered Edges
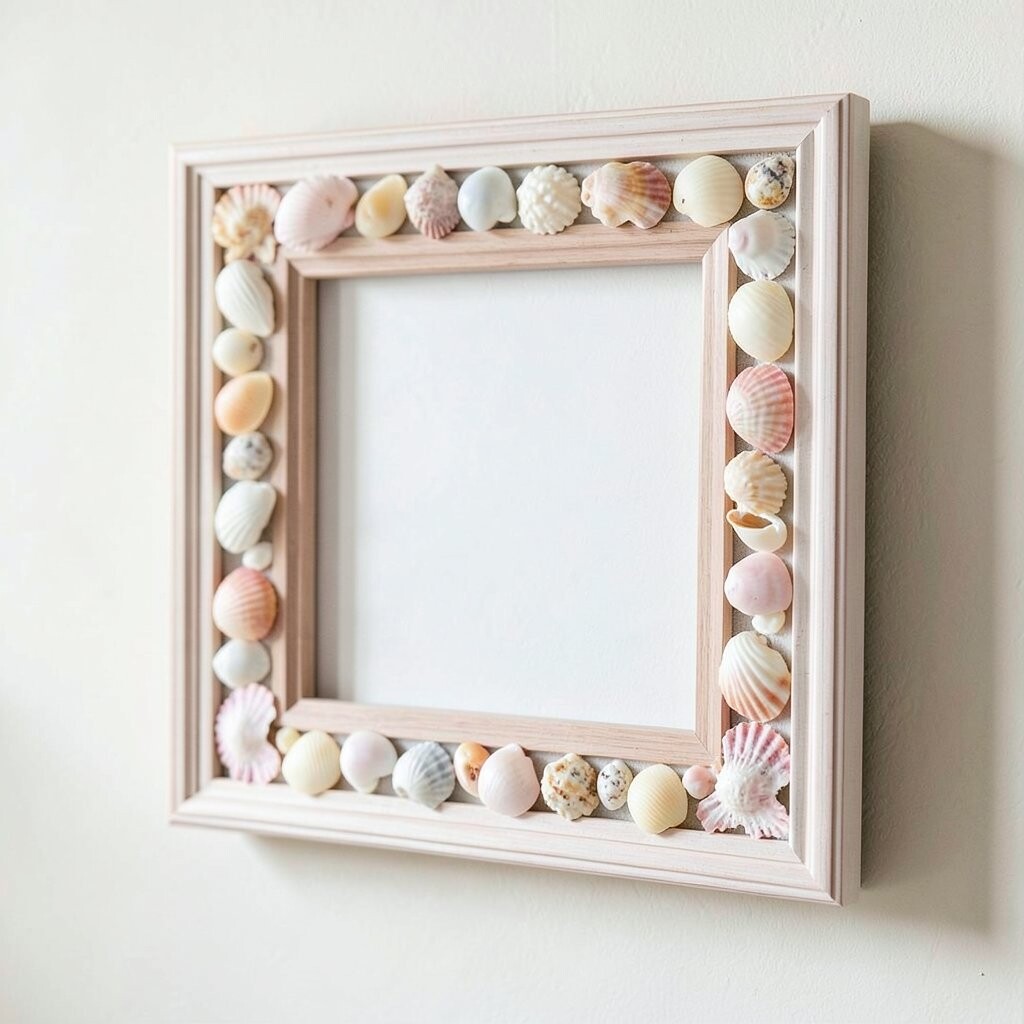
Pick a simple photo frame and cover the border with shells, leaving the center open for a print or a favorite beach photo. This project is great when you want seashell decor but do not want a full wall piece.
Use a gentle adhesive and press each shell in place, then let it dry fully before adding the back. To make the frame look intentional, stagger the shells so the edges do not line up in a boring straight row.
Personalize it with a background paper in a soft ocean color or add a thin strip of fabric for texture. If you prefer a more budget-friendly approach, reuse an old thrift frame and update it with a coat of paint first.
9. Shells in Clear Resin on Canvas for a Glossy Ocean Feel
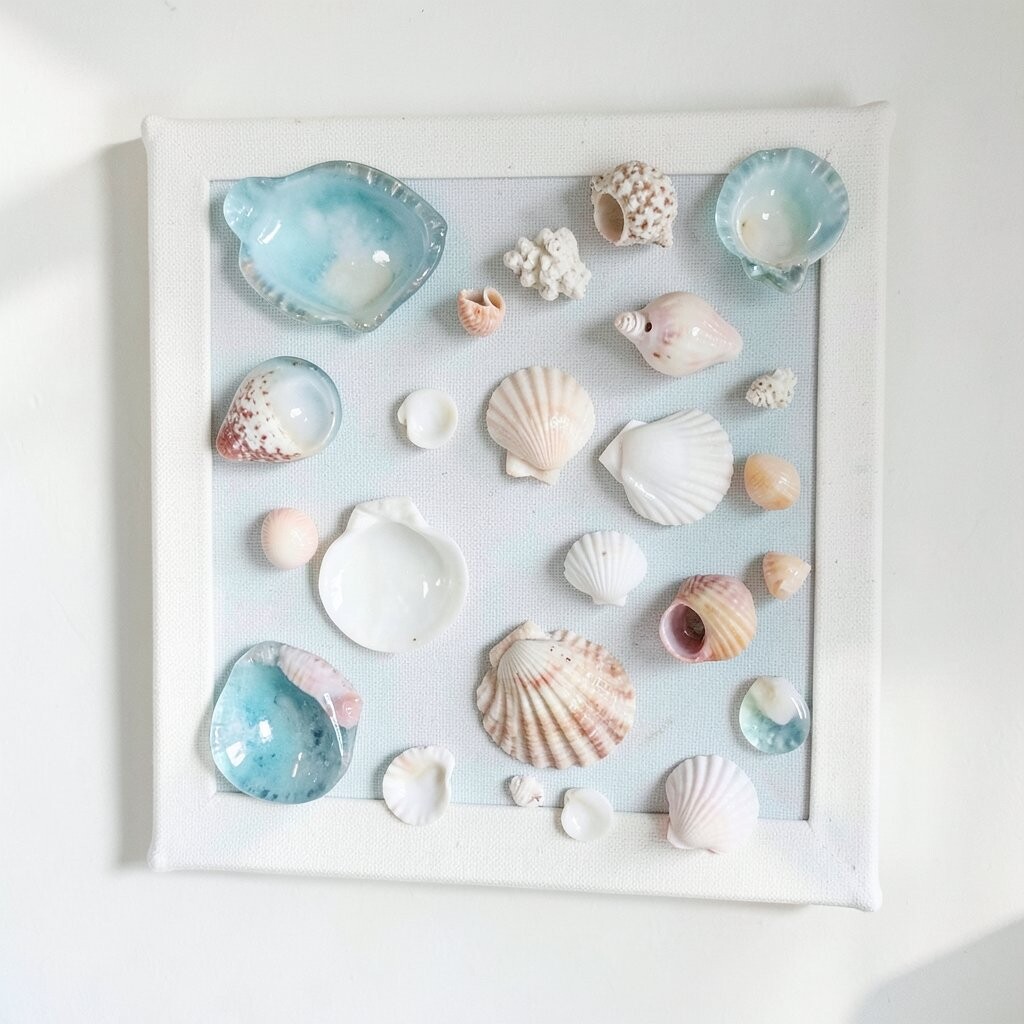
Create a shallow “ocean” pool on a canvas by adding clear resin and mixing in tiny sand and crushed shell bits. This gives you a glossy, glassy look that catches light and feels like a small art piece on your wall.
Place whole shells on top while the resin is still workable, then let everything cure undisturbed. Choose a simple layout, like a central spiral shell surrounded by scattered micro pieces, so it does not get too crowded.
For a trendier look, add subtle shimmer powder in the resin, keeping it light so it feels elegant. Always follow safety steps for resin products, including good ventilation, so the process stays comfortable.
If resin feels intimidating, start with a small canvas and a thin layer. This way you can learn your timing and get a result you feel proud to hang.
10. Seashell Coasters Turned Into a Wall Grid
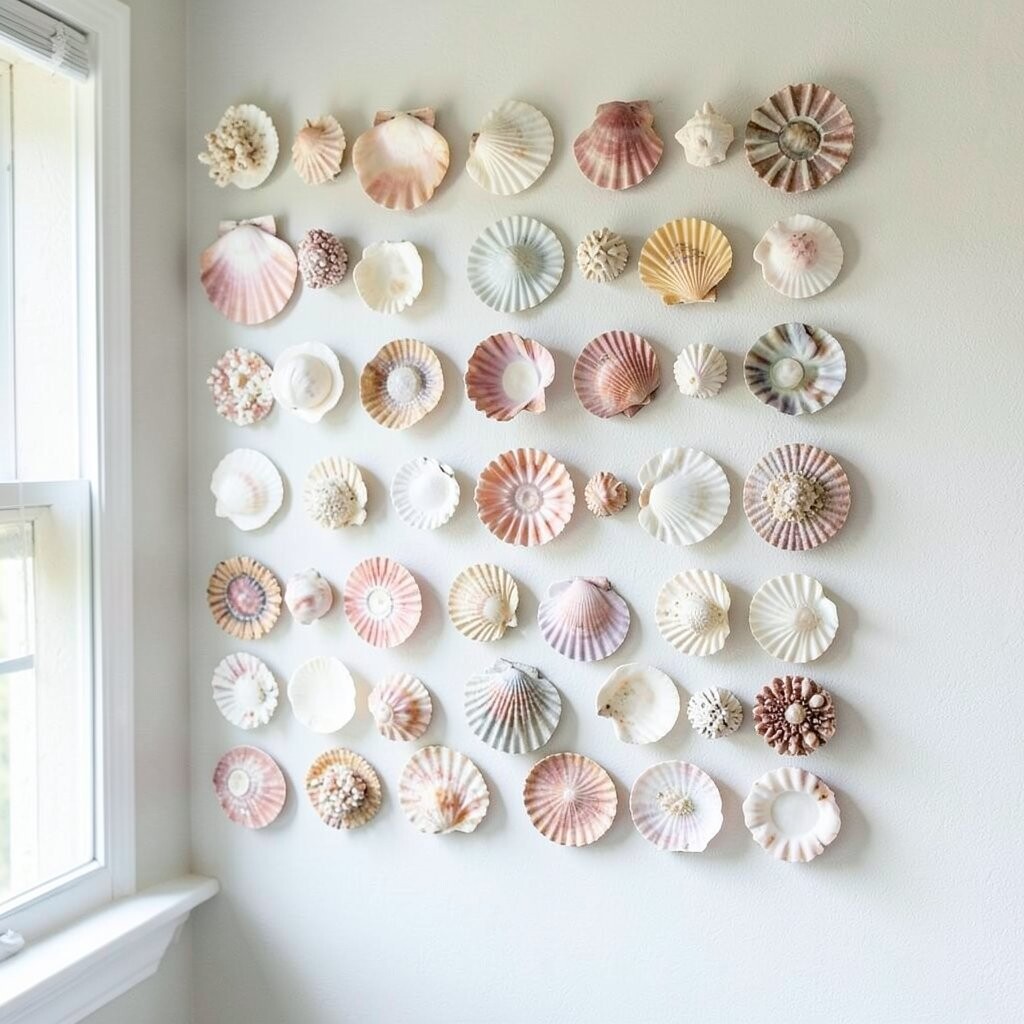
Use finished shell coasters or build coaster-sized pieces, then mount them on the wall in a tidy grid. This is an easy way to scale up your decor without needing advanced tools.
Choose coasters that share a style, such as similar colors and shell types, and keep spacing consistent. Paint a backing board in a neutral tone so the shells pop and the wall looks clean.
Personalization is simple here: swap in a coaster with your favorite shell pattern at the center like a focal point. For cost, you can buy a small coaster set and mix shells you already have to stretch your materials.
11. Ocean-Themed Shelves With Shell Accents and Light Placement
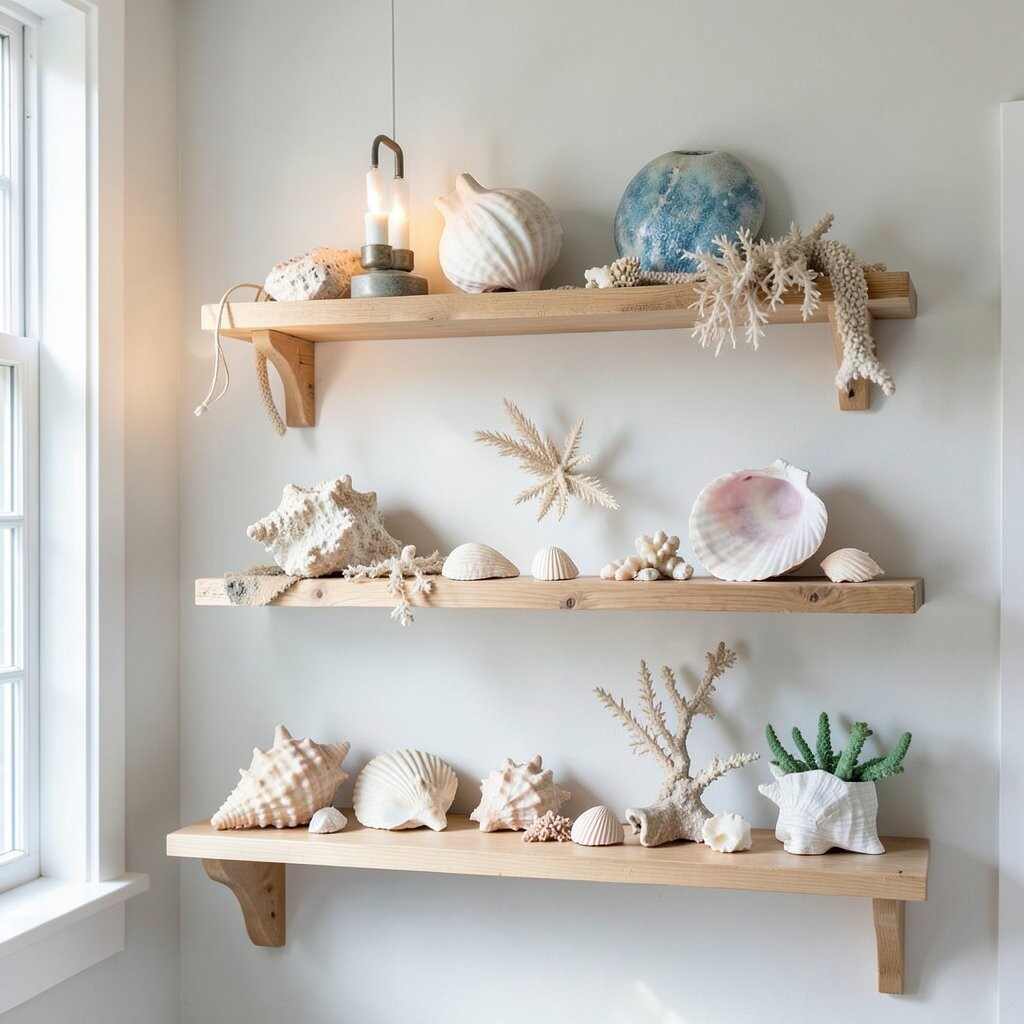
Mount a couple of narrow shelves and use shells as styling accents, like pairing small shell clusters with candles or framed cards. The shelves bring function and beauty, so you get storage plus a coastal vibe.
Keep shells in a few curated groups rather than spreading them everywhere. Use small trays to hold shells, which makes cleaning easier and keeps your wall area looking tidy.
Trends in home decor often point toward “styled corners,” and this fits that idea without being fussy. To personalize, add a tiny handwritten label card or a small map print behind the shelves.
For lighting, consider placing a warm bulb nearby so shells look creamy and inviting. This also helps hide tiny imperfections, since bright white lighting can make everything look harsh.
12. Shell Rubbing Art on Kraft Paper for Texture
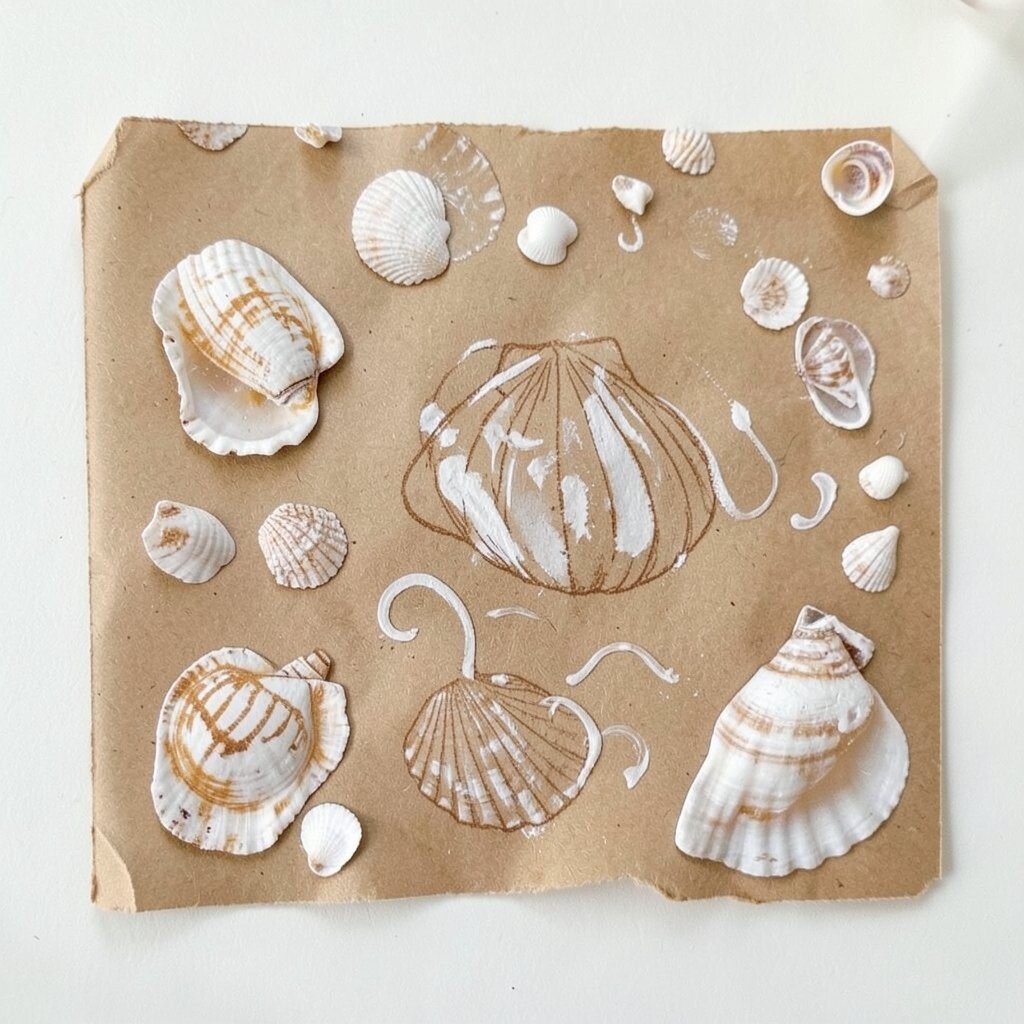
Place shells on kraft paper and gently rub over them with a wax crayon or soft chalk for texture. You can make wave shapes, spiral patterns, or a repeating row of scallop outlines.
Once you have a set of rubbings, frame them as a small gallery wall. This style looks natural and artistic because it focuses on shape and texture rather than covering everything in glue.
Personalize the gallery by using different paper colors like cream or pale blue. If you want it to match your space, pick frames in black for modern contrast or natural wood for a warm, coastal feel.
The cost stays low because you mostly need paper and basic drawing supplies. It also offers a unique take on seashell decor that feels handmade and soft.
13. Shell-Lined Vase or Planter Display Backdrop
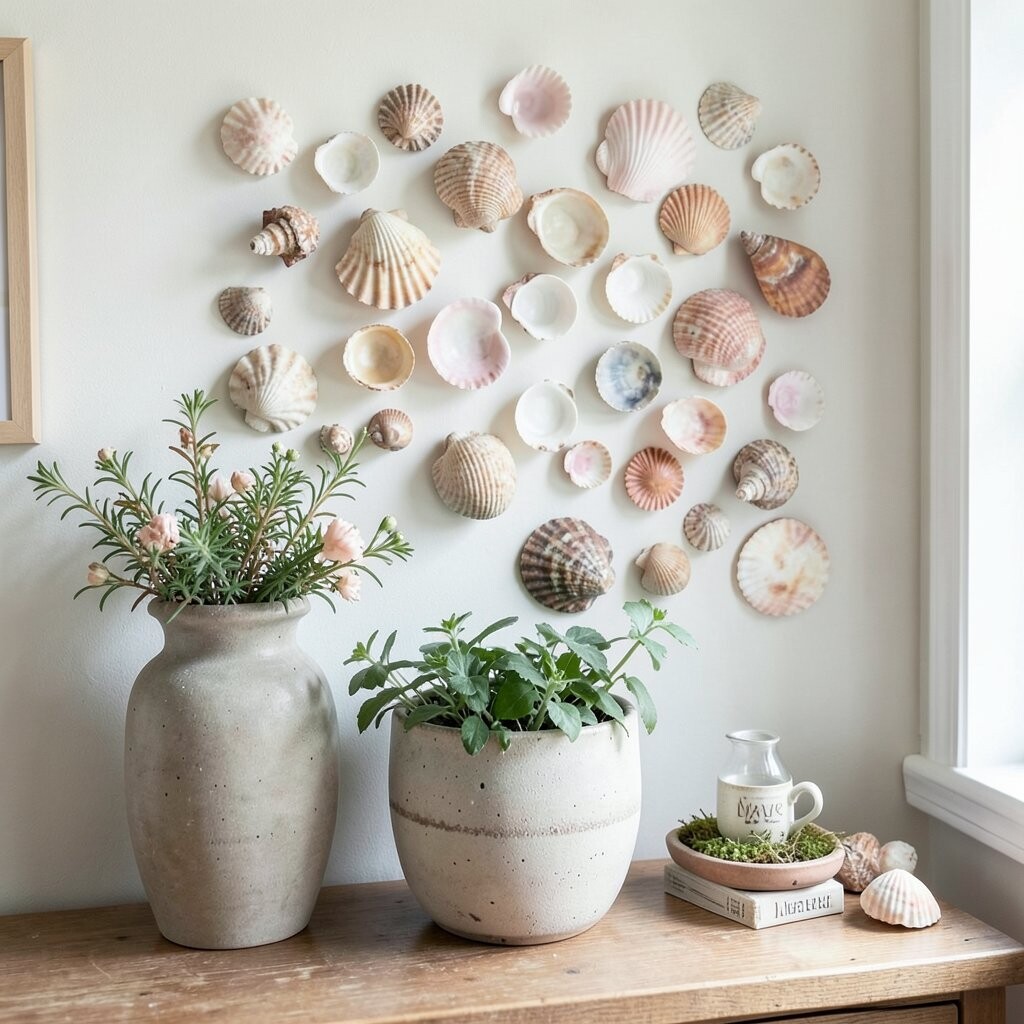
Line the back of a shallow shadowbox or display ledge with shells, then place your smallest vase, plant, or candles in front. This makes a “mini scene” that looks like a curated seaside vignette.
Start with a backing layer such as felt, burlap, or textured fabric, then glue shells in a gentle curve. Using a curved layout makes the display feel deep, which helps it look more expensive.
For personalization, add a tiny note card with a date or a short message written in your style. To keep it practical, avoid placing shells where water can splash, and use sealed planters with drip trays.
If you want a budget-friendly upgrade, thrift small jars and unify them with one label style or one spray paint color. This keeps the whole display cohesive and prevents the look from becoming chaotic.
14. Seashell Weather Map Wall Art With Coordinates Style
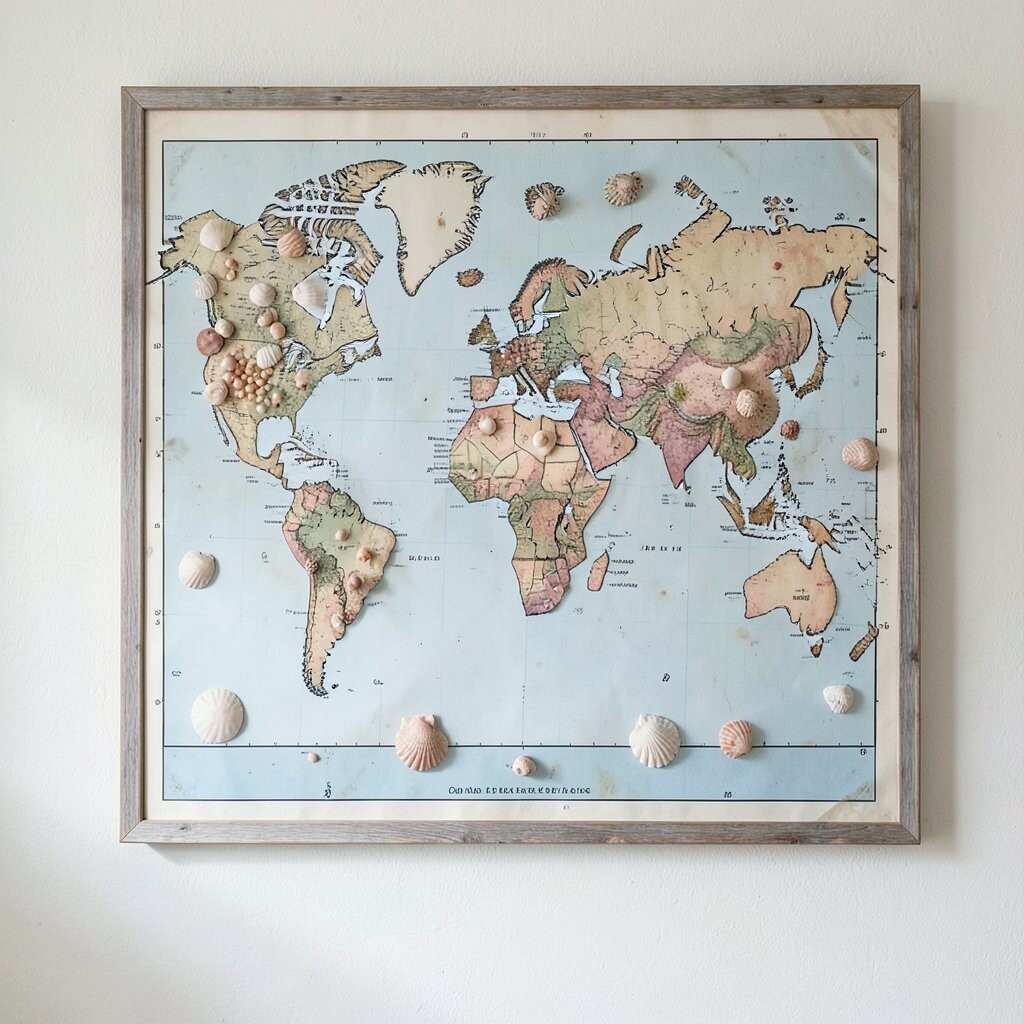
Create a map-like background using paint wash or watercolor paper, then glue shells along imaginary “shoreline routes.” You can mark places with small shell-like charms or tiny painted dots for a fun personal story.
This works beautifully for travelers, coastal daydreamers, or anyone who wants their decor to feel meaningful. The shells provide a textured highlight that standard prints can’t match.
Personalize it by shaping the coastline into your own region, your hometown, or even a route to a favorite beach. For cost control, use inexpensive craft maps or plain paper bases and focus your money on a few standout shells.
To keep the wall art looking neat, let the background dry fully and use thin glue so it does not soak through. Choose a frame color that matches your room, like white for airy spaces or dark wood for a grounded coastal mood.
When you hang it, place it at eye level so the shell routes show clearly and invite closer looks.