Walls can look expensive without expensive materials. A few smart plaster textures can make your rooms feel warm, fresh, and full of character.
1. Skip-Trowel Lime Plaster for Soft, Cloudy Movement
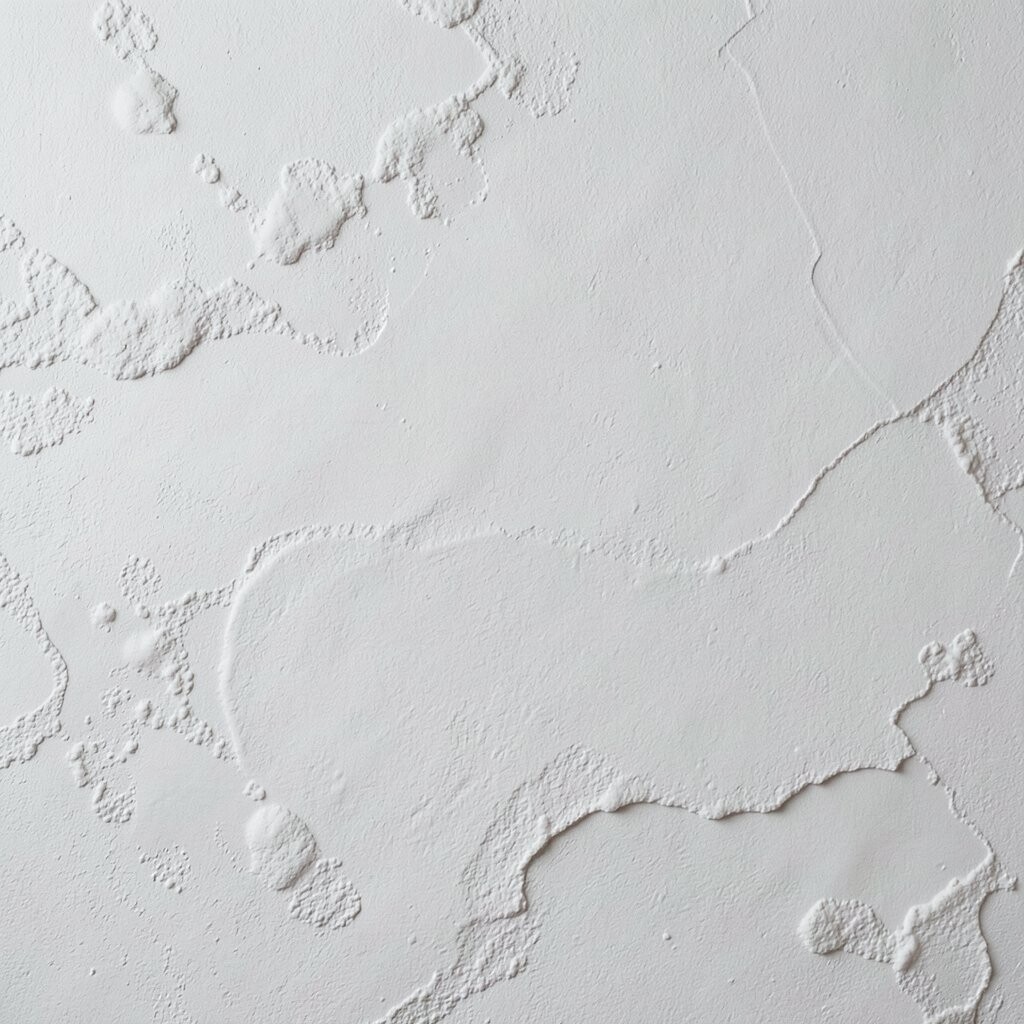
Skip-trowel lime plaster creates a gentle, uneven surface that looks like soft clouds drifting across the wall. You can spot subtle ridges that catch light at different angles, which makes the room feel more alive.
It is a great budget option because lime plaster can be forgiving to work with, and you do not need special tools beyond a trowel and a steady hand. For best results, prepare the wall well by filling cracks and sanding rough spots so the texture stays crisp instead of messy. Keep your passes light and varied, then step back often to check the balance before it dries.
2. Orange Peel Plaster for a Practical, No-Fuss Look
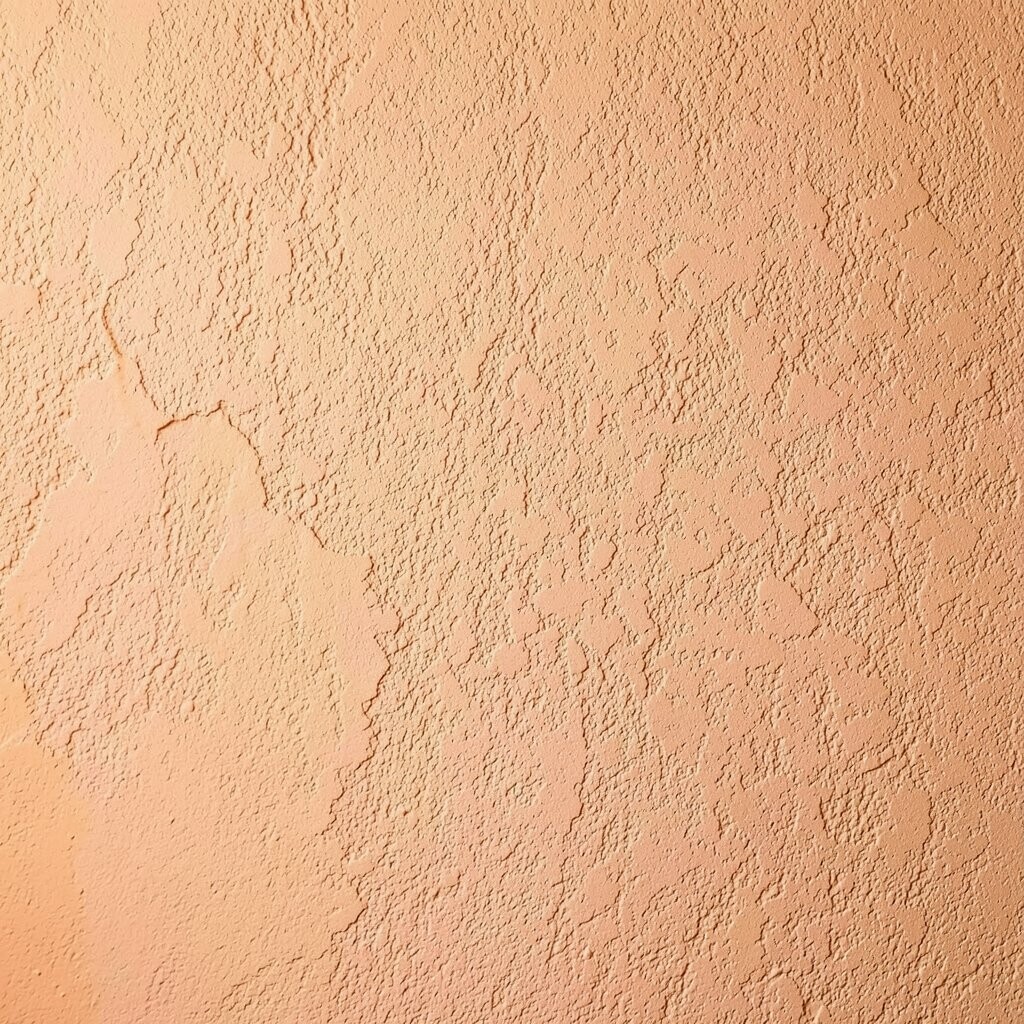
Orange peel texture is a classic plaster finish that creates tiny dimples across the surface. From a distance it looks smooth and even, but up close it has a pebbled rhythm that hides small wall flaws.
This finish is popular in busy spaces because it is forgiving and tends to hide dents and minor imperfections. To get the look, you can use a textured roller or a sprayer with a careful technique, then let it set without overworking it.
Pair it with warm paint colors like cream, eggshell, or light greige to keep it cozy and modern. If you want more control, practice on a scrap board first so you can match the dimple size to your style and the room’s lighting.
3. Venetian Plaster-Style Glaze for a Low-Cost High-End Glow
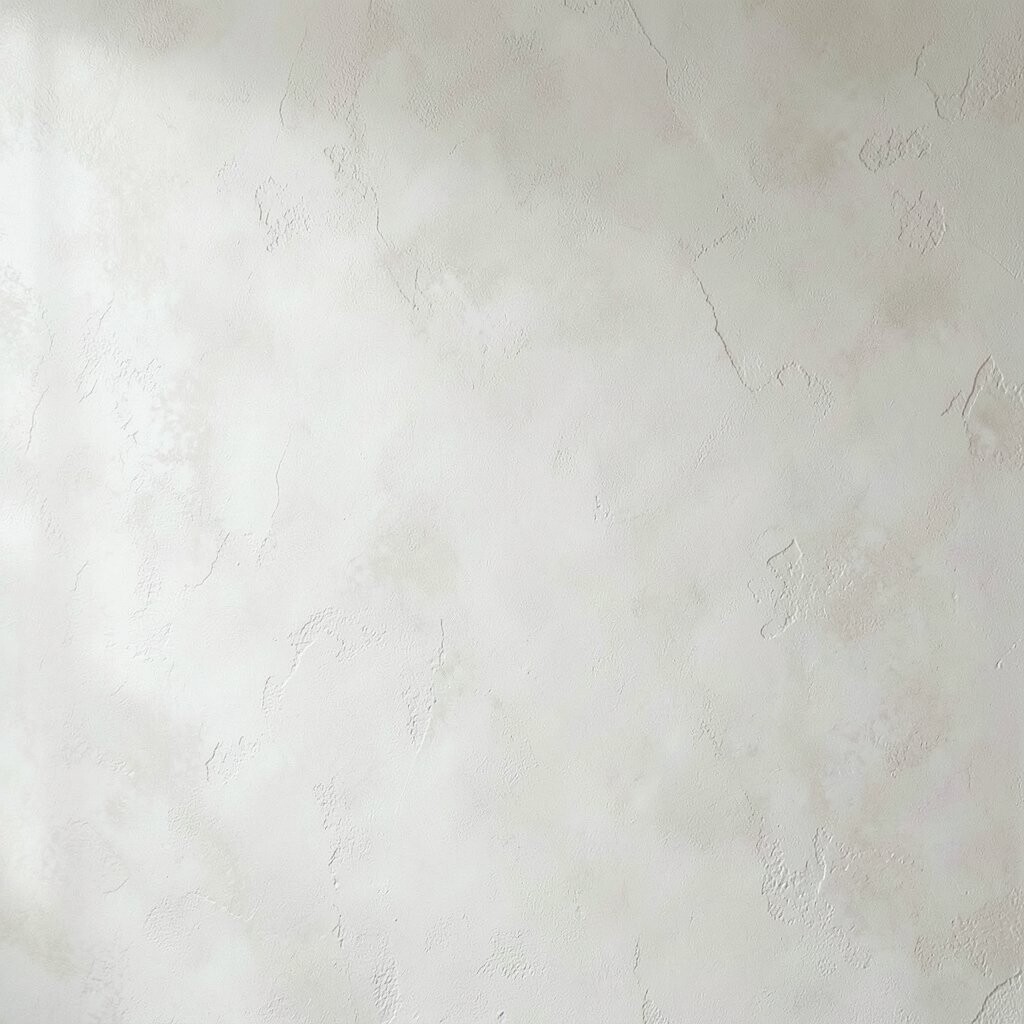
Venetian plaster is known for a sleek, glossy depth, and you can mimic that look with budget-friendly plaster blends plus a simple glaze. The surface catches light like polished stone, giving your wall a rich, boutique feel.
You can personalize this finish by choosing a base tone and then adding a translucent top coat that shifts with the light. Work in thin layers, let each layer dry, and then buff gently until the texture looks smooth but still dimensional.
For a cost-friendly approach, try doing it only on one feature wall or behind a headboard so your materials go further. Keep a damp cloth nearby to wipe the edges clean before the plaster sets, which helps you avoid extra sanding.
Use a soft sponge or a wide trowel for subtle swirls so the final look feels intentional rather than patchy. If you are matching other finishes in the room, pick a glaze color that complements your hardware and flooring tones.
4. Sponged Plaster for Vintage Charm and Easy Blending
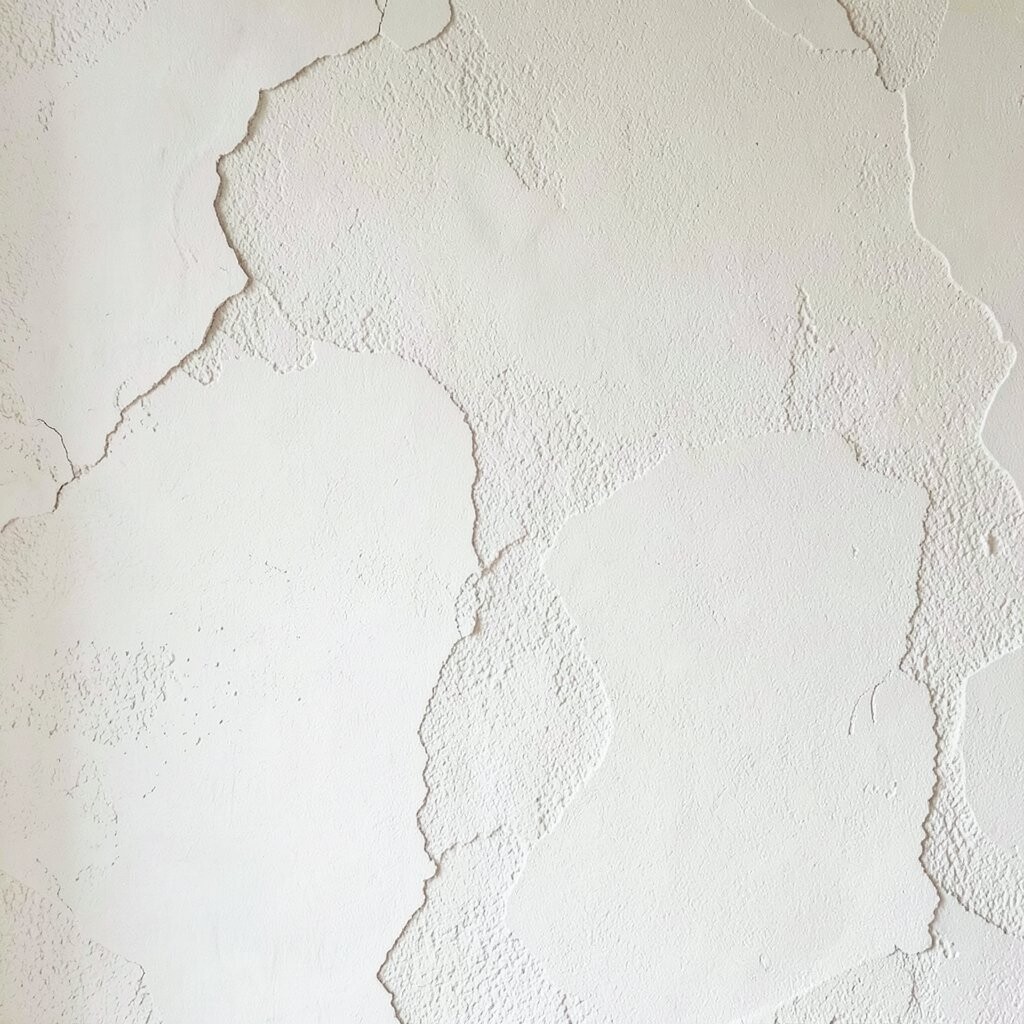
Sponged plaster uses a natural sponge to create rounded impressions that feel nostalgic and friendly. The repeating marks break up flat paint and add an airy, handmade look.
This texture is useful when you want something artsy but still easy to fix, because you can blend edges while the plaster stays workable. Choose a sponge with a size that matches your wall scale, then dab in overlapping areas rather than pressing too hard.
For personalization, tint the plaster slightly so the wall has depth even before you add top paint. A soft color palette like sage, blush, or pale sand works beautifully with sponged surfaces and helps them feel calm, not busy.
To keep costs down, cover the wall with a thin skim layer first, then add the sponging finish only where you want more drama. You will get the visual impact without using thick plaster across the entire area.
5. Rough-Board Texture for Industrial Edge on a Budget
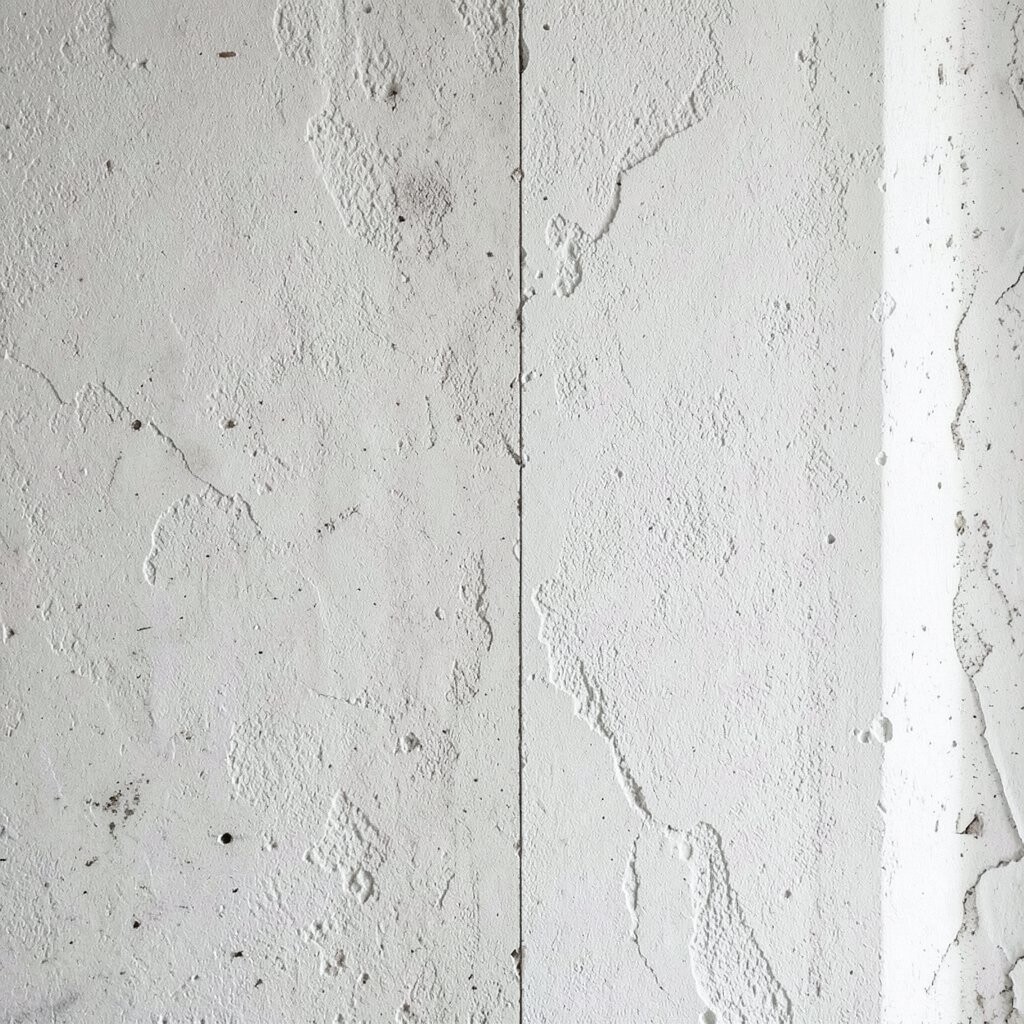
Rough-board plaster texture is inspired by old work plaster and industrial wall finishes. It creates linear, imperfect marks that look strong and intentional, especially in modern living rooms and entryways.
This style is unique because it carries a sense of rhythm, like wood grain but made from plaster. You can build it quickly by dragging a flexible board, roller, or even a piece of scrap panel lightly across the surface before it sets.
To keep it tidy, control the pressure and keep your strokes consistent in direction so it does not look chaotic. Prime first if your wall has stains, then apply a thin base coat to help the texture stick evenly.
6. Polished Lime for a Smooth Look With Hidden Depth
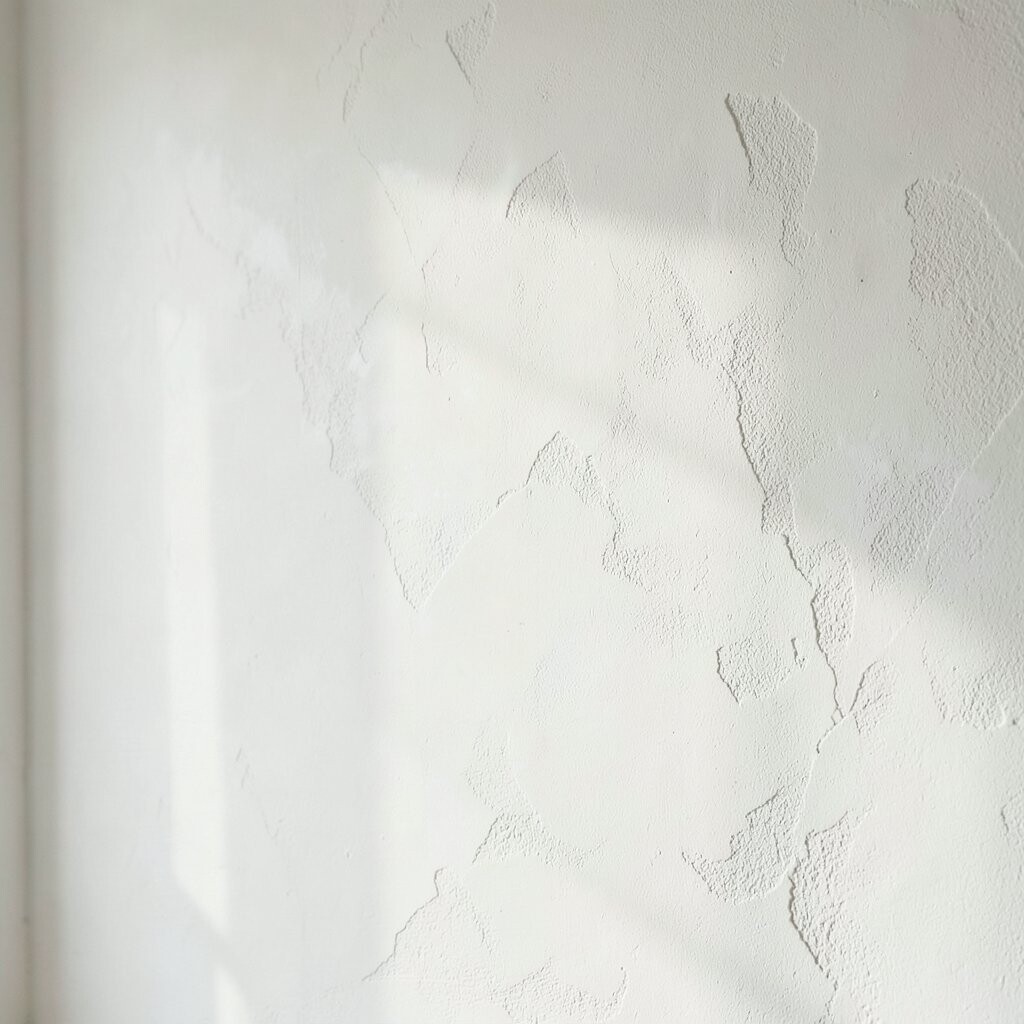
If you love a clean wall but still want something special, polished lime plaster is a sweet middle ground. It is smooth at first glance, yet it holds light in a subtle way that feels luxurious.
You can achieve a polished effect by layering, drying, then burnishing with a pad or soft cloth until the surface looks gently reflective. This finish is also practical because it looks more refined than typical flat paint, so small imperfections feel less noticeable.
Choose a warm white or soft taupe to keep the room bright, and add a matte sealer if you prefer a natural look. For cost considerations, limit the finish to a smaller wall section and paint the rest in a coordinating flat color.
7. Trowel-Rake Lines for a Modern, Graphic Pattern
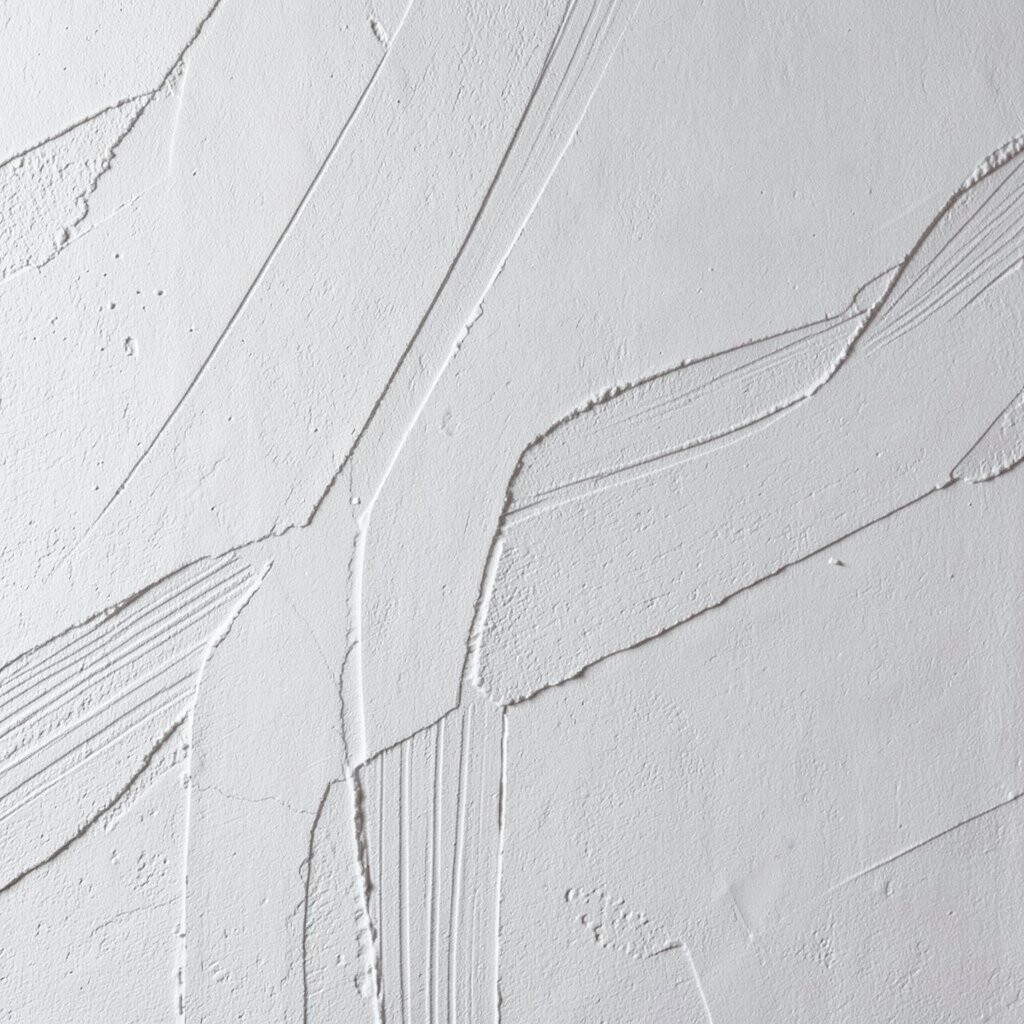
Trowel-raked plaster lines create a clean, modern design with gentle grooves running across the wall. The shadows from the ridges make the pattern visible without needing bold colors.
This option feels unique because it can look minimalist or dramatic depending on spacing and direction. Try vertical lines for a taller feel, horizontal lines for a calmer stretch, or diagonal lines for energy.
To make it actionable, use painter’s tape as a guide for your first passes so your pattern stays straight. Then remove the tape carefully once the plaster firms up enough not to smear.
If you want extra personalization, combine two layers with different directions, like a subtle crosshatch, so light plays across the texture. Keep your plaster strokes light and even for a neat finish that still feels handcrafted.
8. Micro-Scintillating Texture With Fine Aggregate Plaster
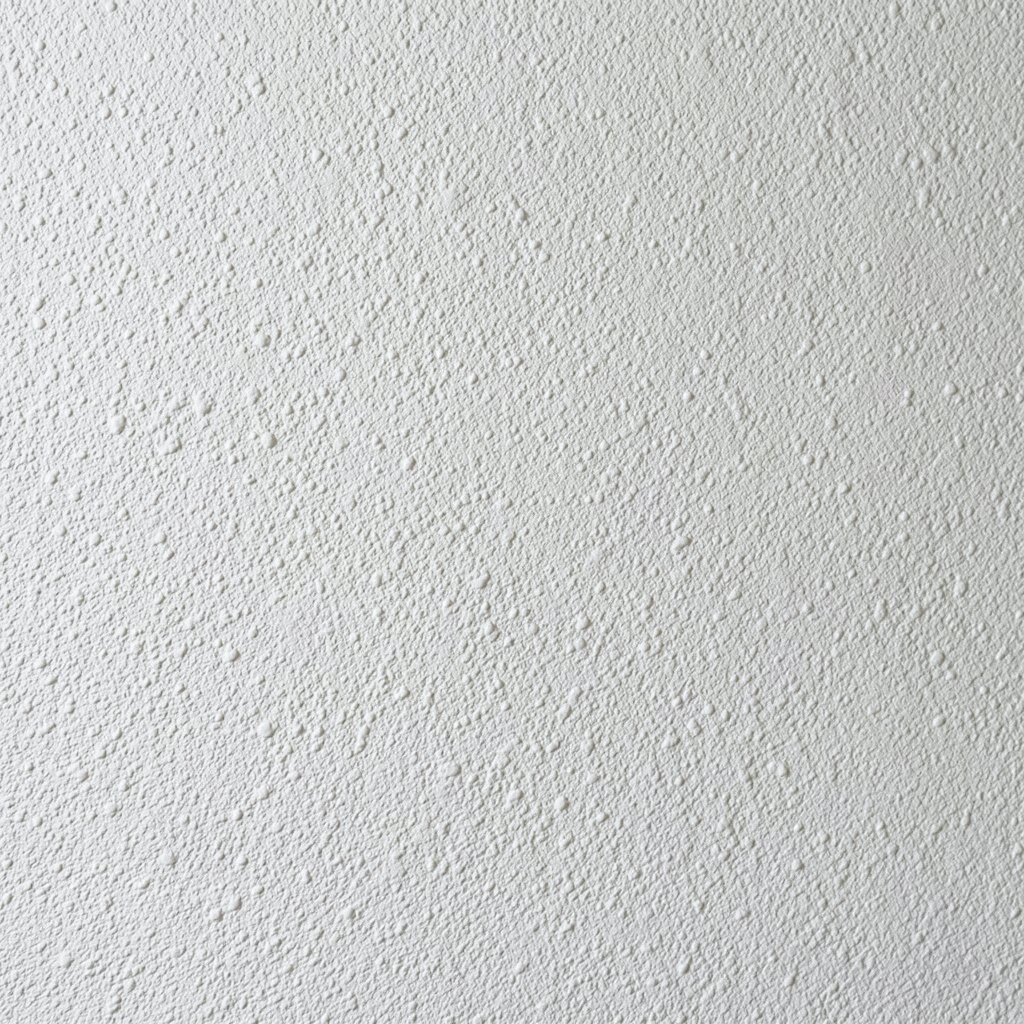
Micro-aggregate plaster adds tiny specks and grain to the surface, giving it a gentle sparkle and lively texture. It looks especially good near natural light or warm lamps where tiny highlights appear.
This texture is beneficial when you want a wall that hides uneven spots, because the grain creates visual balance. Look for fine aggregate mixes that feel smooth under the hand, then test on a scrap section to confirm the sparkle level.
For a personalized twist, mix in pigment carefully so the specks echo your chosen color family. A soft beige, muted gray, or gentle green can make the wall feel grounded and current.
9. Feathered Skim Coat for Subtle Softness and Calm Rooms
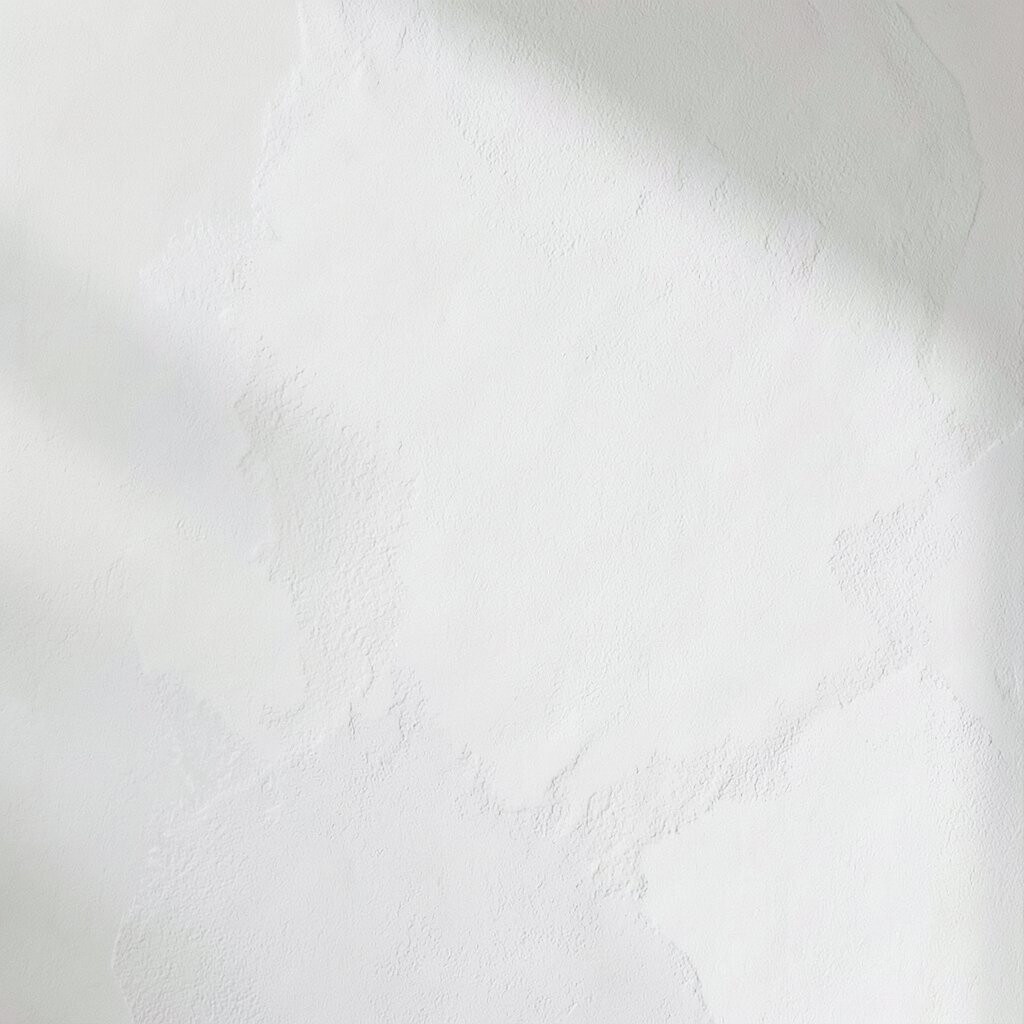
A feathered skim coat is a gentle texture created by smoothing plaster and blending edges so they fade softly. Instead of sharp ridges, you get faint waves that make the wall look plush and comforting.
This approach is good for cost control because it works like an upgrade layer rather than a heavy texture build. You can cover patchy areas, smooth transitions, and still keep a hint of texture that makes the wall look finished even when the paint is simple.
Use a wide trowel and work in small sections, then keep your feathering consistent so one spot does not look thicker than another. If your room style is light and airy, pair this texture with warm white paint to keep it feeling fresh.
To personalize, add a thin tinted wash before the final color coat, which helps the wall feel dimensional without needing a dramatic finish. This is also a great method if you want to repaint later, because the texture does not overwhelm.
10. Stomped Plaster for Bold Texture Without Complicated Tools
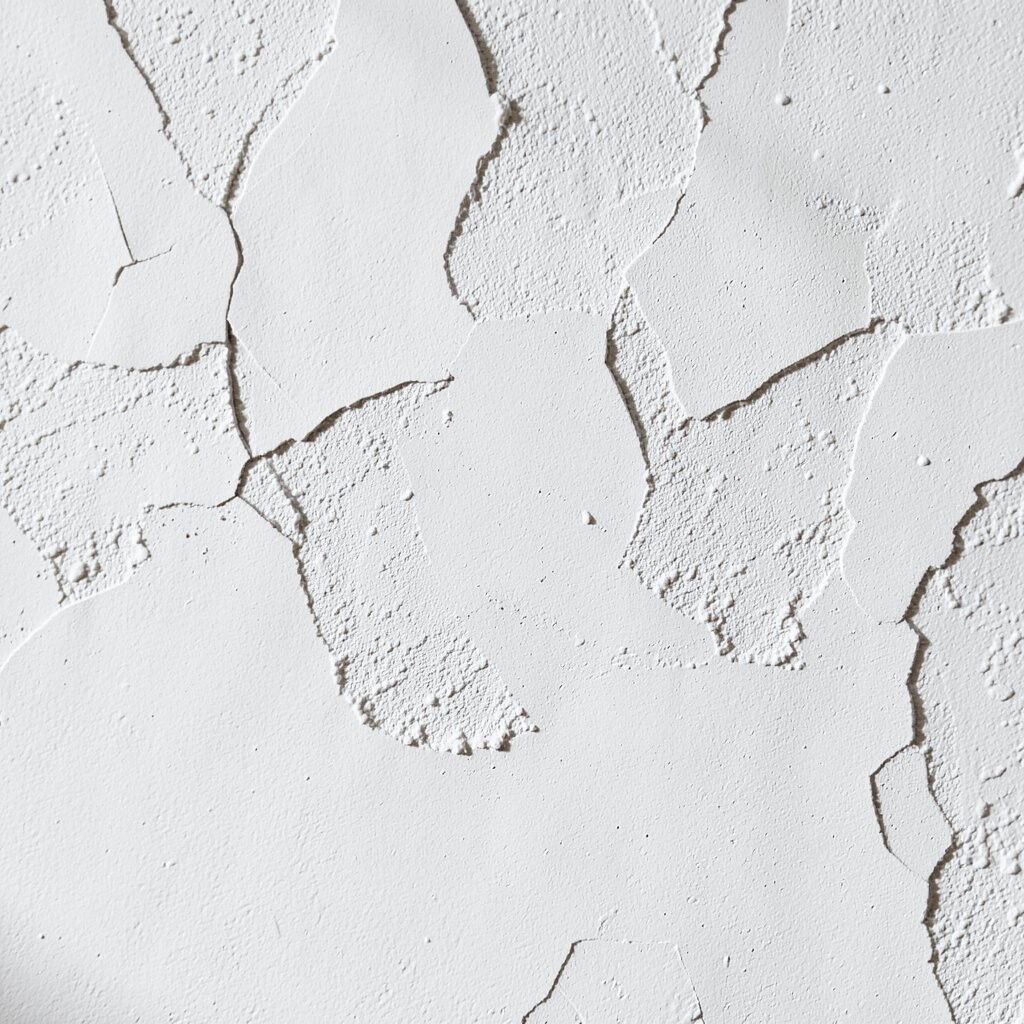
Stomped plaster is made by pressing a stamp or tool lightly into fresh plaster to form a speckled, raised pattern. It creates a playful, tactile surface that looks full of energy while still staying budget-friendly.
The benefit here is simplicity, because you do not need artistic skill to get a good result. You can build the texture quickly across a wall, then refine it by lightly smoothing high points if you want a gentler look.
Choose a stamp pattern that matches your room vibe, like a rubber stamp for small repeats or a larger textured tool for bigger shapes. Before you start, cover floors and trim well, because the playful texture can bring plaster onto nearby surfaces.
11. Sponge-Boulder Hybrid for Depth That Looks Handcrafted
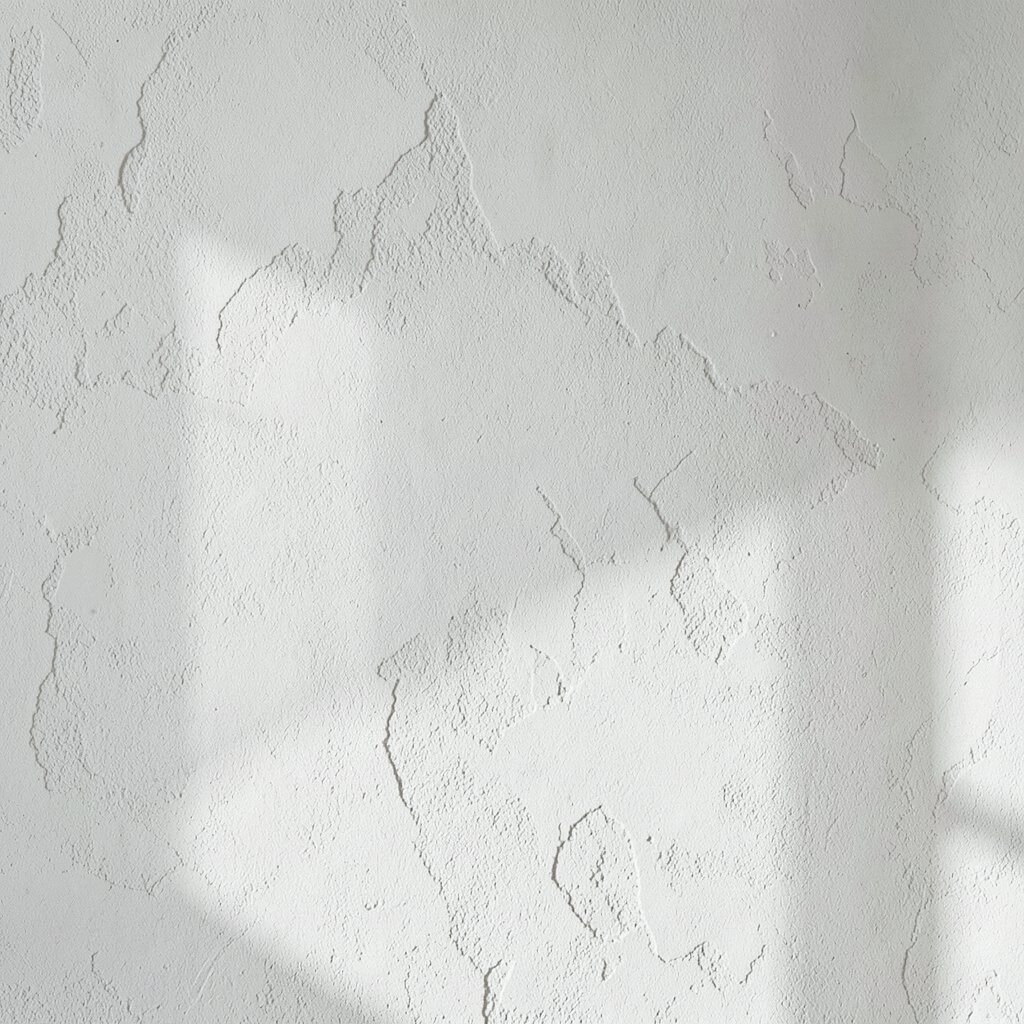
For a one-of-a-kind look, combine sponge texture with boulder-like swirls using a slightly thicker plaster layer. The result feels natural, like stone warmed by sun, and it adds real character to plain walls.
This finish is unique because each dab and swirl becomes a custom mark, so your wall never looks factory-made. It also helps practical spots since the texture breaks up color changes, especially if you are covering old repairs.
Start with a base coat, then apply plaster in sections so you can work before it sets. Press with the sponge in irregular spots, then use a trowel edge to drag a few gentle curves through selected areas.
Personalize it by choosing a finish color that works with your decor, like terracotta for warmth or cool gray for a sleek look. If you want it to feel more modern, keep the swirls subtle and focus on the overall dappled texture.
12. Lime Wash Over Skim for Soft Color Variation
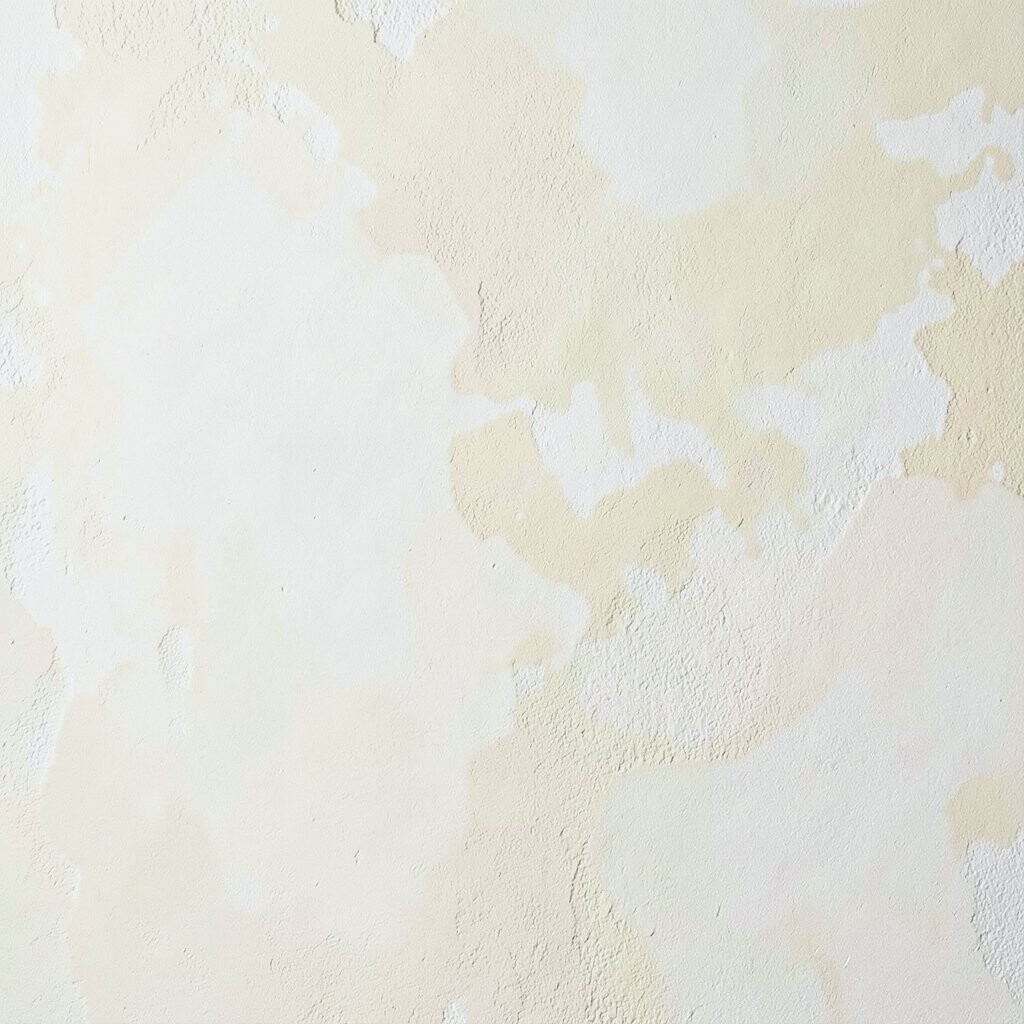
Lime wash is not just a paint, it behaves like a textured coating that soaks into plaster and creates gentle variations. When applied over a skim or lightly textured base, it creates a dreamy, aged look that feels timeless.
This solution is beneficial because it is forgiving on minor wall imperfections and helps hide unevenness through natural color shifts. You can build the look gradually, letting each layer dry so you can control how light or moody the final color feels.
For cost considerations, lime wash can stretch across walls efficiently, and small changes in technique create different results without new products. To personalize, try mixing tones so you get warmer highlights in some areas and deeper shade where shadows land.
Trend-wise, this kind of old-world finish keeps showing up in cozy homes and boutique rentals because it feels both modern and natural. Use it on one wall near seating or a reading nook so the variation looks intentional instead of accidental.
13. Diy Texture Roller Pattern for Fast Coverage and Clean Results
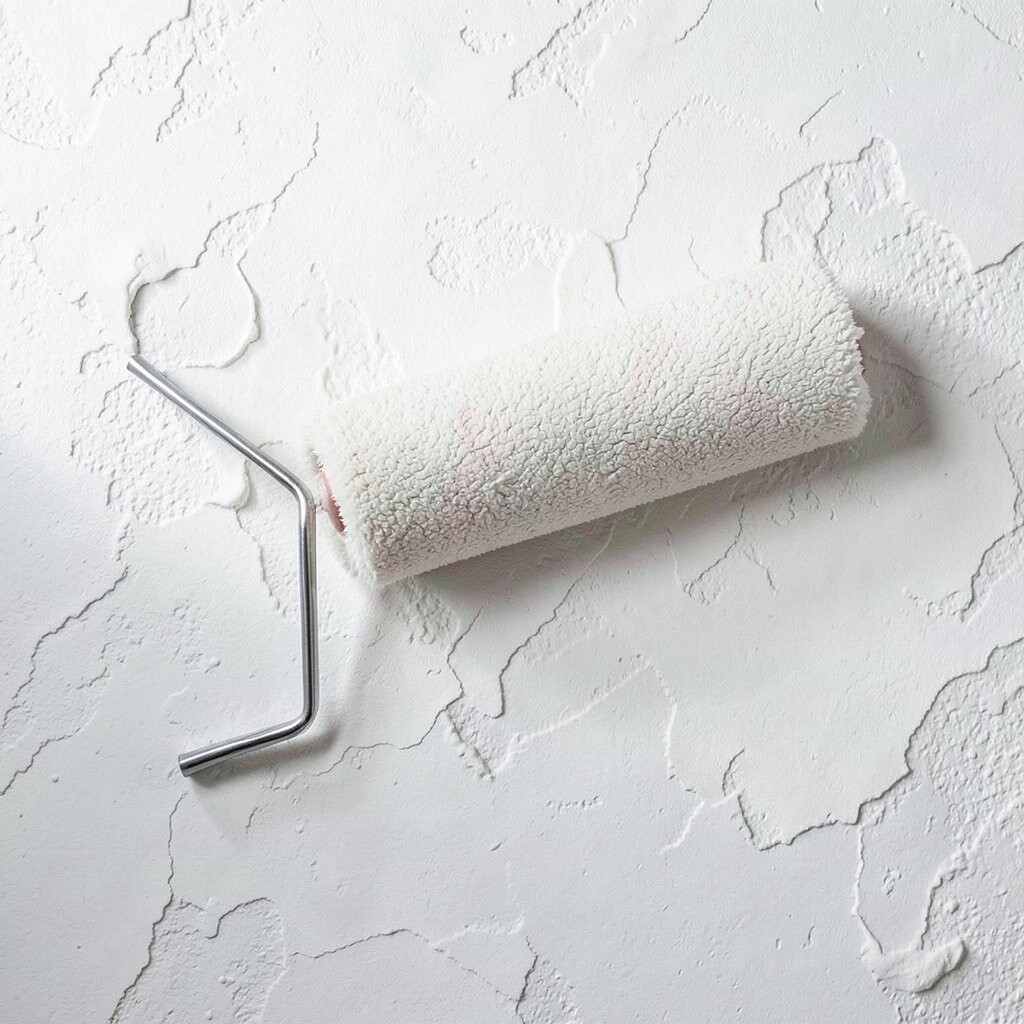
A DIY texture roller can create consistent patterns quickly, which is helpful when you want a bold wall but short timelines. It gives you repeatable results without needing many specialized skills.
It is practical because it covers large areas fast, and it can also hide small imperfections that show through flat paint. Choose roller patterns that match your desired vibe, like subtle waves for calm homes or bolder geometric prints for playful spaces.
Personalize by painting after the texture sets, because color makes the pattern either blend in or stand out. A monochrome look keeps it elegant, while contrasting tones make the grooves feel graphic and fun.
To keep costs down, roll on a thin, even base coat first, then apply the textured layer with light consistent pressure. Clean your roller right away so you do not ruin it for the next room or future touch-ups.