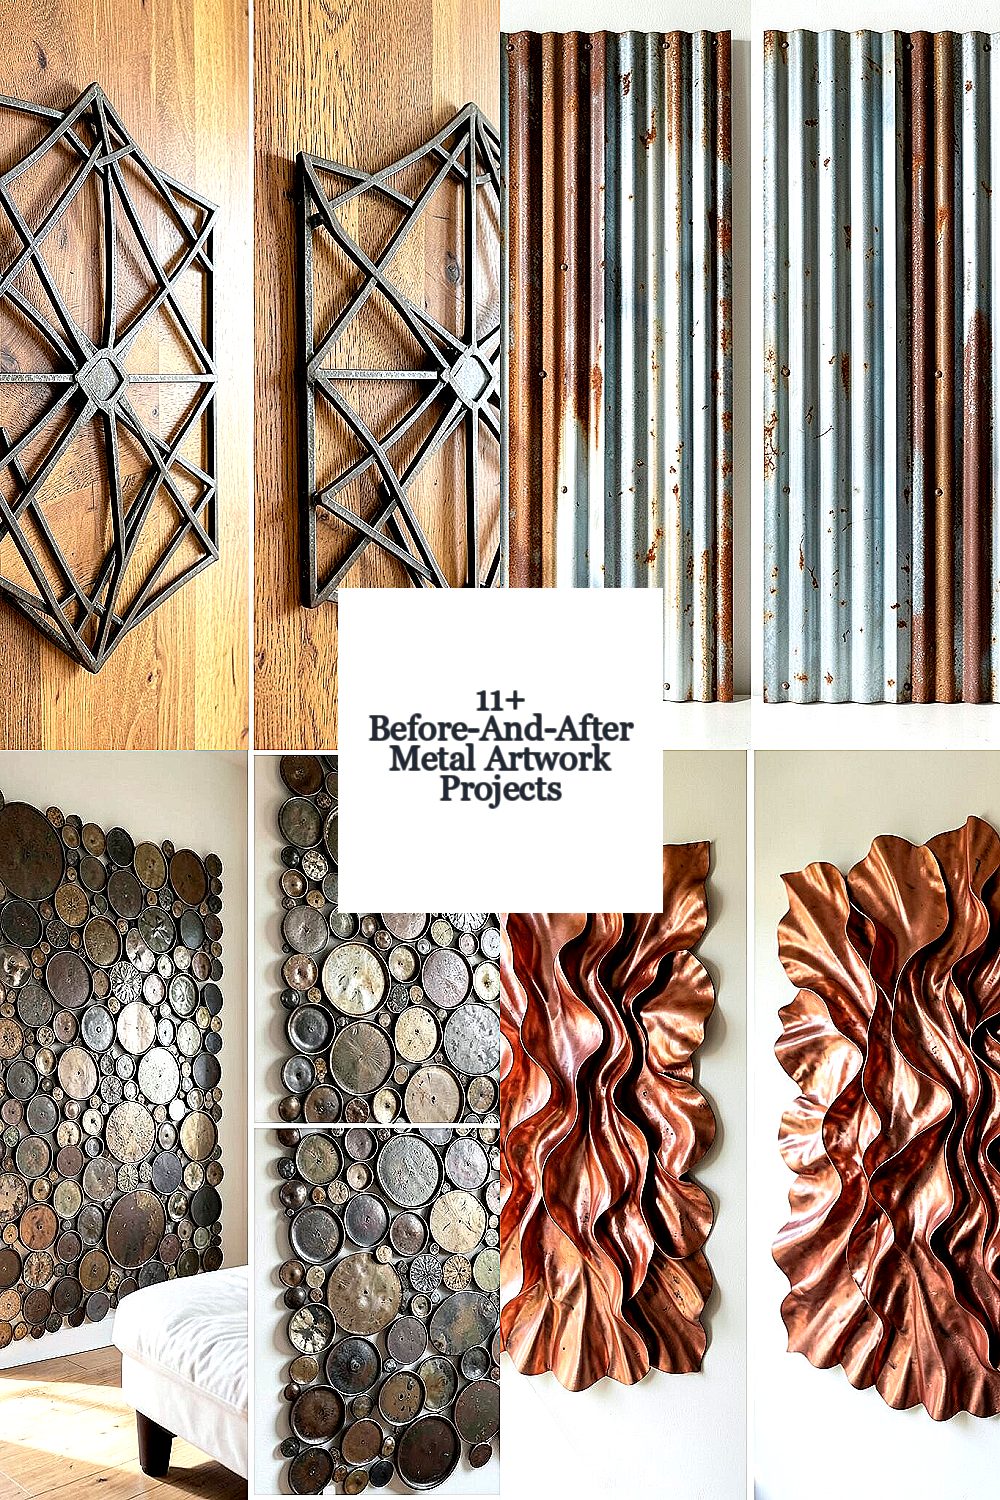
Metal wall art can make a plain room feel styled in minutes. With the right project, your space starts telling a story.
1. Geometric Steel Frame With a Warm Wood Backer
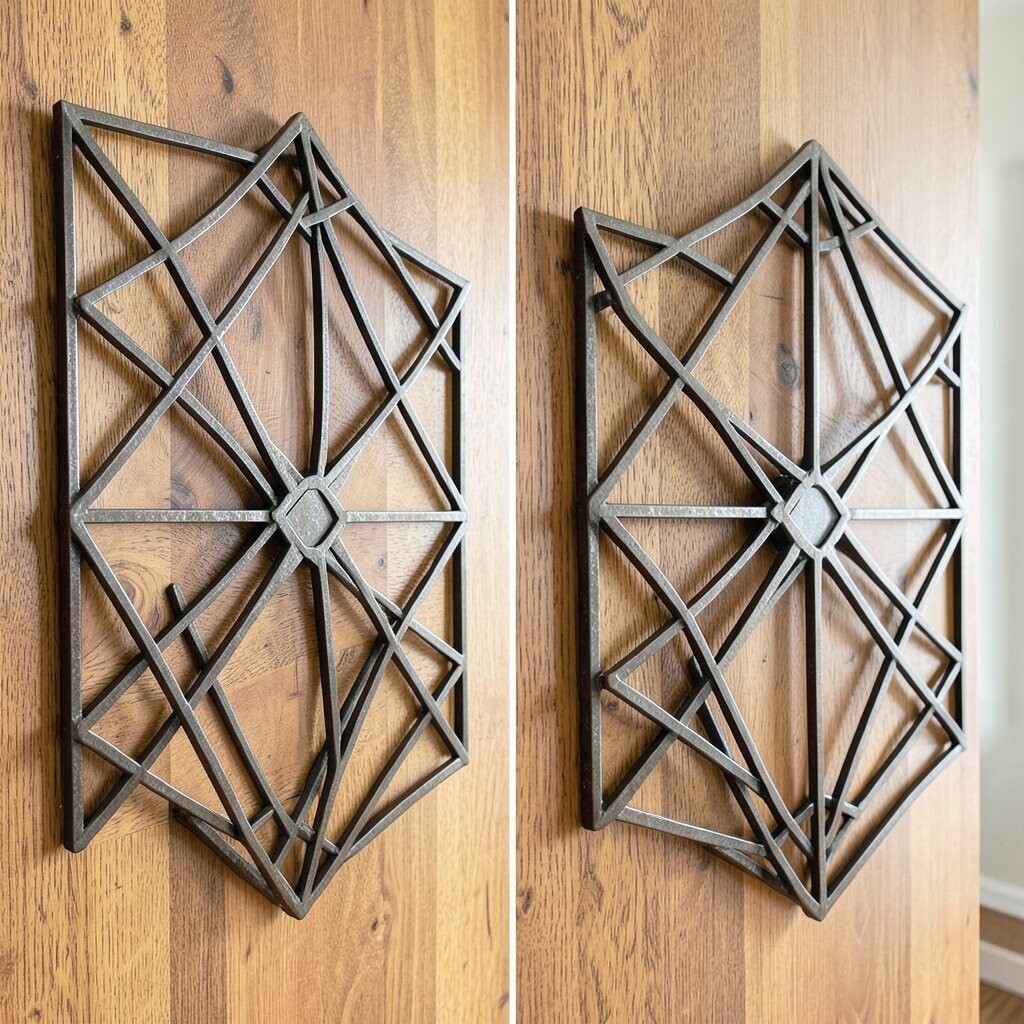
Before, this wall area felt flat and a little cold, like it needed something strong and steady. After, crisp metal lines create a gentle glow when daylight hits the edges.
Choose a simple geometric pattern that fits your room size so it doesn’t overpower the wall. Use a warm wood backer behind the metal to soften the look and help the metal feel inviting. For an easy upgrade, paint the backer in a creamy tone and leave the metal with a matte finish so fingerprints won’t show as much.
2. Rustic Corrugated Tin Panels With a Chalky Finish

Before, the wall looked like it was missing texture, and every change in lighting made it seem bare. After, corrugated tin brings ridges that catch light like tiny shadows.
Pick corrugated sheets from a salvage store or buy new panels, then clean and lightly sand so the surface accepts paint well. A chalky off-white or soft gray keeps the metal from feeling too shiny. Mount the panels in a staggered grid and seal the edges to protect the finish from dust buildup.
If you want it to feel more personal, spray a faint color wash on just the high ridges, not the whole sheet. This adds depth while keeping the look relaxed. For cost planning, corrugated tin can be budget-friendly when you buy smaller sheets and combine them into one layout.
3. After: Old Door Hardware Into a Personalized Wall of Circles

Before, you might have had a blank wall that never seemed to match the rest of the room. After, a metal circle cluster made from door knobs, hinges, and rosettes turns everyday parts into eye-catching art.
Lay out the hardware on the floor first so you can balance sizes and spacing without rushing. Use a rust-neutral base coat and then add a unified color, like bronze, nickel, or deep black. A clear matte top coat helps the pieces look even and keeps them from tarnishing too fast.
This kind of project is unique because it uses what you already have, so your wall won’t look like anyone else’s. To personalize, add one standout centerpiece piece that’s slightly larger or a different finish. When you mount the hardware, attach each piece firmly to a backing board so nothing wobbles over time.
Keeping the arrangement at a comfortable height makes it feel intentional rather than random. If you’re working with uneven hardware, plan for small spacers so the shapes line up cleanly. Use a level and take your time, since metal pieces can shift if the board isn’t flat.
4. Wavy Copper Leaf Wall Art With Light Catcher Effects
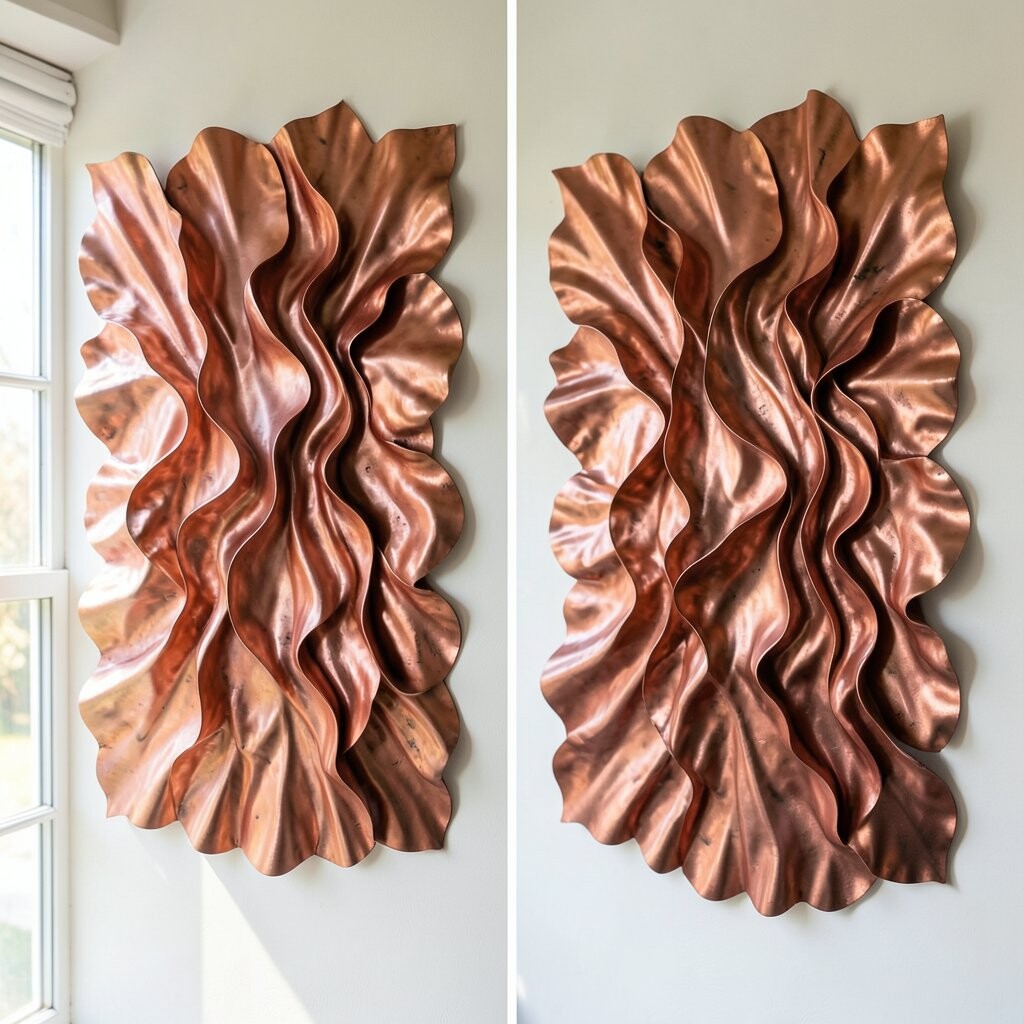
Before, the wall might have looked fine from far away but dull up close. After, copper leaf shapes create ripples of color that change as you move.
For a modern look, choose a wavy leaf silhouette and arrange it in one sweeping band across the wall. Use copper spray paint or real copper sheets, then seal lightly so the finish stays consistent. Install it using sturdy standoffs so air can move behind it and the piece feels airy rather than heavy.
To get that light catcher effect, place it where sunlight reaches it for part of the day, like near a living room window. This helps the copper glow without needing extra decor. If you want a calmer vibe, keep the palette limited to copper plus a warm neutral background.
5. Botanical Metal Trellis With Hooks for Practical Style

Before, the wall had no real job, and small items ended up scattered on shelves or counters. After, a metal trellis design looks elegant while also giving you a place for keys, jewelry, or hats.
Pick a trellis pattern that matches your wall’s height, then attach it with anchors so it can handle daily use. Paint the trellis in a satin finish to keep it clean-looking and easy to wipe. Add a few hooks where you actually need them, not just where the design looks pretty.
This project is unique because the art and function work together every day. Personalize it by hanging mini planters or small wind chimes that match your home colors. When planning cost, consider buying a ready-made trellis and adding hooks yourself, which can save money versus fully custom metal pieces.
6. Blackened Steel Sunburst Over a Soft Textile Area

Before, the wall behind a sofa or chair looked like it was waiting for a focal point. After, a sunburst steel pattern adds energy and makes the whole seating area feel designed.
Create a sunburst using metal strips cut into radiating shapes, or use a pre-made design if you want less work. For a trendy look, choose a blackened steel finish and pair it with warm textiles like boucle or linen. The contrast makes the metal feel dramatic without turning the room harsh.
To keep it balanced, center the sunburst at eye level and leave breathing room around it. This makes the geometry look intentional and helps it photograph beautifully. If you’re adding it to a rental, use a mounting system designed for your wall type so you don’t damage paint.
7. Repurposed Sheet Metal Into a Farmhouse Star Grid
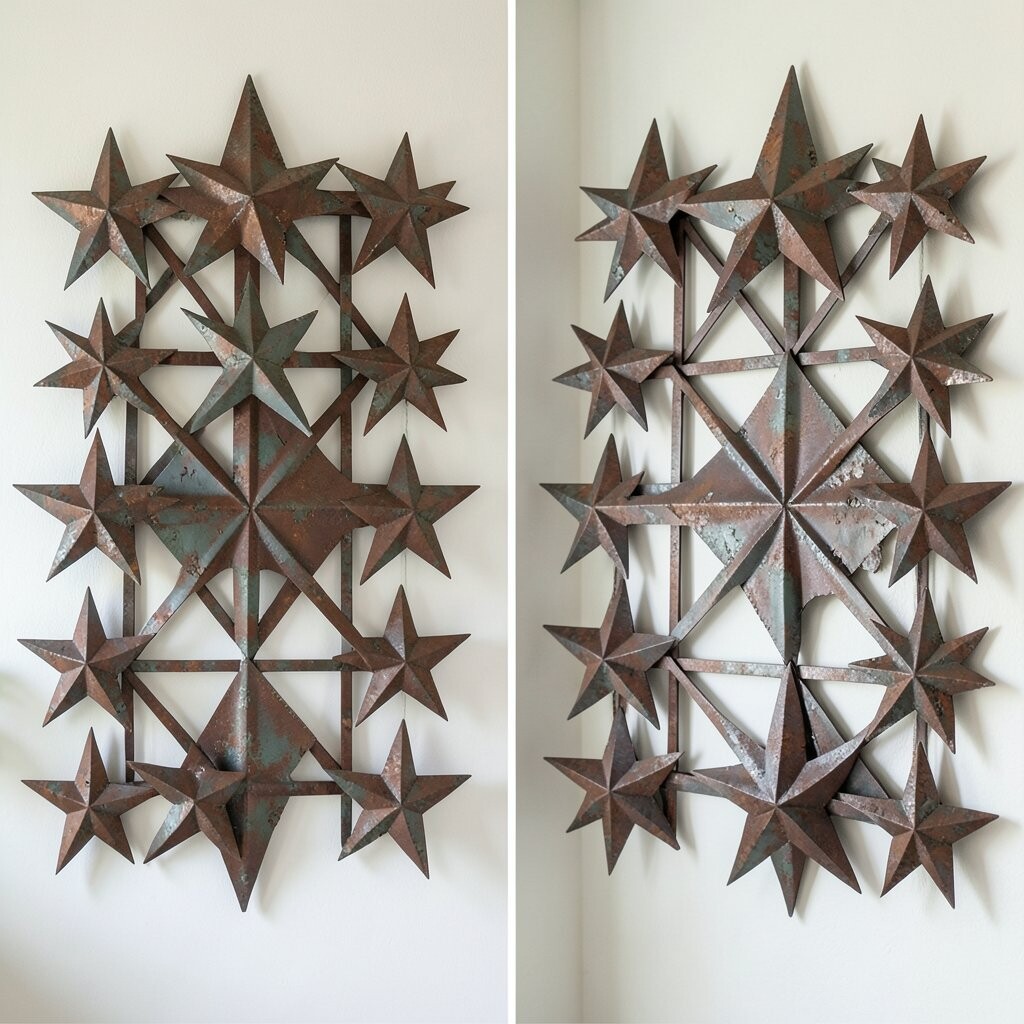
Before, the wall may have had a farmhouse vibe but lacked a bold center piece. After, a star grid made from painted sheet metal brings that classic feel with a fresh, crisp edge.
Start by cutting stars from sheet metal or using star-shaped metal cutouts, then arrange them in a grid that spreads across the wall. Paint in a vintage white or faded blue for an easy country look. Seal the surfaces so the finish stays smooth even when wiped often.
This style stands out because it mixes repeating geometry with a weathered personality. Personalize it by using one accent color on just a few stars to highlight a family name or a favorite year. Plan your cost by buying sheets in bulk only if you’re confident with cutting, or choose pre-cut pieces for less measuring time.
8. Copper Wire and Reclaimed Glass “Light Pool” Wall Art

Before, your wall might have looked peaceful but also a little uninteresting at night. After, copper wire circles holding reclaimed glass create a soft “light pool” when lamps or sunlight hit.
Wrap copper wire into layered circles and weave them around small glass pieces, like old bottle shards or thrifted candle holders. Use clear strong adhesive for a clean hold, then add a backing board so the glass sits securely. For safety and stability, choose glass that won’t easily crumble and check all edges before mounting.
To personalize, swap in glass colors that match your room, like sea glass greens or amber tones. This project feels unique because it blends metal warmth with glass sparkle. Keep cost down by sourcing glass locally at thrift stores or recycling center events.
Mount it where it can catch light from different angles, like across from a lamp. That way the “pool” effect shows up during evening routines, not just daytime. If you prefer a subtle look, use fewer glass pieces and lean on the copper texture.
9. Vintage Metal Calendar Numbers Turned Into a Wall Display
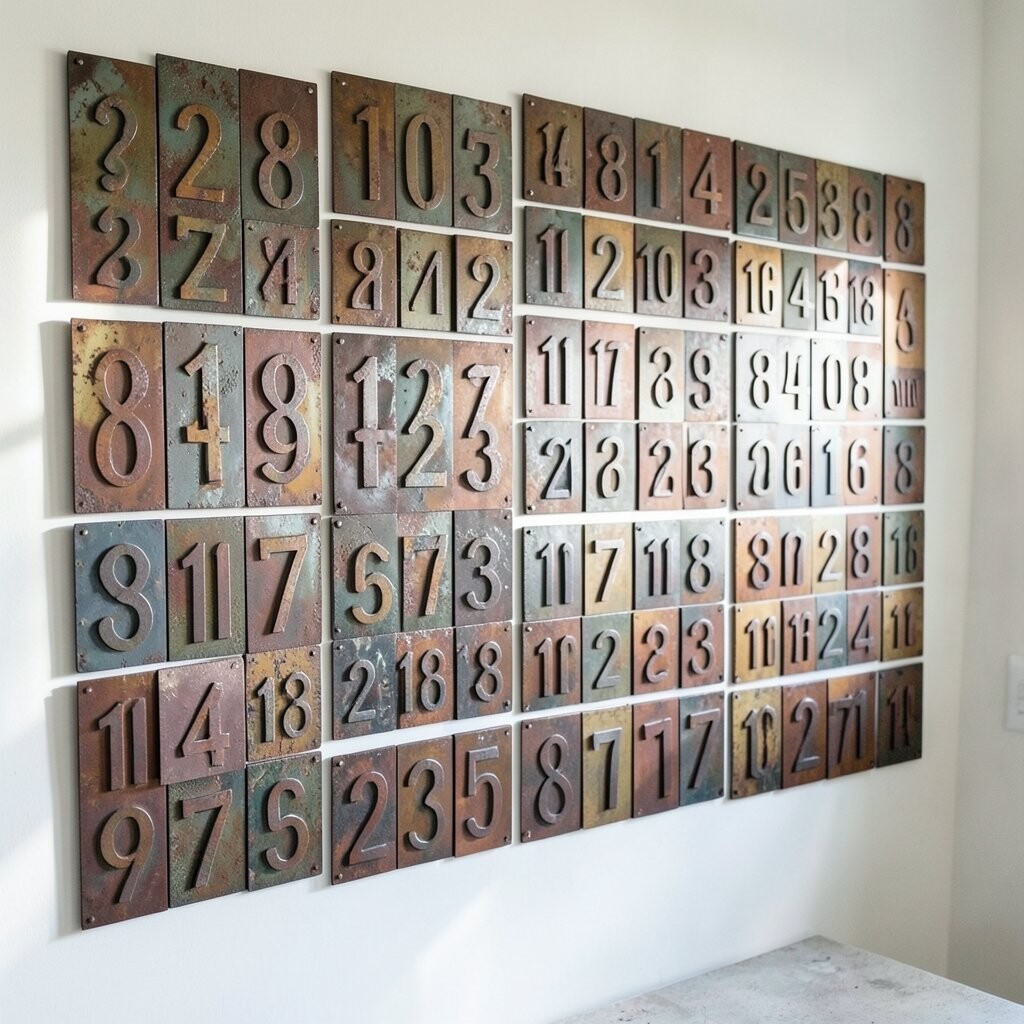
Before, you might have had loose vintage numbers tucked away in a drawer. After, those metal digits become a playful wall display that feels collected and meaningful.
Choose numbers with a consistent size range so the layout looks tidy, then arrange them into a date, a quote fragment, or a meaningful sequence. Clean and polish each piece, then paint or glaze them for a unified finish. Mount them to a board or directly to the wall using hooks or adhesive designed for metal.
This is a smart way to bring uniqueness into your home without buying a brand-new art set. Personalize it by using family milestones, favorite street numbers, or the year you moved into your home. For cost, this approach often uses thrifted items, so your main expense is usually paint and mounting supplies.
To keep the design looking intentional, limit the number of different finishes and keep spacing even. Use a measuring tape and masking tape to plan your grid before you attach anything. When you finish, wipe the pieces with a soft cloth so the shine looks smooth, not dusty.
10. Steel Mesh Mosaic With a Color-Blocked Look
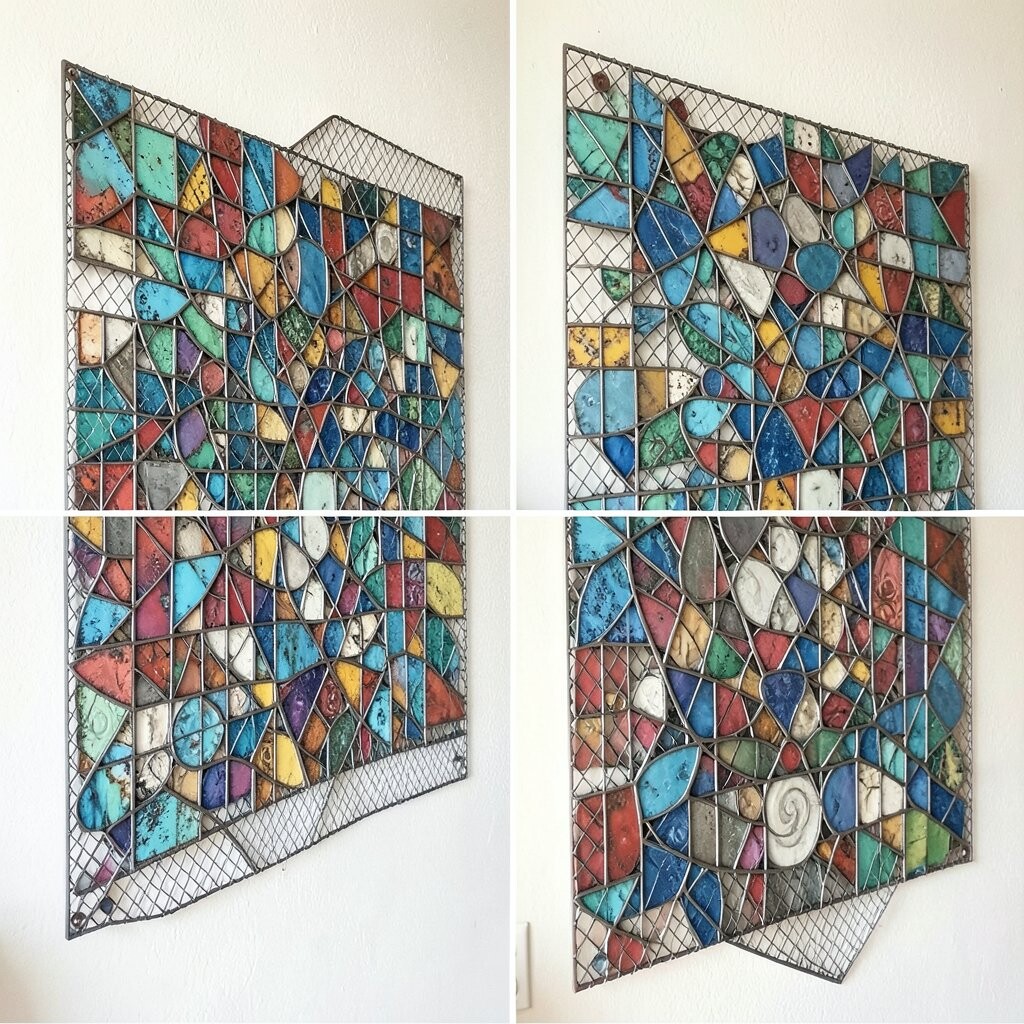
Before, the wall might have needed depth, but you didn’t want something too heavy. After, steel mesh panels with color-blocked inserts create a lightweight, airy mosaic effect.
Cut or shape metal mesh so it fits your wall section, then attach it over a backing board. Add color using weatherproof tiles, enamel pieces, or painted metal squares inside the mesh openings. The benefit is that the mesh structure adds texture while the color inserts give you control over mood and style.
This trend-forward look works well in modern homes and also pairs nicely with warmer decor. Personalize it by choosing colors that echo your curtains or throw pillows, then keep the number of colors small for a clean vibe. When thinking about cost, mesh can be inexpensive, and the real budget goes to the inserts you choose.
11. Brushed Brass Wire “Curtain” Panels for a Soft Background
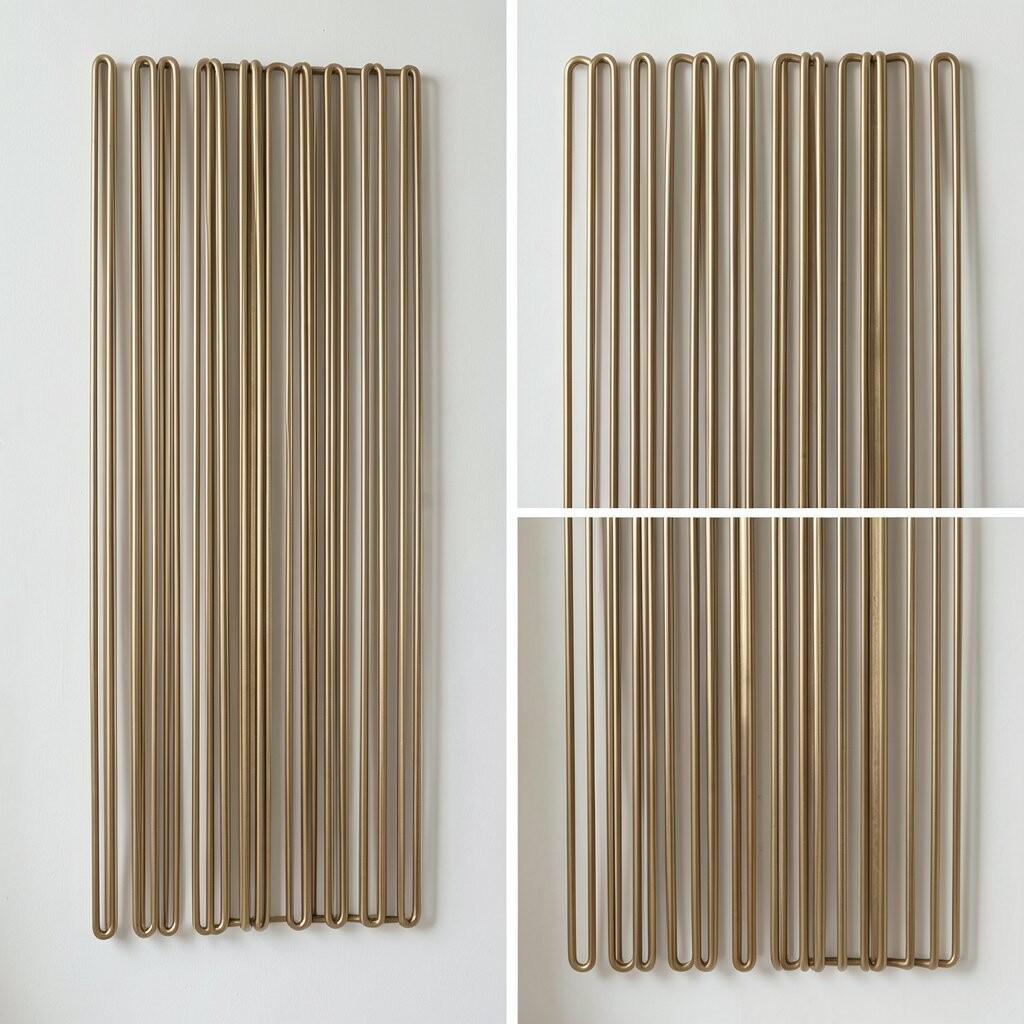
Before, the wall behind a sideboard might have felt too open, especially if you like to style shelves. After, brushed brass wire curtain panels add movement and a gentle sparkle without clutter.
Form wire into vertical or curving strands and secure them to a rectangular frame, then hang it like art with space between strands. Use a brushed brass finish so it looks elegant and hides minor smudges. For a practical touch, you can hang it behind a narrow console to define the space and reduce visual noise.
The uniqueness comes from the layered depth, since the lines overlap and change with your perspective. Personalize the panel by making one thicker “center” braid and thinner outer strands. Keep cost in mind by using wire from craft suppliers and building a simple frame from metal or wood.
To make it look polished, align the panel edges carefully and ensure the frame is straight so the curtain doesn’t twist. Wipe the brass lightly with a microfiber cloth to maintain its glow. This type of wall project also fits well with current styling trends that favor airy textures over heavy items.
12. Bronze and Slate “Shadow Frame” Panel With Layered Depth

Before, your wall may have looked fine, but you probably wished it had more dimension. After, a bronze and slate layered shadow frame creates depth you can feel when the light shifts.
Use a base backing in dark slate-like paint, then add bronze metal layers cut into simple shapes that sit slightly forward. The shadow gap between layers is what makes this feel high-end, even if you keep the design simple. Mount it firmly and check that the layers are secure so the piece stays crisp over time.
This project is unique because the metal is not just decorative, it’s structural in how it catches light. Personalize it by matching the shape to your home theme, like waves for coastal styles or dots for a night-sky vibe. For cost considerations, you can keep expenses down by using a single bronze-toned paint finish instead of multiple metals.
To get the best “shadow” effect, position the panel where a lamp or window light can strike from the side. That creates an easy dramatic look without needing bright overhead lighting. If you’re decorating a hallway, a shadow frame can add sophistication while still feeling welcoming.
When you hang it, measure twice and use a level so the layered edges look aligned. Finish by cleaning the metal gently so it reflects light evenly, not unevenly. This kind of before-and-after upgrade often makes the whole room feel more cohesive right away.