
One day your wall looks plain, and the next it feels like a little garden found a home. The best part is how dried flowers can keep their charm through seasons.
Below are popular before-and-after styles that homeowners and renters love, with practical ways to plan the look and make it feel truly yours.
1. Cottage Garden Hug With Warm Creams
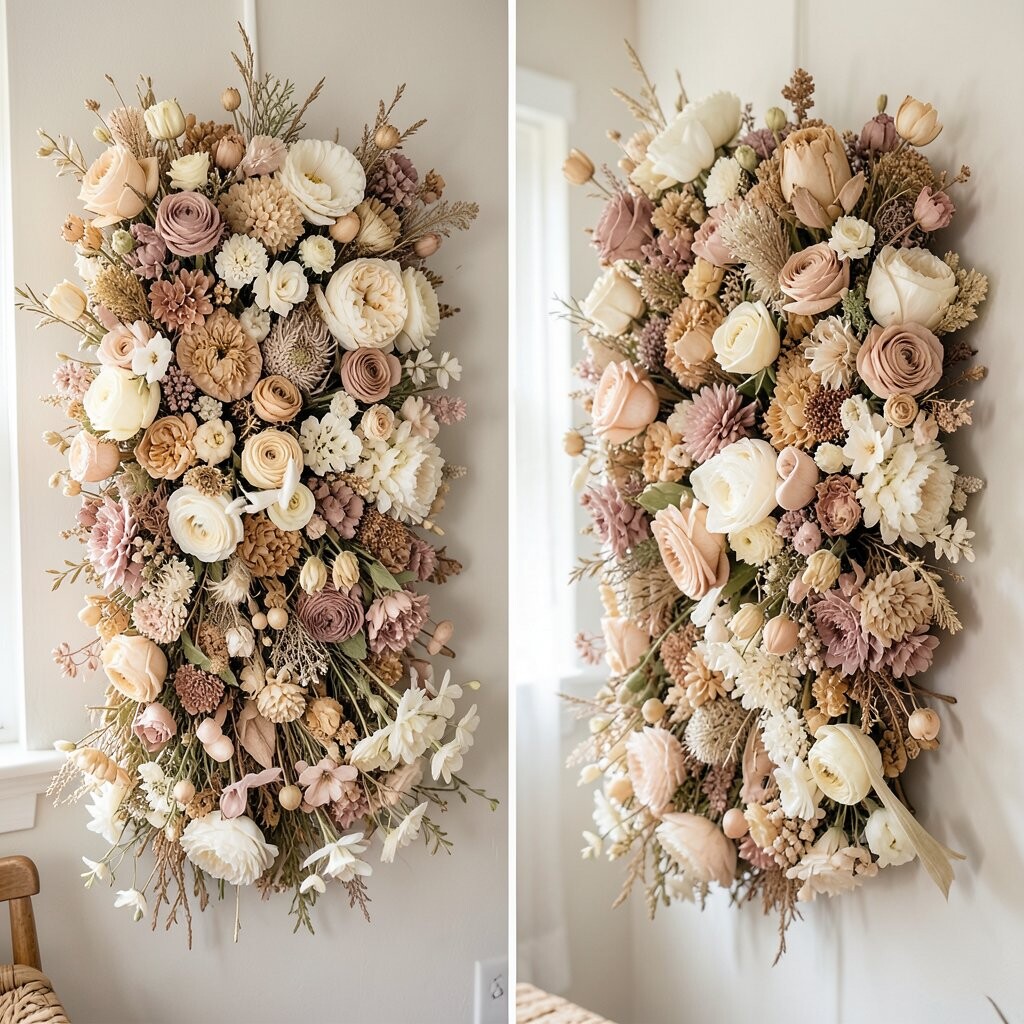
Before, the wall might feel bare and echo-y, like it is missing something soft. After, you get a cozy patchwork of dried blooms in cream, blush, and pale honey, with gentle textures that catch light.
To make the change look intentional, start by spacing your stems in a loose oval or rounded rectangle, leaving breathing room between clusters. Choose a few main flower shapes, then add smaller bits like baby’s breath for a fuller look. If you want it to feel even more lived-in, slightly stagger heights so the top doesn’t look like a flat ceiling.
2. Modern Frame Gallery With Minimal Green
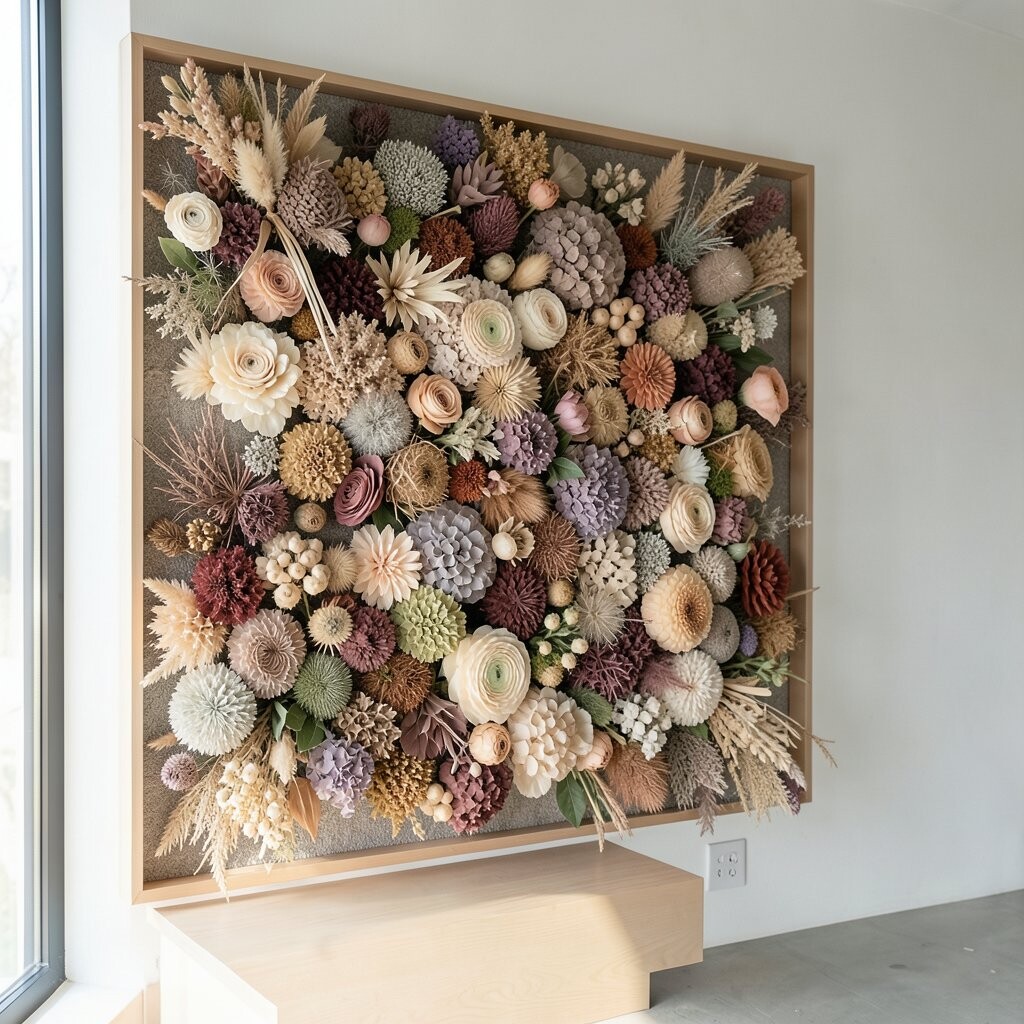
Before, a wall of blank plaster can feel too flat for your everyday photos and shelves. After, a clean arrangement of dried flowers inside narrow framing makes the space feel neat and calm.
For a modern vibe, pick fewer colors and lean on greens, tans, and muted grays, then keep the blooms in tidy groups. Use thin backing paper or a subtle fabric behind the flowers so the arrangement looks crisp instead of messy.
When planning, measure your frame size and lay the flowers out on a table first, so you do not have to rearrange in a hurry. This style costs less than a full living-room makeover because you can use just a handful of stems and reuse inexpensive frames.
3. Sunburst Bloom Wall With Bold Marigold Tones
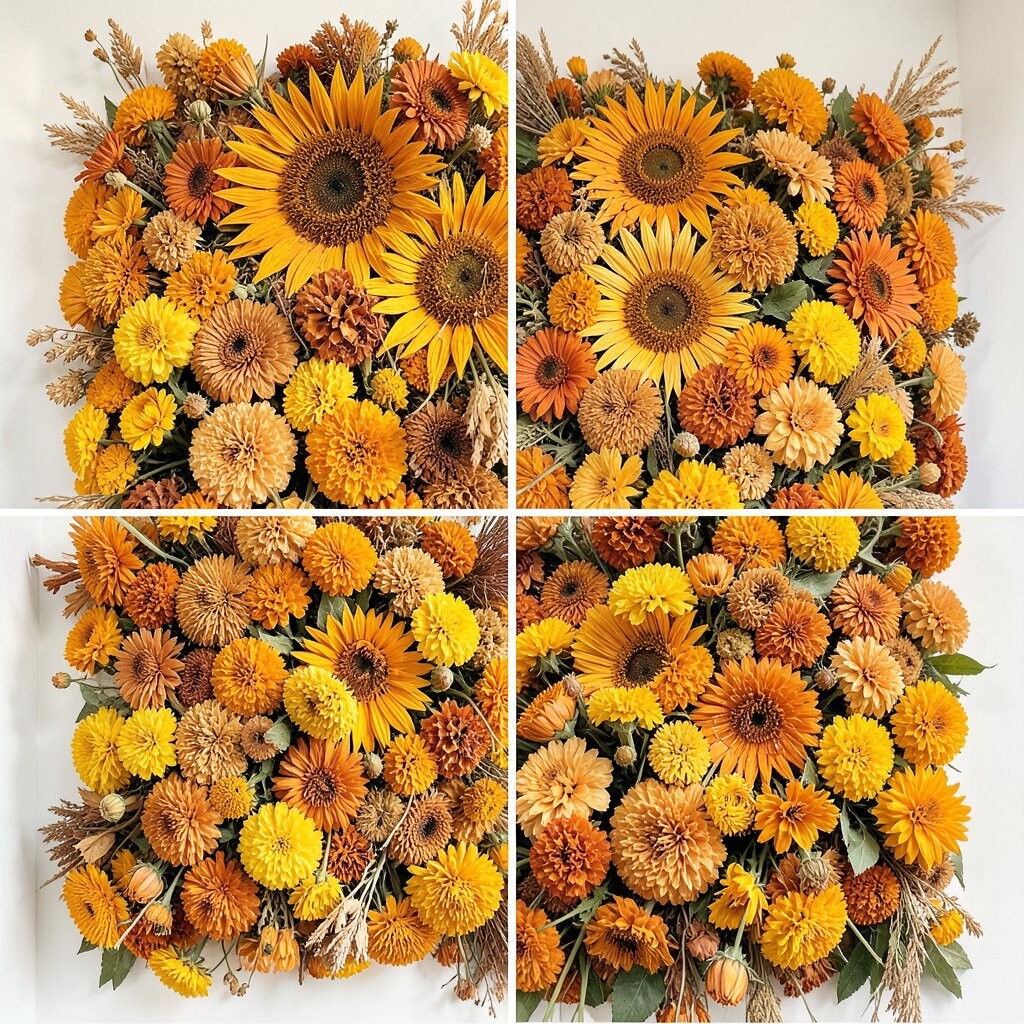
Before, your entryway might look like it is waiting for an accent that never comes. After, a sunburst arrangement sends warm energy outward, with dried marigold-like petals and rusty orange accents radiating from a center.
The visual trick is to build from a focal point, then angle the petals like rays so the wall looks full from across the room. Use a mix of thicker flower heads and delicate filler to keep the rays from all blending together.
To keep it from feeling chaotic, limit the palette to two warm tones plus one neutral, such as parchment or oat. If you want personalization, add a small cluster in your favorite hue at the center, like a deep amber accent, so it feels like your signature.
Even with bold colors, dried flowers can be budget-friendly because you can gather similar tones from different dried bundles and still get a cohesive look.
4. Soft Pastel Scatter Over Textured Background
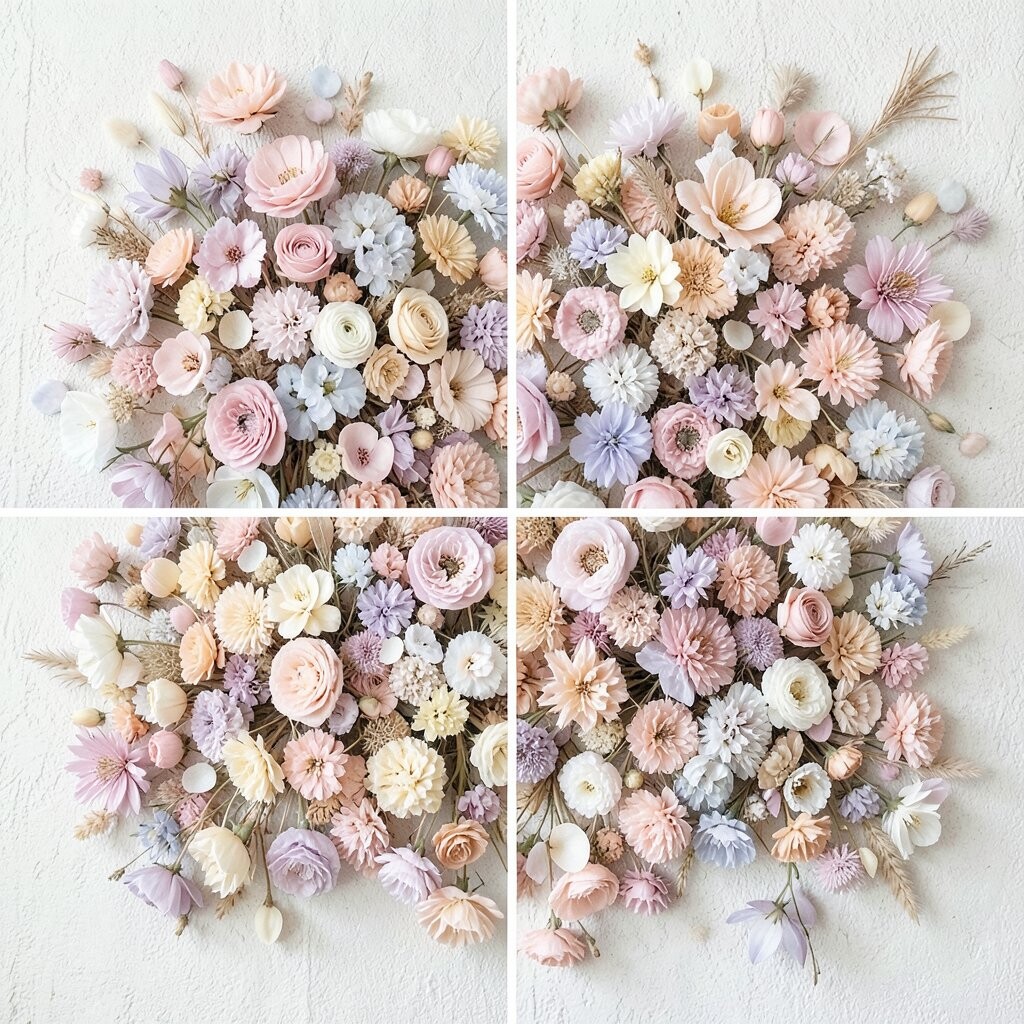
Before, the wall might be a simple color that disappears into the rest of the room. After, a pastel scatter on a textured backdrop adds visual movement, with lavender, powder blue, and pale rose buds floating across the surface.
Start by choosing a base that adds interest, like linen-look fabric, craft paper, or a thin layer of textured board. Then place flowers as if you are making a gentle sprinkle rather than a rigid shape, which helps the installation feel airy.
To make placement easier, lightly mark a few guide dots on the backing and fill between them gradually. This approach supports personalization too, because you can mirror the colors from your curtains, bedding, or throw pillows.
If you are watching costs, buy one larger bouquet in your main pastel color and use smaller refill stems for the rest, rather than purchasing full matching sets.
5. Botanical Map Layout With Leafy Branch Lines
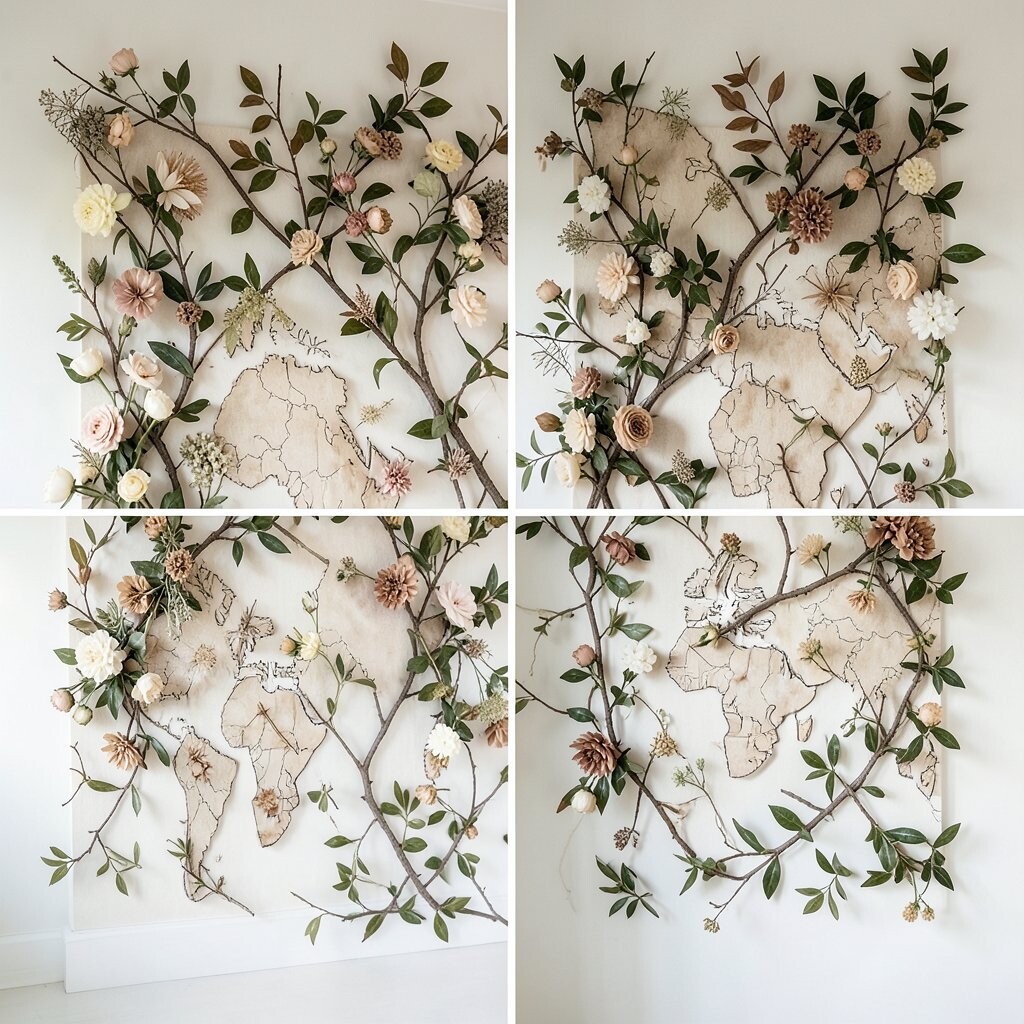
Before, your wall might not match the natural theme you already love in your home. After, a botanical map layout brings a guided, leafy feel, with dried branches and flat leaf pieces arranged like paths on a chart.
Choose one dominant direction, then follow it with stems so the whole piece reads clearly, like winding streets. Pair bolder leaf shapes with lighter filler blossoms to create contrast and keep the eye moving.
For practical results, pre-sort your stems by thickness and length, because branchy pieces look best when they graduate from longer to shorter across the wall. Personalization can be as simple as weaving in a few flower heads that match your houseplants, such as sage-green or warm beige tones.
6. Elegant Monochrome With Taupe And Dried White
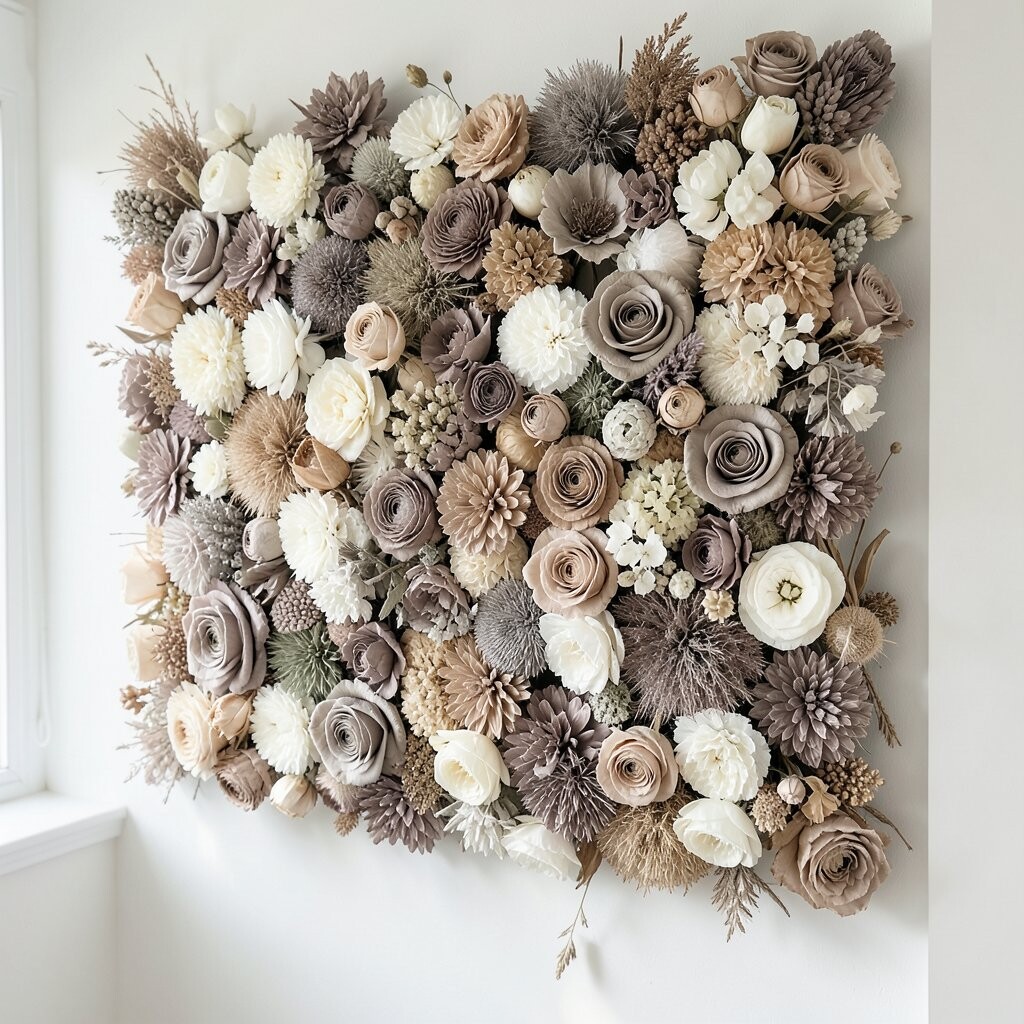
Before, your wall might be filled with busy decor that competes for attention. After, monochrome dried flowers in taupe and dried white bring a calm, tailored look that softens the whole room.
Keep the arrangement tight and layered, using different sizes of blooms and seed heads so you still get depth even with one color family. Add a few darker twigs for contrast, so the piece does not look washed out.
To personalize, match the tones to your existing palette, like pairing taupe with the color of your sofa or rug. This style also helps with cost since monochrome bundles often go on sale more often and you can mix them freely without worrying about color mismatch.
7. Garden Gate Vertical Panel For Tall Walls
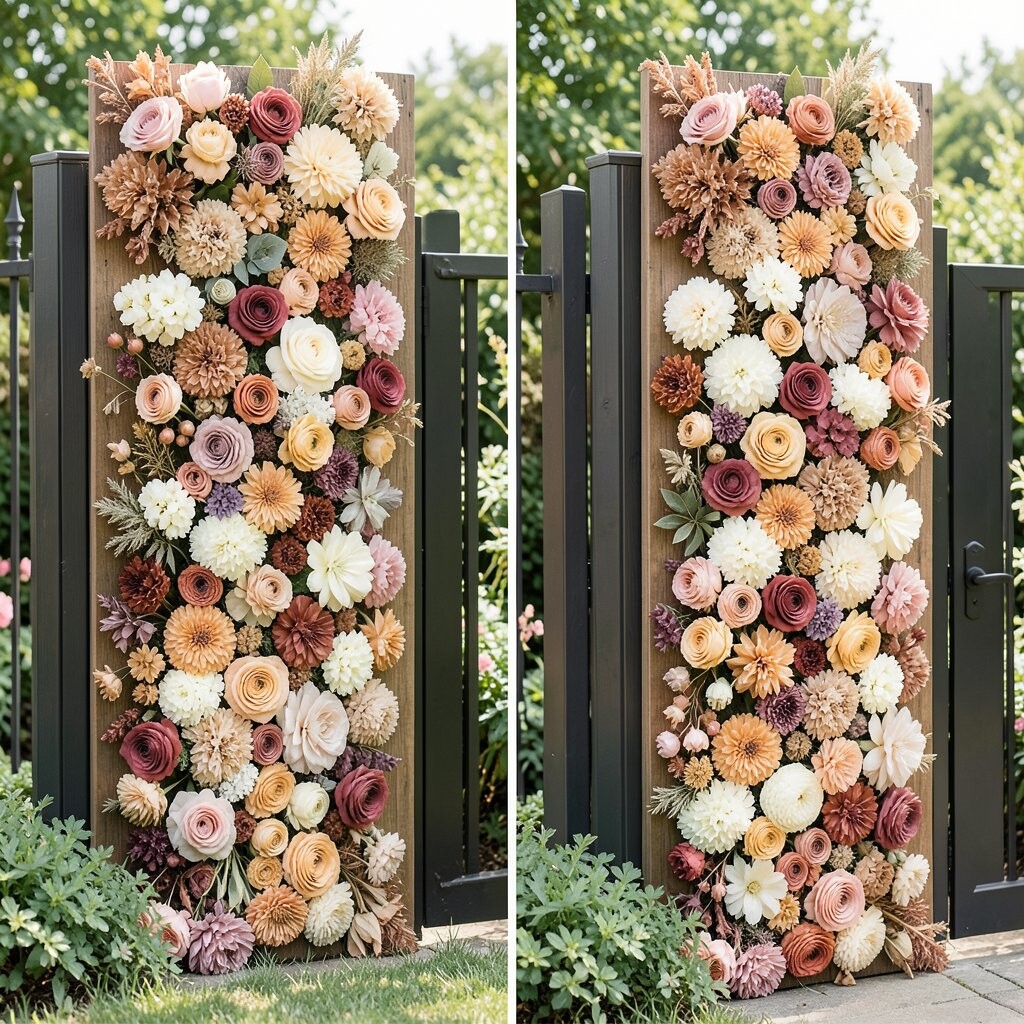
Before, tall walls can feel awkward because they do not know what to hold. After, a vertical panel made of dried flowers creates a “garden gate” effect, guiding the eye upward with long stems and airy clusters.
Use a taller backing shape, then build in columns, placing denser clusters at mid-height and lighter filler near the top and bottom. This makes the wall feel balanced even if you hang it above a couch or console.
If you want it to look high-end, tuck a few stems behind the backing so the front layer looks fuller. Personalization is easy too, because you can add a tiny “doorway” gap in the center for an elegant negative space moment.
8. Framed Wedding Keepsake Style With Sentimental Accents
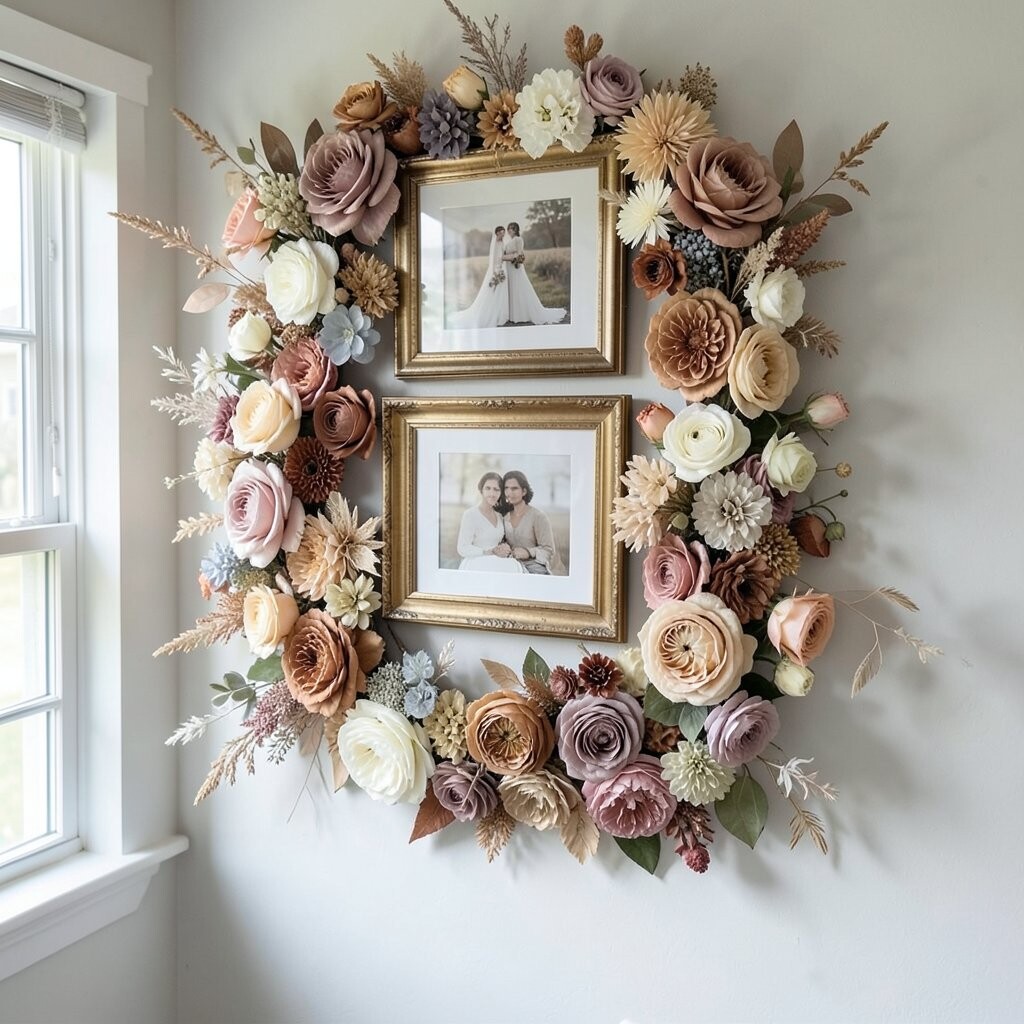
Before, you might store keepsakes in boxes because you do not want them to fade. After, a keepsake wall turns dried wedding flowers or special event blooms into a living memory on display.
Choose a backing with a fabric-like texture or a soft paper sheet so the flowers feel protected and not exposed. Arrange the largest blooms in a gentle arc, then fill around them with smaller pieces to create a complete picture.
Cost can be controlled because you use flowers you already have, and the extras usually come down to backing material and a frame or simple hanging hardware. For a unique touch, add a small dried sprig that matches the event theme, like olive greens or wheat tones, and keep the rest neutral so the story stays readable.
9. Watercolor Rainbow Ring For A Playful Room
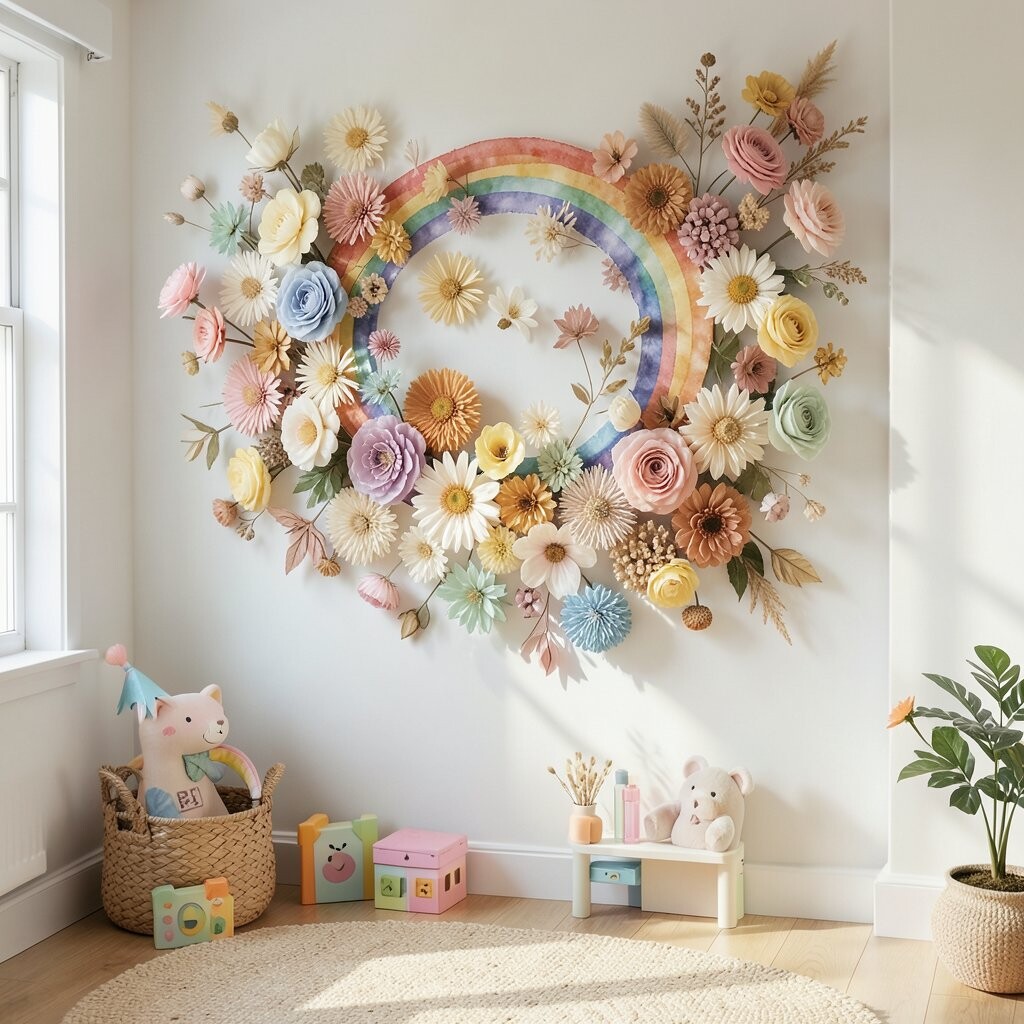
Before, a child’s bedroom or artsy studio might need a cheerful focal point. After, a rainbow ring installation looks like a soft watercolor circle, made from dried petals and thin sprigs that curl gently at the edges.
Start with a circle template on the backing so you do not end up with a lopsided ring, then fill colors gradually from one side to the other. Use light amounts of each color so no one shade overwhelms the others.
To keep it practical, use lighter filler stems that lay flat, because thick, heavy heads can droop over time. Personalization can be fun by adding tiny accents, like a few mini flower clusters in your child’s favorite colors, then leaving a small empty space for a future photo print.
If you are trying to stay on budget, buy assorted dried flower packs and select only the best-looking blooms, because the ring design makes imperfections less noticeable.
10. Coastal Driftwood Look With Seafoam Greens
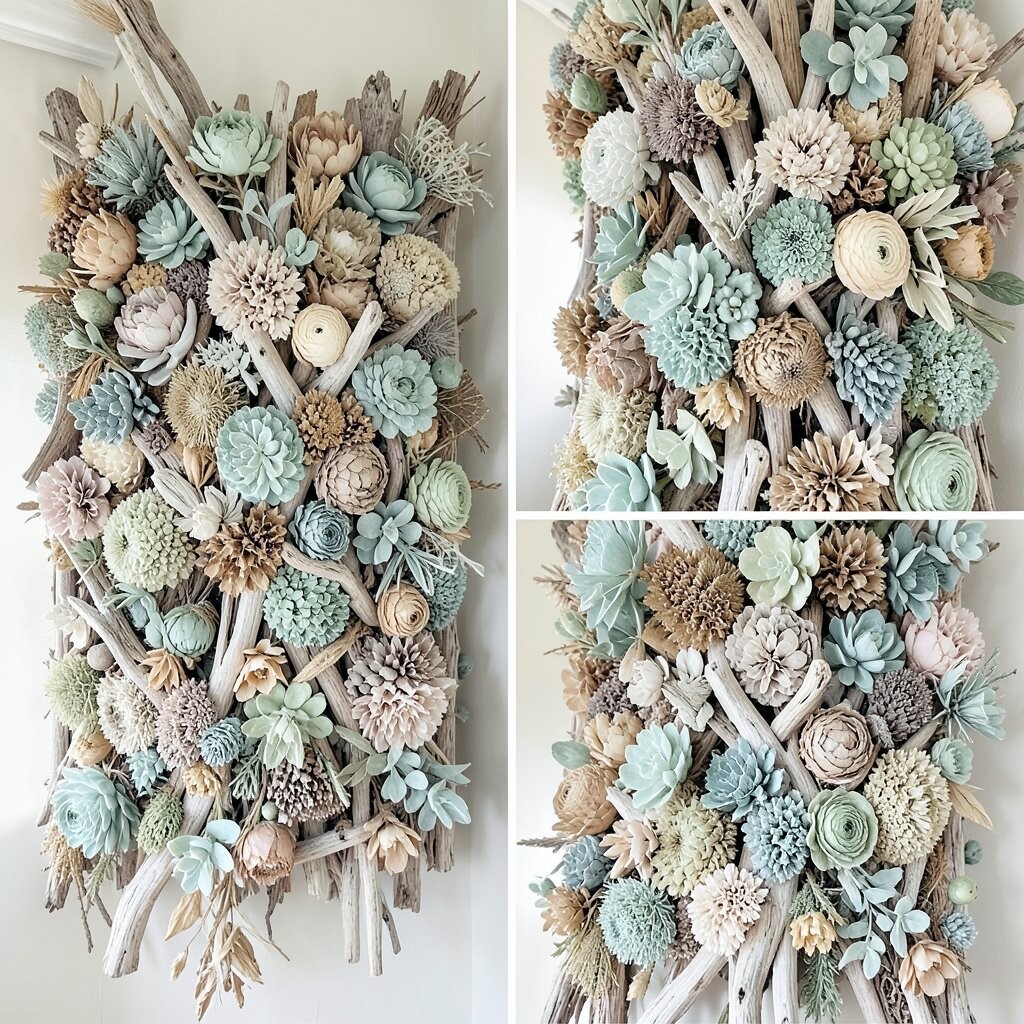
Before, a room with coastal decor might still feel missing because the wall is too plain. After, dried flowers in seafoam greens, sand beiges, and pale corals bring a gentle seaside mood.
Pair airy blooms with thin grasses or twig-like stems so the installation feels like a driftwood scene. Add small beige filler to mimic sand, and keep the spacing light for that breezy effect.
Practical placement matters here, so hang it where natural light can catch the lighter petals. For personalization, include one or two coral-like dried accents, even if they are subtle, to make it feel tied to your favorite beach memory.
This style can be cost-friendly because you can often find grasses and neutral filler stems in variety packs that go a long way.
11. Autumn Harvest Garland Over A Mantel
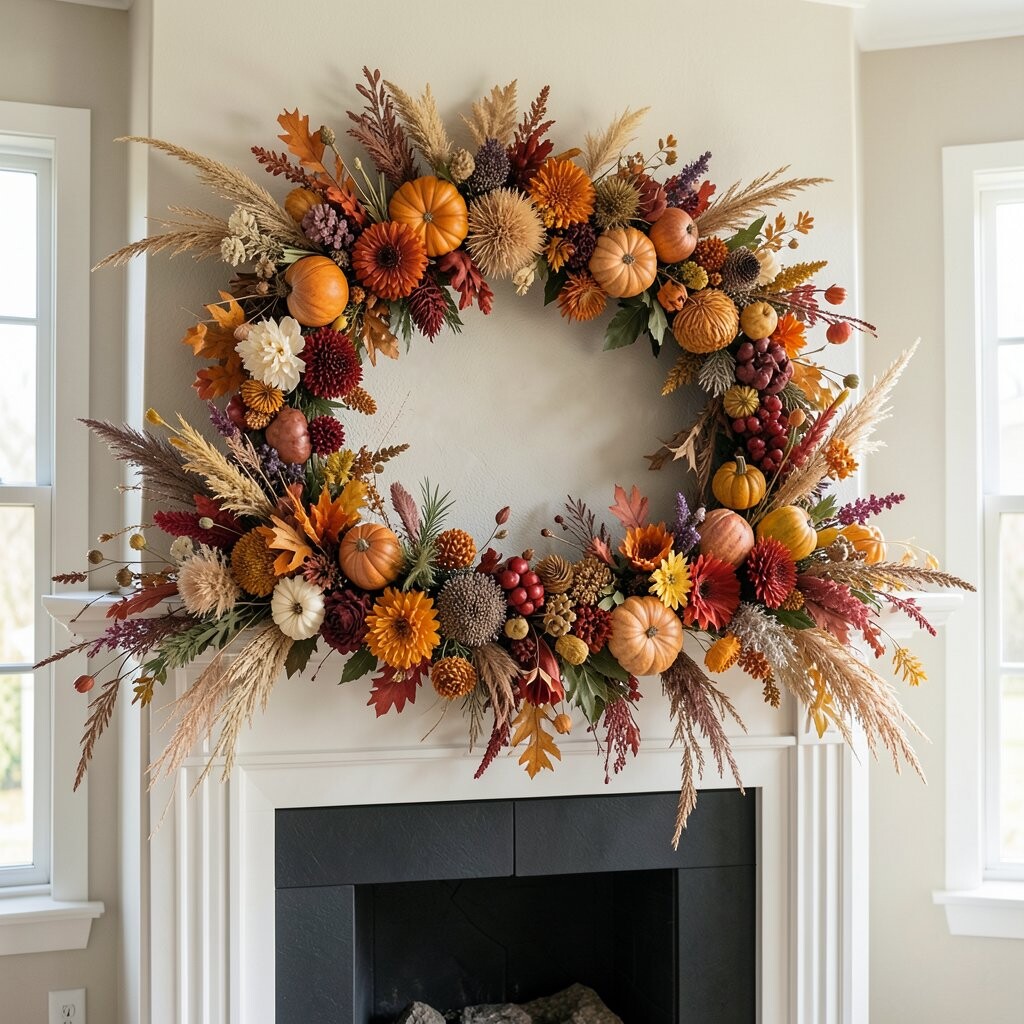
Before, your mantel might look seasonal only when candles and frames are switched out. After, an autumn harvest garland wall installation adds warmth with dried leaves, seed pods, and muted orange and brown blooms.
Instead of one flat cluster, build it as a gentle curve that follows the mantel line, then let a few stems droop for natural movement. Use a mix of leaf shapes and seed heads so it looks rich even when viewed from close up.
To keep it easy, create the garland off the wall first, then secure it with discreet hooks. Personalization can be simple, like matching the color intensity to your existing fall decor, whether you prefer cinnamon tones or cooler, smoky browns.
12. Minimal Linework With Pressed Flower Edges
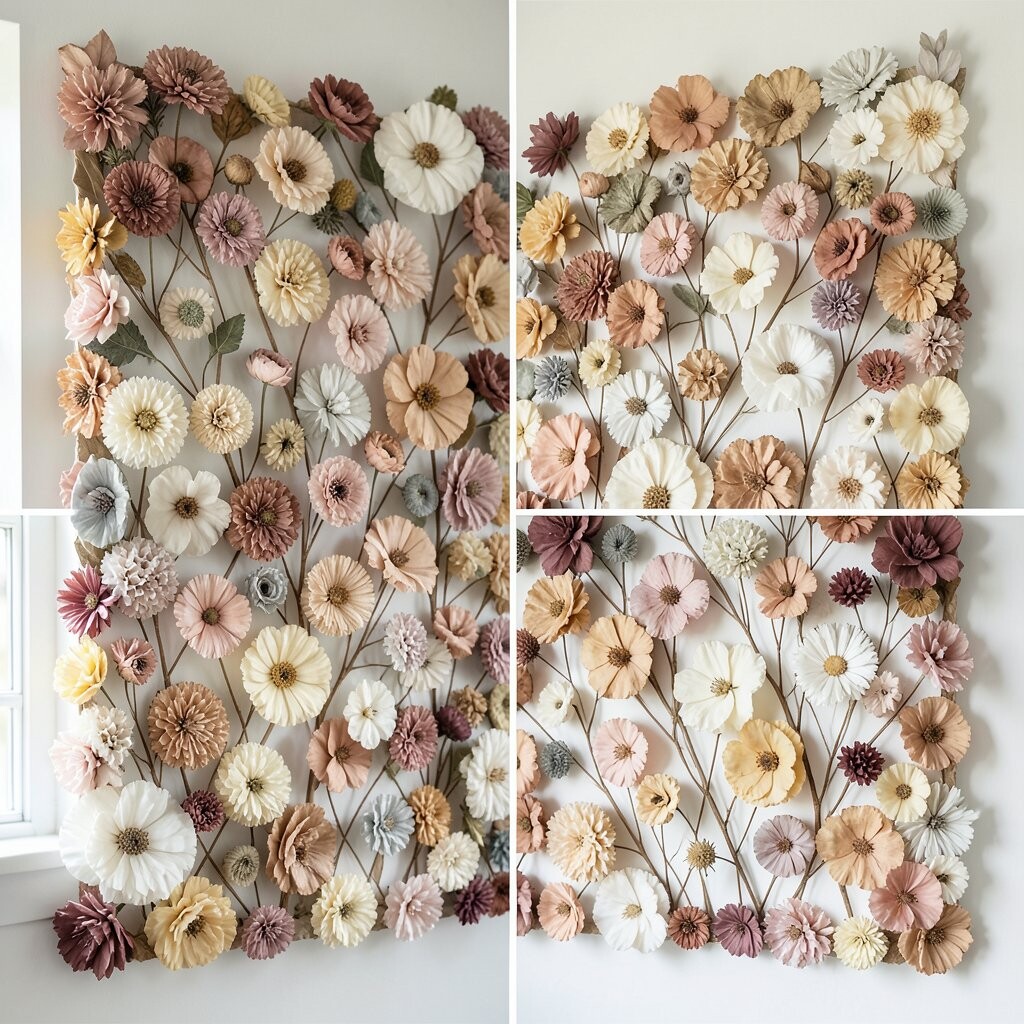
Before, your wall might feel modern but still a little unfinished. After, pressed dried flowers placed along clean linework create a refined border that looks like art made for your space.
Use pressed pieces for crisp edges, then arrange them into straight or softly curved lines along a frame or backing. Keep the amount small, because the charm comes from restraint and neat spacing.
If you want it to feel more unique, combine one pressed flower variety with tiny seed head dots to mimic stitching. Cost considerations are great here since pressed flowers can come from flowers you already have, and the backing can be inexpensive.
13. Boho Layered Cluster With Big Textured Heads
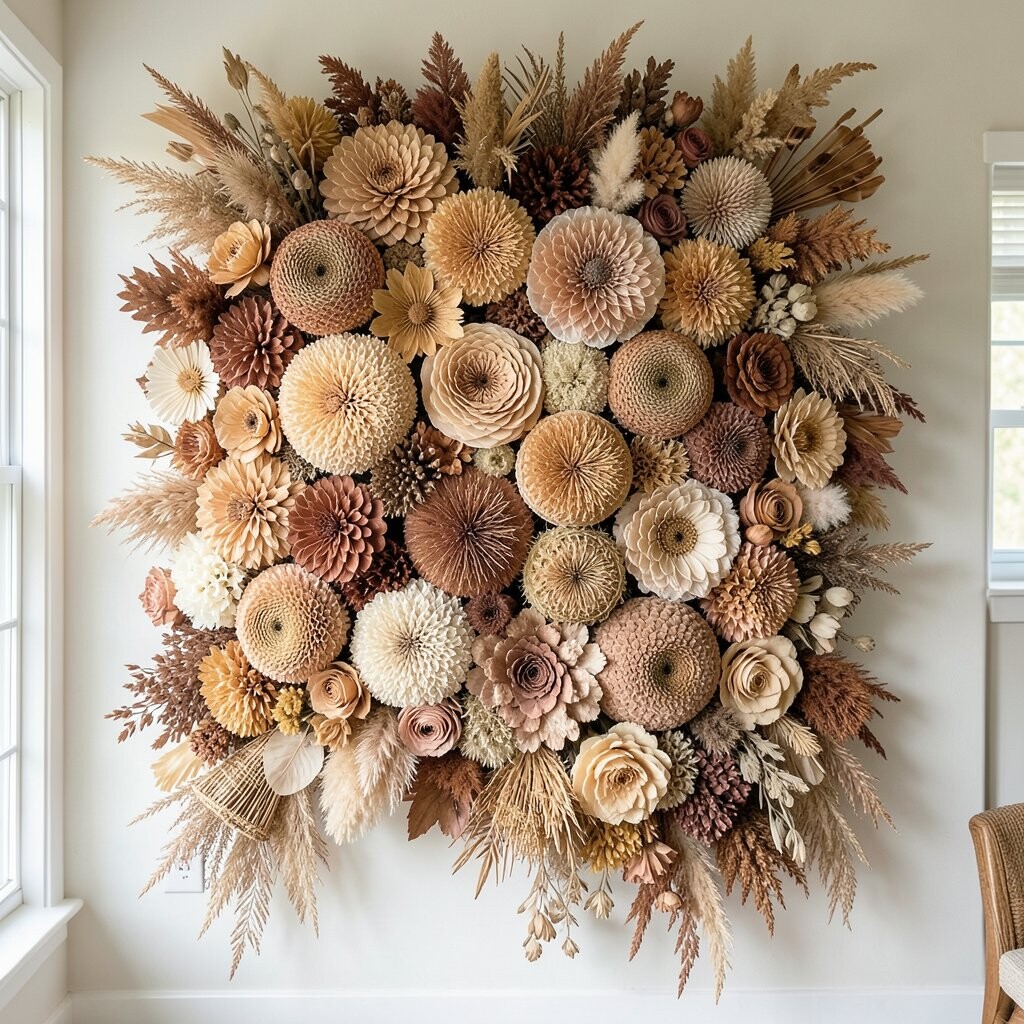
Before, your boho living room might have texture in rugs and pillows, but the wall still feels underdressed. After, layered dried flower clusters add big, tactile shapes that make the entire room look more collected.
Use larger flower heads as anchors, then stack smaller blooms behind and around them so the piece looks dimensional. Pair bold textures with softer filler so the wall does not feel too heavy.
For practical tips, keep your heaviest stems closer to the center and support the backing if needed, especially if you are hanging it above eye level. Personalization is easy too, because boho styles welcome mismatched tones and mixed bloom varieties that reflect your taste.
14. Romantic Heart Shape With Blush And Rose Hues
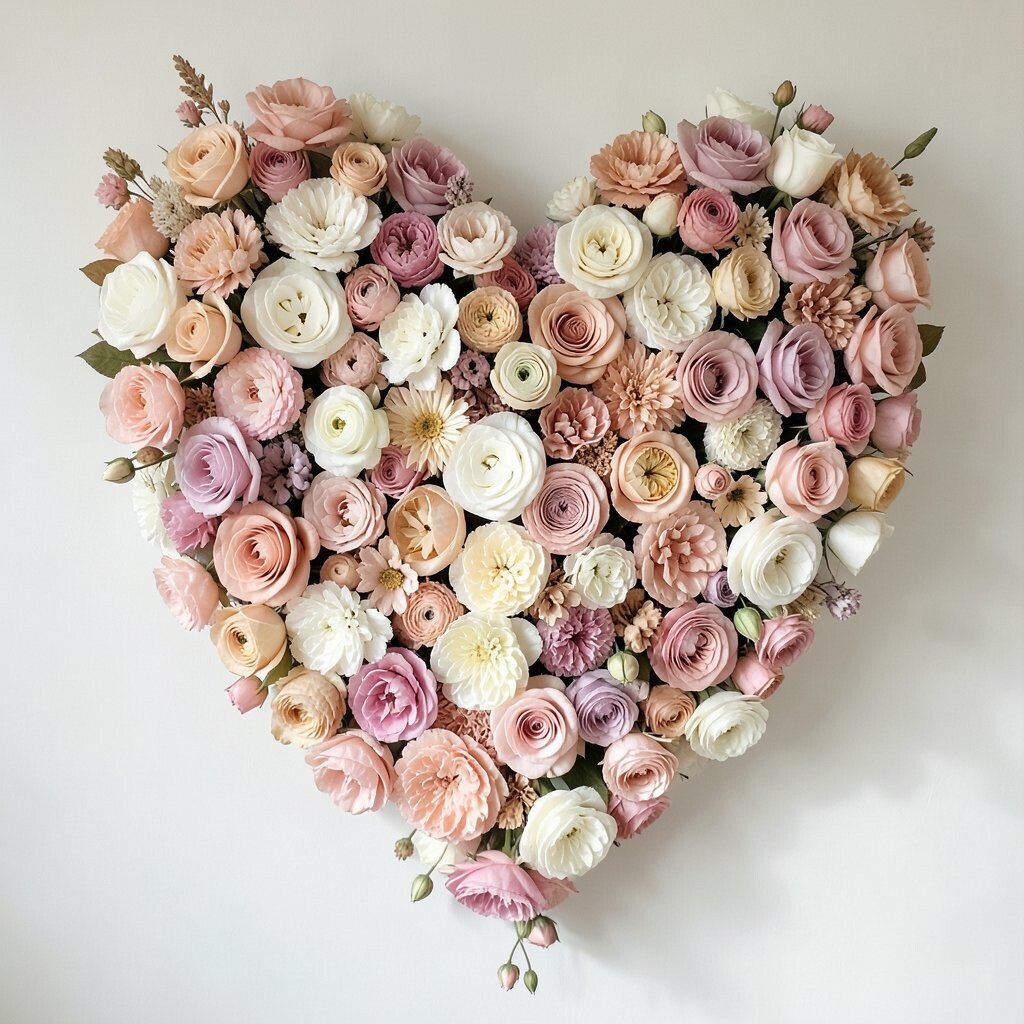
Before, a wall near your bed or reading corner might feel too simple for a romantic mood. After, a heart-shaped dried flowers installation brings gentle sweetness, with blush petals and rose-toned accents that soften the space.
Use a heart outline template, then build the petals outward so the center stays visible. Blend a few deeper rose pieces into the blush base to keep the heart from looking flat.
To personalize, add one meaningful bloom variety, like the flowers from a memorable gift, and keep everything else in similar tones so the story stays cohesive. Cost can be manageable because heart designs often use fewer materials than wide full-wall statements.
15. Dramatic Dark Contrast With Deep Burgundy And Blackened Tones
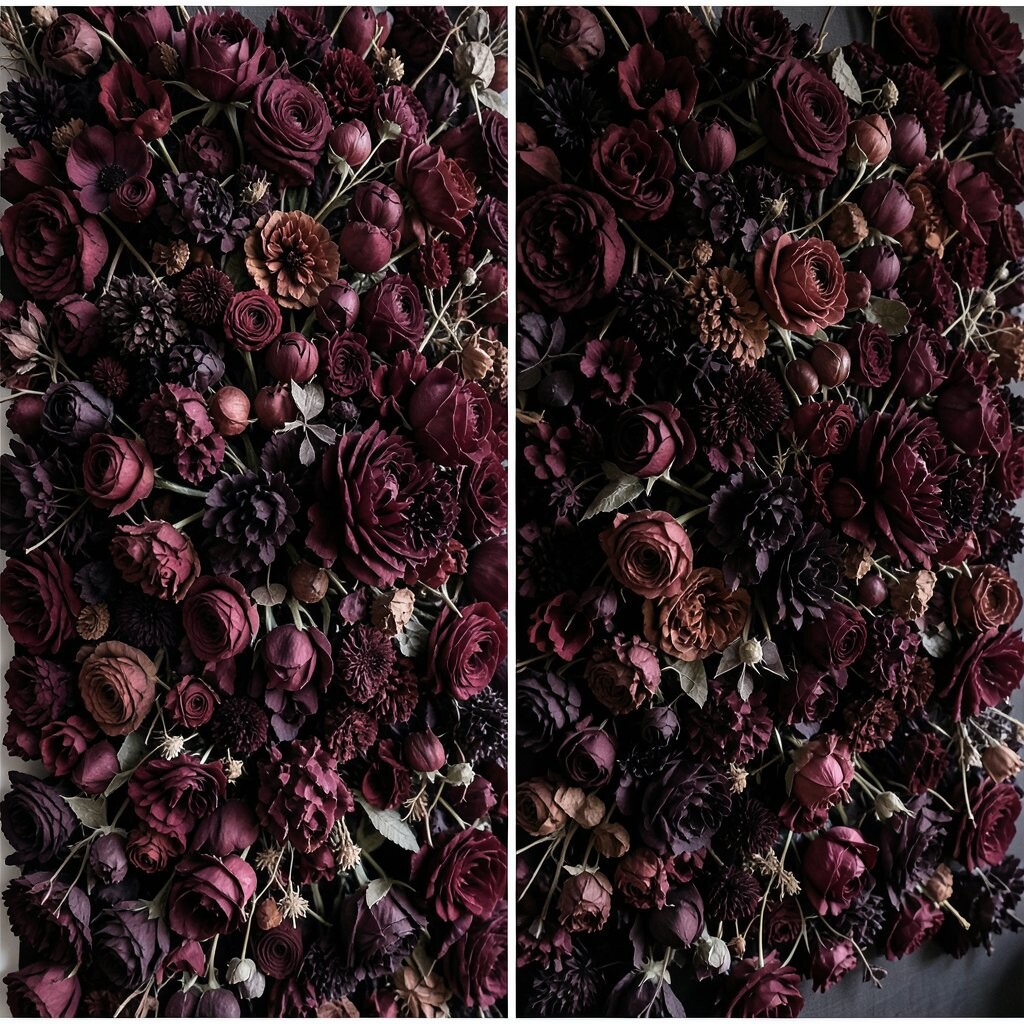
Before, your wall might feel like it is blending into darker furniture. After, deep burgundy and blackened dried flowers create a striking contrast that looks bold and stylish.
Choose darker anchors, then soften the edges with warm neutrals like dusty brown or muted cream so the overall piece looks balanced. This is a great option if you love moody decor but still want the warmth of living-style textures.
For practical placement, hang it where it will catch lighting from a lamp or window, because dark pieces show depth when illuminated. Personalization can include adding a single lighter accent bloom, like pale gold seed heads, for a “spark” effect.
Consider cost by mixing a few higher-cost dried blooms with cheaper filler bundles, since the bold color palette already does much of the visual work.
16. Seasonal Switch System With Removable Velcro Clusters
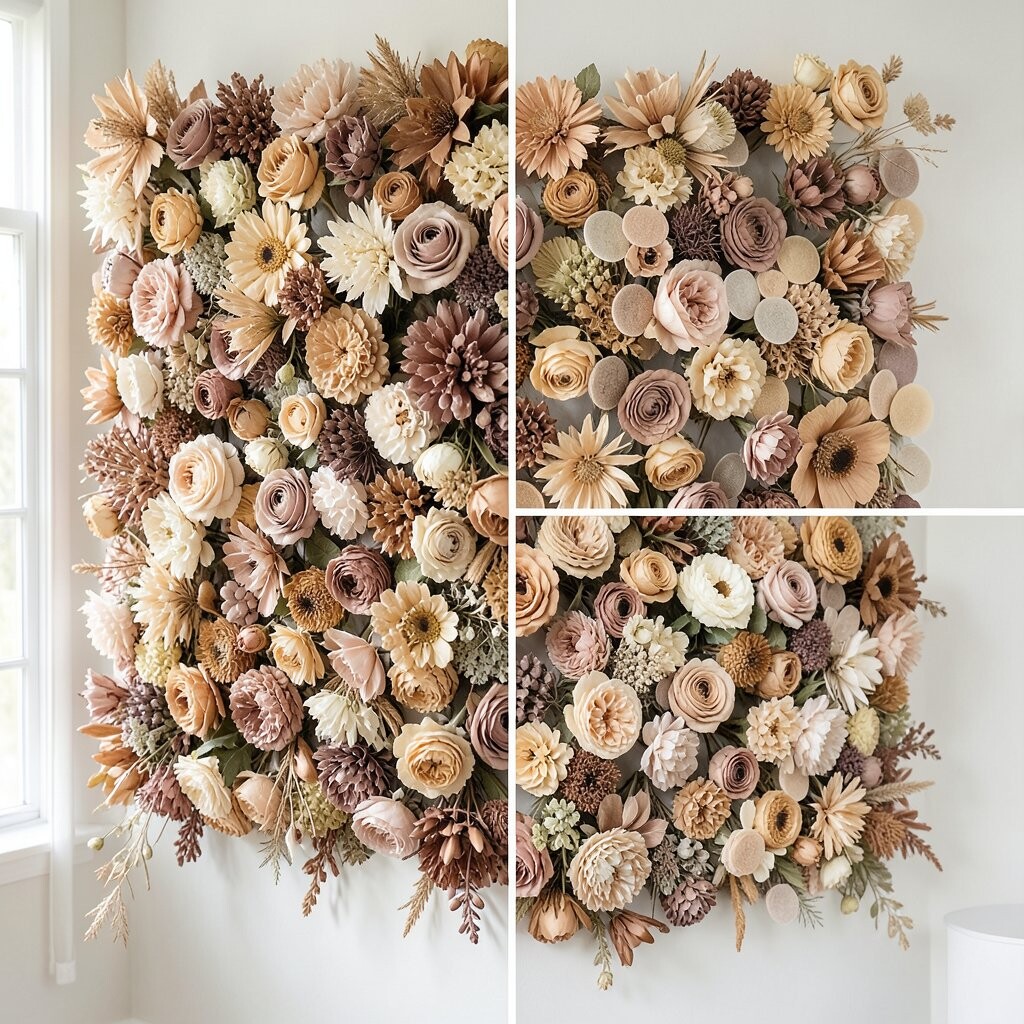
Before, your wall art might feel stuck in one season, and you stop updating because it takes too much time. After, a removable dried flower system lets you swap clusters for different moods while keeping the base the same.
Build a simple backing with small mounting spots, then attach flower clusters with discreet fasteners so you can remove and replace them easily. This keeps your installation usable year-round and reduces wear from constant re-hanging.
For a unique look, create a set of themed clusters, like spring pastels, summer citrus tones, and autumn harvest colors, then rotate them as you want. When thinking about cost, a reusable base plus a few seasonal refill bundles can be cheaper than buying a brand-new wall piece each time.
To make it feel personal, choose a color theme that matches your home’s rhythm, such as calm neutrals for winter and brighter accents for festivals.