Skip to the content
Homiste
Where Style Meets Comfort: Your Home, Your Sanctuary
Menu
Home
DIY Home Decor
Interior Design
Trends and Inspiration
About
Categories
DIY Home Decor
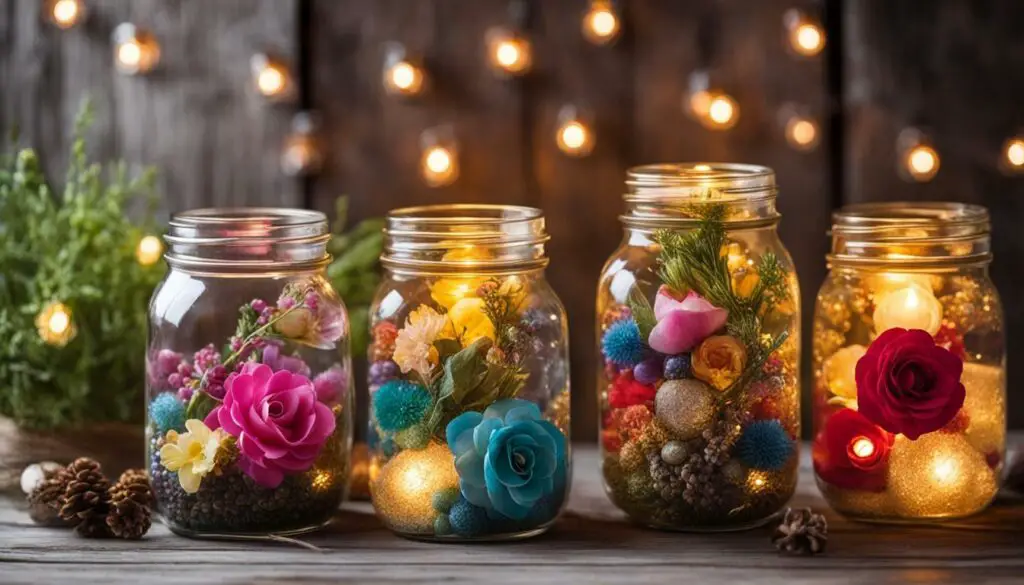
Charm in a Jar: Creating Quirky Mason Jar Decorations
Categories
DIY Home Decor
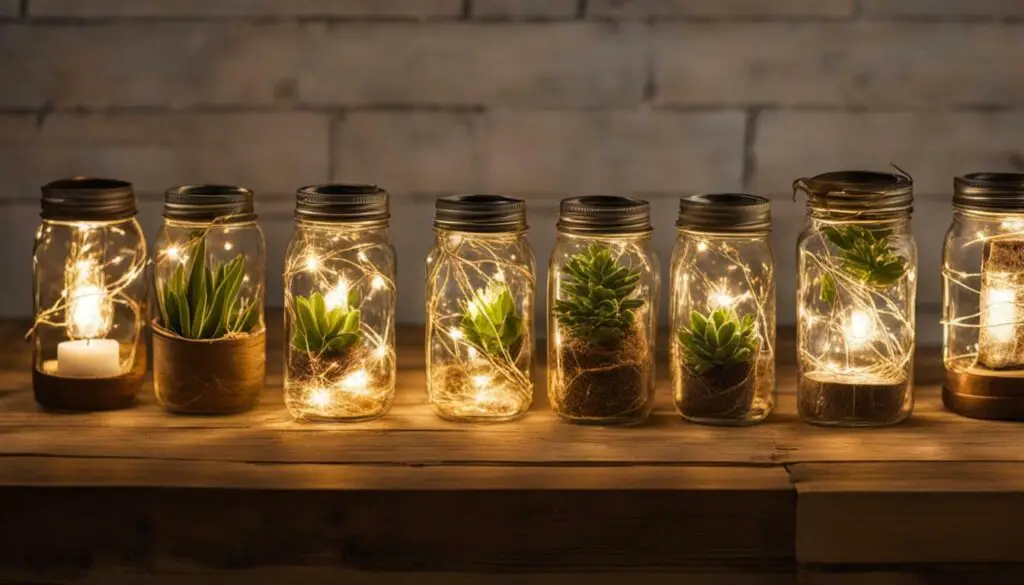
Light Up Your Creativity: Crafty DIY Lighting Solutions
Categories
DIY Home Decor
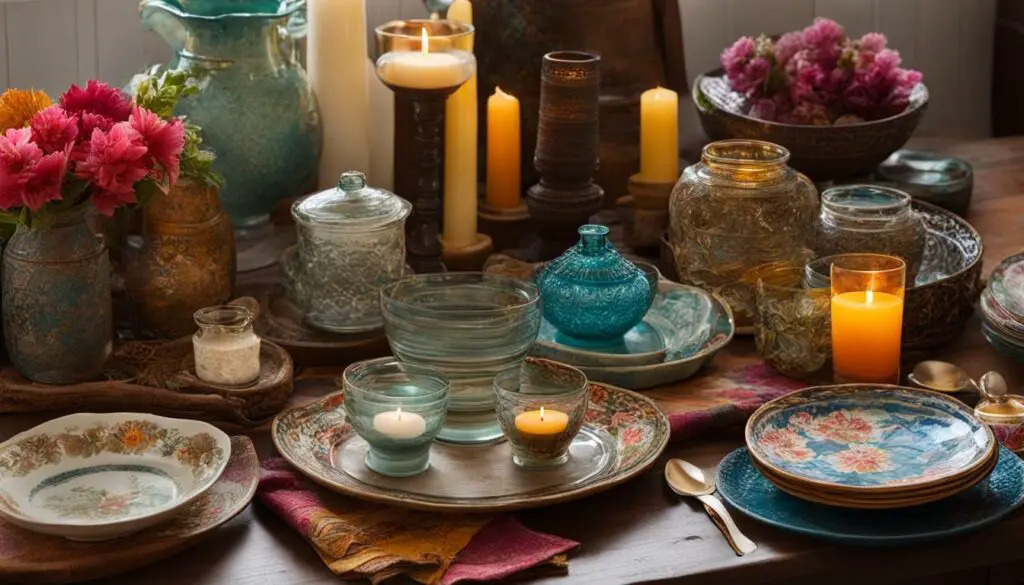
Vintage Reimagined: Give Your Decor a Stylish Makeover
Categories
DIY Home Decor
Thrifty Finds: Treasure Hunting at Thrift Stores for Decor
Categories
DIY Home Decor
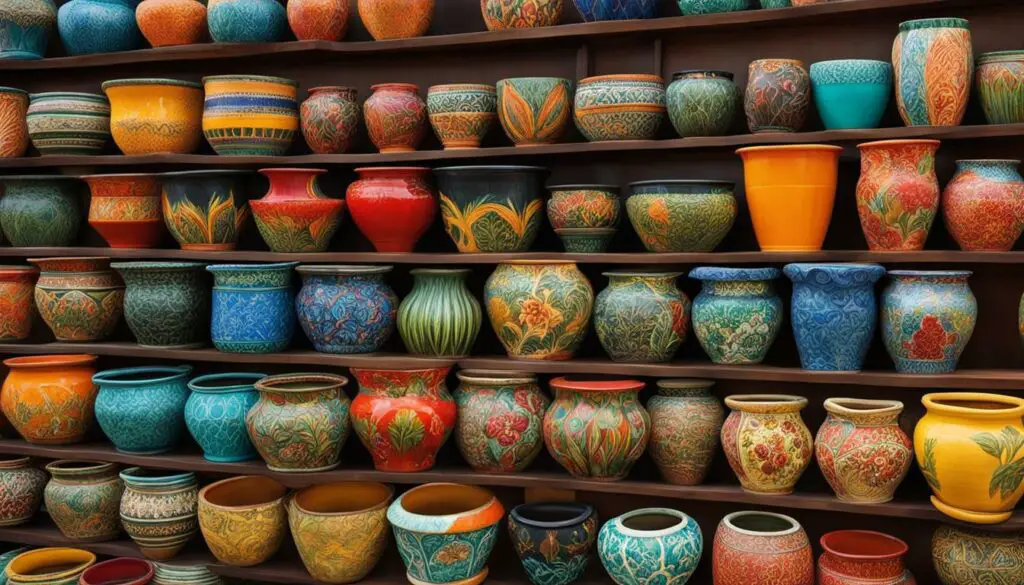
Paint Your World: Decorative Hand-Painted Pots for Plants
Categories
DIY Home Decor
Outdoor Elegance: DIY Decor Ideas for Your Exterior Space
Categories
DIY Home Decor
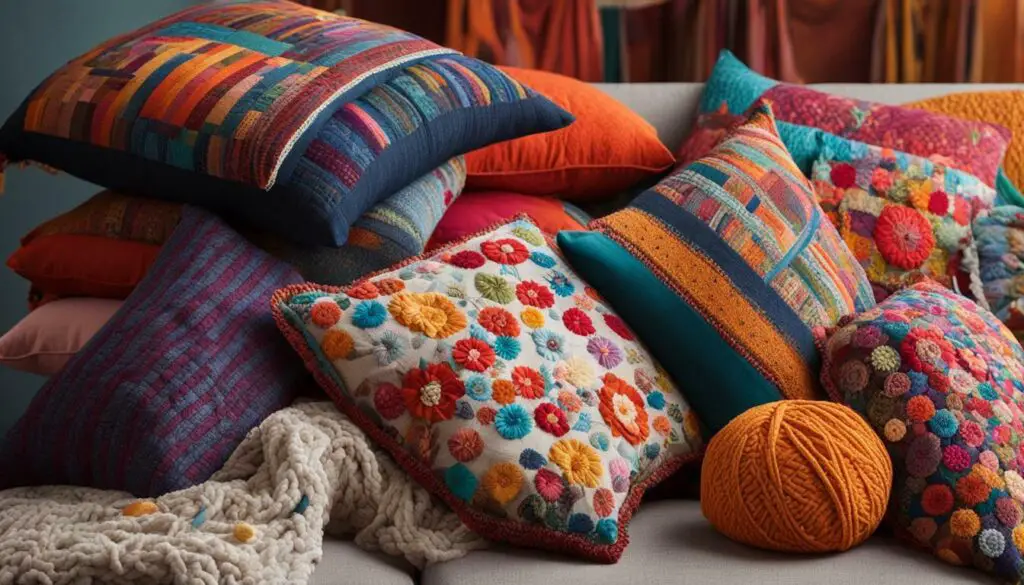
Sew It Up: Creative Home Decor with Fabric Sewing Projects
Categories
DIY Home Decor
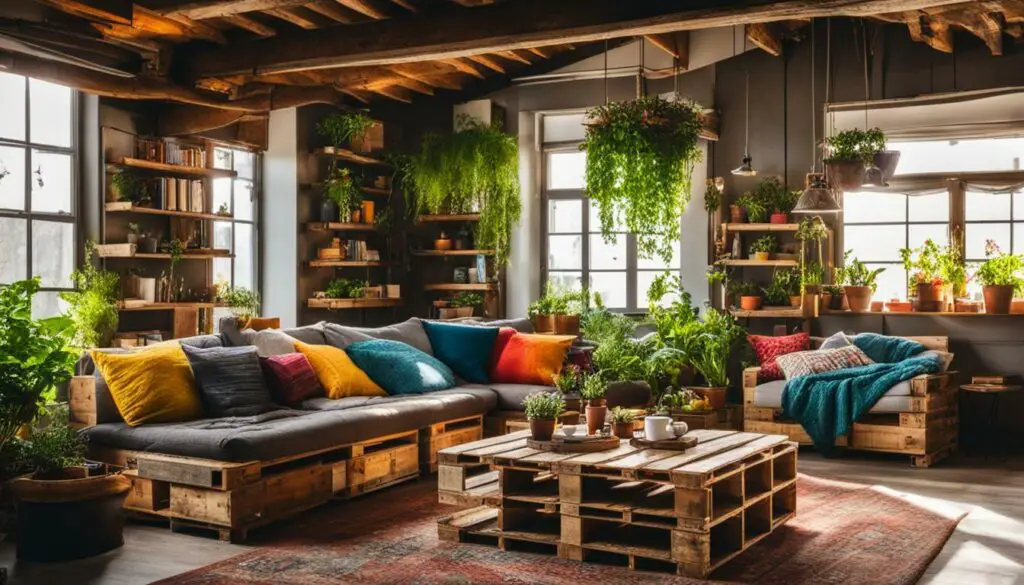
Rustic Creations: Crafting Furniture from Pallet Wood
Categories
DIY Home Decor
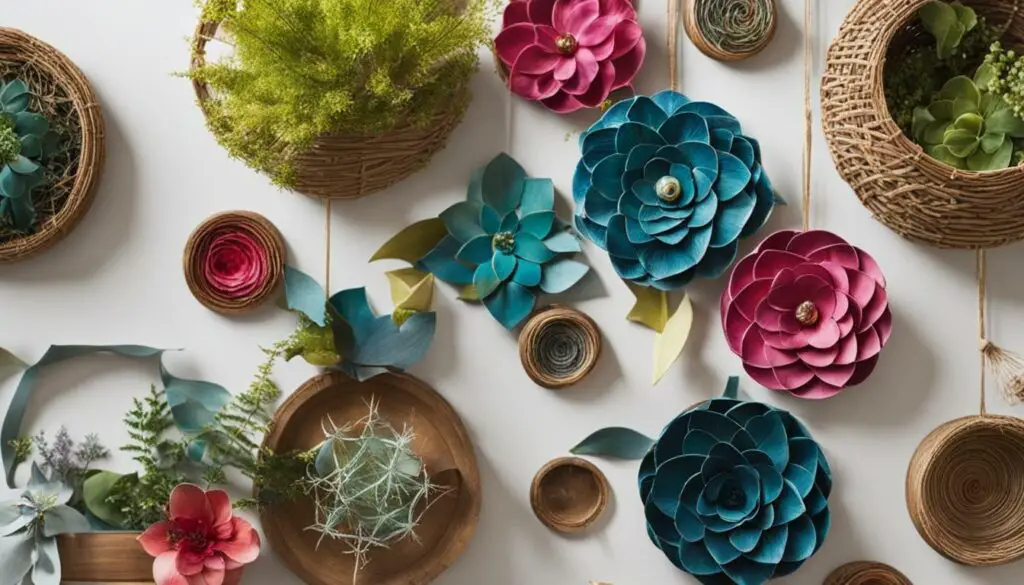
Crafting Magic: Unleash Your Creativity with DIY Home Decor Projects
Categories
DIY Home Decor
Artistry at Home: Creating Stunning DIY Wall Art Designs
Categories
Trends and Inspiration
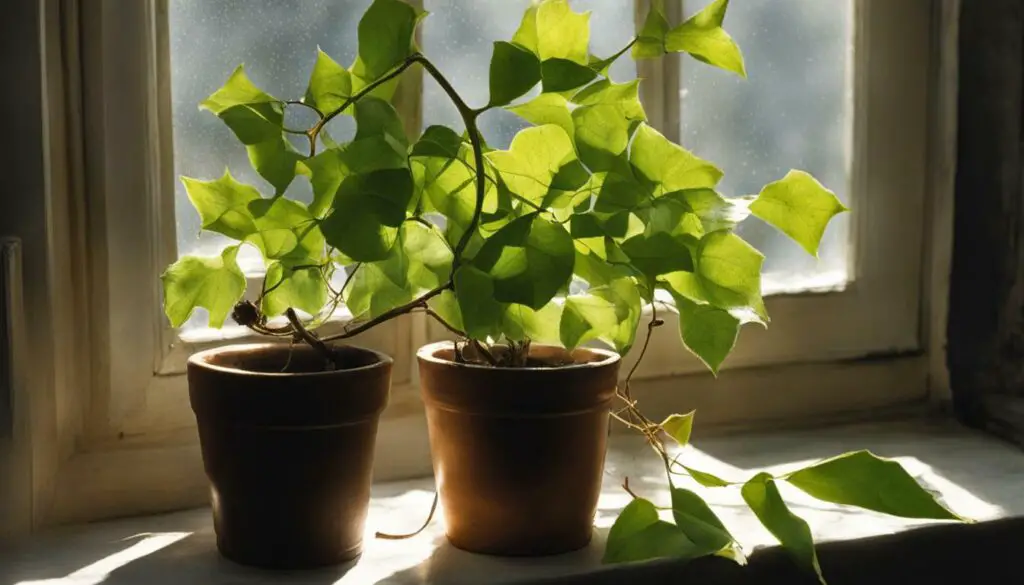
How to Grow Trumpet Vine from Cutting (Step By Step Guide)
Categories
Interior Design
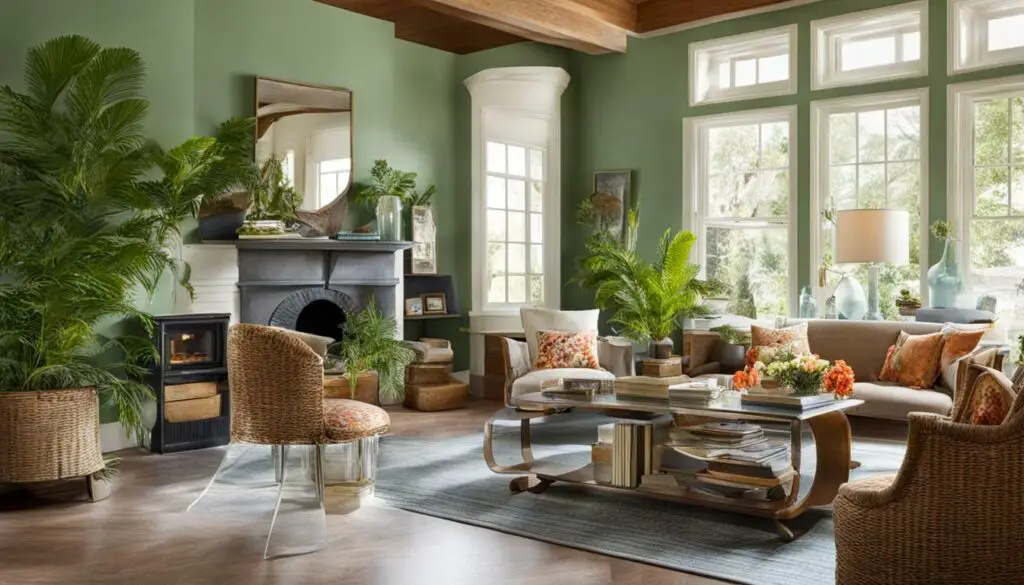
Pro Tips for Furniture Arrangement in Your Home
Posts navigation
←
Newer
Posts
1
2
Older
Posts
→