Plaster molding can make a room feel rich and calm. Small changes can give it a bold new look.
1. Start With A Clean And Stable Base
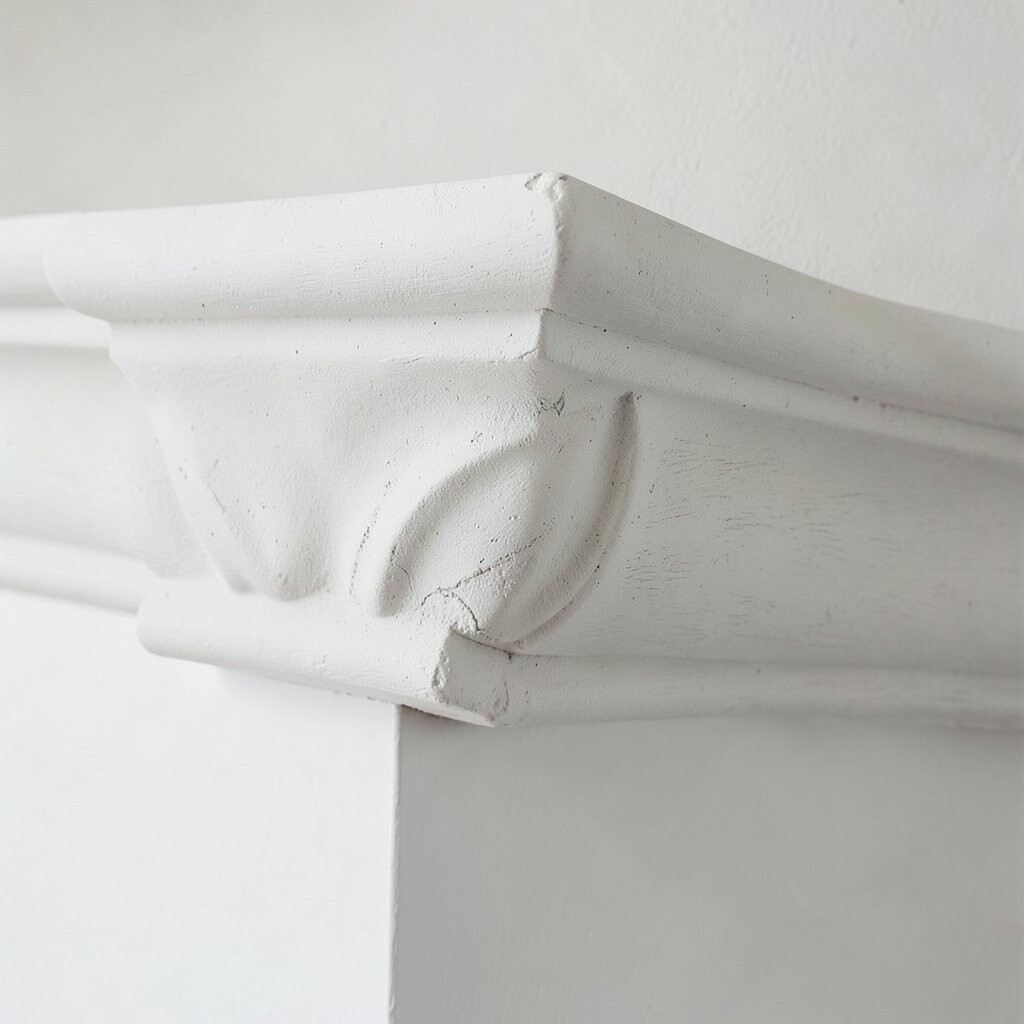
A smooth base helps every detail stand out with crisp edges and soft shadows. When the surface is clean, the molding looks brighter and more polished right away.
Dust, loose paint, and damp spots can weaken the bond and raise repair costs later. Take time to prep the wall or ceiling well, because that simple step saves money and gives your design a longer life.
2. Pick A Style That Fits The Room
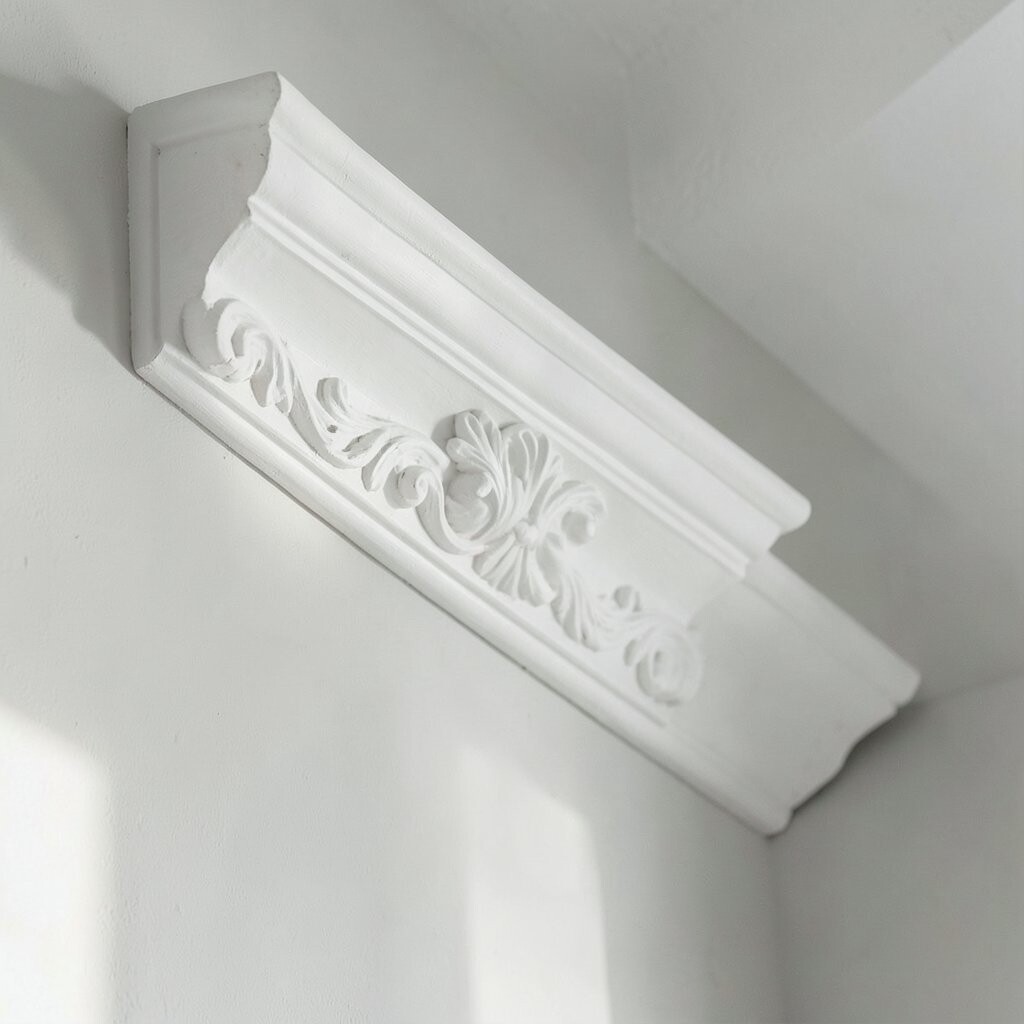
The best molding feels like it belongs in the space, not like it was dropped in by chance. A narrow floral border can feel sweet and old-world, while a bold geometric line can look sharp and modern.
Think about the room’s size, light, and furniture before you choose a pattern. A personal touch like a custom corner shape or a simple family symbol can make the work feel unique without adding much to the budget.
Today, many people like mixing classic plaster with cleaner shapes for a fresh look. That blend can make the room feel current while still keeping the charm that makes molding so special.
3. Use The Right Tools For Fine Detail
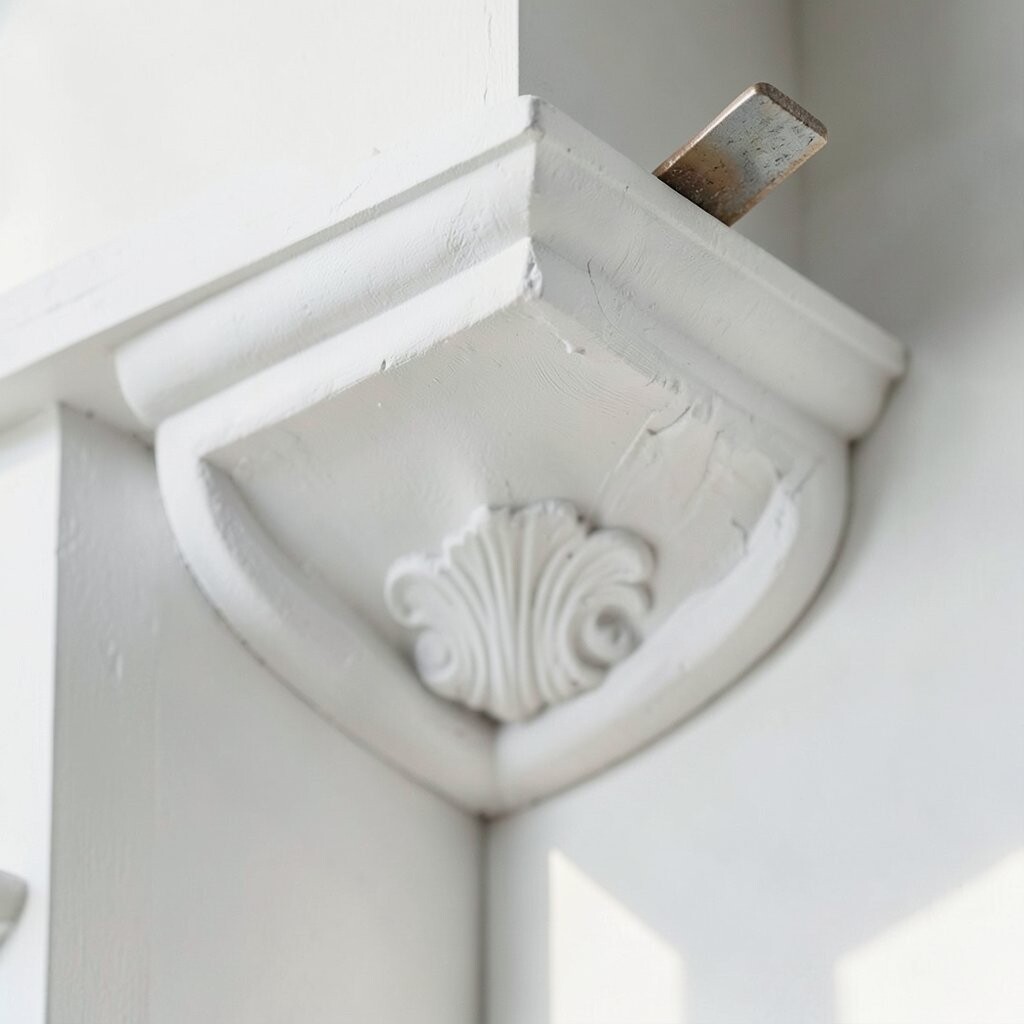
Sharp tools help you carve neat lines and gentle curves without tearing the plaster. Clean blades, flexible scrapers, and small shaping tools can make the finish look rich and tidy.
Good tools also make the job faster and reduce wasted material. Spending a little more on sturdy gear often pays off because the results look better and last longer.
Try holding your tools at different angles until you see the shape you want. A steady hand and a few practice passes on scrap plaster can help you build skill before working on the final piece.
4. Mix The Plaster To A Smooth Texture
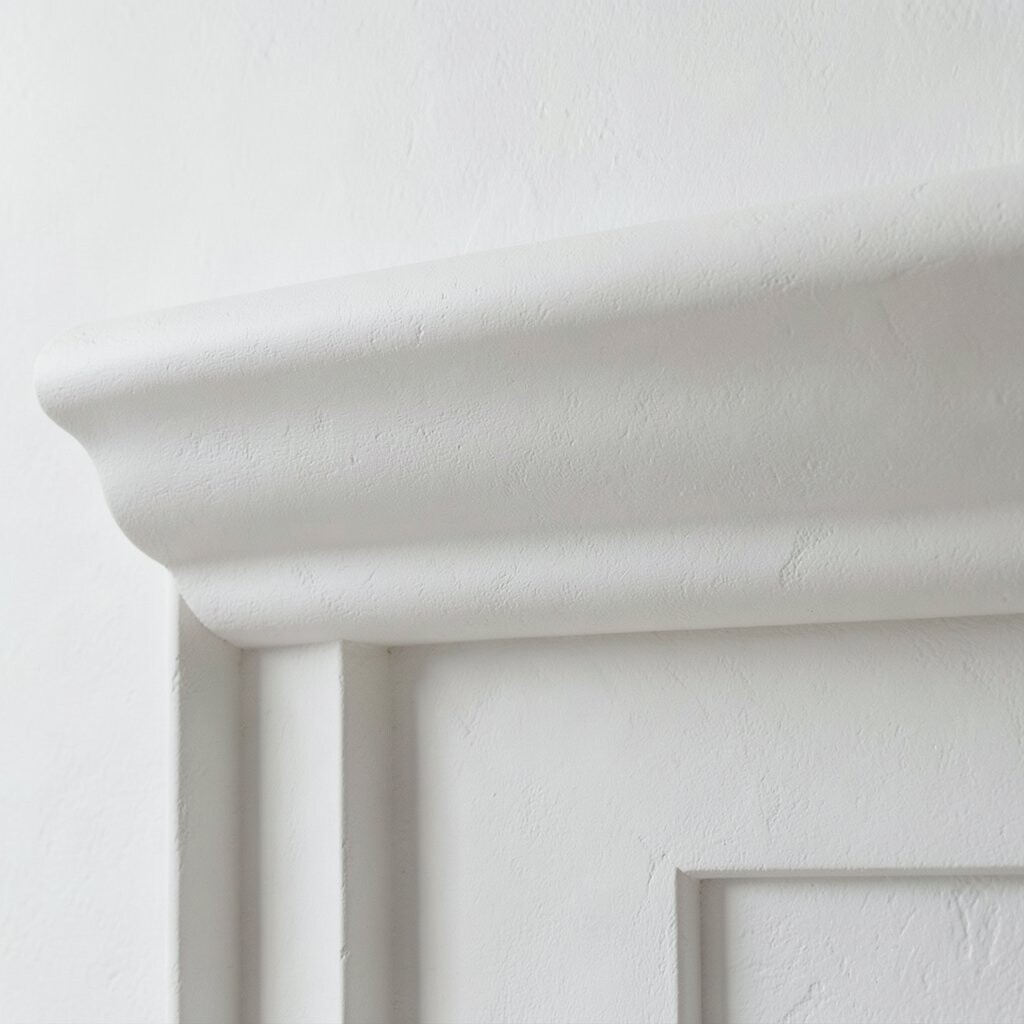
Plaster that is mixed well feels creamy and easy to shape. When it has the right texture, it spreads evenly and holds tiny details like leaves, beads, and ridges.
Add water slowly and stir gently so you do not trap too many bubbles. That simple habit can keep your molding strong, save material, and give you a cleaner finish that looks more professional.
Different projects may need different mix thicknesses, so test a small batch first. A slightly firmer mix can help on detailed areas, while a softer mix may work better for broad curves and wider patterns.
5. Build In Thin Layers For Better Control
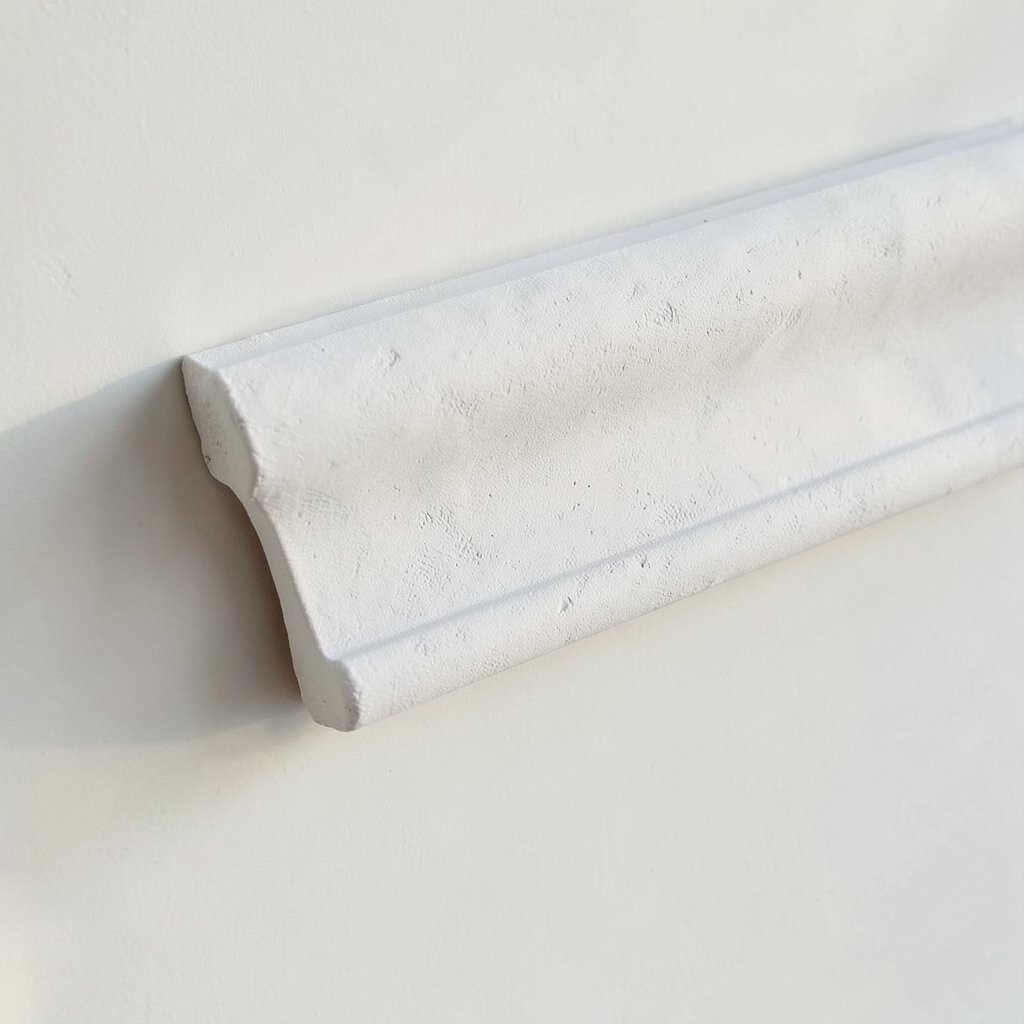
Thin layers are easier to guide, and they help the design stay neat. Each layer gives you more control, so the fine lines stay sharp instead of sagging.
This method can also lower the chance of cracks and breakage during drying. It may take a little more time, but the stronger result often lowers repair costs and gives the piece a more elegant feel.
6. Watch The Drying Time Closely
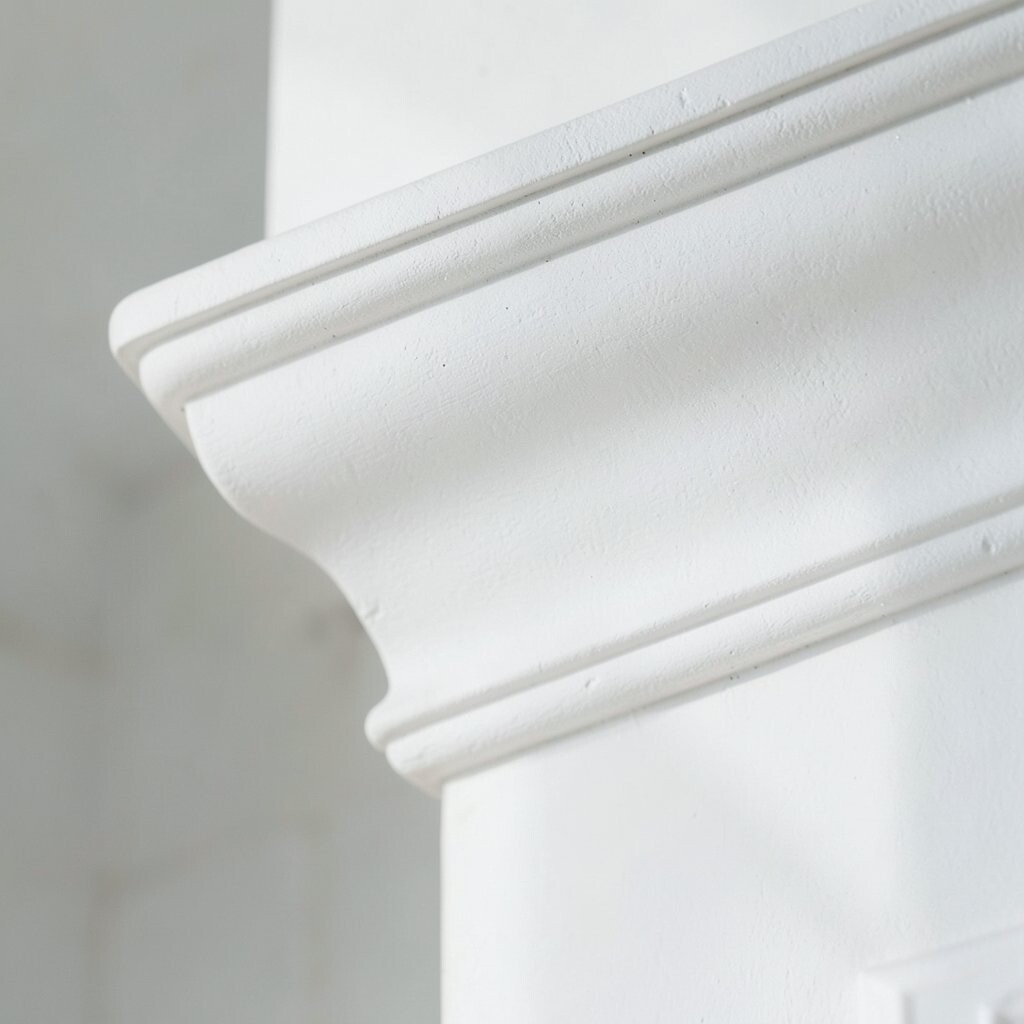
Plaster changes fast, and that shift can make or break the final look. If you shape it too soon, details may slump, but if you wait too long, cutting and smoothing become harder.
Check the surface often with a light touch so you can catch the best working stage. A warm room, good airflow, and steady patience can make drying more even and help the finished molding look cleaner.
Some makers now use controlled room fans or gentle heat to keep drying steady. Those small adjustments can be helpful in busy homes where time matters and the project needs to move along without trouble.
7. Sketch The Design Before You Apply It
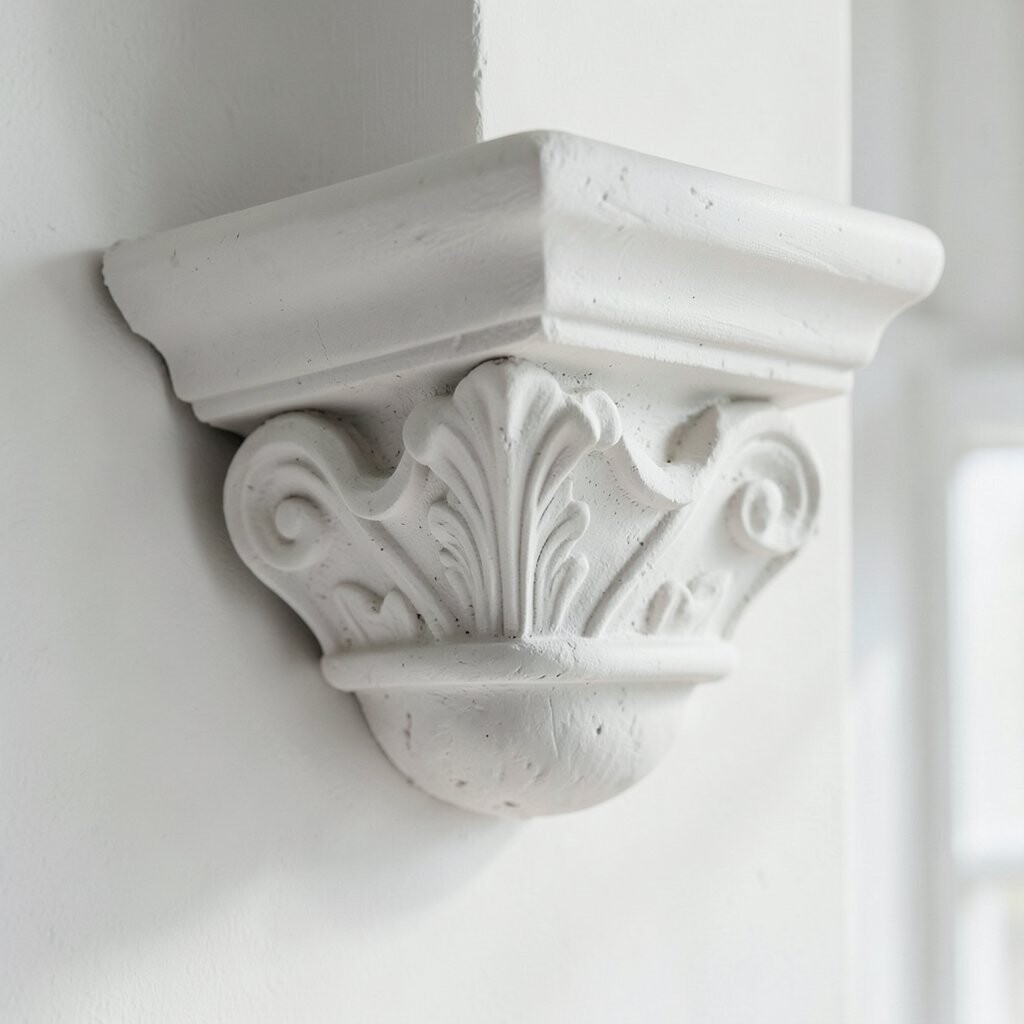
A simple sketch gives you a clear path before the plaster is in place. It helps you see how the pattern will sit on the wall, ceiling, or frame, and it can keep the final piece balanced.
Draw the main shapes with light marks and check them from a few steps back. This extra planning can prevent costly mistakes and also makes it easier to add your own twist, like a special border or an uneven handmade look.
Even a rough drawing can guide your hands once the work begins. If you want a more custom feel, change one small part of the pattern so it matches the room and still feels one of a kind.
8. Keep Your Hands Light And Steady
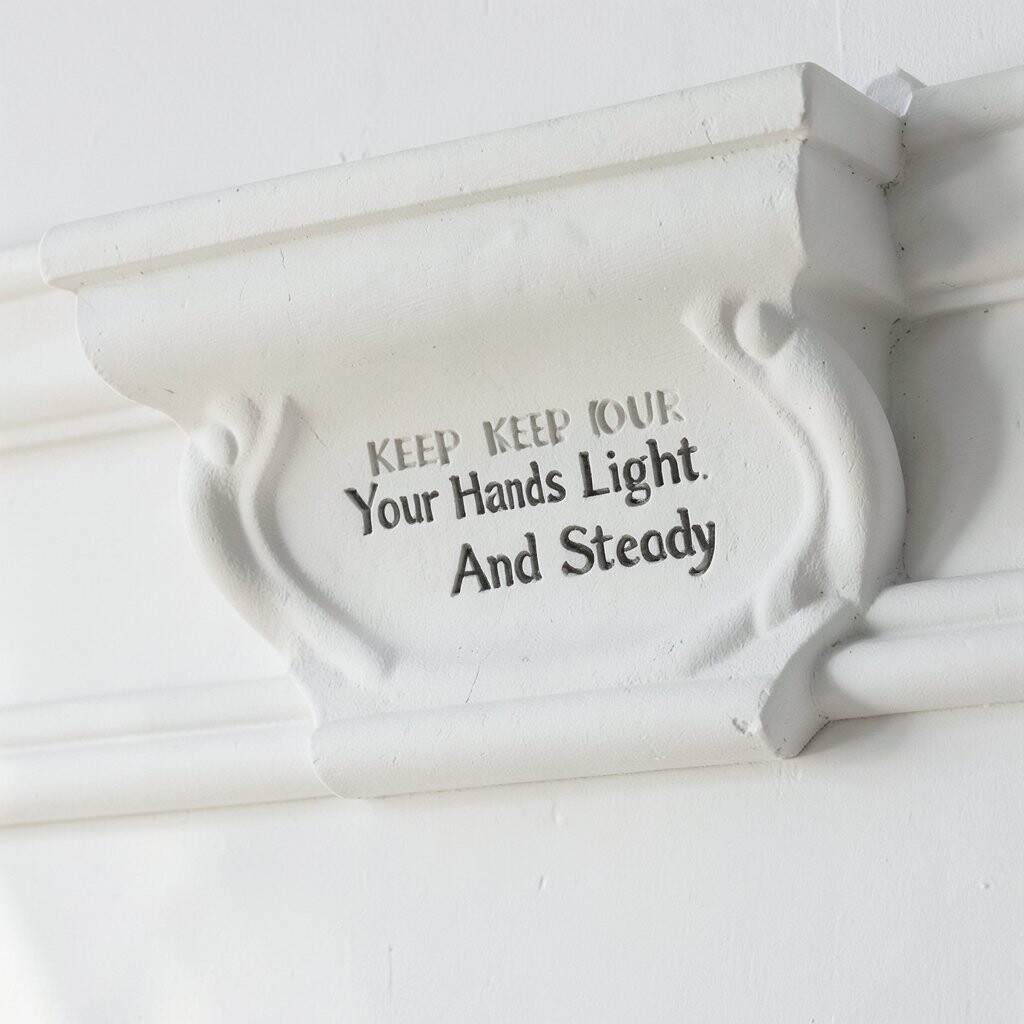
Gentle pressure helps delicate edges stay clean and smooth. If you press too hard, the shape can flatten, and the fine details may lose their charm.
Slow movement gives you better control and helps the molding look refined. This careful touch often feels more luxurious too, which is one reason hand-finished plaster keeps showing up in stylish homes.
Many designers now value the handmade look because small marks can add warmth. A little unevenness can make the piece feel personal, as long as the main lines stay clear and balanced.
9. Add Depth With Shading And Texture
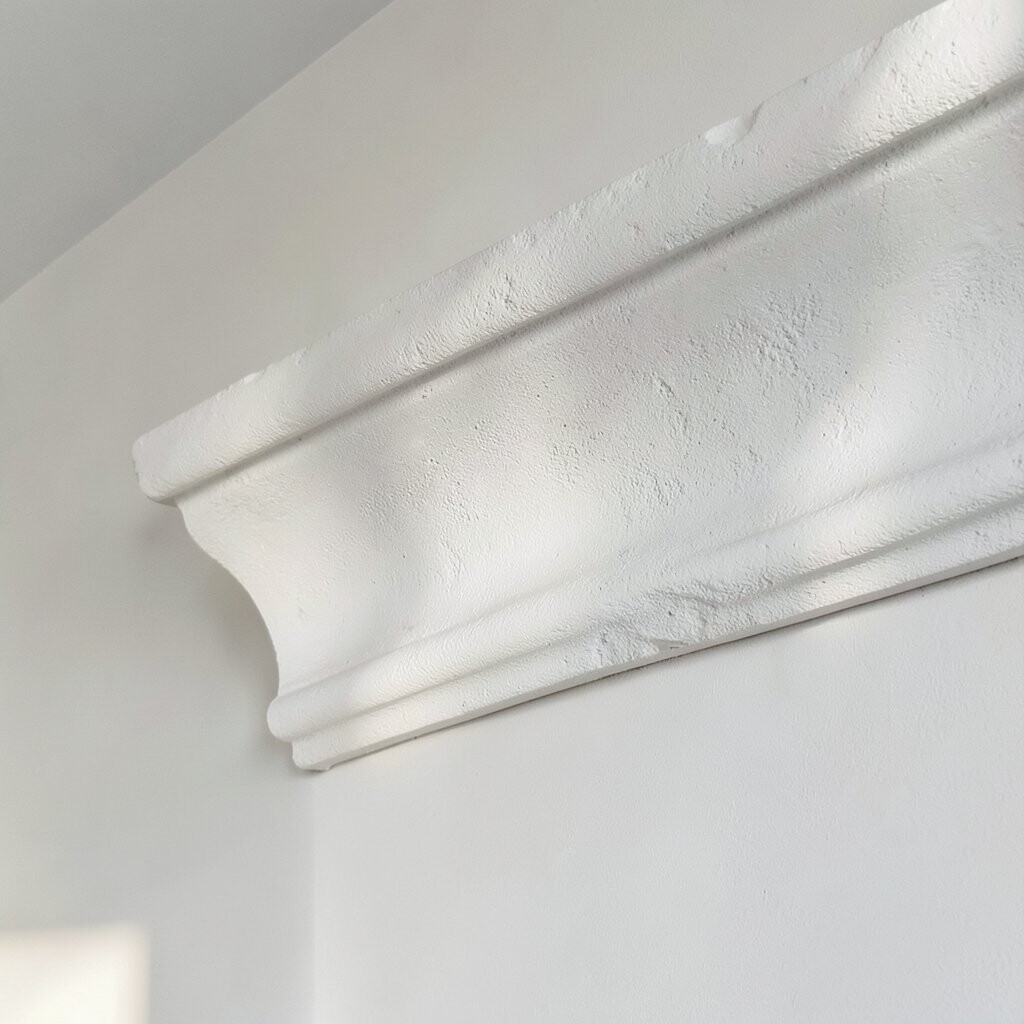
Soft shadows can make plaster molding look deeper and more detailed. A gentle texture on the raised areas can catch the light and give the room a more lively feel.
You can keep it subtle with fine brushing or small tool marks that suit the style. These touches cost very little, yet they can make the design feel richer and more special than a flat surface.
Try viewing the work at different times of day, because sunlight changes the way the details appear. That can help you decide where to deepen a groove or soften an edge for a better final result.
10. Match The Molding To The Paint And Finish
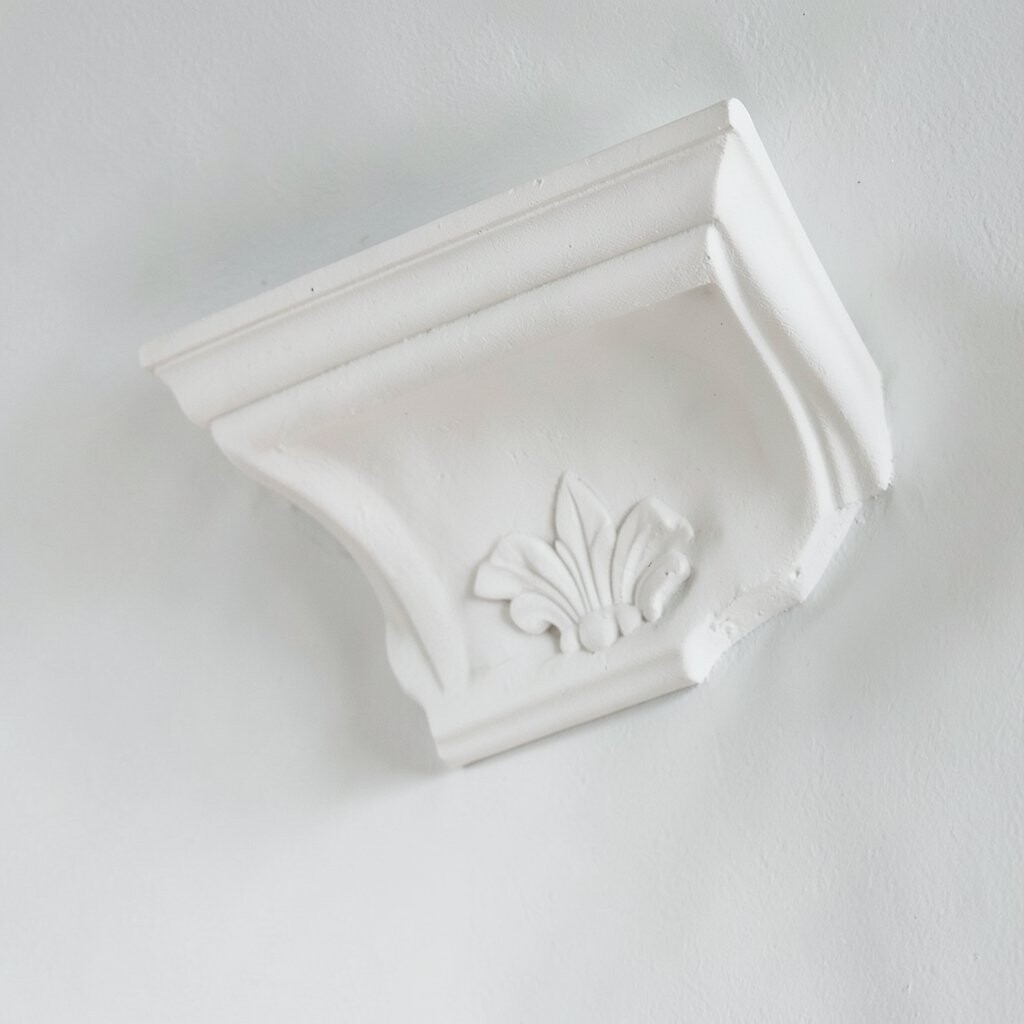
Color can change the whole mood of detailed plaster molding. Bright white gives a clean classic look, while soft cream, pale gray, or muted green can add warmth and charm.
Think about sheen as well, since matte paint can make the details feel calm and rich. A careful color choice can also hide small flaws, which is helpful if you want a polished look without a big budget.
Some homes now use tone-on-tone color so the molding feels elegant without shouting for attention. That style works well in modern spaces and lets the texture do the talking.
11. Repair Small Flaws Before They Grow
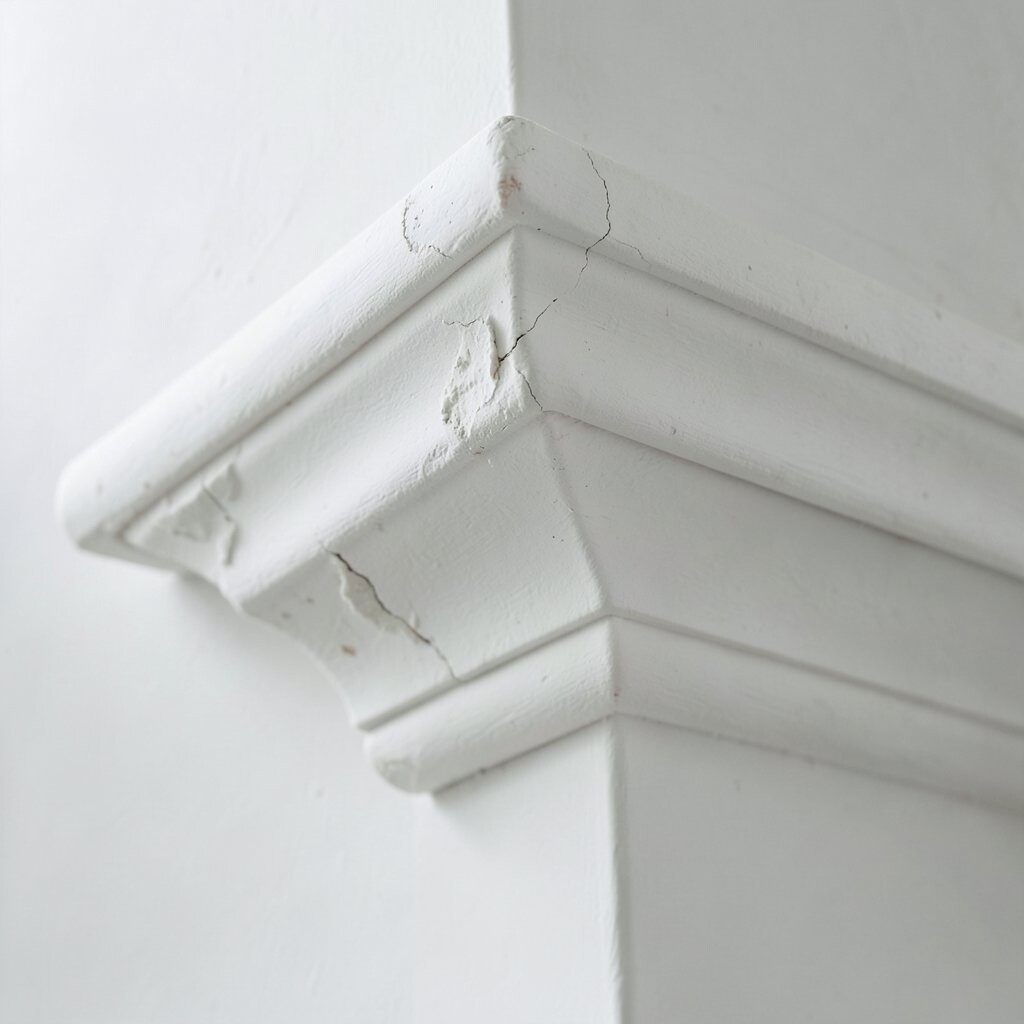
Little chips and hairline cracks are easier to fix early. When you patch them right away, the molding keeps its neat shape and the damage stays small.
Use a tiny amount of matching plaster and smooth it with a light hand. Quick repairs can save money over time and help the piece keep its fresh, detailed look for much longer.
It helps to keep some leftover material from the original job for touch-ups. That makes color and texture easier to match, which is especially useful for custom work that needs to blend in well.
12. Pay Attention To Corners And Joints
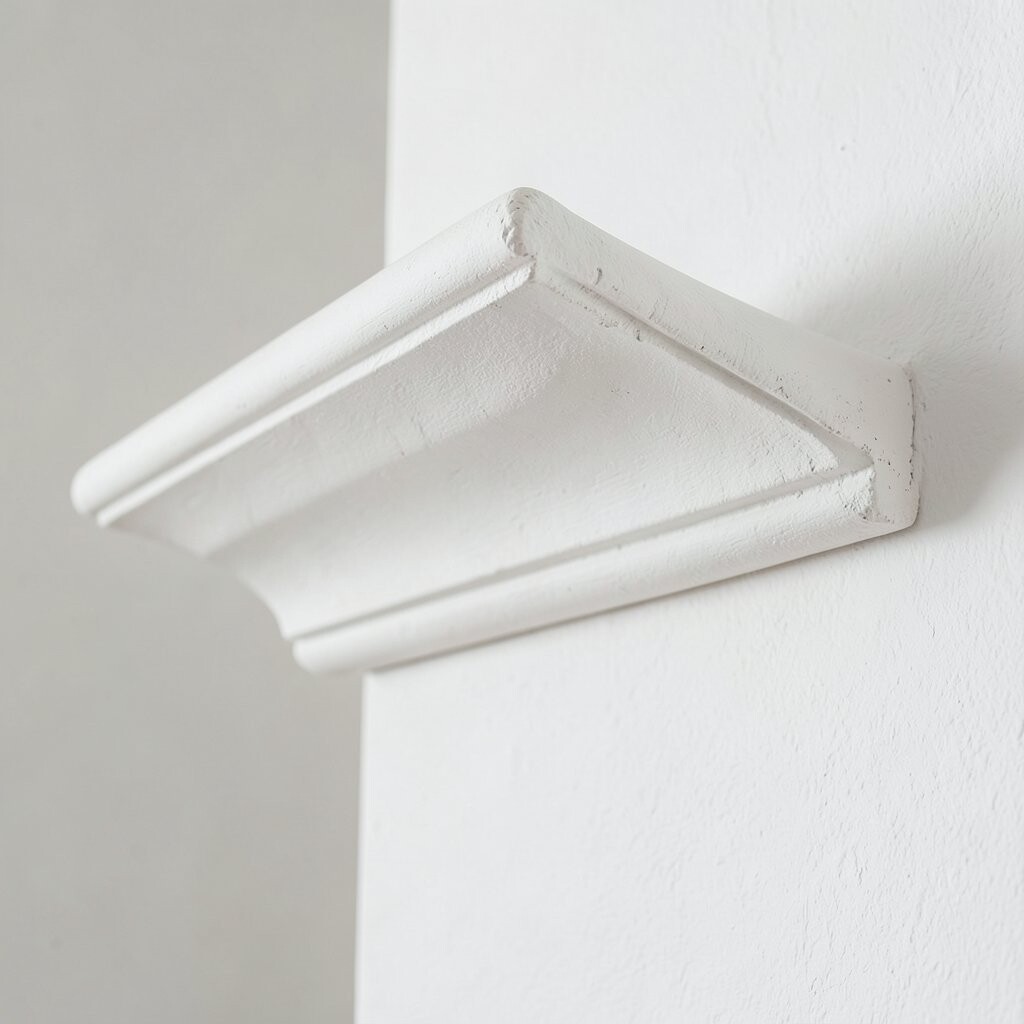
Corners often show the most skill, because they need clean lines and careful fitting. When the joints line up well, the whole molding looks seamless and complete.
Dry-fit pieces first so you can adjust before the plaster sets. This step can reduce waste, lower labor costs, and make the final design feel much more polished.
Many modern homes mix sharp corners with curved detail for a fresh custom look. That blend can keep the room from feeling too heavy while still giving it strong visual character.
13. Work With Light To Show Off Detail
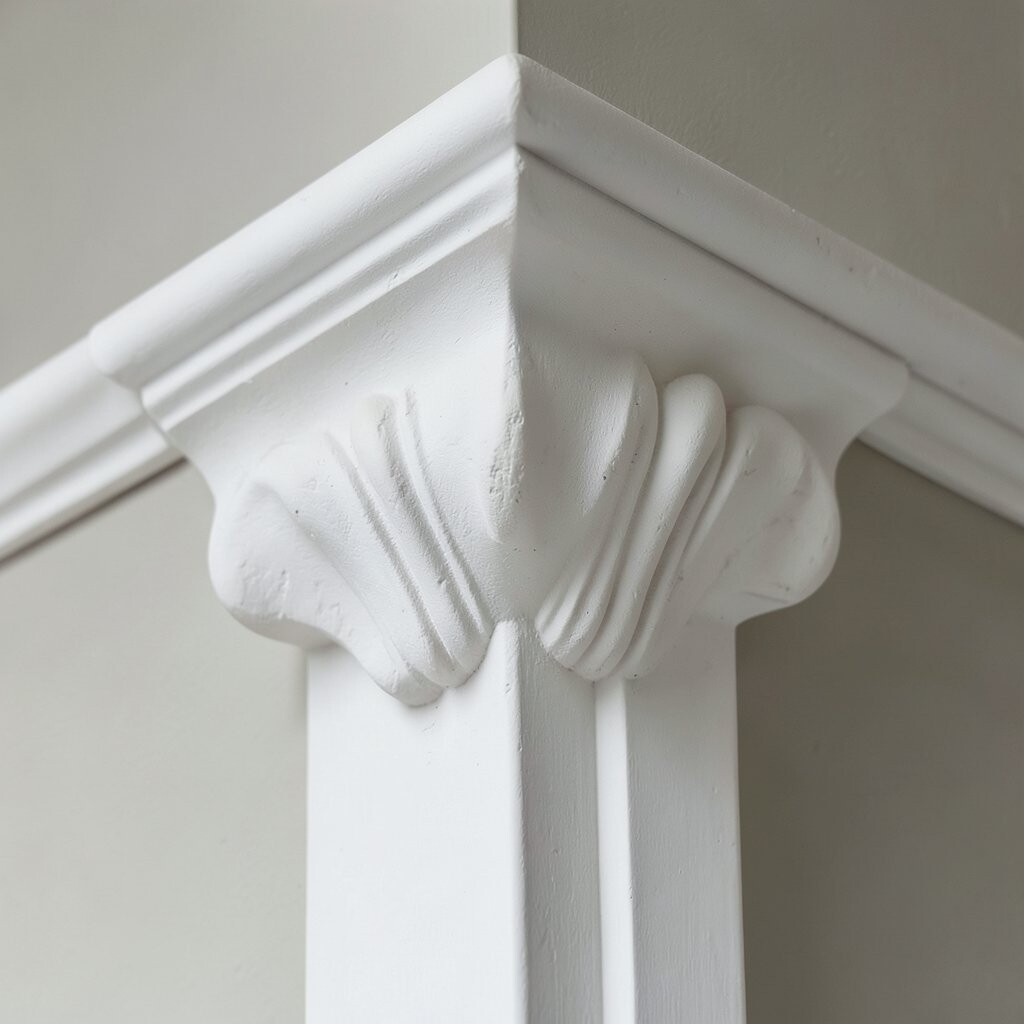
Light is one of the best friends of detailed plaster molding. From a sunny window or a soft lamp, shadows bring out every ridge, flower, and line.
Place lighting where it can graze the surface instead of hitting it flat. This can make the molding look deeper and more dramatic without adding much expense or extra work.
If you are planning a new room, think about how fixtures will shine across the molding. A small change in lamp position can turn plain plaster into a standout feature that feels custom-made.
14. Keep The Surface Safe During Daily Use
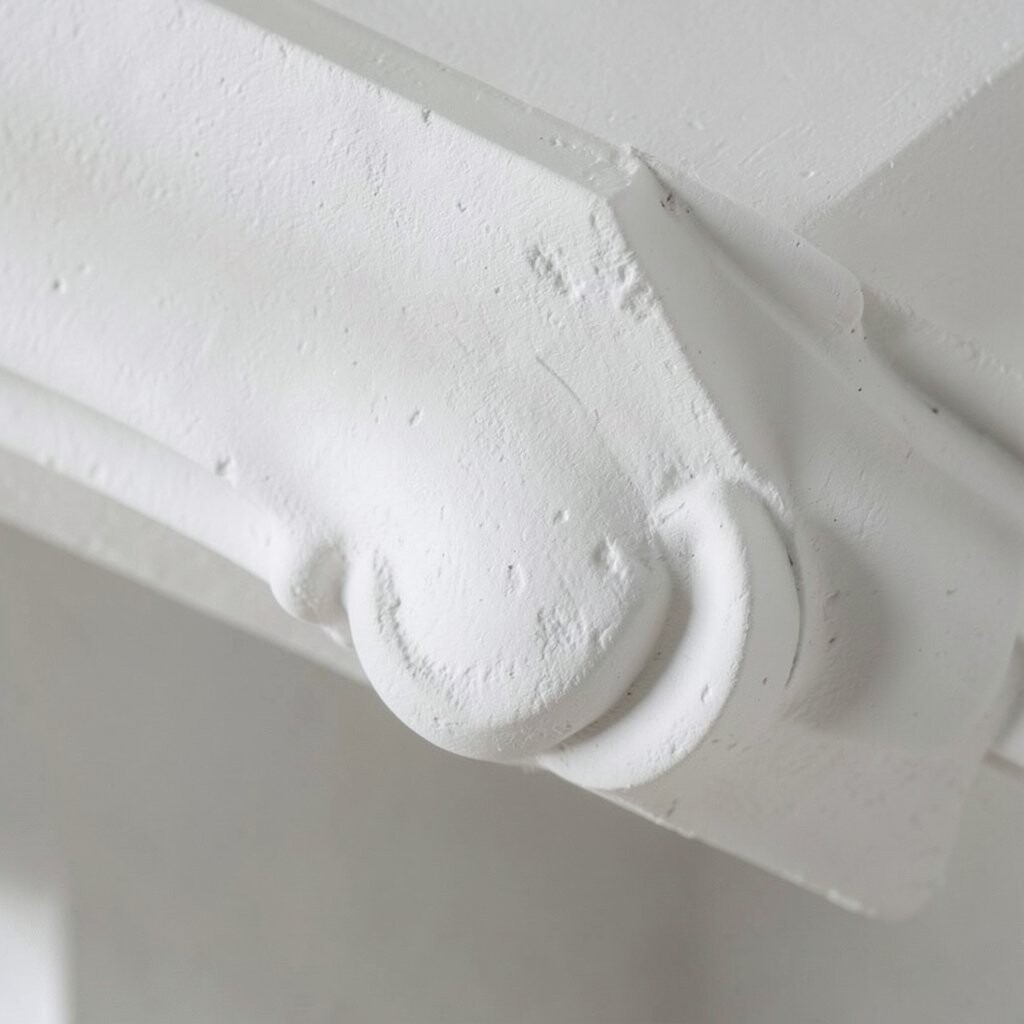
Detailed molding can stay beautiful for years if you protect it from knocks and moisture. In busy rooms, small bumps from furniture or cleaning tools can chip the edges if you are not careful.
Use gentle cleaning methods and avoid soaking the surface. Simple care keeps maintenance costs low and helps the design hold onto its crisp shape and handmade charm.
In homes with kids or pets, a slightly simpler pattern may be easier to live with. That choice can still look lovely while giving you a more practical finish for everyday life.
15. Practice Small Sections Before Big Ones
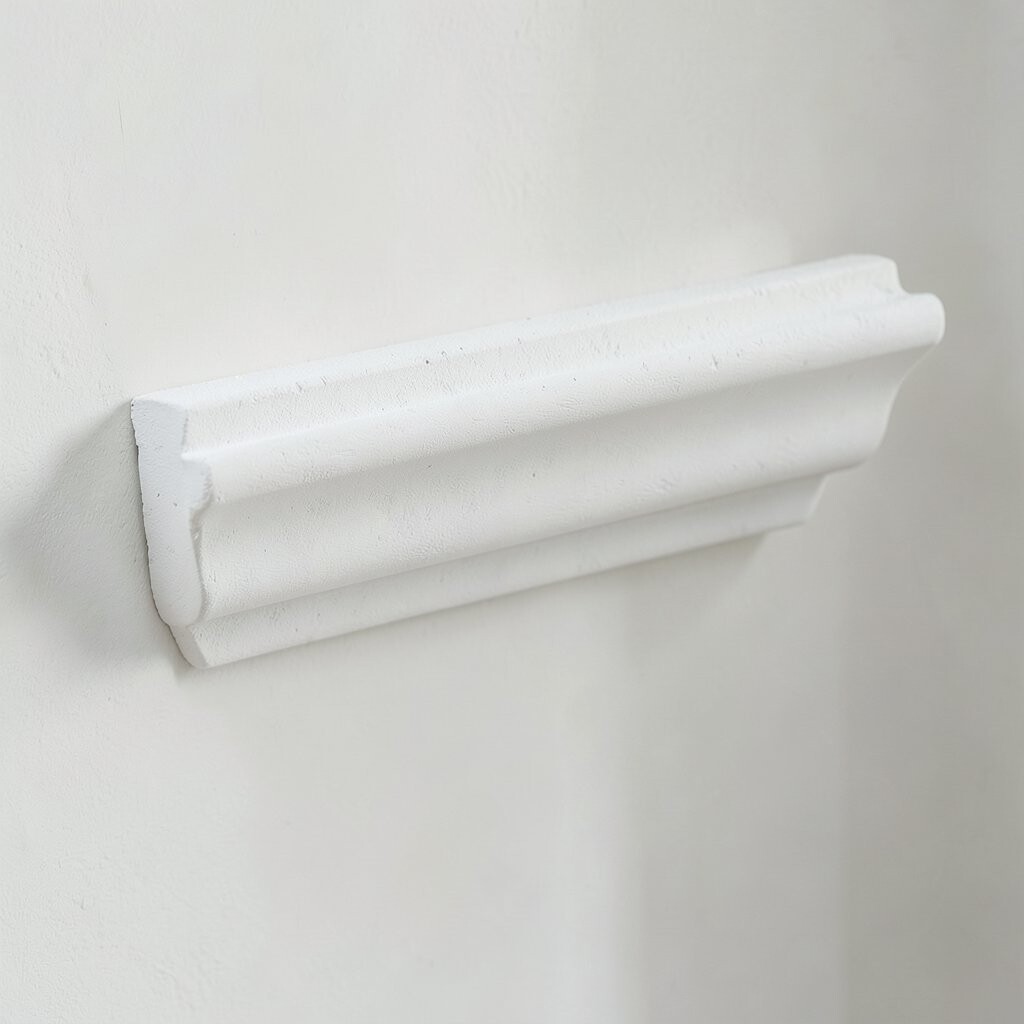
A test piece helps you learn how the plaster behaves before you work on the full project. You can check the mix, the drying speed, and the tool marks without risking the main design.
This practice also helps you try personal touches like extra curls, bead lines, or a softer edge. If you like the result, you can repeat it with more confidence and avoid costly do-overs later.
Many makers use sample boards now because they make planning easier and keep projects on track. A small test can save time, cut waste, and help the final molding feel more thoughtful.
16. Finish With A Careful Final Inspection
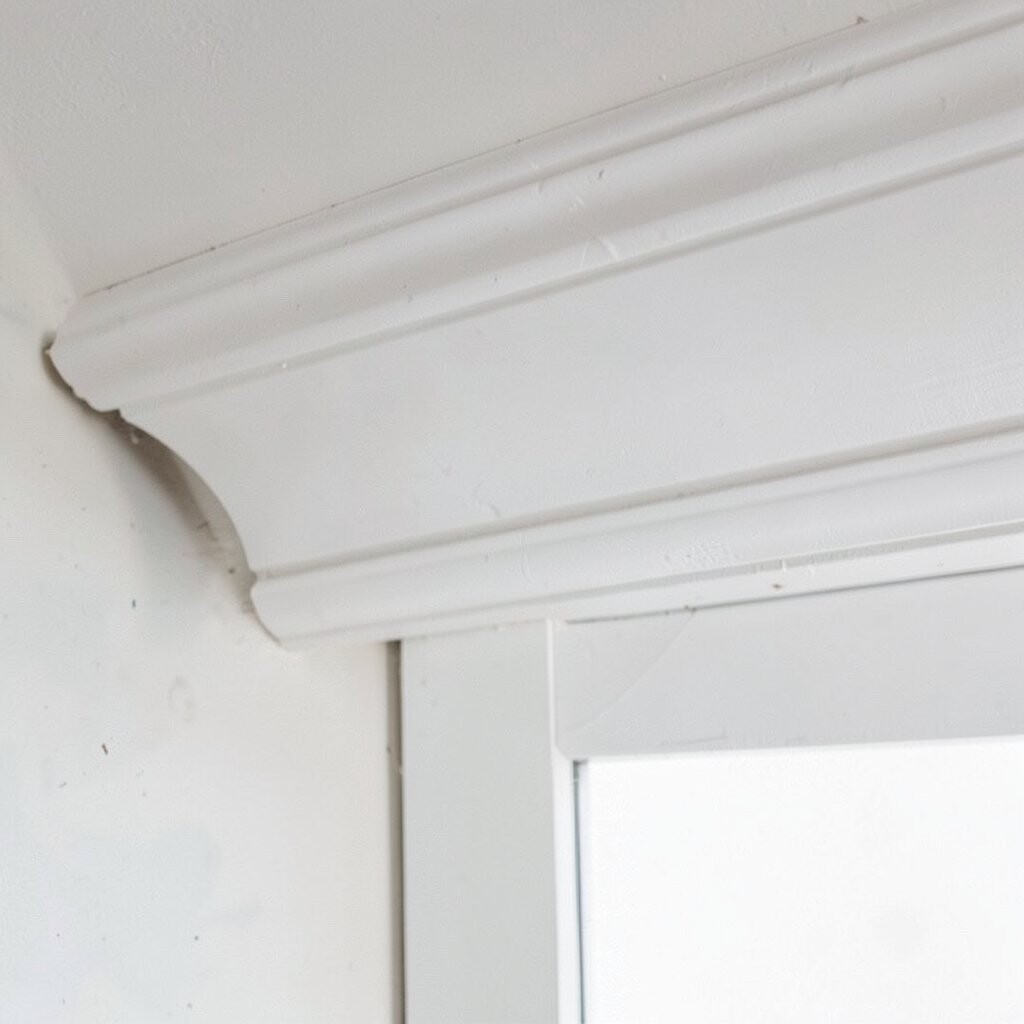
Walk around the molding and look at it from near and far. A careful final check can reveal tiny gaps, uneven edges, or weak spots that need a last touch.
Fixing those small issues before the project ends gives the piece a cleaner and more refined look. It also protects your work, helps the plaster last longer, and makes the finished design feel worth the time and cost.
When everything looks right, let the molding stand on its own and enjoy the detail it adds to the room. The best plaster work feels calm, rich, and personal, and that quiet beauty is what makes it so appealing in homes today.